

Page 1
Register your product and get support at
EN User manual
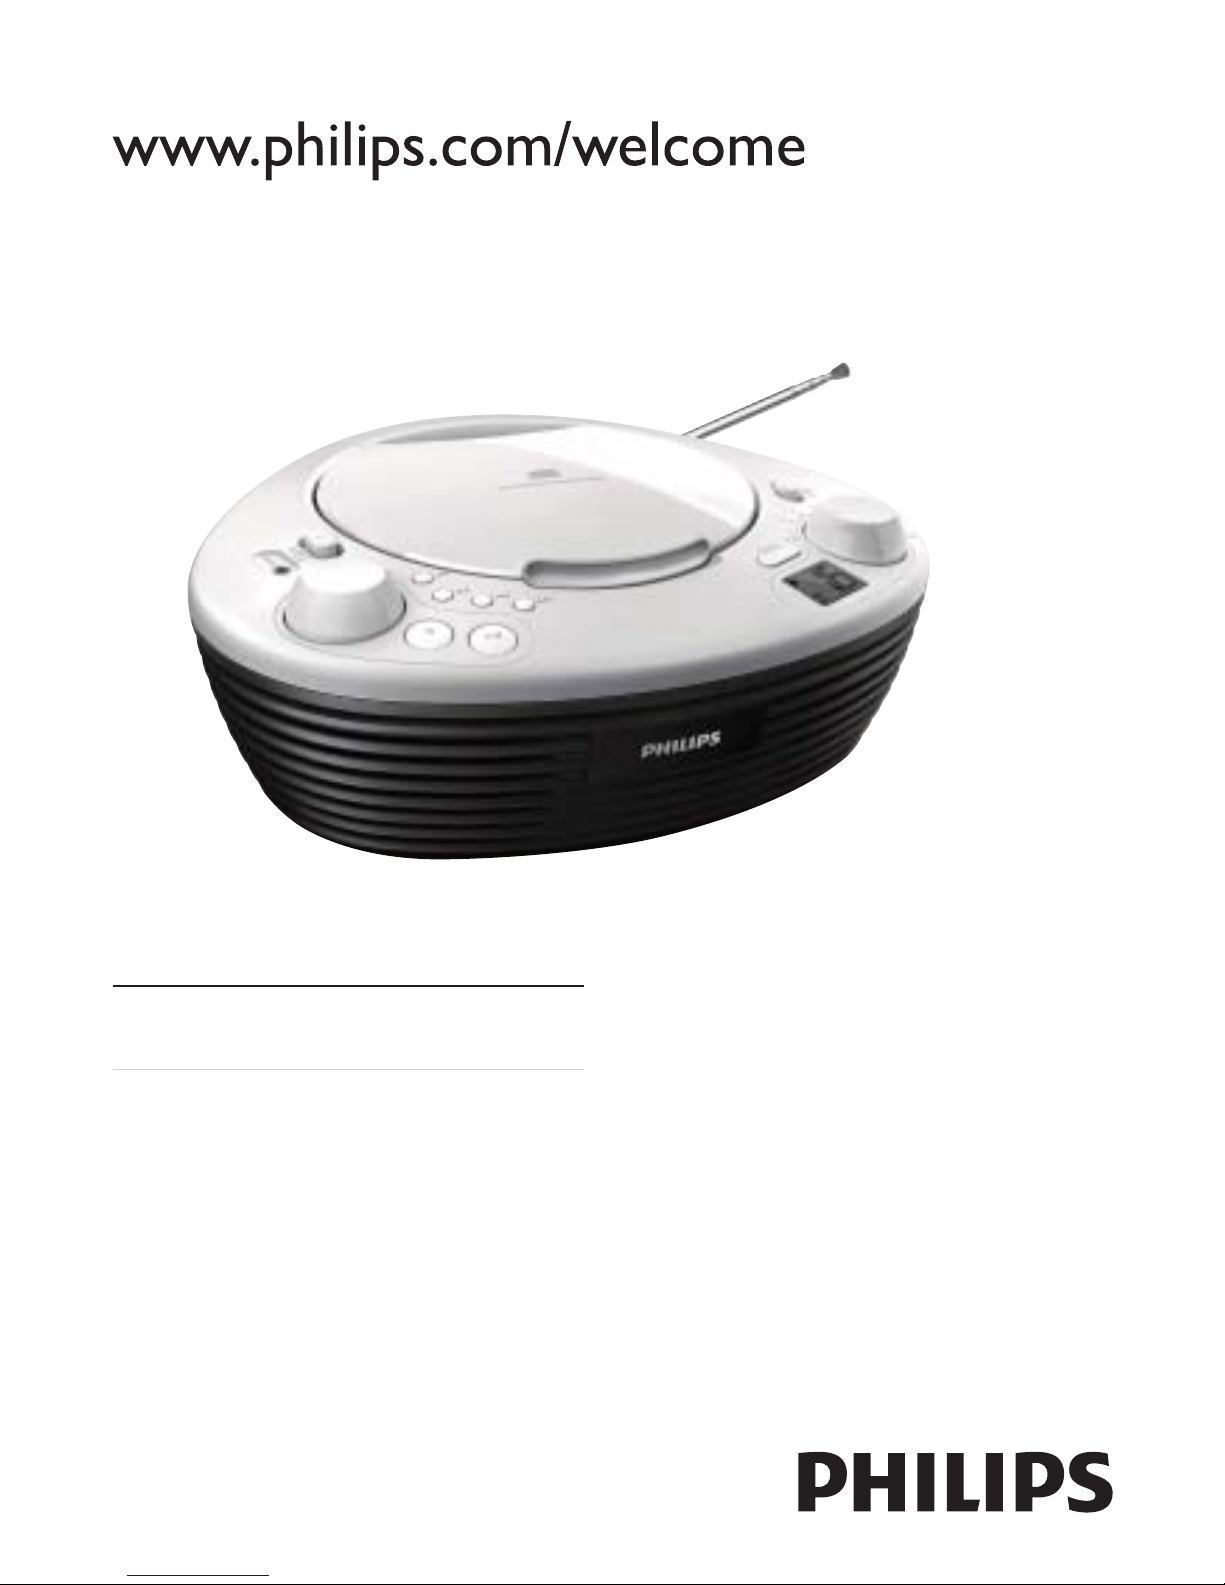
AZ202/B/C/N/R
Page 2
English
1 Important
Safety
Important Safety Instructions
a Read these instructions.
b Keep these instructions.
c Heed all warnings.
d Follow all instructions.
e Do not use this apparatus near water.
f Clean only with dry cloth.
g Do not block any ventilation openings. Install in accordance
with the manufacturer’s instructions.
h Do not install near any heat sources such as radiators, heat
registers, stoves, or other apparatus (including amplifi ers)
that produce heat.
i Protect the power cord from being walked on or pinched,
particularly at plugs, convenience receptacles, and the point
where they exit from the apparatus.
j Only use attachments/accessories specifi ed by the
manufacturer.
k Use only with the cart, stand, tripod, bracket, or
table specifi ed by the manufacturer or sold with
the apparatus. When a cart is used, use caution
Page 3

when moving the cart/apparatus combination to avoid injury
from tip-over.
l Unplug this apparatus during lightning storms or when
unused for long periods of time.
m Refer all servicing to qualifi ed service personnel. Servicing is
required when the apparatus has been damaged in any way,
such as power-supply cord or plug is damaged, liquid has
been spilled or objects have fallen into the apparatus, the
apparatus has been exposed to rain or moisture, does not
operate normally, or has been dropped.
n Battery usage CAUTION – To prevent battery leakage which
may result in bodily injury, property damage, or damage to
the unit:
Install all batteries correctly, + and - as marked on the •
unit.
Do not mix batteries (old and new or carbon and •
alkaline, etc.).
Remove batteries when the unit is not used for a long •
time.
The batteries shall not be exposed to excessive heat •
such as sunshine, fi re or the like.
o Apparatus shall not be exposed to dripping or splashing.
p Do not place any sources of danger on the apparatus (e.g.
liquid fi lled objects, lighted candles).
Page 4
q This product may contain lead and mercury. Disposal of
these materials may be regulated due to environmental
considerations. For disposal or recycling information, please
contact your local authorities or the Electronic Industries
Alliance: www.eiae.org.
Warning
Never remove the casing of this apparatus. •
Never lubricate any part of this apparatus. •
Never place this apparatus on other electrical equipment. •
Keep this apparatus away from direct sunlight, naked fl ames or heat. •
Never look into the laser beam inside this apparatus. •
Ensure that you always have easy access to the power cord, plug or •
adaptor to disconnect this apparatus from the power.
Where the MAINS plug or an appliance coupler is used as the •
disconnect device, the disconnect device shall remain readily
operable.
Caution
Use of controls or adjustments or performance of procedures other •
than herein may result in hazardous radiation exposure or other
unsafe operation.
Notice
This product complies with the radio interference
requirements of the European Community.
Page 5
Any changes or modifi cations made to this device that are not
expressly approved by Philips Consumer Lifestyle may void the user’s
authority to operate the equipment.
Recycling
Your product is designed and manufactured with high
quality materials and components, which can be recycled
and reused.
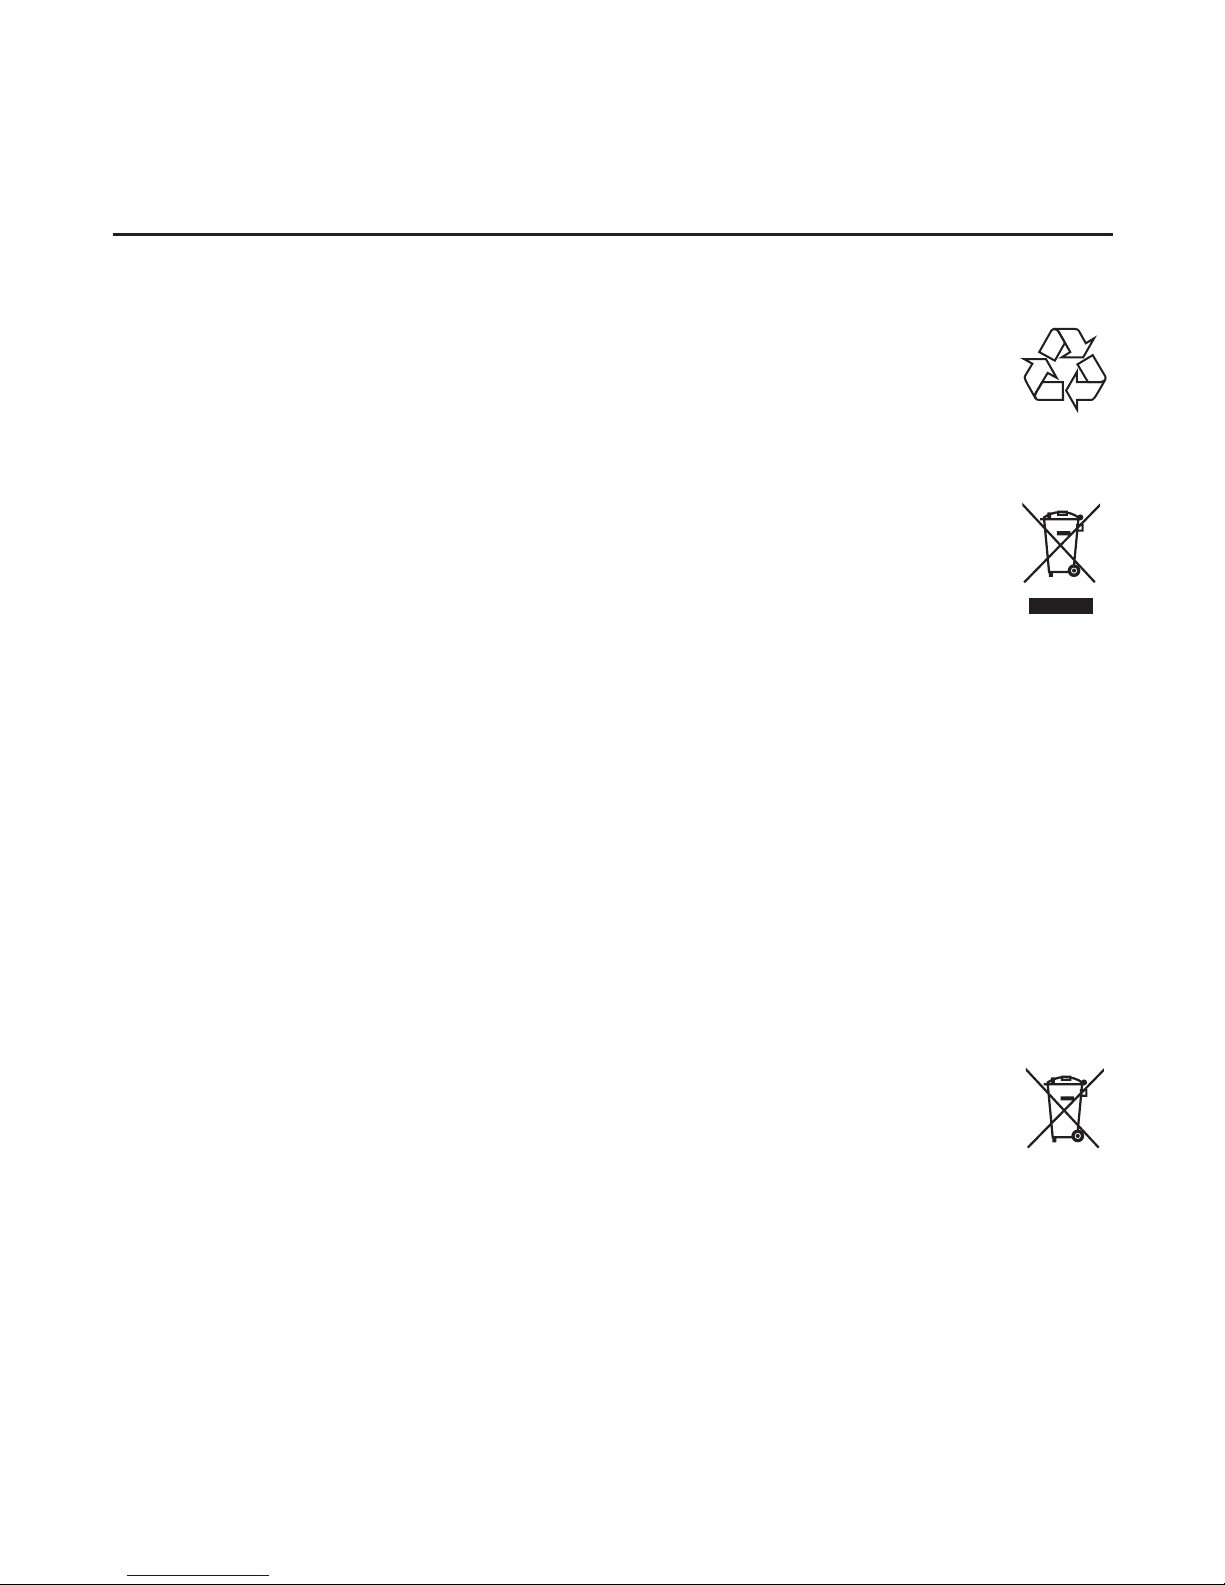
When you see the crossed-out wheel bin symbol attached
to a product, it means the product is covered by the
European Directive 2002/96/EC:
Never dispose of your product with other household waste. Please
inform yourself about the local rules on the separate collection of
electrical and electronic products. The correct disposal of your old
product helps prevent potentially negative consequences on the
environment and human health.
Your product contains batteries covered by the European Directive
2006/66/EC, which cannot be disposed of with normal household
waste.
When you see the crossed-out wheel bin symbol with the
chemical symbol ‘Pb’, it means that the batteries comply with
the requirement set by the directive for lead:
Please inform yourself about the local rules on separate collection of
batteries. The correct disposal of batteries helps prevent potentially
negative consequences on the environment and human health.
Recording and playback of material might require consent. See
Copyright Act 1956 and The Performer’s Protection Acts 1958 to
1972.
Page 6
Environmental information
All unnecessary packaging has been omitted. We have tried to make
the packaging easy to separate into three materials: cardboard (box),
paper pulp (buffer) and polyethylene (bags, protective foam sheet.)
Your system consists of materials which can be recycled and reused
if disassembled by a specialized company. Please observe the local
regulations regarding the disposal of packaging materials, exhausted
batteries and old equipment.
This apparatus includes these labels:
Class II equipment symbol
This symbol indicates that the apparatus has a double insulation
system.
Norge
Typeskilt fi nnes på apparatens underside.
Observer: Nettbryteren er sekundert innkoplet. Den innebygde
netdelen er derfor ikke frakoplet nettet så lenge apparatet er tilsluttet
nettkontakten.
For å redusere faren for brann eller elektrisk støt, skal apparatet ikke
utsettes for regn eller fuktighet.
Page 7

2 Your CD Soundmachine
Introduction
With this CD Soundmachine, you can:
play audio discs•
listen to FM/MW radio•
enjoy music from external devices•
program the play sequence of tracks•
Dynamic Bass Boost (DBB) helps you to maximizes music enjoyment.
What’s in the box
Check and identify the contents of the package:
Main unit•
AC power cord•
User Manual•
Page 8
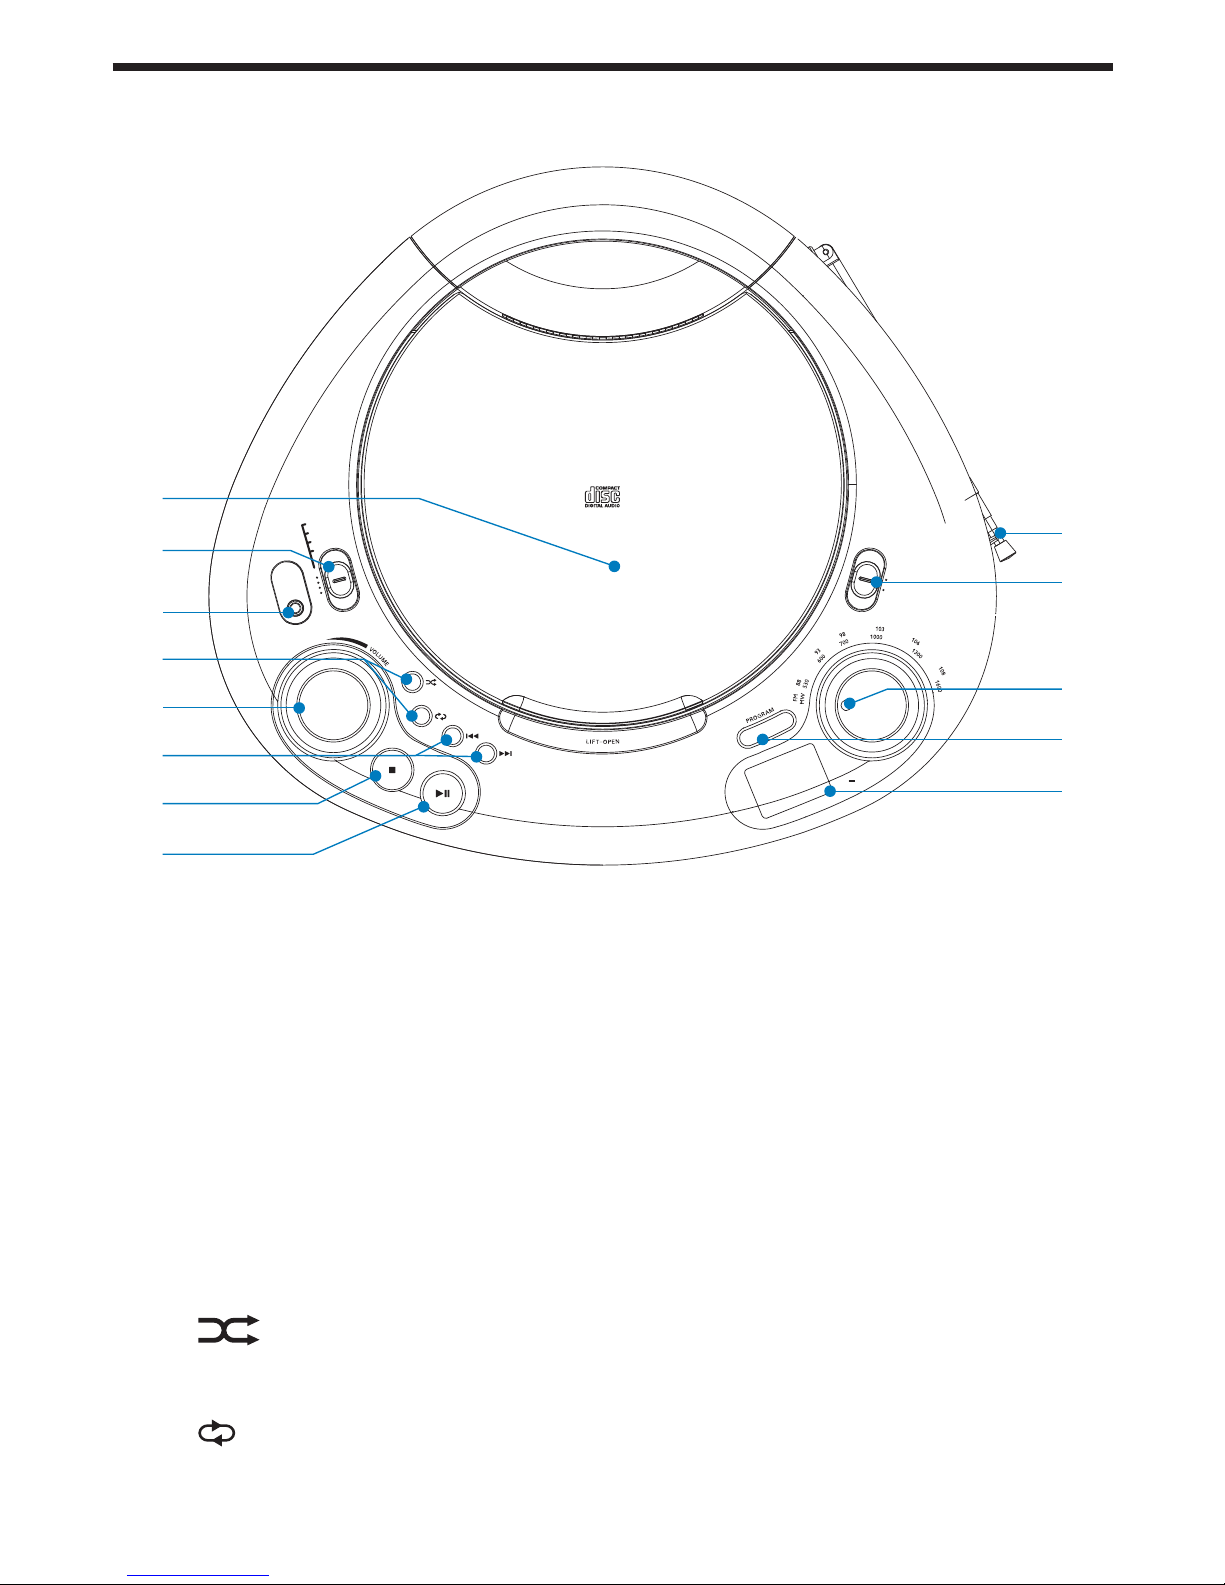
Overview of the main unit
a LIFT-OPEN
Open/close the disc compartment. •
b Source selector
Select a source: CD, FM, or MW. •
Turn off the unit.•
c MP3 LINK
Jack for an external audio device.•
d
Play track/tracks randomly. •
Play track/tracks repeatedly. •
c
a
b
e
f
g
d
j
k
l
m
i
h
FM
MW
OFF
CD
MP
3
-
LINK
CD SOUNDMACHINE AZ202
DBB
O
N
DBB
OFF
Page 9
e VOLUME
Adjust volume.•
f
/
Skip to the previous/next track.•
Search within a track.•
g
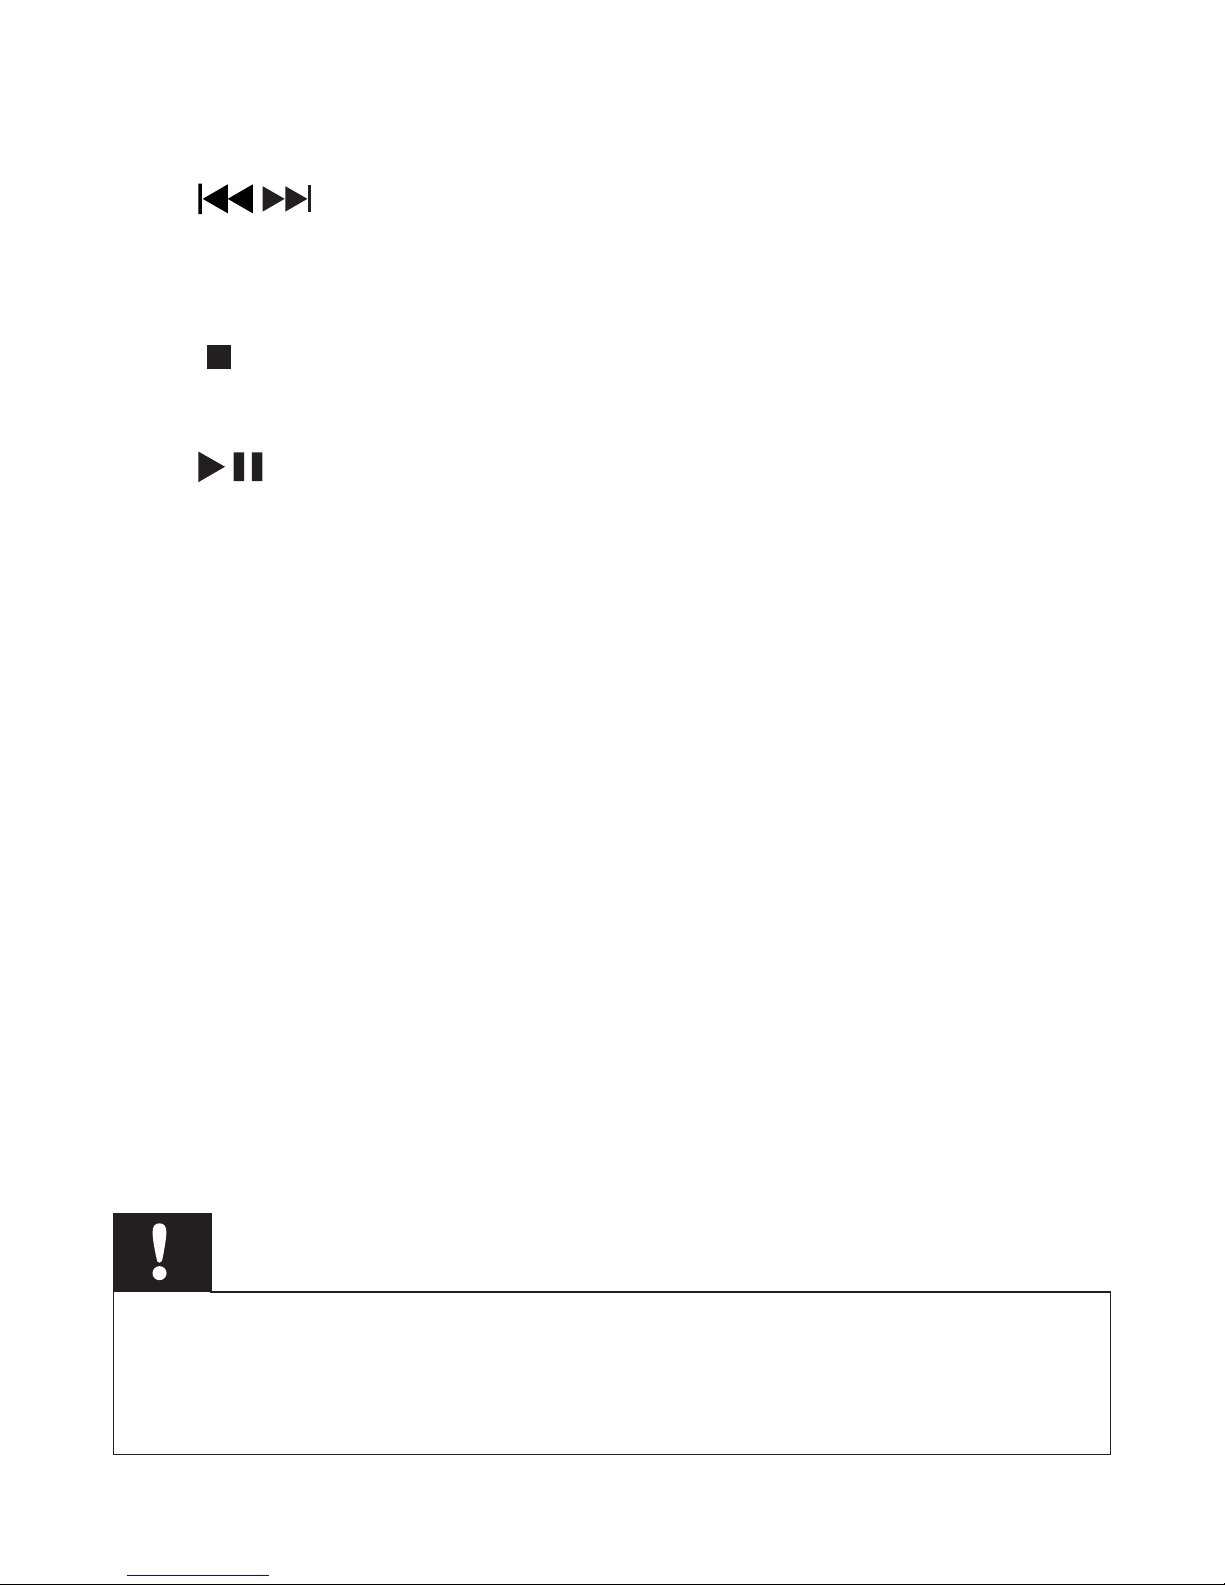
Stop play.•
h
Start or pause play.•
i Display panel
Display current status.•
j PROGRAM
Program tracks and browse the program.•
k Tuning button
Tune to a FM/MW radio station. •
l DBB ON/OFF
Turn on/off dynamic bass boost.•
m Antenna
3 Get started
Caution
Use of controls or adjustments or performance of procedures other •
than herein may result in hazardous radiation exposure or other
unsafe operation.
Page 10
Always follow the instructions in this chapter in sequence.
If you contact Philips, you will be asked for the model and serial number
of your apparatus. The model number and serial number are on the
bottom of your apparatus. Write the numbers here:
Model No. __________________________
Serial No. ___________________________
Install batteries
Note
You can use both batteries and AC power as power supply of this •
apparatus.
Batteries are not supplied with the accessories.
•
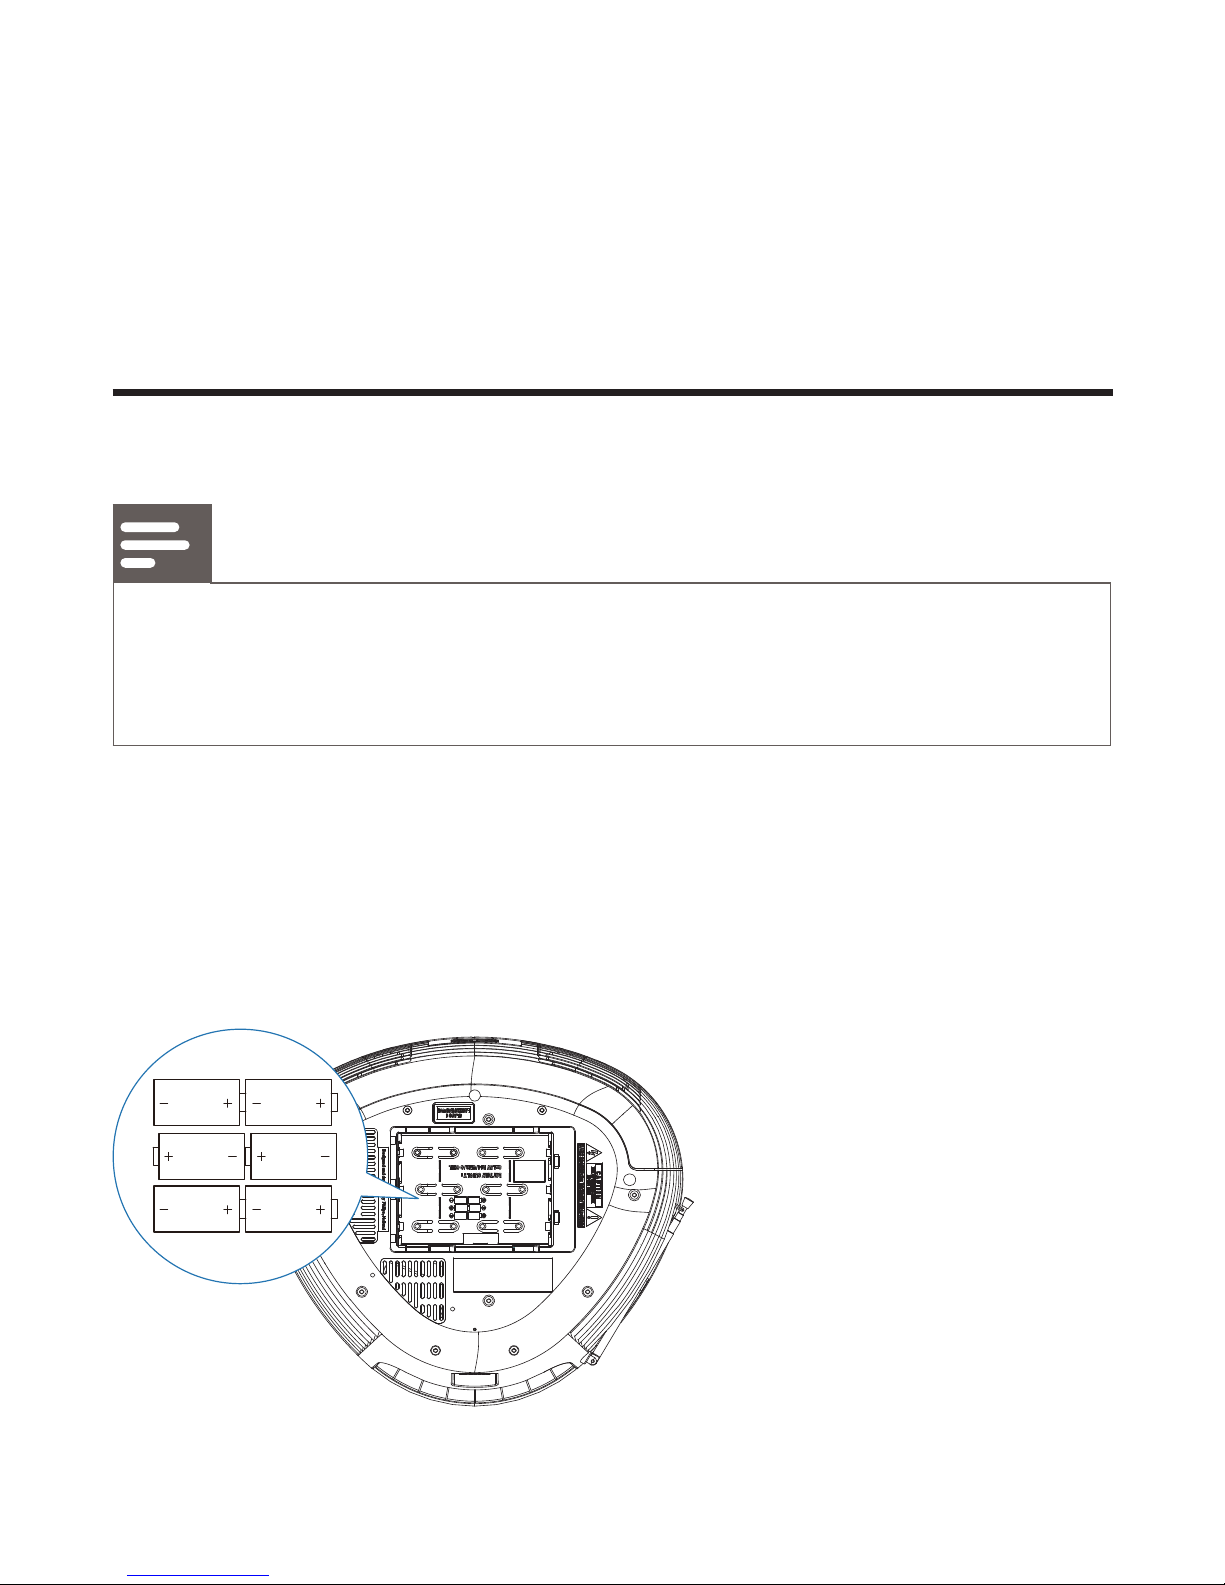
1 Open the battery compartment.
2 Insert 6 batteries (type: R14/ UM2/ C-cells) with correct
polarity (+/-) as indicated.
3 Close the battery compartment.
Page 11
Connect power
Warning
Risk of product damage! Ensure that the power supply voltage •
corresponds to the voltage printed on the back or the underside of
the apparatus.
Risk of electric shock! When you disconnect the AC power, always
•
pull the plug from the socket. Never pull the cord.
Note
Install the apparatus near the power supply socket and where the •
power plug can be easily reached.
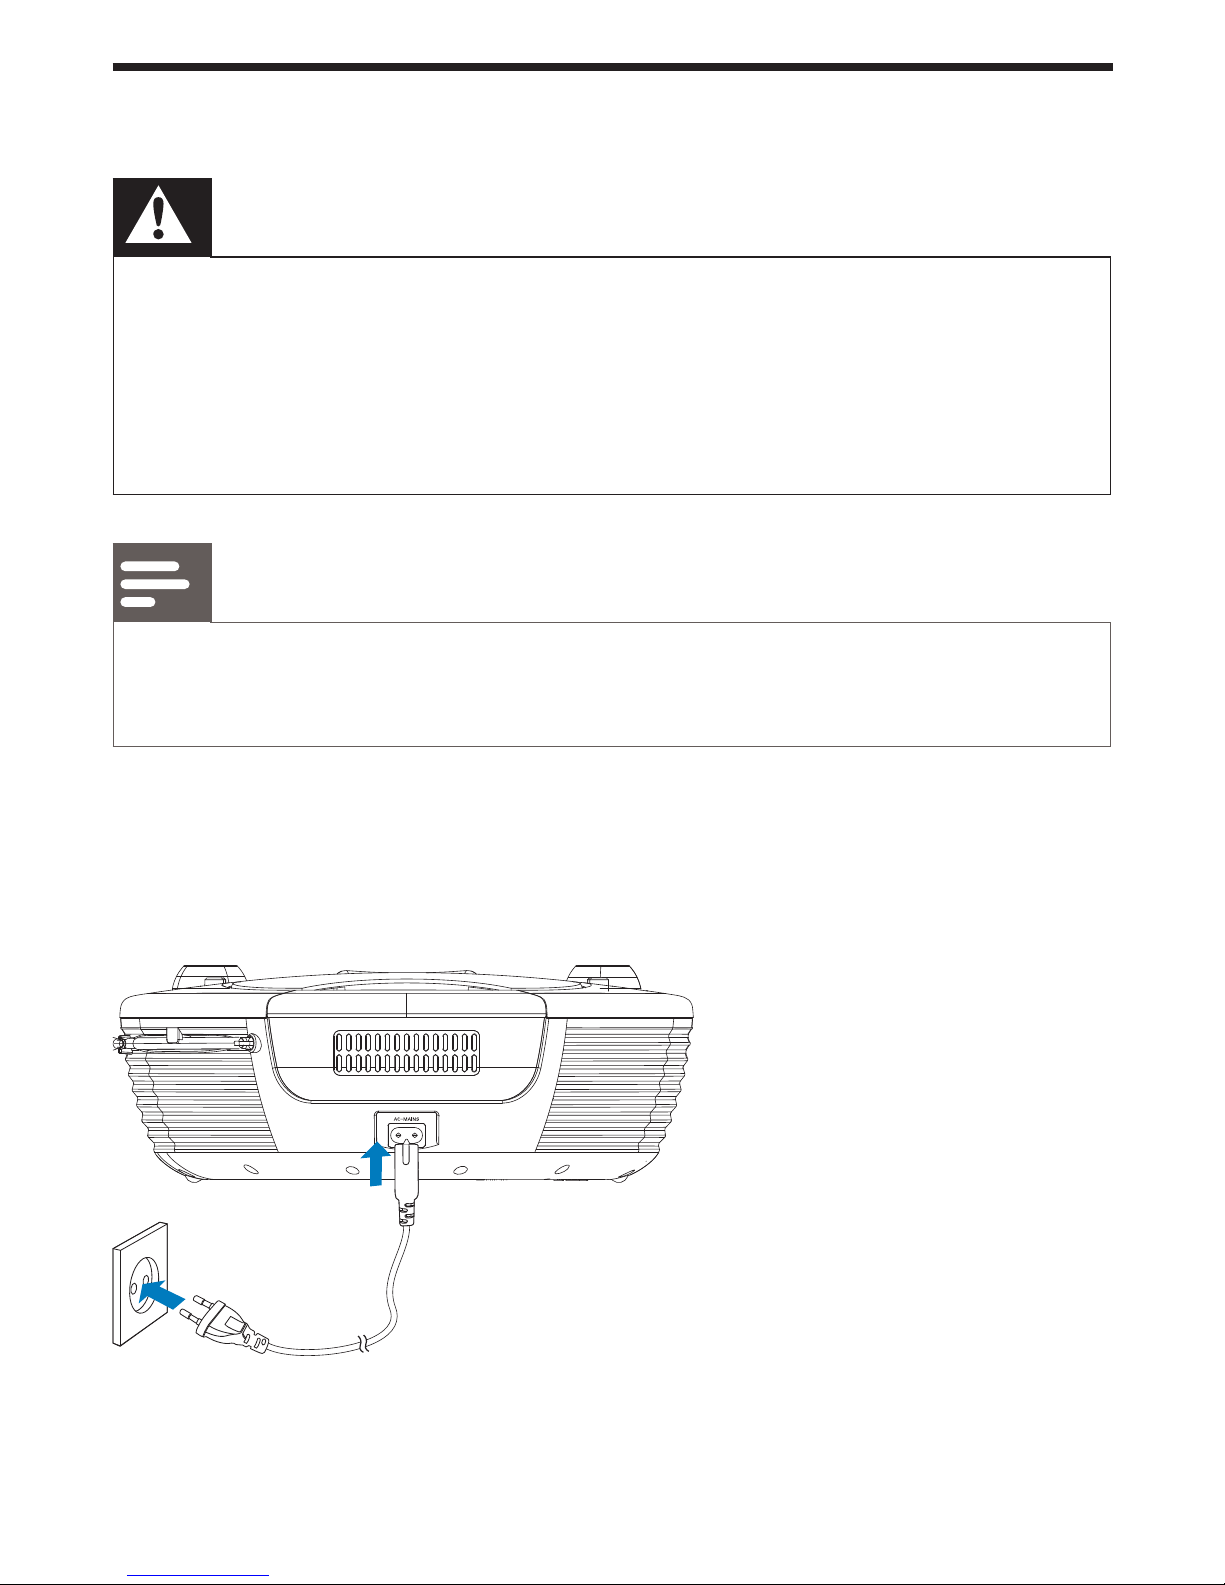
1 Connect the power cord to:
the • AC MAINS jack on the unit
the power supply socket.•
Page 12
Tip
To switch the apparatus off completely, disconnect the power cord •
from the power supply socket.
Note
To save energy: after use, turn off the apparatus. •
Turn on
1 Push the source selector to CD , FM or MW .
Turn off
1 Push the source selector to OFF .
4 Play
Play disc
1 Push the source selector to CD .
2 Lift to open the disc compartment.
3 Insert a disc with the printed side facing up, then close the disc
compartment.
4 Press to start play.
To pause/resume play, press •
.
To stop play, press •
.
To select another track, press •
/ .
Page 13
To search within a track, press and hold • / , then
release to resume normal play.
Listen to the radio
Tune to a radio station
1 Push the source selector to FM or MW .
2 Turn TUNING to tune to a station.
Tip
Position the antenna as far as possible from TV, VCR or other •
radiation source.
For optimal reception, fully extend and adjust the position of the
•
antenna.
Listen to an external device
You can listen to an MP3 player through this apparatus.
Note
When you connect an external device to • MP3 LINK jack, the
apparatus switches to MP3 LINK source automatically.
1 Use a 3.5mm plugs cable (not supplied) on both ends to
connect MP3 LINK jack (3.5mm) on this apparatus and the
headphone jack on an MP3 player.
Page 14
5 Play options
Adjust volume
1 During play, turn VOLUME to increase/decrease the volume
level.
Enhance bass
1 During play, adjust DBB to ON/ OFF turn on/off dynamic bass
enhancement.
Select play modes
Repeat
1 Press to play the current track or all tracks repeatedly.
• [REP] (repeat) – repeat a track.
• [REP ALL] (repeat all) - repeat an entire CD/program.
Shuffl e
1 Press to play all tracks randomly.
• [SHUFFLE] (shuffl e) - play tracks randomly.
Program tracks
You can program a maximum of 20 tracks.
1 In CD mode, at the stop position, press PROGRAM to
activate the program mode.
2 Press / to select a track number, then press
PROGRAM to confi rm.
3 Repeat steps 2 to 3 to program more tracks.
Page 15
4 Press to play the programmed tracks.
During play, » [PROG] (program) is displayed.
To erase the program, press •
.
To review the program, in the stop position, press •
PROGRAM .
6 Product information
Note
Product information is subject to change without prior notice. •
Specifi cations
Disc
Laser Type Semiconductor
Disc Diameter 12cm/8cm
Support Disc CD-DA, CD-R, CD-RW
Audio DAC 24Bits / 44.1kHz
Total Harmonic Distortion <1%
Frequency Response 60Hz -16kHz
S/N Ratio >62dBA
Page 16
Tuner
Tuning Range FM: 87.5 - 108MHz;
MW: 530 - 1600kHz
Total Harmonic Distortion <3%
Signal to Noise Ratio >50 dB
General
Power supply AC: 220 - 240V, 50/60 Hz
DC: 9V, 1.5 x 6 R14/UM2
Operation Power Consumption 15 W
Standby Power Consumption < 1 W
Dimensions
- Main Unit (W x H x D) 297 x 112 x 264 mm
Weight 1.6 kg
Maintenance
Clean the cabinet
Use a soft cloth slightly moistened with a mild detergent •
solution. Do not use a solution containing alcohol, spirits,
ammonia or abrasives.
Clean discs
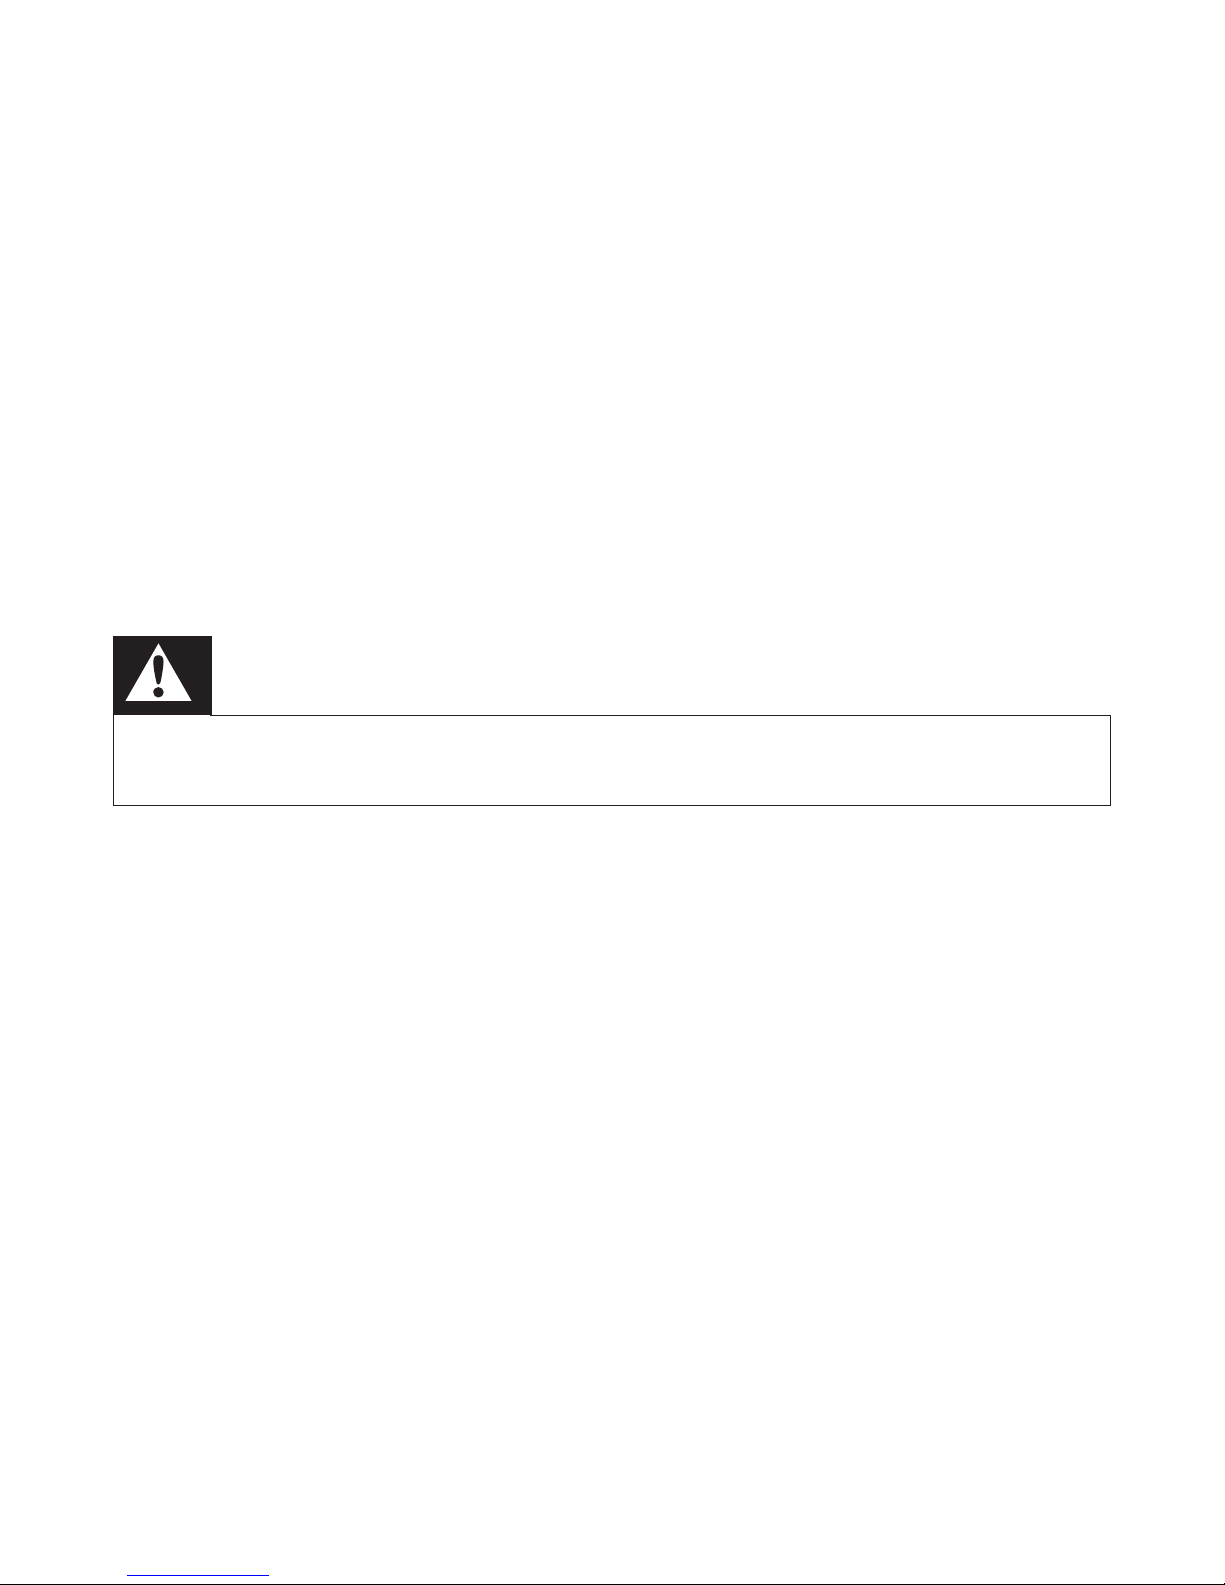
When a disc becomes dirty, clean it with a •
cleaning cloth. Wipe the disc from the centre out.
Page 17
Do not use solvents such as benzene, thinner, commercially •
available cleaners, or antistatic spray intended for analogue
records.
Clean the disc lens
After prolonged use, dir t or dust may accumulate at the disc
lens. To ensure good play quality, clean the disc lens with
Philips CD lens cleaner or any commercially available cleaner.
Follow the instructions supplied with cleaner.
7 Troubleshooting
Warning
Never remove the casing of this apparatus. •
To keep the warranty valid, never try to repair the system yourself.
If you encounter problems when using this apparatus, check the
following points before requesting service. If the problem remains
unsolved, go to the Philips web site (www.philips.com/welcome). When
you contact Philips, ensure that the apparatus is nearby and the model
number and serial number are available.
No power
Ensure that the AC power plug of the unit is connected •
properly.
Ensure that there is power at the AC outlet. •
Insert the batteries with their polarities (+/– signs) aligned as •
indicated.
Replace the battery. •
Page 18

No sound
Adjust the volume. •
No response from the unit
Take out the batteries and turn on the unit again. •
Disconnect and reconnect the AC power plug, then turn on •
the unit again.
No disc detected
Insert a disc. •
Check if the disc is inserted upside down. •
Wait until the moisture condensation at the lens has cleared. •
Replace or clean the disc. •
Use a fi nalized CD or correct format disc. •
Poor radio reception
Increase the distance between the unit and your TV or VCR. •
Fully extend the FM antenna. •
Page 19
© 2010 Koninklijke Philips Electronics N.V.
All rights reserved.
AZ202_12_UM_V3.0
 Loading...