

Philips AquaTouch AT940, AquaTouch AT928, AquaTouch AT921, AquaTouch AT893, AquaTouch AT890 User Manual
...
AT940
AT928
AT921
AT893
AT890
AT752
AT750

1


AT940, AT928, AT921, AT893, AT890, AT752, AT750
ENGLISH 6
FRANÇAIS (CANADA) 23

6
Introduction
Congratulations on your purchase and welcome to
Philips! To fully benet from the support that Philips
offers, register your product at
www.philips.com/welcome.
Please read this user manual, as it contains
information about the wonderful features of this
shaver as well as some tips to make shaving easier
and more enjoyable.
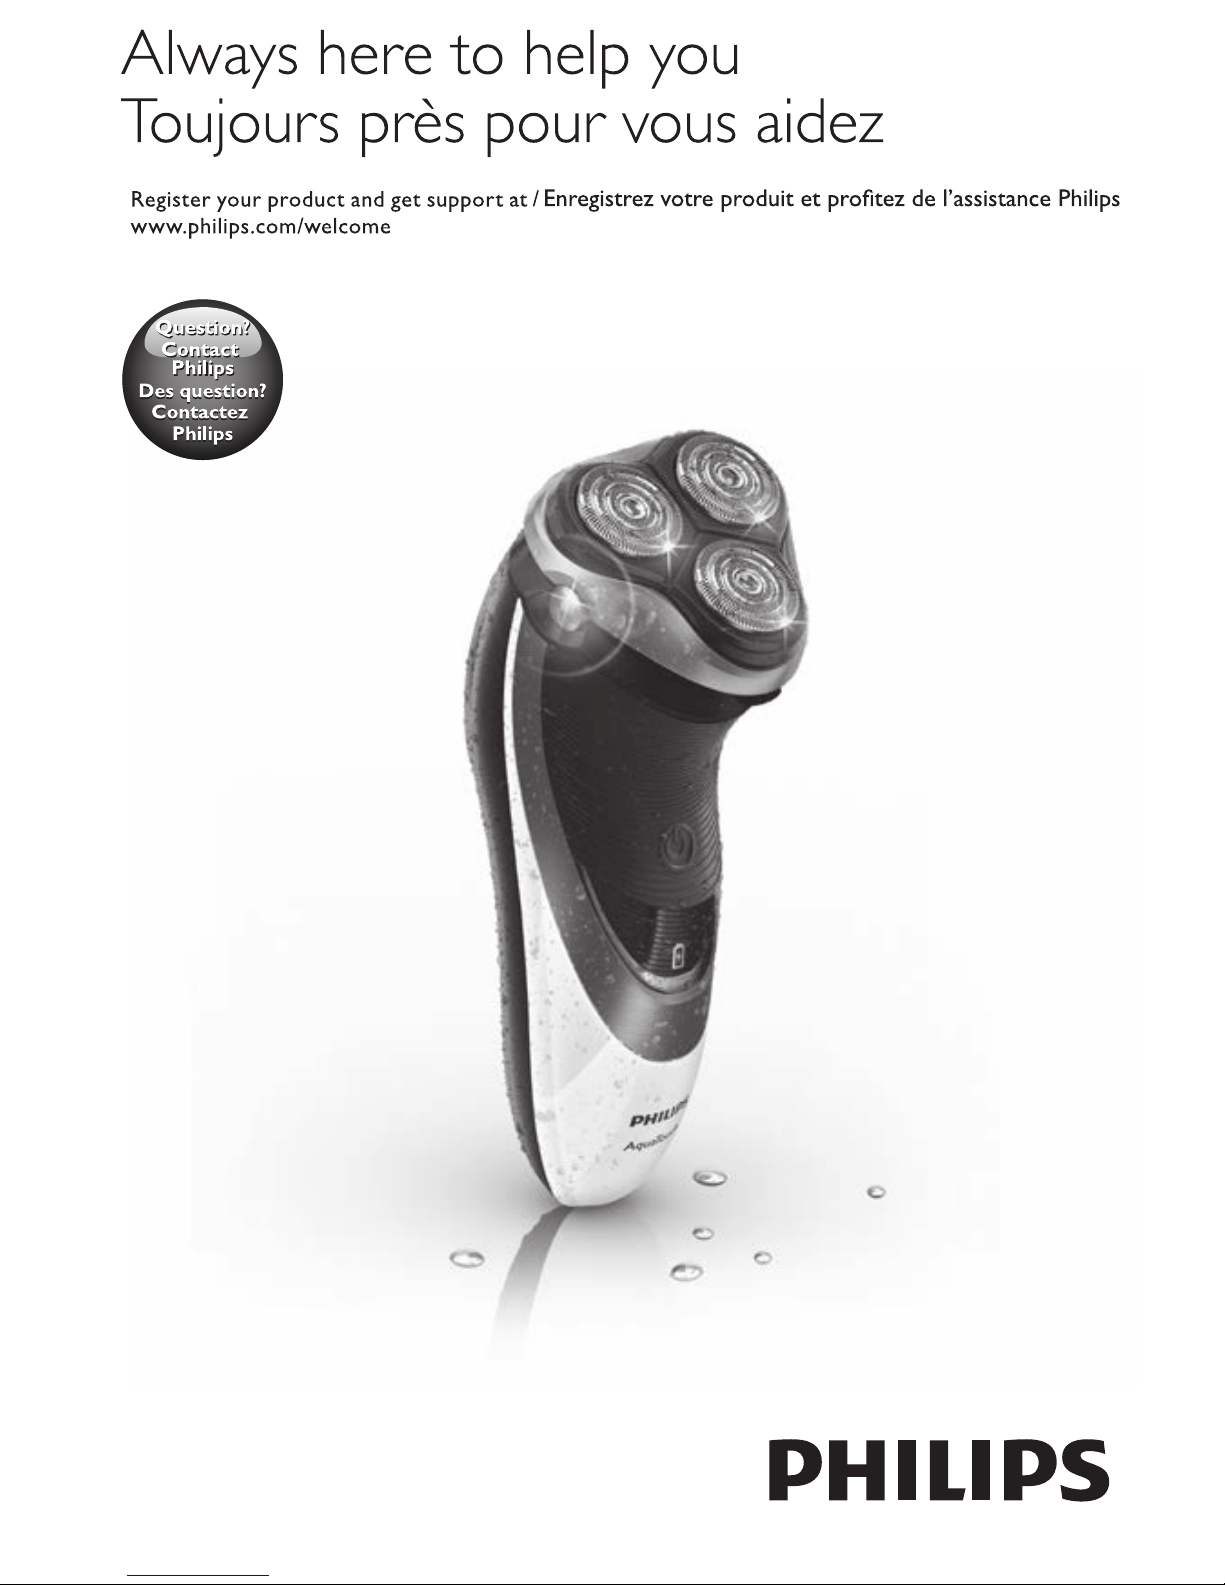
General description (Fig. 1)
1 Protection cap
2 Shaving unit
3 Shaving unit release button
4 Shaver on/off button (AT893/AT890/AT752/
AT750 only)
5 Shaving head symbol
6 Charging light (AT893/AT890/AT752/AT750
only)
7 Charging stand (AT940/AT928/AT921 only)
8 Cleaning brush
9 Pouch (AT940/AT928/ AT921/AT893/AT890 only)
10 Adapter
11 Battery symbol (AT940/AT928/AT921 only)
12 Shaving head symbol
13 Shaver on/off button (AT940/AT928/AT921 only)
14 Trimmer release slide (AT940/AT928/AT921/
AT893/AT890 only)
15
Trimmer (AT940/AT928/AT921/AT893/AT890 only)
Note: You can nd the type number on the back of the
shaver.
ENGLISH
Important
Read this important information carefully before you
use the shaver and the charging stand (specic types
only). Save this leaet for future reference.
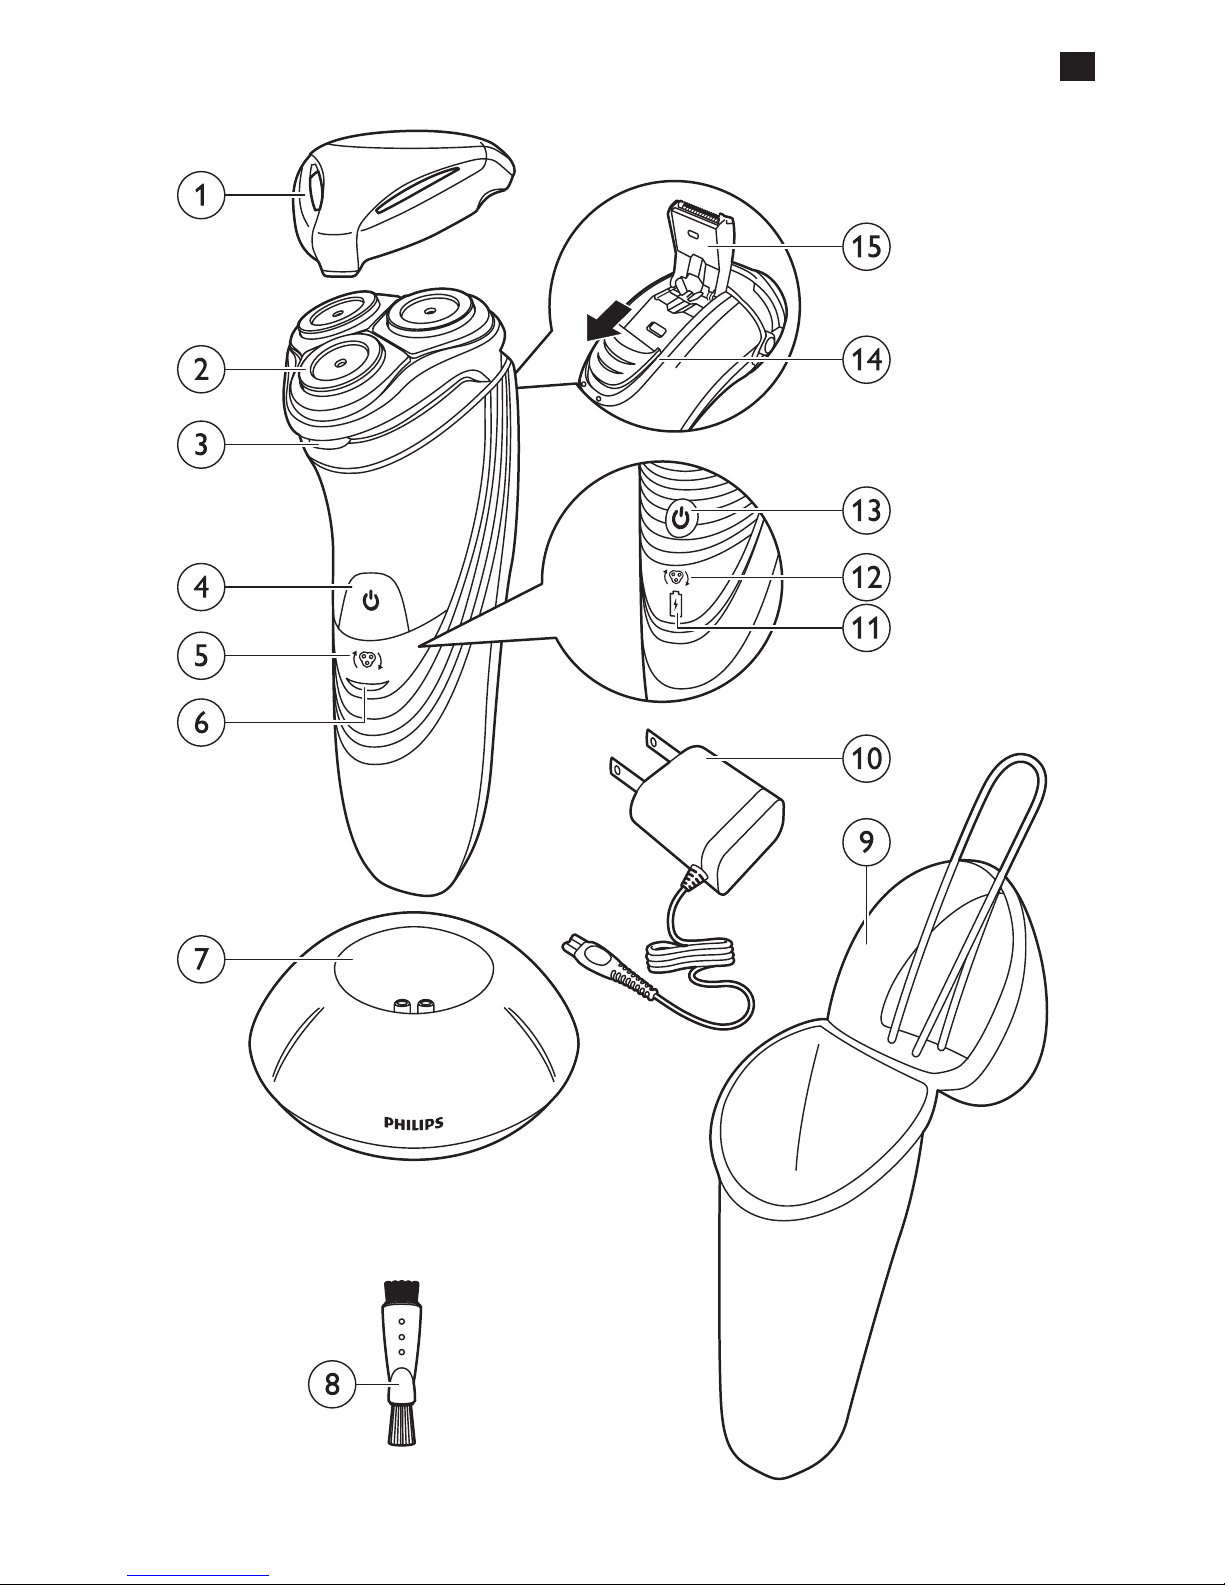
Danger
- Keep the adapter dry.
Warning
- The adapter contains a transformer. Do not cut
off the adapter to replace it with another plug,
as this causes a hazardous situation.
- The shaver and the charging stand can be used by
children from 8 years and above and persons with
reduced physical, sensory or mental capabilities,
or lack of experience and knowledge, unless
they have been given supervision or instruction
concerning use of the appliance in a safe way
and understand the hazards involved. Children
shall not play with the appliance. Cleaning and
maintenance shall not be made by children unless
they are older than 8 and supervised.
- Always unplug the shaver before you clean
it under the tap.
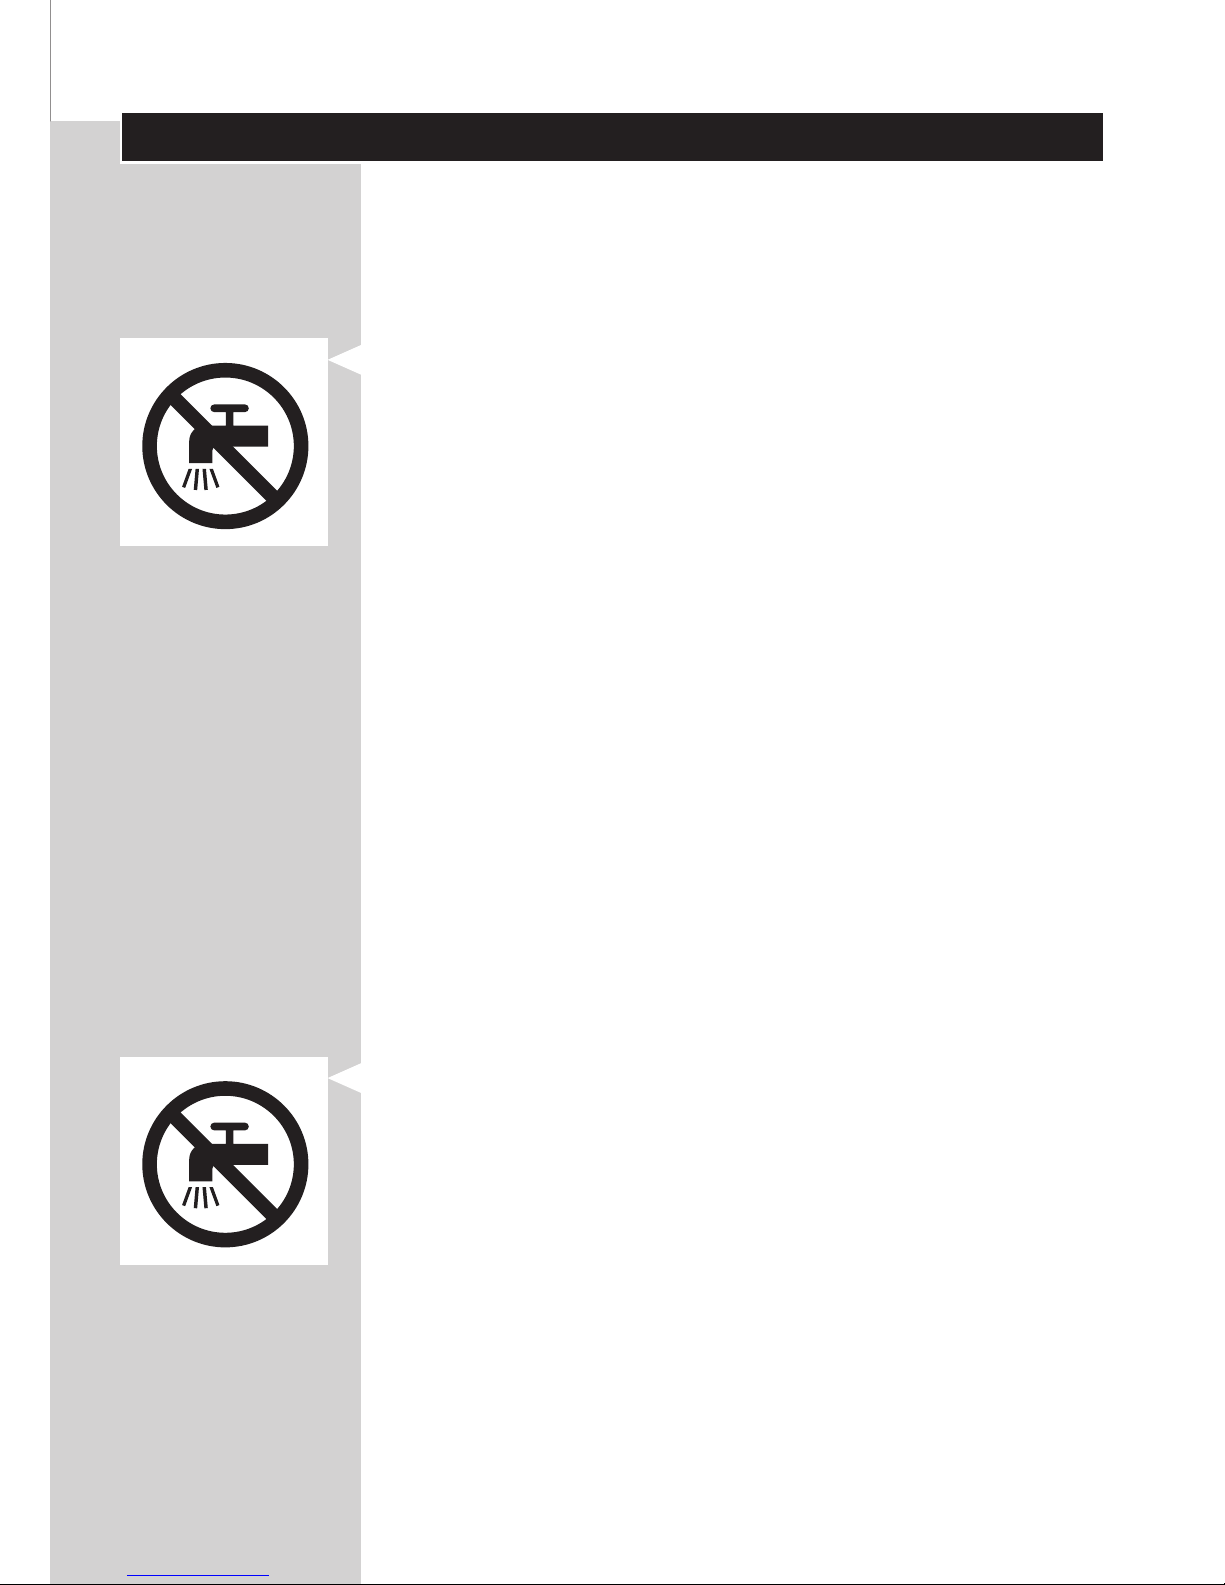
Caution
- Never immerse the charging stand in water nor
rinse it under the tap.
- Never use water hotter than 80°C to rinse
the shaver.
- Do not use the shaver, adapter, charging stand or
any other part if it is damaged, as this may cause
injury. Always replace a damaged adapter, charging
stand or part with one of the original type.
- Never use compressed air, scouring pads, abrasive
cleaning agents or aggressive liquids such as petrol
or acetone to clean the appliance.
ENGLISH 7

- Water may leak from the socket at the bottom
of the shaver when you rinse it. This is normal
and not dangerous because all electronics are
enclosed in a sealed power unit inside the shaver.
Compliance with standards
- This shaver is waterproof and complies with the
internationally approved safety regulations. It is
suitable for use in the bath or shower and for
cleaning under the tap. For safety reasons, the
shaver can therefore only be used cordlessly.
- The shaver complies with all applicable
standards and regulations regarding exposure to
electromagnetic elds.
General
- The adapter is equipped with an automatic
voltage selector and is suitable for mains voltages
ranging from 100 to 240 volts.
- The adapter transforms 100-240 volts to a safe
low voltage of less than 24 volts.
- Maximum noise level: Lc = 69dB(A)
Charging
Note: The shaver cannot be used directly from the
mains.
AT940/AT928/AT921/AT893/AT890: It takes approx.
1 hour to fully charge the shaver.
AT752/AT750: It takes approx. 8 hours to fully
charge the shaver.
A fully charged shaver provides up to 60 (AT940/
AT928/AT921), 50 (AT893/AT890) or 40 (AT752/
AT750) shaving minutes.
The shaving time may be less than expected as
a result of your shaving behaviour, your cleaning
habits or your beard type.
ENGLISH8
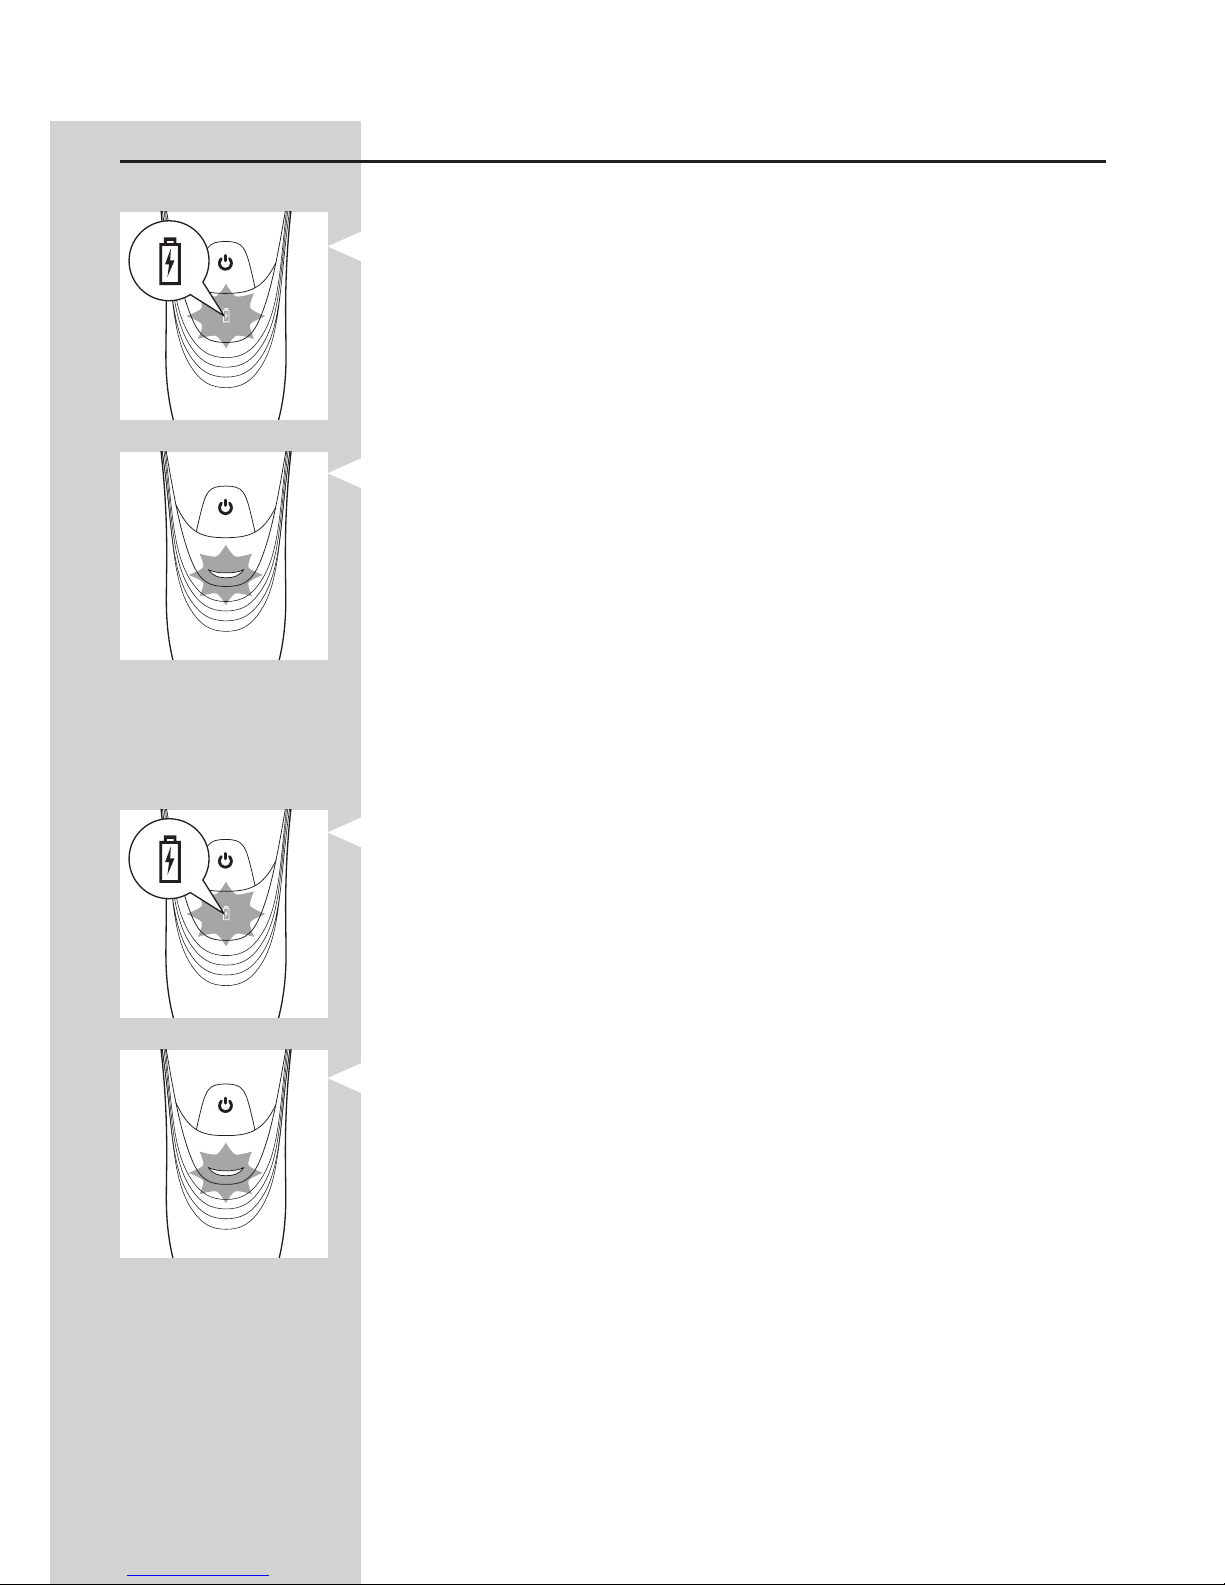
Charge indications
Battery low
- AT940/AT928/AT921: When the battery is almost
empty (when there are only 5 or fewer shaving
minutes left), the orange battery symbol starts to
ash. When you switch off the shaver, the orange
battery symbol continues to ash for a few
seconds.
- AT893/AT890/AT752/AT750: When the battery
is almost empty (when there are only 5 or fewer
shaving minutes left), the charging light starts to
ash orange. When you switch off the shaver,
the charging light continues to ash orange for a
few seconds.
Quick charging
(AT940/AT928/AT921/AT893/AT890 only)
- AT940/AT928/AT921: When you start charging
the empty battery, the battery symbol ashes
orange and white.
Note: When the battery symbol ashes white and
orange towards only white, you can have a quick shave
of three minutes.
- AT893/AT890: When you start charging the
empty battery, the charging light alternately ashes
orange and white.
Note: When the charging light ashes orange and
white towards only white, you can have a quick shave
of three minutes.
ENGLISH 9
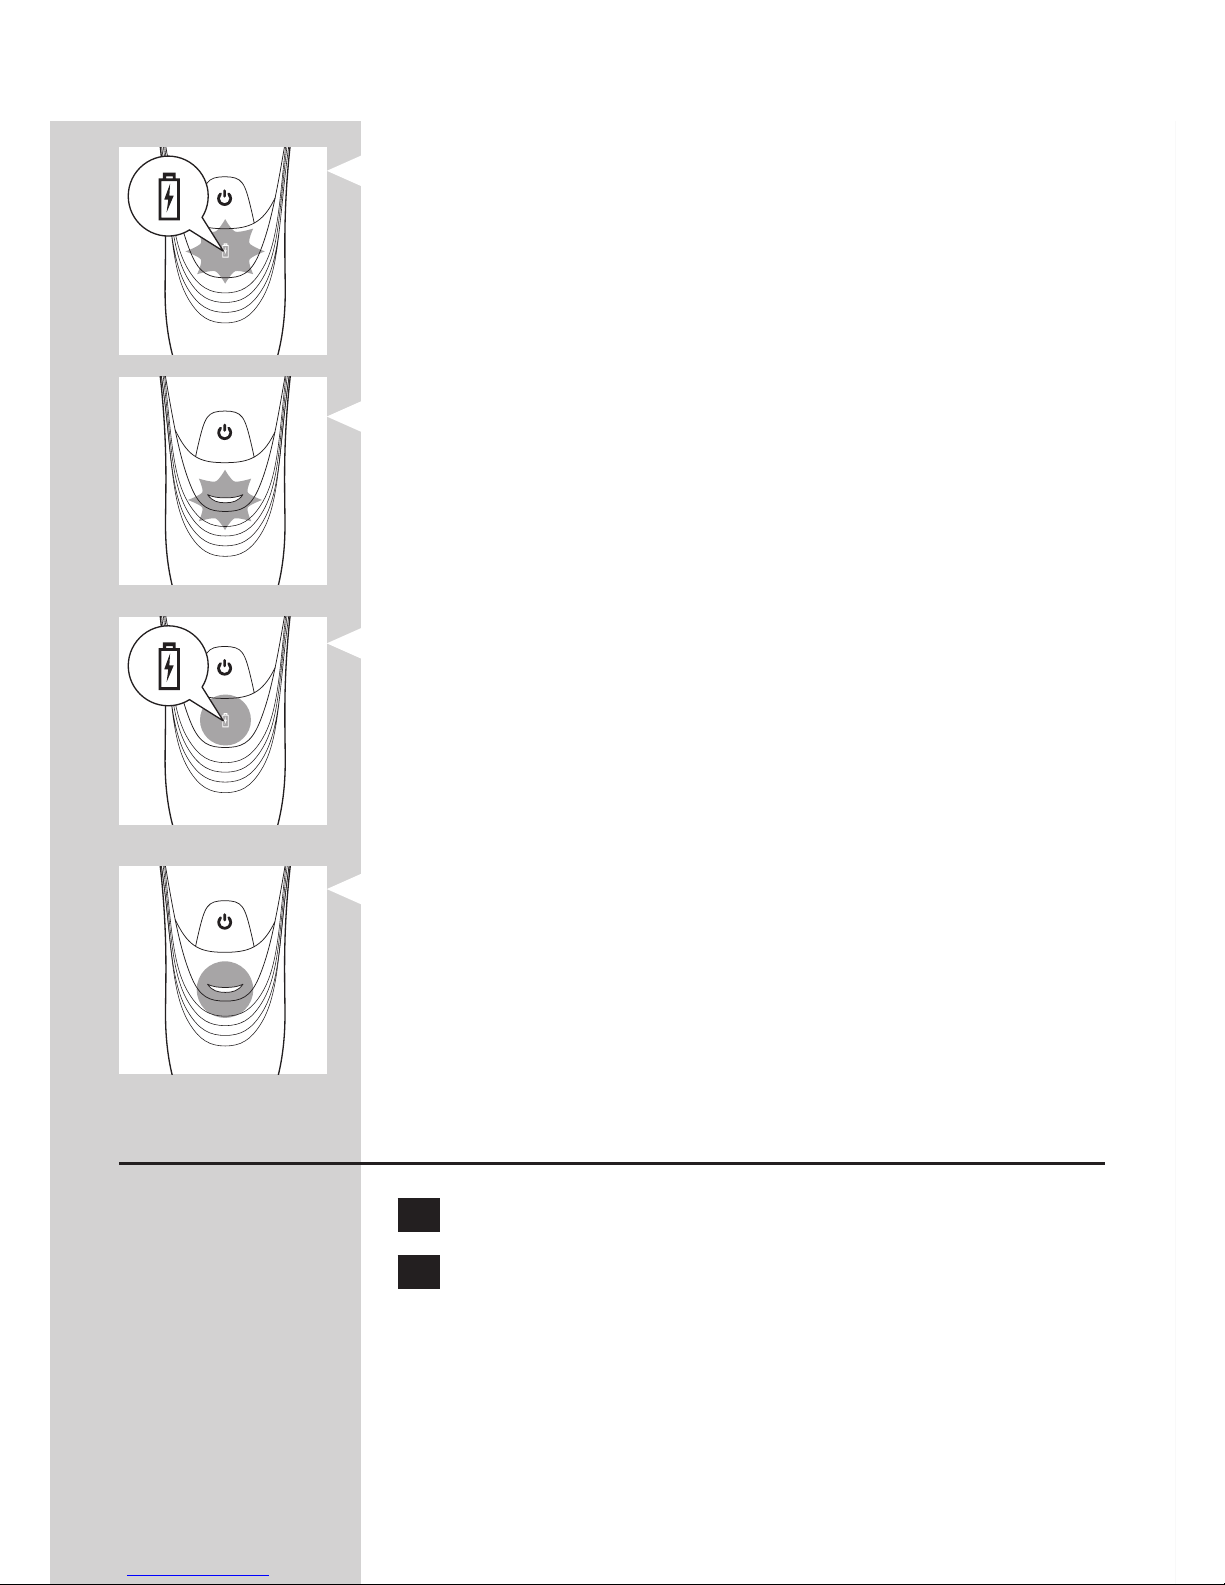
Charging
- AT940/AT928/AT921: When the shaver is
charging, the white battery symbol ashes.
- AT893/AT890/AT752/AT750: When the shaver is
charging, the charging light ashes white.
Battery fully charged
- AT940/AT928/AT921: When the battery is fully
charged, the white battery symbol lights up
continuously.
Note: After approx. 30 minutes, the battery symbol
goes out to save energy.
- AT893/AT890/AT752/AT750: When the battery
is fully charged, the charging light lights up green
continuously.
Note: After approx. 30 minutes, the charging light goes
out to save energy.
Charging with the adapter
1 Put the small plug in the shaver.
2 Put the adapter in the wall socket.
, The charging light shows the charging status of
the shaver (see section ‘Charge indications’
in this chapter).
ENGLISH10

Charging in the charging stand
(AT940/AT928/AT921 only)
1 Put the small plug in the charging stand.
2 Put the adapter in the wall socket.
3 Place the shaver in the charging stand.
, The charging light shows the charging status of
the shaver.
Using the shaver
Note: This shaver can be used in the bath or shower.
It can therefore not be used directly from the mains for
safety reasons.
Shaving tips and tricks
- This shaver is suitable for both wet and dry use.
Use the shaver with shaving gel or foam for extra skin
comfort, or use the shaver dry for extra convenience.
Note: We advise you to use the shaver with shaving gel
or foam when you use it for a wet shave. Do not use
thick shaving cream or shaving oil with this shaver.
- For optimal shaving results, make circular
movements during use.
- The shaver is waterproof and can be used in the
bath or shower.
- Your skin may need 2 or 3 weeks to get
accustomed to the Philips shaving system.
Wet shaving
1 Apply some water to your skin.
ENGLISH 11
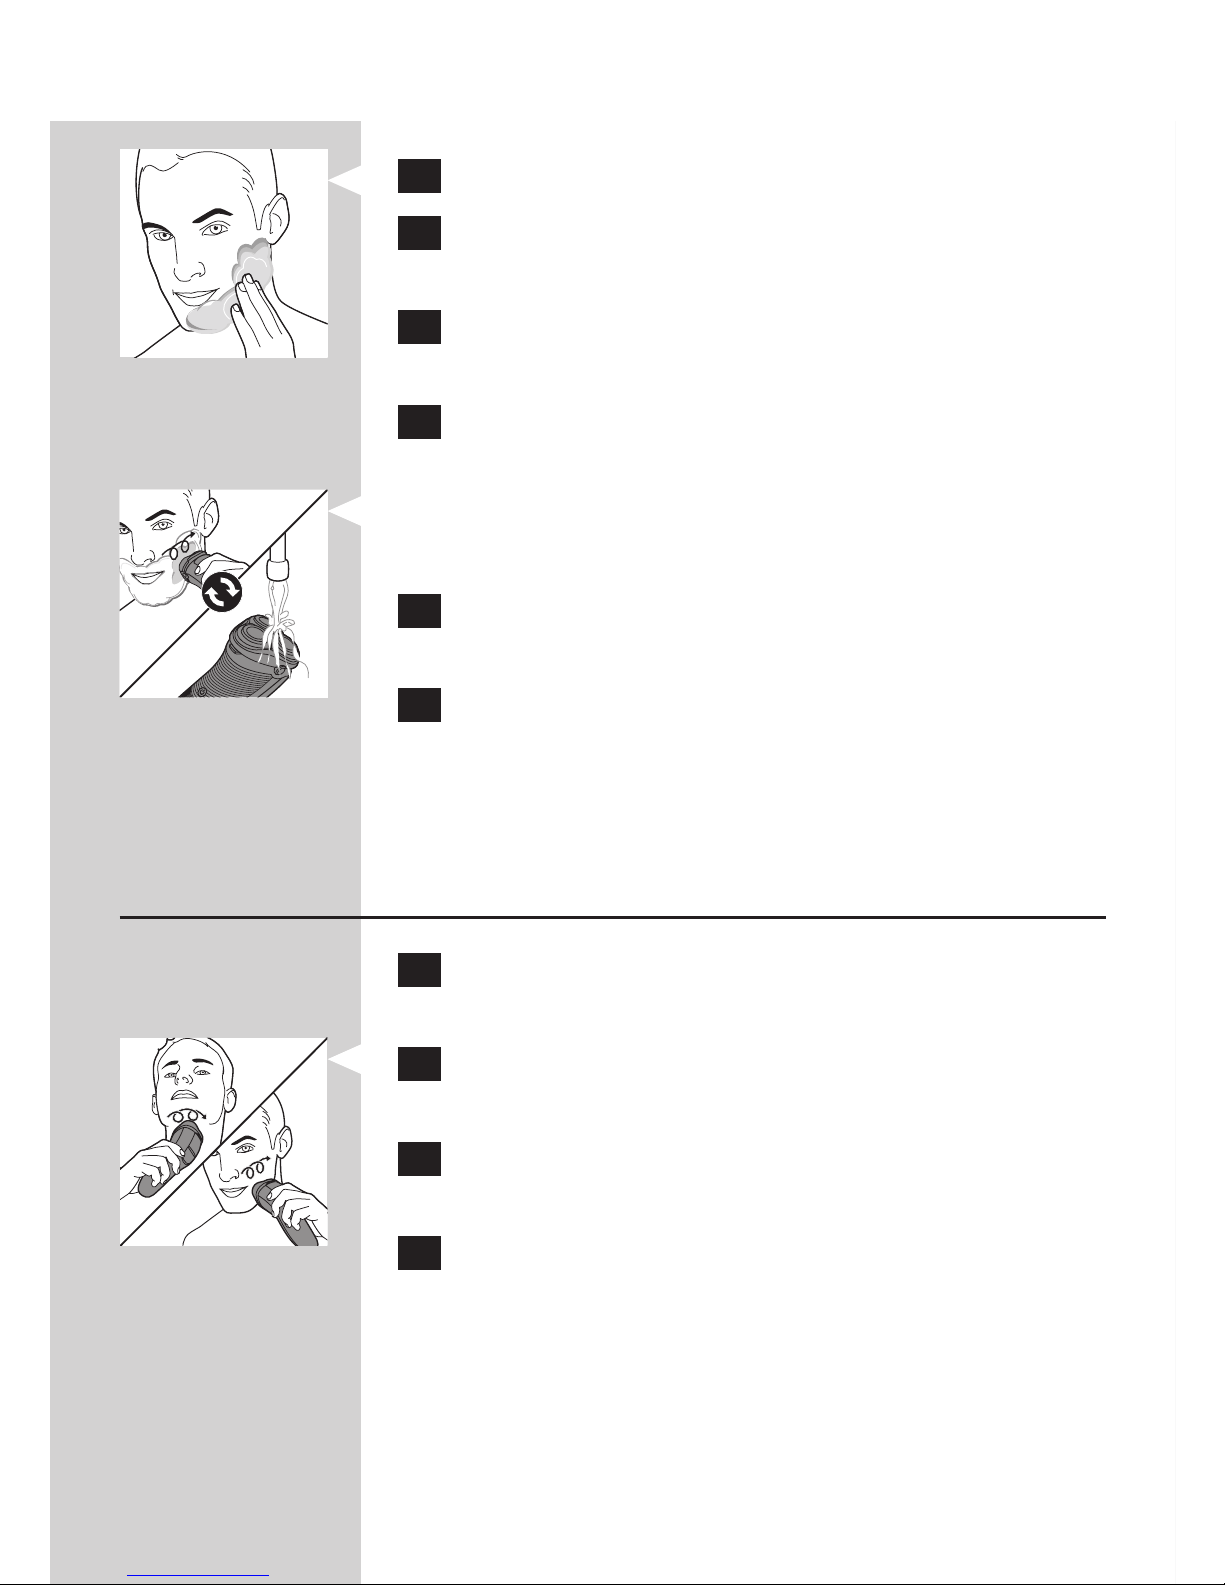
2 Apply shaving foam or shaving gel to your skin.
3
Rinse the shaving unit under the tap to ensure that
the shaving unit glides smoothly over your skin.
4 Press the on/off button once to switch on
the shaver.
5 Move the shaving heads in circular movements
over your skin.
Note: Rinse the shaver under the tap regularly to ensure
that it continues to glide smoothly over your skin.
6 After shaving, press the on/off button once to
switch off the shaver and dry your face.
7 Clean the shaver (see chapter ‘Cleaning and
maintenance’).
Note: Make sure you rinse all foam or shaving gel off
the shaver.
Dry shaving
1 Press the on/off button once to switch on the
shaver.
2 Move the shaving heads in circular movements
over your skin.
3 After shaving, press the on/off button once to
switch off the shaver.
4 Clean the shaver (see chapter ‘Cleaning and
maintenance’).
ENGLISH12
Trimming
(AT940/AT928/AT921/AT893/AT890 only)
You can use the trimmer to groom your sideburns
and moustache.
1 Push the trimmer slide downwards to open
the trimmer.
2 Press the on/off button once to switch on the
shaver.
, You can now start trimming.
3 After trimming, press the on/off button once to
switch off the shaver.
4 Clean the trimmer (see chapter ‘Cleaning and
maintenance’).
5 Close the trimmer (‘click’).
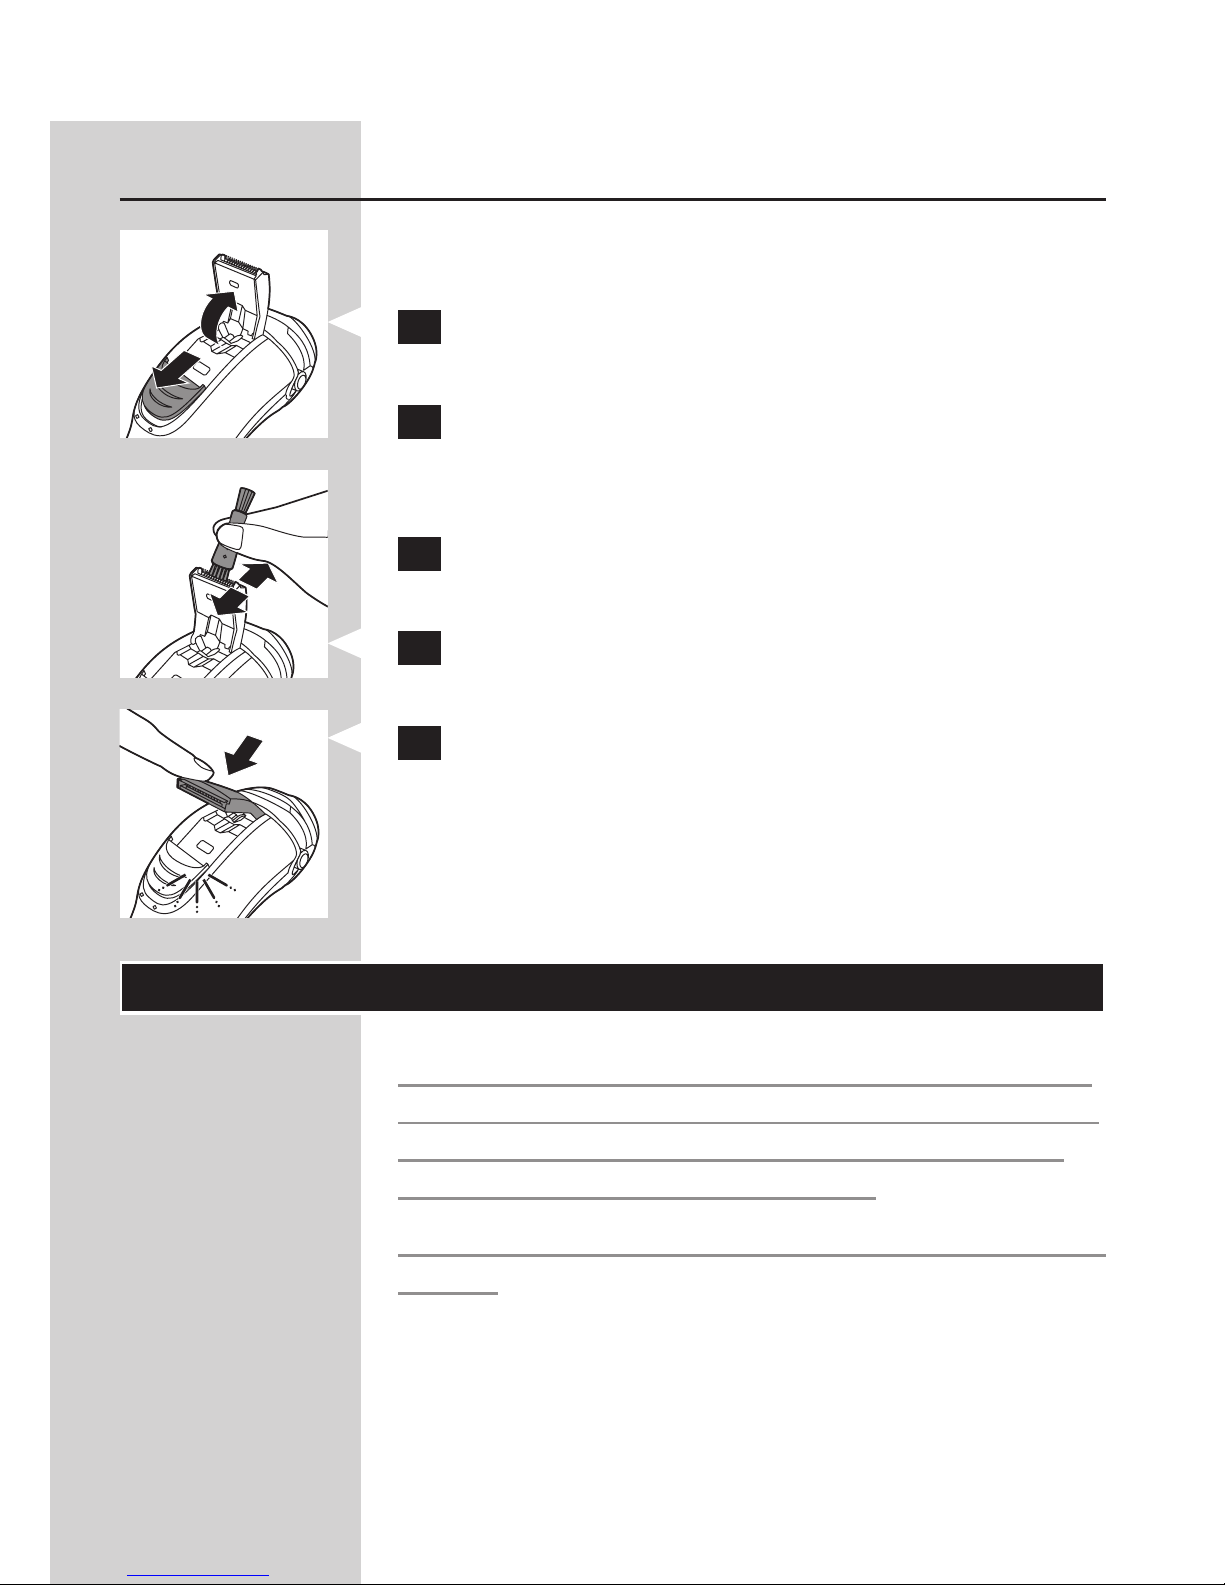
Cleaning and maintenance
Never use compressed air, scouring pads, abrasive
cleaning agents or aggressive liquids such as petrol
or acetone to clean the shaver and the charging
stand (AT940/AT928/AT921 only).
Always unplug the shaver before you clean it under
the tap.
- Clean the shaver after every shave for optimal
shaving performance.
- Regular cleaning guarantees better shaving
performance.
- For the best cleaning results, we advise you to use
the Philips Cleaning spray (HQ110).
ENGLISH 13
 Loading...