

Page 1
PHILIPS
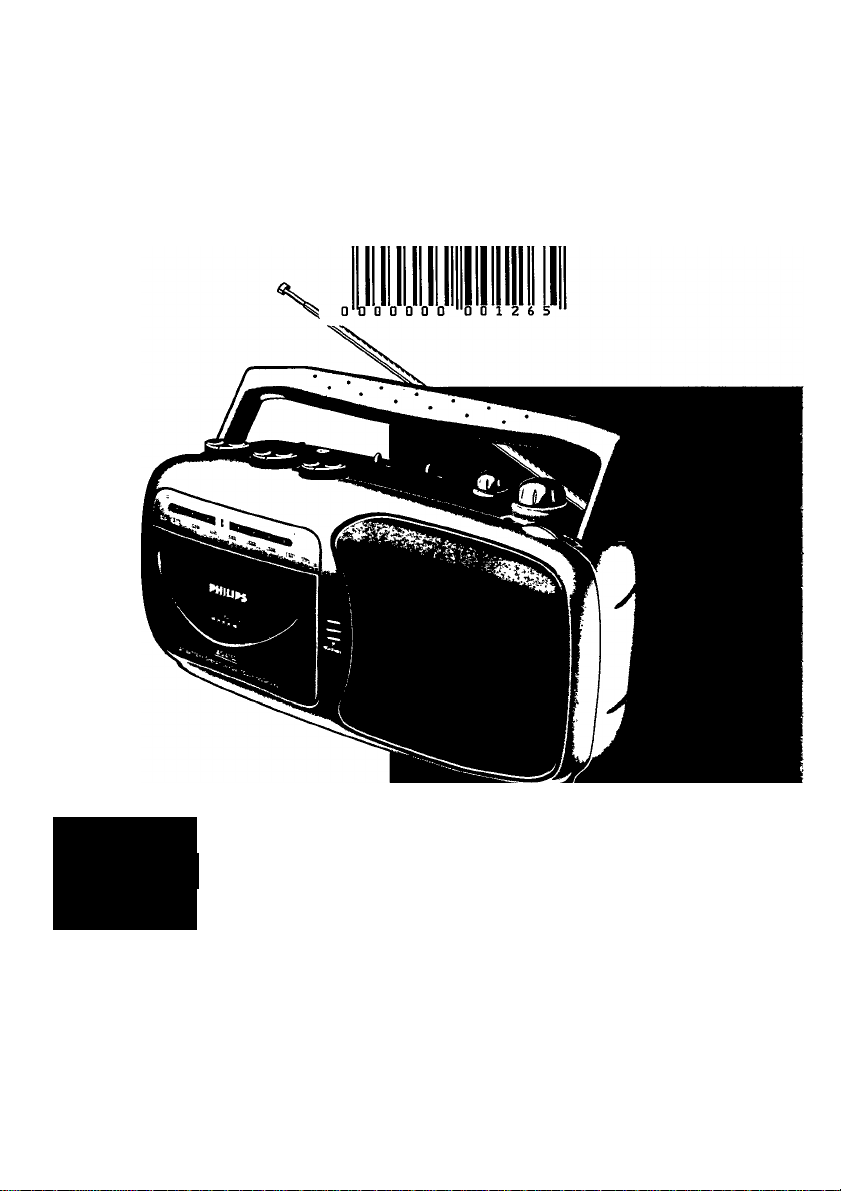
AQ 4150 Radio Cassette Recorder
. oi co
y
%
S M DIGITAL ^
ì \
(olDii /
A DiOITALAUOK) O
Page 2

Page 3

INDEX
/
English.........................
V
)
/ -s
Français...................................................................s
l
J
/
-N
Español
V
J
/ \
Deutsch
V
J
f \
Nederlands
_____________________________________
-------------------------------------------------------------------------------------------------------
......................
......................
................
12
16
20
Italiano........................24
V
____________________________________________________________y
-------------------------------------------------------------------------------------------------------
Portugûes
\
J
/ \
Dansk
V
J
-------------------------------------------------------------------------------------------------------
..................
.........................
28
32
Svenska......................36
____________________________________________________________ y
r \
Suomi
\
J
/ \
.........................
40
'EAAnviKÓ...................................................44
V J
/
w
5
*0)
B
LU
V
/
Jû
‘5
s
(3
ka
LU
\
/
"5
IB
CQ
n.
CO
LU
\
_________
/
Æ
Ü
C/ )
s
0)
0
\
/ CO
•B
B
JC
0)
•B
B
Lz
________
J
—
0
B
2
"te
\
_________
{
CO
B
<s
B)
3
c
0
lû-
r
-------------
---
(/3
B
(C
0
\
-
--------------
(C
.2d
</)
B
B
>
CO
V
__ __ _ __ _ __
--
-------------
.
E
0
3
CO
's
Í
2d
>
-<
Page 4

(D España
Declaración de conformidad con normas
El que suscribe, en nombre y representación de;
Business Unit Portable Audio,
Division of Philips China
Hong Kong Group Company Ltd.
declara, bajo su propia responsabilidad, que el
equipo; Radio casete
fabricado por; BUPA Hong Kong
en: Far East
marca: Philips
modelos: AQ4150
objeto de esta declaración, cumple con la normativa
siguiente: Reglamento sobre Perturbaciones Radioeléctricas, Real Decreto 138/1989, Anexo V.
Hecho en: Hong Kong, 01-12-1994
Firma;
(DK) Danmark
Typeskiltet er piacerei pà apparatens bagside
Dette produkt overholder kravene til radio-
interferens af Europaeisk Fsellesskab.
Bemaerk: Netafbryderen er sekundccrt inkob-
let og afbryder ikke strommen fra nettet. Den
indbyggede netdel er derfor tilsluttet til lysnettet sa laenge netstikket sidder i stikkontakten.
® Norge
Typeskilt finnes pà apparatens bakside.
Observen Nettbryteren er sekundert
innkoplet. Den innebygde netdeien er derfor
ikke frakoplet nettet sa lenge apparatet er
tilsluttet nettkontakten.
Nombre.
Cargo
Important notes for users in the U.K.:
Mains plug
This apparatus is fitted with an approved moulded 13 Amp plug To change a fuse in this type of
plug proceed as follows
• Remove fuse cover and fuse.
• Fi;; new fuse (5 Amp) which should be a BS1362, A S T A or BSI
approved type.
• Refit the fuse cover.
If the fitted plug is not suitable for your socket outlets, it should bo cut off
and an appropriate plug fitted in its place
If the mams plug contains a fuse, this should have a value of 5 Amp. If a
plug without a fuse is used, the fuse at the distribution board should not be
greater than 3 Amp
Afofe.'The severed plug must be disposed to avoid a possible shock hazard should it be inserted
into a 13 Amp socket elsewhere.
How to connect a plug
The wires in the mams lead are coloured with the following code blue = neutral (W), brown =
live (U
As these colours may not correspond with the colour markings identitymg the terminals in youi
plug, proceed as follows
• Connect the blue wire to the terminal marked M or coloured black
• Connect the brown wire to the terminal marired L or coloured nad
• Do not connect either wire to the earth terminal m the plug, marked E (or e) or colouied green
(or green and yellow)
Before replacing the plug cover, make certain that the cord grip is clamped over the sheath of
the lead - not simply over the two wires
Copyright:
Recording and playback of material may require consent. See Copyright Act 1956 and The Per
former's Protection Acts 1958 to 1972
C.S. Lau
Quality Manager
Page 5

Installation
TAPE/RADIO
HEADPHONES ri
CASSETTE KEYS
MICROPHONE
SUPPLY
Battery supply
• Open the battery compartment and insert as
indicated four batteries, type R20, UM1 or
D-cells.
_ BATTERY
COMPARTMENT
Mains supply
• Check if the mains voltage as shown on the
model number plate (on the base of the set)
corresponds to your local mains voltage. If it
does not, consult your dealer or service
organisation.
• If the set is equipped with a VOLTAGE
SELECTOR, set this selector to the local
mains voltage.
Remove the batteries if exhausted or if they
will not be used again for a long period.
The battery supply is switched off when the
set is connected to the mains. To change
over to battery supply, pull out the plug from
the MAINS socket.
VOLTAGE
MAINS
IP d©
Connect the mains lead to the MAINS
socket and the wall socket. The mains
supply is switched on. To disconnect the set
from the mains completely, withdraw the
mains plug from the wall socket.
The model number and production number are
located on the base of the set.
This product complies with the radio
interference requirements of the European
Community.
Page 6

Cassette
CASSETTE RECORDER
Copyright
Recording is permissible insofar as copyright
or other rights of third parties are not infringed.
Fast winding and rewinding
Press fast forward wind F.FWD ■« or
REWIND ►>• button. To stop, press STOP ■.
Safeguarding a cassette against erasure
Keep the cassette side to be
safeguarded in front of you and
break out the left tab.
Now, recording on this side is no
longer possible.
CASSETTE PLAYBACK
Set the TAPE/RADIO selector to TAPE.
Press EJECT ■ and insert a cassette.
For playback, any cassette type can be
inserted.
To start playback, press PLAY ◄.
Adjust the sound with the controls VOLUME
and TONE.
You may connect stereo headphones with
3.5 mm plug to socket O. The loudspeaker is
then muted.
To stop, press STOP ■. The set is then
switched off. On pressing again, the
cassette holder will open (EJECT).
When the end of the tape is reached, the
recorder buttons are released.
L/>« ♦ -aJ
RECORDING
• Press EJECT ■ to open the cassette holder.
• Insert the cassette.
• For recording you must use a
NORMAL cassette (lEC I) on
which the tabs are not removed.
- At the very beginning of the
tape, no recording will take place during the
first 7 seconds when the leader tape passes
the recorder heads,
• When monitoring during recording, adjust
the sound with the controls VOLUME and
TONE. These controls do not affect the
recording.
Recording from the radio
• Set the TAPE/RADIO selector to RADIO,
Microphone recording
• Set the TAPE/RADIO selector to TAPE,
• Set the VOLUME control to zero (during
microphone recordings, monitoring is not
possible).
Starting and stopping the recording
• To start recording, press RECORD •; in
doing so, PLAY < is pressed too.
• For brief interruptions, press PAUSE II.
Press again to restart recording.
• To stop, press STOP ■. On pressing again,
the cassette holder will open (EJECT).
- When the end of the tape is reached, the
recorder buttons are released.
• The set is switched off if TAPE/RADIO
selector is in position TAPE and the recorder
buttons are released.
Page 7

Radio/Generai
RADIO RECEPTION
Set the TAPE/RADIO selector to RADIO.
Adjust the sound with the controls VOLUME
and TONE.
You may connect stereo headphones with
3 5 mm plug to socket O. The loudspeaker
IS then muted.
Select the wave band using BAND selector.
Tune to a radio station using TUNING knob.
(SW and LW not on all versions).
For FM, pull out the telescopic aerial. To
improve FM-reception, incline and turn the
aerial. Reduce its length if the FM-signal is
too strong (very close to a transmitter).
For AM/MW and LW (Medium and Long
Wave), the set is provided with a built-in
aerial, so there is no need to use the
telescopic aerial. The aerial can be directed
by turning the whole set.
For Short Wave (SW), the telescopic aerial
must be pulled out and placed in the vertical
position. To improve SW-reception, vary the
length of the aerial.
The set is switched off if the TAPE/RADIO
selector is in position TAPE and the recorder
buttons are released.
MAINTENANCE
Clean the parts indicated after every 50 hours
of operation or, on average, once a month.
Troubleshooting
If a fault occurs, first check the points listed
below before taking the set for repair. If you
are unable to remedy a problem by following
these hints, consult your dealer or service
centre.
Warning: Under no circomstances should you
try to repair the set yourself, as this would
invalidate the guarantee
PROBLEM
- POSSIBLE CAUSE
• REMEDY
No sound
- VOLUME is not adjusted
• Adjust the VOLUME
- Headphones are connected
• Disconnect the headphones
- Batteries are exhausted
• Insert fresh batteries
- Batteries are incorrectly inserted
• Insert the batteries correctly
- Mains lead is not securely connected
• Connect the mains lead properly
Broadcast cannot be received
- Insufficient antenna Input
• Rotate telescopic antenna (FM) or set (AM)
for best reception
_____________
EJECT«.
• Use a cotton bud slightly moistened with
alcohol or a special head cleaning fluid.
• Press PLAY -<and clean the rubber pressure
roller (D).
• Then press PAUSE II and clean the capstan
©, recording/playback head ® and erase
head ®.
• After cleaning, press STOP «.
Cleaning of the heads (a) and ® can also be
done by playing a cleaning cassette through
once.
Do not expose the set, batteries and cassettes
to rain, moisture, sand, or to excessive heat
e.g. from heating equipment or in motor cars
parked in the sun.
poor radio reception
Weak radio aerial signal
Aim the aerial for best reception:
- FM: incline and rotate telescopic aerial
- AM (MW/LW): rotate the entire set
Interference caused by the vicinity of
electrical equipment
Keep the set away from electrical
equipment
Poor cassette sound quality
- Dust and dirt on the heads, capstan or
* *
pressure roller
• Clean the heads etc. See maintenance
Recording does not work
- Cassette tab is) may be removed
____________
* Apply a piece of adhesive tape over the
missing tab space
Page 8

NOTES
48
Page 9

49
Page 10

Philips AQ 4150 Radio Cassette Recorder
\
/ \
m
3
co
English.........................5
3*
s --
/
X
/ \
■ n
3
3
Français
vO
3
w*
J
✓ \
\
m
c/}
T3
3
Español
31
)
V J
\
/ \
a
3
B
Deutsch
co
C9
3"
V )
/ \
\
2
3
n.
3
Nederlands.................20
3*
3
cs. )
V J
\
/ \
SL
Italiano........................24
3*
3
o
»s J
/
N
/ \
■ o
o
3.
B
CB
Portugués
B>
3
w J
\ J
/ \
o
3
3
Dansk
(/}
?r
J
\
/ \
co
<
3
3
Svenska......................se
(/}
3
. J
J
\
/ \
co
B
o
Suomi
3.
\ J
/
» \
/ \
m
>
>'
<
EAAnviKÓ
3
Û' J
V J
.......................
......................
......................
..................
.........................
.........................
.........................
8
12
16
28
32
40
44
Printed in Hong Kong
TC Text/JW/9509
 Loading...