

Page 1

AJL308Clock Radio
Thank you for choosing Philips.
Need help fast?
Read your Quick Start Guide and/or
User Manual first for quick tips
that make using your Philips product
more enjoyable.
If you have read your instructions
and still need assistance,
you may access our online help at
www.philips.com/welcome
Philips vous remercie de
votre confiance.
Besoin d'une aide
rapide?
Le Guide rapide de début et Manuel de
l'utilisateur regorgent d'astuces destinées à
simplifier l'utilisation de votre produit Philips.
Toutefois, si vous ne parvenez pas à résoudre
votre probléme, vous pouvez accéder à
notre aide en ligne à l'adresse
www.philips.com/welcome
Gracias por escoger Philips
Necesita ayuda
inmediata?
Lea primero la Guía rápida del comienzo
o el Manual del usuario, en donde encontrará
consejos que le ayudarán a disfrutar
plenamente de su producto Philips.
Si después de leerlo aún necesita ayuda,
consulte nuestro servicio de
asistencia en línea en
www.philips.com/welcome
Register your product and get support at
www.philips.com/welcome
PHILIPS CONSUMER ELECTRONICS COMPANY
Marietta, GA 30006-0026, U.S.A.
Meet Philips at the Internet
http://www.philips.com
W
AJL308
Printed in China PDCC-JH-0737
Page 2
Return your Product Registration Card or register online at
www.philips.com/welcome today to get the very most from your purchase.
Registering your model with PHILIPS makes you eligible for all of the valuable benefits listed below, so
don't miss out. Complete and return your Product Registration Card at once, or register online at
www.philips.com/welcome to ensure:
*Proof of Purchase
Returning the enclosed card
guarantees that your date of
purchase will be on file, so no
additional paperwork will be
required from you to obtain
warrranty service.
*Product Safety
Notification
By registering your product,
you'll receive notification directly from the manufacturer
- in the rare case of a product
recall or safety defect.
*Additional Benefits
Registering your product guarantees that you'll receive all of
the privileges to which you're
entitled, including special
money-saving offers.
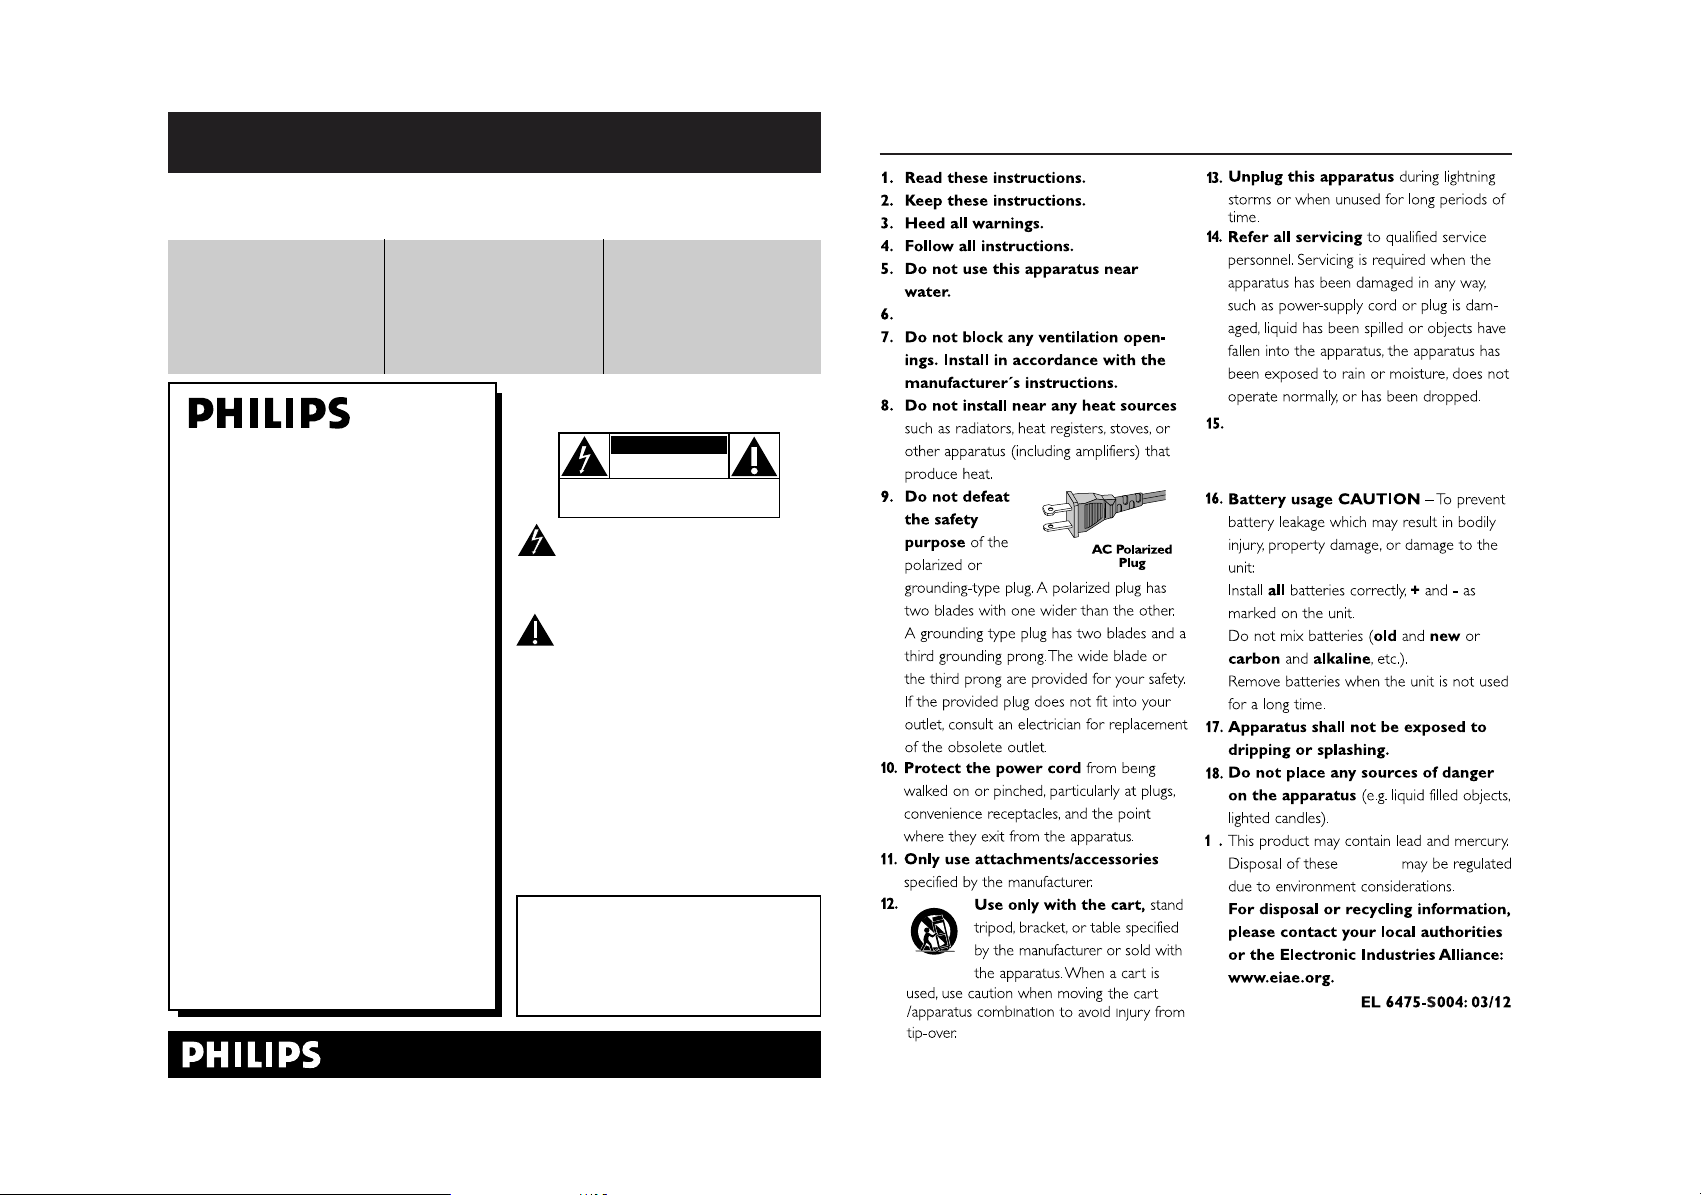
Know these
safetysymbols
Congratulations on your purchase,
and welcome to the “family!”
Dear PHILIPS product owner:
Thank you for your confidence in PHILIPS.
Yo u’ve selected one of the best-built, bestbacked products available today.We’ll do
everything in our power to keep you happy
with your purchase for many years to come.
As a member of the PHILIPS “family,” you’re
entitled to protection by one of the most
comprehensive warranties and outstanding
service networks in the industry.What’s
more, your purchase guarantees you’ll
receive all the information and special offers
for which you qualify, plus easy access to
accessories from our convenient home
shopping network.
Most importantly, you can count on our
uncompromising commitment to your total
satisfaction.
All of this is our way of saying welcome and thanks for investing in a PHILIPS product.
P. S. To get the most from your PHILIPS
purchase, be sure to complete and
return your Product Registration Card
at once, or register online at:
www.philips.com/welcome
cause an electrical shock. For the safety of
everyone in your household, please do not
remove product covering.
the enclosed literature closely to prevent
operating and maintenance problems.
WARNING:To r educe the risk of fire or
electric shock, this apparatus should not be
exposed to rain or moisture and objects
filled with liquids, such as vases, should not
be placed on this apparatus.
CAUTION: To prevent electric shock, match
wide blade of plug to wide slot, fully insert.
ATTENTION:Pour éviter les choc électriques, introduire la lame la plus large de la
fiche dans la borne correspondante de la
prise et pousser jusqu’au fond.
Enter below the Serial No. which is located
on the rear of the cabinet. Retain this
information for future reference.
Model No. __________________________
Serial No. __________________________
CAUTION
RISK OF ELECTRIC SHOCK
CAUTION: TO REDUCE THE RISK OF ELECTRIC SHOCK, DO NOT
REMOVE COVER (OR BACK). NO USER-SERVICEABLE PARTS
INSIDE. REFER SERVICING TO QUALIFIED SERVICE PERSONNEL.
This “bolt of lightning” indicates uninsulated material within your unit may
The “exclamation point” calls attention
to features for which you should read
DO NOT OPEN
For Customer Use
IMPORTANT SAFETY INSTRUCTIONS
Clean only with dry cloth.
Where the MAINS plug or an appliance
coupler is used as the disconnet device,
the disconnet device shall remain
readily operable.
9
materials
Visit our World Wide Web Site at http://www.philips.com/welcome
Page 3

1
English Controls
Supplied accessory
– 1 X certified power adapter
(Input: 100-240V ~50/60Hz 0.3A~0.4A,
Output: 9V 1A)
Controls (see 1 )
1 MENU
– switches to menu setting
2 CLOCK
– switches to clock mode
3 TUNER
– switches to tuner mode
4 PHOTO/VIDEO
– switches between photo and video mode
5 MUSIC
– switches to music mode
$ OK, 3,4,2,1
Mode
Button
OK
3
4
Clock
**Enlarge a picture in zoom mode
-Select previous photo
-Navigate in
zoom mode
- Select next
photo
-Navigate in
zoom mode
Tu r n on or off
radio
-Select a radio
station
-Select a preset
number in
program mode
-Select a radio
station
-Select a preset
number in
program mode
Tuner Music Photo Video
6 SLEEP
– sets, activates or deactivates sleep function
7 ALARM 1/ALARM 2
– sets, activates or deactivates alarm
8 REPEAT ALARM/BRIGHTNESS
CONTROL
– repeats alarm in 9-minute interval
– adjusts brightness of LCD screen
9 VOLUME
– adjusts volume level
0 DC IN
socket for DC 9V adaptor
–
! SD/MMC slot
– connects to SD or MMC card
@ USB port
– connects to USB device
# Pigtail – FM antenna to improve reception.
Start or pause
playback
-Select Repeat
One/All or
shuffle mode
-Cancel play
mode
-Select Repeat
One/All or
shuffle mode
-Cancel play
mode
Display a picture
in a full screen
-Rotate a pic-
o
clock-
ture 90
wise
-Navigate in
thumbnail pictures
-Rotate a picture 90oanti
clockwise
-Navigate in
thumbnail pictures
Start or pause
playback
-Switch between
16:9 and 4:3
screen ratio
*- Selects audio
language
-Select Repeat
One/All mode
-Cancel play
mode
*- Selects
subtitle language
- Select next
photo
2
1
* = press and hold
** = in clock mode, press and hold CLOCK button to enter zoom mode
-Navigate in
zoom mode
-Select previous photo
-Navigate in
zoom mode
-Fine tune to a
station
*-Tune to a radio
station
-Fine tune to a
station
*-Tune to a radio
station
-Select next
music file
*-Fast forward
playback
-Select previ-
ous music file
*-Fast reverse
playback
-Select next
photo
-Navigate in
thumbnail pictures
-Select previous
photo
-Navigate in
thumbnail pictures
-Select next
video file
*-Fast forward
playback
-Select previous
video file
*-Fast reverse
playback
Page 4

Power supply/Basic operation
Alarm
Digital tuner
Power supply
1 Connect the supplied power adapter to the
set's DC 9V socket and to the power socket.
Helpful hints:
To avoid damage to the set, use only the
adapter supplied!
The type plate is located on the bottom
of the set.
Setting OSD (On Screen
Display) language
1 Press MENU.
➜The menu appears.
2 Press 12to highlight “General”.
3 Press 4 to highlight “Language”.
4 Press 12to select desired language.
5 After finishing the setting, press CLOCK,
TUNER, PHOTO/VIDEO or MUSIC to
exit the setup menu.
Setting time and date
1 Press CLOCK.
2 Use MENU.
3 Use 3 4 1 2 to select a field of “Time Set”
and “Date (Year-Month-Day)”.
4 Press OK to confirm.
5 Press or hold down 3 4 to set the values.
6 Press OK to confirm.
7 Repeat Steps 3-6 to set other values of
“Time Set and “Date (Year-Month-Day)”.
8 After finishing the setting, press CLOCK,
TUNER, PHOTO/VIDEO or MUSIC to
exit the setup menu.
To change time format
1 In the Clock menu, press 3 4 to select the
value of “12/24 Hour Format”.
2 Press 12 to toggle between 12H and 24H.
Note:
When the set is disconnected from the power
outlet for about 5 minutes, you need to reset the
time and date.
Setting and activating alarm
You can set two different alarm times.
1 Press CLOCK.
2 Press and hold ALARM 1 or ALARM 2.
➜The hour digits flash.
3 Press or hold down 3 4 to set hour.
4 Press ALARM 1 or ALARM 2 to confirm.
➜The minute digits flash.
5 Press or hold down 3 4 to set minute.
6 Press ALARM 1 or ALARM 2 to confirm.
7 Press again ALARM 1 or ALARM 2 to
activate alarm setting.
➜When alarm is activated, is displayed.
➜At the set alarm time, the alarm will sound
and its volume will increase gradually.
Selecting alarm mode
1 Press MENU.
➜The menu appears.
2 Use 12 to highlight “Clock”.
3 Press 34 to select “Alarm Music”.
4 Press 12 to select specific music you like.
➜Alarm will go off with the music you select.
Switching off the alarm
There are three ways of switching off the
alarm. Unless you choose to cancel the alarm
completely, the DAILY ALARM RESET option
will be automatically kept activated from the
time your alarm first goes off.
call at the same time for the following day:
Daily alarm reset
If you want the alarm to be stopped
immediately but also wish to repeat the
alarm
1 During the alarm call, press any button
except REPEAT ALARM /
BRIGHTNESS
CONTROL
➜ is displayed.
Repeat alarm
This will repeat your alarm call at 9-minute
intervals.
1 During the alarm call, press
REPEAT ALARM /
TROL
➜ flashes.
Switching off the alarm completely
1 Press repeatedly ALARM 1 or ALARM 2
until is changed to .
➜When alarm is deactivated, is dispalyed.
Helpful hints:
During alarm call, if no button is pressed, alarm
call will last 30 minutes.
.
.
BRIGHTNESS CON-
Tuner
Tuning to radio station
1 Press TUNER to switch on radio (FM only).
2 Press and hold 12for about 2 seconds,
then release.
➜The radio automatically tunes to a station
of sufficient reception.
3 Repeat step 2 if necessary until you find the
desired station.
• To tune to a weak station, press 12briefly
and repeatedly until you have found optimal
reception.
Turning on/off radio
• To turn off radio, press OK.To turn on radio,
press OK again.
To improve reception:
FM: Extend and adjust the pigtail for optimum
reception.
Programming radio stations
You can store up to a total of 20 FM radio
stations in the memory, manually or automatically (Auto store).
Manual programming
1 Tune to your desired station (See “Tuning to
radio station”).
2 Press and hold TUNER for about 2 sec-
onds, then release.
➜Preset number will flash.
3 Press 34 once or more to allocate a
number from 1 to 20.
➜Preset number will flash.
4 Press TUNER again to confirm.
5 Repeat steps 1-4 to store other stations.
Note:
– You can erase a preset station by storing
another frequency in its place.
Auto store
Autostore automatically starts programming
radio stations from preset 1. Any previous
presets e.g. manually programmed will be
erased.
1 In TUNER mode, press MENU to display
tuner menu.
2 Press 4 to select “Tuner Auto Program”.
3 Press OK.
➜Available stations are programmed (FM).
After all stations are stored, the first autostore preset station will then automatically
play.
To listen to a preset or autostore
station
Press 34 once or more until the desired
preset station is displayed.
Page 5

USB/Memory card(SD/MMC)
USB/Memory card(SD/MMC)
Using USB device/memory
card (SD/MMC)
Connect a USB device, or a memory card
(SD or MMC card) to AJL308, you can enjoy
audio, picture and video files stored on the
USB device or memory card through the
speakers and LCD screen of AJL308.
Listening to music
1 Plug a compatible USB device or a memory
card (SD or MMC) to USB port, or memory
card slot.
➜The folder(s) indicating the inserted device
appears.
2 Press 3 4 to select the folder of USB device
(if present) or memory card (if present).
3 Press OK to open the folder.
➜The set will auto switch to clock mode.
4 Press MUSIC to switch to music mode.
➜All the stored music files are listed in the
menu.
5 Press 34 to select a file.
6 Press OK to play.
•To pause, press OK.To resume, press OK
again.
•To select next/previous file, press 12.
•To fast forward/reverse, press and hold
2 or 1 until
left corner of the screen, then press briefly
and repeatedly to select 5 different playback
speeds.To return to normal playback, press 2
or 1 until displayed 6 or 5 is change to 2.
•To repeat One,All or Shuffle, press once
or more 3\4.To cancel play mode, press
3\4 until “Off ” is display.
Viewing photo
1 Repeat steps 1 to 3 in “Listening to music”.
2 Press PHOTO/VIDEO to switch to photo
mode.
➜The pictures stored on the USB device or
memory card will be displayed in
thumbnail.
3 To display a picture in full screen, press 3 4
12 to select a thumbnail, then press OK.
6
or 5 appears on the lower-
➜The slideshow of the stored pictures will
start from the selected picture.
• Press 34 to rotate the picture 90
or anti clockwise.
• Press 12to display previous/next photo.
• To change slideshow interval, see “Using
setup menu options”
To view photo in clock mode
1 Press OK to access thumbnail, then press 3
4 1 2 to select desired photo, then press
OK to confirm.
Or, direclty press 3(1) /4(2) display
previous/next photo.
• To enlarge the displayed photo (zoom
mode), press and hold CLOCK for around
2 seconds, then press OK repeatedly to
enlarge picture or resume to normal size, and
you may use 3 4 1 2 to pan the enlarged
picture through.To exit zoom mode, press
CLOCK again.
Before zoom
After zoom
o
clockwise
To select display picture format
•You may change still picture display format on
the screen by selecting “Widescreen” or
“Normal” under “Display Format” in the
General Menu.
Wide screen
Viewing video
1 Repeat steps 1 to 3 in “Listening to music”.
2 Press PHOTO/VIDEO to switch to
VIDEO mode.
3 Press 34 to select a video file.
4 Press OK to play.
•To pause, press OK.To resume, press OK
again.
•To display next/previous video file, press
once or more 12.
•To fast forward/reverse, press and hold 2
or 1 until
corner of the screen, then press briefly and
repeatedly to select 5 different playback
speeds.To return to normal playback, press 2
or 1 until displayed
•To repeat One/All, press once or more 4.
To cancel play mode, press 4 until “Off “is
displayed.
•To switch between 16:9 and 4:3 screen
ratio, press once or more 3.
•To select audio language, press and hold
3 (The feature is dependent on video file.)
•To select subtitle language, press and
hold 4 (The feature is dependent on video
file.)
Compatible USB device
– USB flash memory (USB 2.0 or USB 1.1)
– USB flash player (USB 2.0 or USB 1.1)
• USB device which requires driver installation
under Windows XP is not supported.
6
or 5 appears on the lower- left
6
Normal
or 5 is change to 2.
Compatible memory card
– SD card
– MMC card
Note:
In some USB flash players (or memory
devices), the stored contents are recorded
using copyright protection technology. Such
protected contents will be unplayable on any
other devices (such as AJL308 device).
File compatibility
Music
• This device only suppor ts unprotected music
with the following file extension:
.mp3
.wma
• Music bought from on-line music stores are
not supported because they are secured by
Digital Rights Management protection (DRM).
Picture
• This device only suppor ts picture file with the
following file extension:
.jpg
Video
• This device only suppor ts video file with the
following file:
MPEG4
DivX
Page 6

Sleep / Illumination
Setup menu
Sleep
The clock radio has a built-in sleep timer,
which enables the set to automatically turn
off sound during radio or music playback
after a set period of time.
Option 1:
1 Press TUNER.
2 Press SLEEP until your desired sleep option
is displayed.
➜Radio will turn on if radio was previously
turned off.
Option 2:
1 Press CLOCK or PHOTO/VIDEO to
enter respective mode.
2 Press MENU.
3 Press 12to highlight “General”.
4 Press 34 to select “Sleep Timer Music”.
5 Press 12to select specific music you like.
➜The set will turn on with the music you
select.
Option 3: using USB/Memory card
(SD/MMC)
1 Repeat steps 1-8 described in “Listening to
music”.
2 Press SLEEP until your desired sleep option
is displayed.
To deactivate sleep function
When sleep is activated, is display.
• Press SLEEP until “Off ” is displayed.
Illumination brightness
The LCD brightness can be adjusted
manually and automatically.
Manually adjusting
• Press REPEAT ALARM /
CONTROL
brightness through 4 levels.
once or more to cycle screen
BRIGHTNESS
Automatically adjusting
To avoid strong light emitting from the unit at
night time, the auto dim function can be used
to adjust the brightness to the lowest level
automatically.
1 Press MENU.
2 Press 12to highlight “General”.
3 Press 34 to select “Auto Dim Timer”.
4 Press 12to select “On”.
5 Press 34 to select “Auto Dim - Start”.
6 Press 12to select the time that auto dim
will start.
7 Press 34 to select “Auto Dim - End”.
8 Press 12to select the time that auto dim
will end.
• When auto dim is set, during auto dim time
span, the LCD brightness will be auto
adjusted to the lowest level. Press any
button to increase the brightness and it will
last 10 seconds.
Using the stand
The set is equipped with a stand on the
bottom panel.To set the set for a different
viewing angle take the stand out, then place it
back by reversing (see the figure below) the
side of the stand.
Using Setup menu options
The setup menu offers you advanced features.
1 Press MENU.
➜The menu appears.
2 Press 12to select “General”.
3 Press 3 4 to select an item.
4 Press 12to select an option under the item.
4 After finishing the setting, press CLOCK,
TUNER, PHOTO/VIDEO or MUSIC to
exit the setup menu.
Setup
Language
Brightness -3~3 Select a brightness value
Auto Dim Timer Off/On Tu r ns on or off auto dim for LCD
Auto Dim - Start 9: 00 PM Set the start time for auto dim
Auto Dim - End 7: 00 AM Set the end time for auto dim
Wall Paper Blue/Green/Red/Purple Select different color for LCD
Sleep Timer Music 3 music files are preset Select one file for sleep function
Picture Display Slideshow mode/Browse mode Select different mode to display picture
Slideshow Sequence Sequential/Random Select different slideshow sequence
*
Slideshow Effect
Slideshow Frequence
Display Format
File Information Display Off/On Tu r ns on or off file name display
Video Display
DivX VOD
Restore Default
settings
English/
None/Random /16 effects available Select different slideshow effects
5 Seconds/10 Seconds/ 30 Seconds/
1 Minute/ 5 Mintues/30 Minutes
1/ Hour/ 2 Hours
Wide screen/Normal
Playback Time/Remain Time
Reset
Option
Français/Deutsch/Español
Description
Select a desired on screen display
language
brightness.
background
Select different slideshow intervals
Select picture display format
Select different video time to be
displayed
Press OK to get DivX registration
code.
Press OK to restore to the factory
default settings.
* = To turn on slideshow effect, you must select slideshow mode in “Picture Display”.
Page 7

Safety and maintenance
Tr oubleshooting
Safety and general
maintenance
• If you do not intend to use the clock radio
for a long time, withdraw the power cord
from the wall outlet.
• Place the set on a hard and flat surface so
that the system does not tilt.
• Where the MAINS plug or an appliance
coupler is used as the disconnect device, the
disconnect device shall remain readily
operable.
• Install the unit near the AC outlet and where
the AC power plug can be easily reached.
• The apparatus shall not be exposed to dripping or splashing
• Do not expose the set, batteries, to humidity,
rain, sand or excessive heat caused by
heating equipment or direct sunlight.
• No objects filled with liquids, such as vases,
shall be placed on the appartus.
• No naked flame sources, such as lighted
candles, should be placed on the apparatus.
• Do not cover the set. Adequate ventilation
with a minimum gap of 6 inches between the
ventilation holes and surrounding surfaces is
necessary to prevent heat build-up.
• The mechanical par ts of the set contain
self-lubricating bearings and must not be
oiled or lubricated.
• To clean the set, use a soft dry cloth. Do not
use any cleaning agents containing alcohol,
ammonia, benzene or abrasives as these may
harm the housing.
If a fault occurs, first check the points listed below before taking the set for repair.
If you are unable to remedy a problem by following these hints, consult your dealer or
service center.
WARNING: Do not open the set as there is a risk of electric shock. Under no
circumstances should you try to repair the set yourself, as this will invalidate the
warranty.
No sound.
–Volume not adjusted.
• Adjust the VOLUME.
Occasional crackling sound during FM
broadcast.
–Weak signal.
• Extend the pigtail antenna fully.
The alarm does not function.
– Alarm time is not set.
• See section on Setting and activating alarm.
– Alarm is not activated.
See section on Setting and activating alarm.
•
“No card is selected” is displayed on the
screen.
–A USB device or memory card (SD or MMC) is
not inserted.
• Insert a USB device or memor y card (SD or
MMC).
The screen brightness keeps turning dark.
– The set is in auto dim timing.
•To let the screen keep bright, turn off auto dim
timer.
Note:
When opening the folder of an external
device or its file stored in, read time may
exceed the normal time due to large
folder or file.
Page 8

INFORMATION REGARDING USB DIRECT:
1. Compatibility of the USB connection on this product:
a) This product supports most USB Mass storage devices (MSD) that these devices are compliant
to the USB MSD standards.
i) Most common Mass storage class devices are flash drives, memory sticks, jump drives and etc.
ii) If you see a "Disc Drive" showing up on your computer after you have plugged the mass
storage device into your computer, most likely it is MSD compliant and it will work with this
product.
b) If your Mass storage device requires a battery/power source, please make sure you have a
fresh battery in it or charge the USB device first and then plug it into this product again.
2. Supported Music type:
a) This device only supports unprotected music with file extension: .mp3 .wma
b) Music bought from on-line music stores are not supported because they are secured by
Digital Rights Management protection (DRM).
c) File name extensions that ended with the following are not supported: .wav; .m4a; .m4p; .mp4;
.aac and etc.
3. No Direct connection can be made from a Computer USB port to this product even you have
either or both mp3 or wma file in your computer.
Environmental information
All unnecessary packaging material has been omitted.The packaging can be easily separated into three materials: cardboard, polystyrene and plastic.
Your set consists of materials which can be recycled if disassembled by a
specialized company. Please observe the local regulations regarding the
disposal of packaging, dead batteries and old equipment.
This product complies with the FCC-Rules, Part 15.
Operation is subject to the following two conditions:
1.This device may not cause harmful interference, and
2. this device must accept any interference received, including interference that may cause undesired operation.
Canada
English:
This digital apparatus does not exceed the Class B limits for radio noise emis-
sions from digital apparatus as set out in the Radio Interference Regulations of
the Canadian Department of Communications.This Class B digital apparatus
complies with Canadian ICES-003.
CAUTION
High voltage! Do not open.You run the risk of getting an electric shock.
The machine does not contain any user-serviceable parts.
Modification of the product could result in hazardous radiation of EMC or
other unsafe operation.
Français:
Cet appareil numérique n'émet pas de bruits radioélectriques dépassant les li-
mites applicables aux appareils numériques de Classe B prescrites dans le
Règlement sur le Brouillage Radioélectrique édicté par le Ministère des
Communications du Canada. Cet appareil numérique de la classe B est con-
forme à la norme NMB-003 du Canada.
Page 9

PHILIPS LIMITED WARRANTY
ONE (1) YEAR
WARRANTY COVERAGE:
PHILIPS warranty obligation is limited to the terms set forth
below.
WHO IS COVERED:
Philips warrants the product to the original purchaser or the
person receiving the product as a gift against defects in materials and workmanship as based on the date of original purchase
(“Warranty Period”) from an Authorized Dealer. The original
sales receipt showing the product name and the purchase date
from an authorized retailer is considered such proof.
WHAT IS COVERED:
The Philips warranty covers new products if a defect arises and
a valid claim is received by Philips within the Warranty Period.
At its option, Philips will either (1) repair the product at no
charge, using new or refurbished replacement parts, or (2)
exchange the product with a product that is new or which has
been manufactured from new, or serviceable used parts and is
at least functionally equivalent or most comparable to the original product in Philips current inventory, or (3) refund the original purchase price of the product.
Philips warrants replacement products or parts provided under
this warranty against defects in materials and workmanship
from the date of the replacement or repair for ninety (90) days
or for the remaining portion of the original product’s warranty,
whichever provides longer coverage for you. When a product
or part is exchanged, any replacement item becomes your
property and the replaced item becomes Philips’ property.
When a refund is given, your product becomes Philips’ property.
Note: Any product sold and identified as refurbished or
renewed carries a ninety (90) day limited warranty.
Replacement product can only be sent if all warranty
requirements are met. Failure to follow all requirements can result in delay.
WHAT IS NOT COVERED - EXCLUSIONS AND LIMITATIONS:
This Limited Warranty applies only to the new products manufactured by or for Philips that can be identified by the trademark, trade name, or logo affixed to it. This Limited Warranty
does not apply to any non-Philips hardware product or any
software, even if packaged or sold with the product. NonPhilips manufacturers, suppliers, or publishers may provide a
separate warranty for their own products packaged with the
bundled product.
Philips is not liable for any damage to or loss of any programs,
data, or other information stored on any media contained within the product, or any non-Philips product or part not covered
by this warranty. Recovery or reinstallation of programs, data
or other information is not covered under this Limited
Warranty.
This warranty gives you specific legal rights. You may have other rights which vary from state/province to state/province.
Philips, P.O. Box 671539, Marietta, GA. 30006-0026
This warranty does not apply (a) to damage caused by accident,
abuse, misuse, misapplication, or non-Philips product, (b) to
damage caused by service performed by anyone other than
Philips or Philips Authorized Service Location, (c) to a product
or a part that has been modified without the written permission of Philips, or (d) if any Philips serial number has been
removed or defaced, or (e) product, accessories or consumables sold “AS IS” without warranty of any kind by including
refurbished Philips product sold “AS IS” by some retailers.
This Limited Warranty does not cover:
• Shipping charges to return defective product to Philips.
• Labor charges for installation or setup of the product, adjustment of customer controls on the product, and installation
or repair of antenna systems outside of the product.
• Product repair and/or part replacement because of improper
installation, connections to improper voltage supply, abuse,
neglect, misuse, accident, unauthorized repair or other cause
not within the control of Philips.
• Damage or claims for products not being available for use, or
for lost data or lost software.
• Damage occurring to product during shipping.
•A product that requires modification or adaptation to enable
it to operate in any country other than the country for
which it was designed, manufactured, approved and/or
authorized, or repair of products damaged by these modifications.
•A product used for commercial or institutional purposes
(including but not limited to rental purposes).
• Product lost in shipment and no signature verification receipt
can be provided.
• Failure to operate per Owner’s Manual.
TO OBTAIN ASSISTANCE IN THE U.S.A., PUERTO
RICO, OR U.S. VIRGIN ISLANDS…
Contact Philips Customer Care Center at:
1-888-PHILIPS (1-888-744-5477)
TO OBTAIN ASSISTANCE IN CANADA…
1-800-661-6162 (French Speaking)
1-888-PHILIPS (1-888-744-5477) - (English or Spanish
Speaking)
REPAIR OR REPLACEMENT AS PROVIDED UNDER THIS
WARRANTY IS THE EXCLUSIVE REMEDY FOR THE CONSUMER. PHILIPS SHALL NOT BE LIABLE FOR ANY INCIDENTAL OR CONSEQUENTIAL DAMAGES FOR BREACH OF
ANY EXPRESS OR IMPLIED WARRANTY ON THIS PRODUCT. EXCEPT TO THE EXTENT PROHIBITED BY APPLICABLE LAW, ANY IMPLIED WARRANTY OF MERCHANTABILITY OR FITNESS FOR A PARTICULAR PURPOSE ON THIS
PRODUCT IS LIMITED IN DURATION TO THE DURATION
OF THIS WARRANTY.
Some states do not allow the exclusions or limitation of incidental or consequential damages, or allow limitations on how
long an implied warranty lasts, so the above limitations or
exclusions may not apply to you.
3121 233 48801
 Loading...