

Page 1
PHILIPS
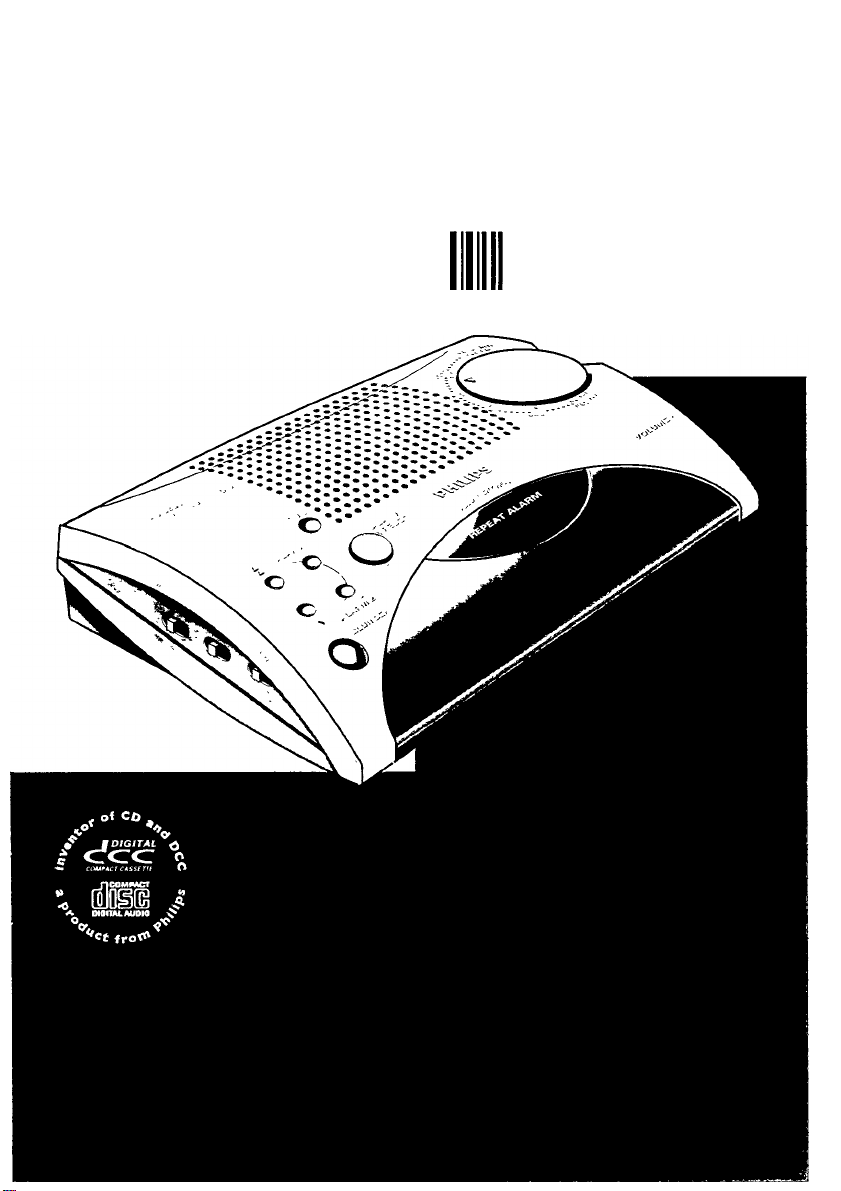
AJ 3250 Clock Radio
0^00000 00 278
Page 2

CD España
Declaración de conformidad con normas
El que suscribe, en nombre y representación de:
declara, bajo su propia responsabilidad, que el
equipo:
fabricado por: Consumer Electronics Factory
en: Far East
marca; Philips
modelo; AJ 3250
objeto de esta declaración, cumple con la norma
tiva siguiente: Reglamento sobre Perturbaciones
Radioeléctricas, Real Decreto 138/1989, Anexo V.
Hecho en: Hong Kong, 01-08-1994
Firma:
Nombre:
Cargo:
(© Mexico
Garanda
A
Pera e-.iter cl nesso ¿o choqeo elcctnco^ no qmto la topa.
En caro ¿0 rcqaznr scnício^ diríjase al pcxscaal calificado.
Consumer Electronics Factory
Philips Hong Kong Ltd.
Radio reloj
T.M. Siu
Quality Manager
...................
PRECAUCIÓN - ADVERTENCIA
No abnr. nerio do choque eléctrico
iVcnfiquo que c1 voltaje de alimeniacidc
ATENCIÓN
sea el requerido para so aparato
NOM
.Página 36
Es
A
^ English
CD Français
CD Español
CD Deutsch
Nederlands pagina 17 £
CD Italiano
INDEX
pago 5 O)
page 8 |
página 11
Seite 14 3
pagina 20
<U
fml
LU
‘m
O
necesario que lea cuidadosamente su instructivo
de manejo.
CD Portugués
Dansk
CD Svenska
@ Suomi
página 23 =
side 26 i
side 29
sivu 32 §
O
Ci
CO
Page 3

VOLTAGE SELECTOR
5^ VOLUME
REPEAT
ALARM
•@ ALARM/RESET
SLUDJiBER
TUNING
BAND
ALARM 1 @-1
ALARM 2
RADIO (7>
FAST UP
SLOW DOWN №
ALARM l(T
ALARM 2
-<D BATTERY
COMPARTMENT
9 V BATTERY
type 6 F 22
Page 4

@ Australia
Guarantee.......................................................page 35
New Zealand
Guarantee
.......................................................
page 35
(0) México IE
Garantía
..........................................................
page 36
(|^ Brasil
Garantía
..........................................................
page 36
IMPORTANT NOTES FOR USERS IN THE U.K.
Mains plug
This apparafus is fitted '.vith an approved moulded 13 Amp plug To cliange a fuse
in this type of plug proceed as follows
• Remove fuse cover and fuse
• Fix new fuse which should be a BS1362 5 Amp, ASIA or BSI approved type
• Refit the fuse cover
If the fitted plug is not suitable lor your socl-et outlets, it should be cut ofi and an
appropriate plug fitted in its place
If the mains plug contains a fuse, this should have a value ol 5 Amp If a plug
'vithout a fuse is used, the fuse at the distribution board should not ba greater than 5 .Arnp
Note: The severed plug must be disposed to avoid a possible shod, hazard should it be mseited ir
a 13 Amp socket elsetvhere
'
Hovj to connect a plug
The wires in the mains lead are coloured with the following code blue = neutral (Ы), bro'vn = I
A\s these colours may not correspond with the colour markings idsntuying the terminals in yon
proceed as follows
• Connect the blue v/ire to the terminal marked M or coloured blue oi blaci
• Connect the brown wire to the terminal marked L or coloured bro> ,n oi led
• Do not connect either wire to the earth terminal in the plug, marked t lor or coloured giee
gieen and yellow)
Before leplacing the plug cover, make certain thai the cord grip is cbmped over ihe sheath oi i
lead - not simply over the two wires
If in doubt, consult a qualified electrician
:■ (L)
'lun.
Page 5

Installation Radio / Clock
BUTTOIMS RADIO
( 1 )
TIME - to set time
(2)
ALARM switch 1
OFF - alarm is switched off
RAD(io) - to wake by radio at alarm time 1
BUZ(zer) - To wake by buzzer at alarm time 1
(3;
ALARM switch 2
OFF - alarm is switched off
RAD(io) - to wake by radio at alarm time 2
BUZ(zer) - To wake by buzzer at alarm time 2
RADIO switch:
ON - radio is switched on
OFF - radio is switched off
(5)
FAST UP - fast forward ±
(6)
SLOW DOWN - slow backward ^
(7)
ALARM 1 ■ to set alarm 1
i8)
ALARM 2: to set alarm 2
(3]
BATTERY COMPARTMENT
(10'
SLUMBER - to slumber/set slumber time
(11)
ALARM RESET - to switch off the alarm for
24 hours
12)
DISPLAY
il3'
REPEAT ALARM/SLUMBER OFF switch:
to sv^iitch off alarm temporarily
to switch off slumber function
i14'
VOLUME - to adjust sound level
TUNING - for station selection
)15'
BAND - for v;aveband selection
116'
ACMAINS
(17J
(18'
VOLTAGE selector (not on all versions)
MAINS CONNECTION
• Check if the mains voltage as shown on the
type plate on the base of the set corresponds
to your local mams supply.
If It does not. consult your dealer or service
orgariisation.
- If the set is equiped with a VOLTAGE selector,
set this selector to the local mains voltage.
• As soon as you insert the mains plug into the
wall socket, the figures on the display @ will
blink. This means that you must set the correct
time.
• To disconnect the set from the mains comple
tely. withdraw the mains plug from the wall
socket.
Important note for users in the U.K.
When fitting a mams plug, follow the instructions
on page 4.
Switching on the radio
• Set the RADIO switch 0 to ON. The radio will
now come on.
• Select the waveband with the BAND switch
• Select the required station with the TUNING
knob ii|i.
• Adjust the sound level with the VOLUME
control (g).
Switching off the radio
• Set the RADIO switch © to OFF.
Aerials
- The AM aerial is built into the appliance. You
may have to adjust the position of the clock
radio slightly for better reception.
“ For FM reception, there is an aerial wire at the
rear of the ciock radio. This wire must be
extended and, if necessary adj'usted slightiy, in
order to obtain good reception.
CLOCK__________________________________
Clock display
- The clock display @ shows the time and
indicates whether you have switched on the
alarm.
Setting the time
• Keep the TIME button © pressed and set the
correct time as follows:
- Fast forward with the FAST UP ±. button ®.
- Slow backward with the SLOW DOWN
button 0.
• Release the TIME button ® The correct time
appears in the display.
Page 6

Alarm
ALARM
Alarm time
If you wish to use the alarm, then you should first
of all set the alarm time. The alarm time is the
time at which you wish to be woken up. You may
set two different alarm times. This can be useful
if. for example, you need to be woken at a
different time during the week than at the
weekend.
Setting alarm time 1
• Press the ALARM 1 button The display will
now show alarm time 1;
a nn
AC1. LI LIU
Keep the ALARM 1 button @ pressed and set
the required alarm time with the FAST UP i (|)
and SLOW DOWN (|) buttons.
Release the ALARM 1 button The display
will now show the correct time.
You can check alarm time 1 by simply pressing
the ALARM 1 button (7).
Setting alarm time 2
• Press the ALARM 2 button (
now show alarm time 2:
a nn
J UU-L2
• Keep the ALARM 2 button (S) pressed and set
the required alarm time with the FAST UP
i and d) SLOW DOWN ®buttons.
• Release the ALARM 2 button (s). The display
will now show the correct time.
• You can check alarm time 2 by simply pressing
the ALARM 2 button
ALARM ON
The clock radio can wake you in two ways by
using the selectors OFF-RAD(io)-BUZ(zer) (z). (s).
When you select RAD. you will be woken by the
radio: if you select BUZ you will be woken by the
buzzer. The display will show that the alarm is on.
______________________________
). The display will
Switching on alarm 1
• Set the ALARM switch (g) to RAD(io) or
BUZ(zer)
• At the set alsrm time 1 you will be woken by
the radio or the buzzer.
Switching on alarm 2
• Set the the ALARM switch (5) to RAD(io) or
BUZ(zer).
• At the set alarm time 2 you will be woken by
the radio or the buzzer.
Switching on alarm 1+2
- The clock radio can also wake you at two
different alarm times on the same day.
• Set the ALARM switches (21 and '3' to radio
and/or buzzer.
• You will be woken at the set alarm time 1 and
at the set alarm time 2 by the radio and/or the
buzzer.
ALARM OFF________________________________
You can switch off the alarm in three ways'
Switching off the alarm fore minutes
• Press the REPEAT ALARM button (i3'.
With this switch you temporarily switch off the
alarm. After 6 minutes the alarm will sound
again. If you press the REPEAT ALARM button
again @, the same will happen. If the REPEAT
ALARM button @ is not pressed again, the
alarm will switch itself off after 59
minutes. The following day the alarm signal will
sound again at the set alarm time.
Switching off the alarm for 24 hours
• Press the ALARM RESET button uTi. The alarm
is now switched off for 24 hours and will sound
again the next day at the same time
Switching off the alarm completely
• Set the ALARM switches @ and (ii to OFF
The alarm is now switched off. If you wish to
be awakened the following day again, you must
reset the ALARM switches to radio or buzzer
before going asleep.
Page 7

Slumbering
Additional
SLUMBERING
The clock radio has a built-in slumber function.
With this function you can continue to listen to
the radio while falling asleep. You do not need
to switch off the radio yourself. This happens
automatically. The period during which you
continue to listen to the radio is called the
slumber time. You can set this yourself. The
maximum slumber time is 59 minutes.
Slumber time
• If you wish to slumber for 59 minutes, you
should simply press the SLUMBER button @.
As long as you press the button, the display will
show a slumber time of 59 minutes.
CO
JJ
• If you wish to slumber for less than 59
minutes, then keep the SLUMBER button @
depressed. The display will now slowly begin to
count down from 59 to 00 minutes.
As soon as the required slumber time is
reached, release the button.
Slumber off
You can switch off the radio before the slumber
time has elapsed;
• Press the SLUMBER OFF button ® and the
clock radio is switched off.
/Vote:
- The slunnber function will not operate if RADIO
switch 14) IS ON, because the radio will then
simply stay on.
- The slumber function has no influence on the
alarm setting.
- During slumbering the radio is often on very
low. Bear this in mind if you wish to be woken
the next day, as you will perhaps sleep through
the sound of the radio.
MAINS VOLTAGE
Power breakdown
- As soon as the power fails, the whole appliance
will be switched off.
- When the power returns, the figures on the
display will begin to blink. The clock radio is
thereby indicating that you must set the correct
time and alarm time.
Battery
• You may fit a 9 volt battery in the clock radio. If
the power then fails, the clock will in any case
continue to operate. This will not however be
visible, because the battery does not power the
lighting of the clock display. As soon as the
power returns the display will show the correct
time.
To be perfectly clear: Alarm, radio and display
do not operate on the battery.
• Insert the battery into the compartment in the
base of the appliance (see illustration).
Recommendation
- Replace the battery once a year. It cannot be
stated precisely how long the battery will last.
This depends completely on how often and for
how long the power fails. This may vary from
country to country or even region to region.
- If you will not be using the appliance for any
length of time, then it is advisable to remove
the battery from the appliance, to avoid the
possibility of leakage and consequently damage
to the appliance.
MAINTENANCE
- If you do not intend to use the clock radio for a
long time, it is better to remove the plug from
the wall socket. In addition to this, it is
advisable to remove the battery from the clock
radio. This will prevent any danger of leakage
and the clock radio will not be damaged.
- Fingerprints, dust and dirt on the clock radio
should be removed using a clean and damp
soft cloth or chamois leather. When cleaning do
not use any products wich contain abrasive
agents or solvents (benzine, thinner, alcohol
etc.). These might affect the housing.
- Rain, dampness and extreme heat may damage
the clock radio. For this reason it should not be
placed in full sun or close to heating elements
for any period of time.
_____________________________
This product complies with the radio interference
requirements of the European Community
The type plate is located on the base of the set
Page 8

@) Australia New Zealand
GUARANTEE FOR AUSTRALIA
The benefits given to the purchaser by this
warranty are in addition to all other rights and
remedies, which, under the Trade Practices Act or
other Commonwealth or State law, the purchaser
or owner has in respect of the product.
The Philips product carries the following
warranties:
- C-series HiFi-systems 12 months.
- Compact Disc Players: 12 months.
- Home Audio Systems: 6 months.
- Clock radios, portable radios, cassette
recorders, cassette players and radio recorders:
90 days.
Any defect in materials or workmanship occurring
within the specified period from the date of
delivery, will be rectified free of charge by the re
tailer from whom this product was purchased.
Note: Please retain your purchase docket to
assist prompt service.
Conditions of this warranty
1. Ail claims for warranty service must be made to
the retailer from whom this product was pur
chased. All transport charges incurred in con
nection with warranty service or replacement
will be paid by the purchaser.
2. These warranties do not cover batteries and
extend only to defects in materials or
workmanship occurring under normal use of
the product where operated in accordance with
our instructions.
Philips
Consumer Products Division
Technology Park
Figtree Drive, Australia Centre
Homebush 2140
New South Wales
GUARANTEE FOR NEW ZEALAND
Thank-you for purchasing this quality Philips
product.
Philips New Zealand Ltd guarantees this product
against defective components and faulty
workmanship for a period of 12 months. Any
defect in materials or workmanship occurring
within 12 months from the date of purchase
subject to the following conditions will be
rectified free of charge by the retailer from whom
this product was purchased.
Conditions
1. The product must have been purchased in New
Zealand. As proof of purchase, retain the
original sales docket indicating the date of
purchase.
2. The guarantee applies only to faults caused by
defective components, or faulty workmanship
on the part of the manufacturer.
3. The guarantee does not cover failures caused
by misuse, neglect, normal wear and tear,
accidental breakage, use on the incorrect
voltage, use contrary to operating instructions,
or unauthorised modification to the product or
repair by an unauthorised technician.
4. Reasonable evidence (in the form of a sales
docket) must be supplied to indicate that the
product was purchased no more than
12 months prior to the date of your claim.
5. In the event of a failure. Philips shall be under
no liability for any injury, or any loss or damage
caused to property or products other than the
product under guarantee.
This guarantee does not prejudice your rights
under common law and statute, and is in addition
to the normal responsibilities of the retailer and
Philips.
How to claim
Should your Philips product fail within the
guarantee period, please return it to the retailer
from whom it was purchased. In most cases the
retailer will be able to satisfactorily repair or
replace the product.
However, should the retailer not be able to con
clude the matter satisfactorily, or if you have
other difficulties claiming under this guarantee,
please contact
The Guarantee Controller
Philips New Zealand Ltd.
BP.O. Box 41.021
Auckland
^ (09)84 94160
fax® (09)84 97 858
__________
35
Page 9

MOUNTING THE SET ON A SHELF
Make two mounting holes on the shelf as indicated below
Mount the set on the shelf with two screws.
FRONT
'W'
216 mm
Mounting
Bench thickness + W Max.
37
Page 10

Philips - AJ 3250 - Clock Radio
EnQÜSh ..............................................page 5
Illustrations.......................................page 3
Français..............................................page 8
—' Illustrations
.........................................
page 3
Español
(D
Ilustraciones
Deutsch
Abbildungen . Seite 3
Nederlands
Afbeeldingen ...................................pagina 3
Italiano
CD
Illustrazioni
Portugués
CD
llustraçôes
.......... .....
...................................
...................
..........
.................
......................................
............
.....................................
Dansk side 26
(dR)
Figurer . side :
Svenska sida 29
CD
Figurer
................................................
página 11
página 3
Seite 14
pagina 17
pagina 20
pagina 3
página 23
pàgina 3
J
sida 3
Suomi........................sivu 32
<™)
Kuvat
...............................................
3140 115 21103 Printed in Flong Kong
si vu 3
 Loading...