

Philips 29PT9021-05 User Manual

English
1
Contents
Installation
Preparation________________________________________________3
Switch TV on ______________________________________________4
Select your Menu language____________________________________4
Search for and Store TV channels
Automatic installation ___________________________________5
Manual installation ______________________________________6
Reshuffle the programme list _________________________________8
Select favourite TV channels __________________________________9
Install TV configuration _____________________________________10
Define decoder/descrambler programme numbers _______________10
Operation
Operation________________________________________________11
Main Menu _______________________________________________12
Adjust the picture__________________________________________12
Adjust the sound __________________________________________14
Features _________________________________________________17
Other Functions___________________________________________21
PiP - Picture in Picture ______________________________________24
Teletext _________________________________________________26
Connect peripheral equipment ___________________________29
Tips ____________________________________________________36
Index ___________________________________________________37
English
2
p.33
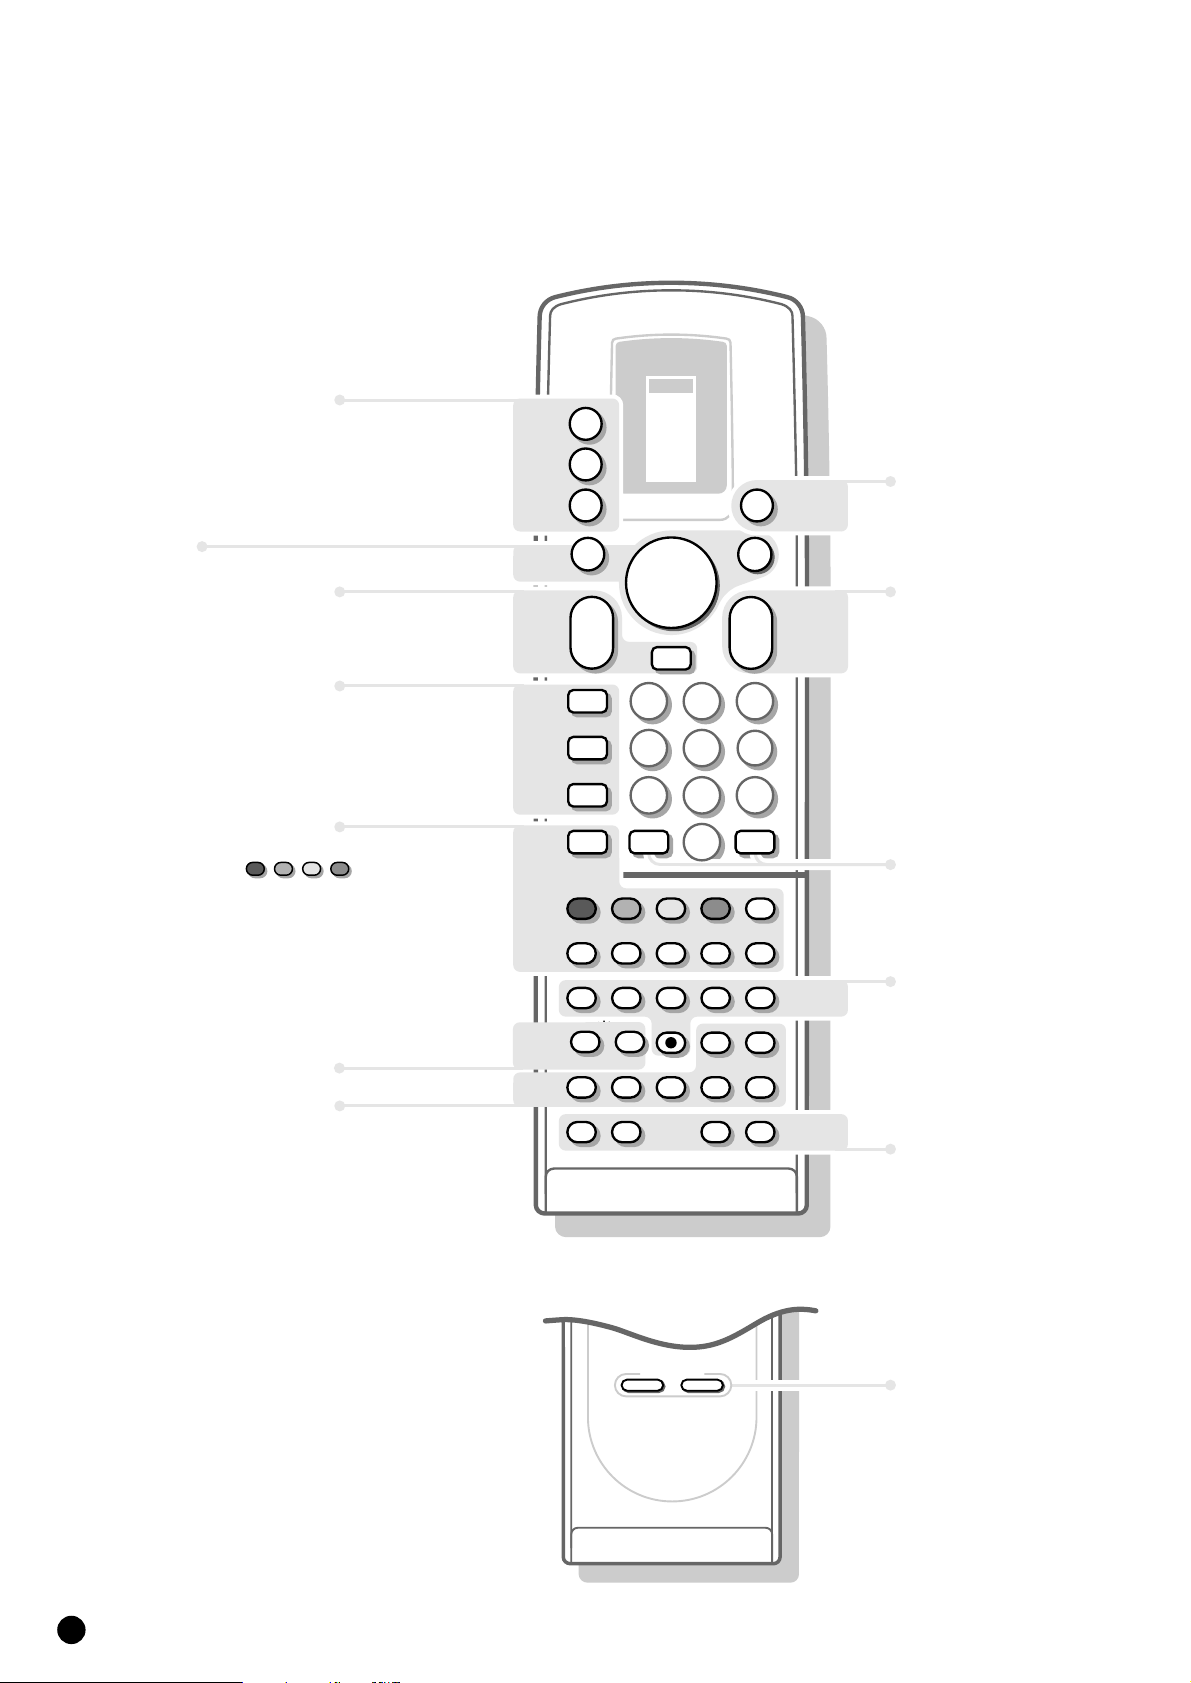
Your remote control
selection of EXT1,
a
EXT2, EXT3 or FRONT.
selection of connected
M
peripheral equipment
TV operation
TV
TV
TUNER
TAPE
DCC
CD
B
a
M
TV
VCR 1
VCR 2
SAT
AMP
p.11
B switch to standby
Menu p.11
menu on/off
MENU
B
B
B
select your choice
B
activate your choice
OK
Picture In Picture
[for TV-sets with pip]
p.11
p.21
p. 28
Teletext
p.26
p.22
p.24
volume key
a
sound temporarily
c
switched off
vertical squeeze
E
bilingual choice
e
continuous subtitles
c
teletext on/off
a
direct txt page or
subject selection
txt index page
j
interrupt txt page
g
mix tv/txt picture
b
enlarge
h
solution to riddles
f
time display
m
A brightness
p
switch pip on/off
q
select connections
r
switch screens
s
still picture
t
move pip screen
0
channel selection of
pip screen
MENU
a
E
e
c
a
g
L
L
L
p
F
B
K
L
B
c
1
456
789
J
b
G
B
A
A
K
K
rq
H
B
OK
B
K
0
L
23
2
0
fh
F
P
L
s
u
j
m
N
K
t
M
0
TV-channel selection
J
info on screen
2
previous programme
Video recorder
L
stop
G
rewind
B
play
F
wind
N
programme timer
M
record
F
freeze the picture
H
reduce image noise
u
mosaic screen
M
personal preference
p.11
p.21
p.35
p.22
SMART CONTROLS
PICTURE SOUND
SMART
CONTROLS
picture and sound
settings
p.12, 14
English
3
Preparation
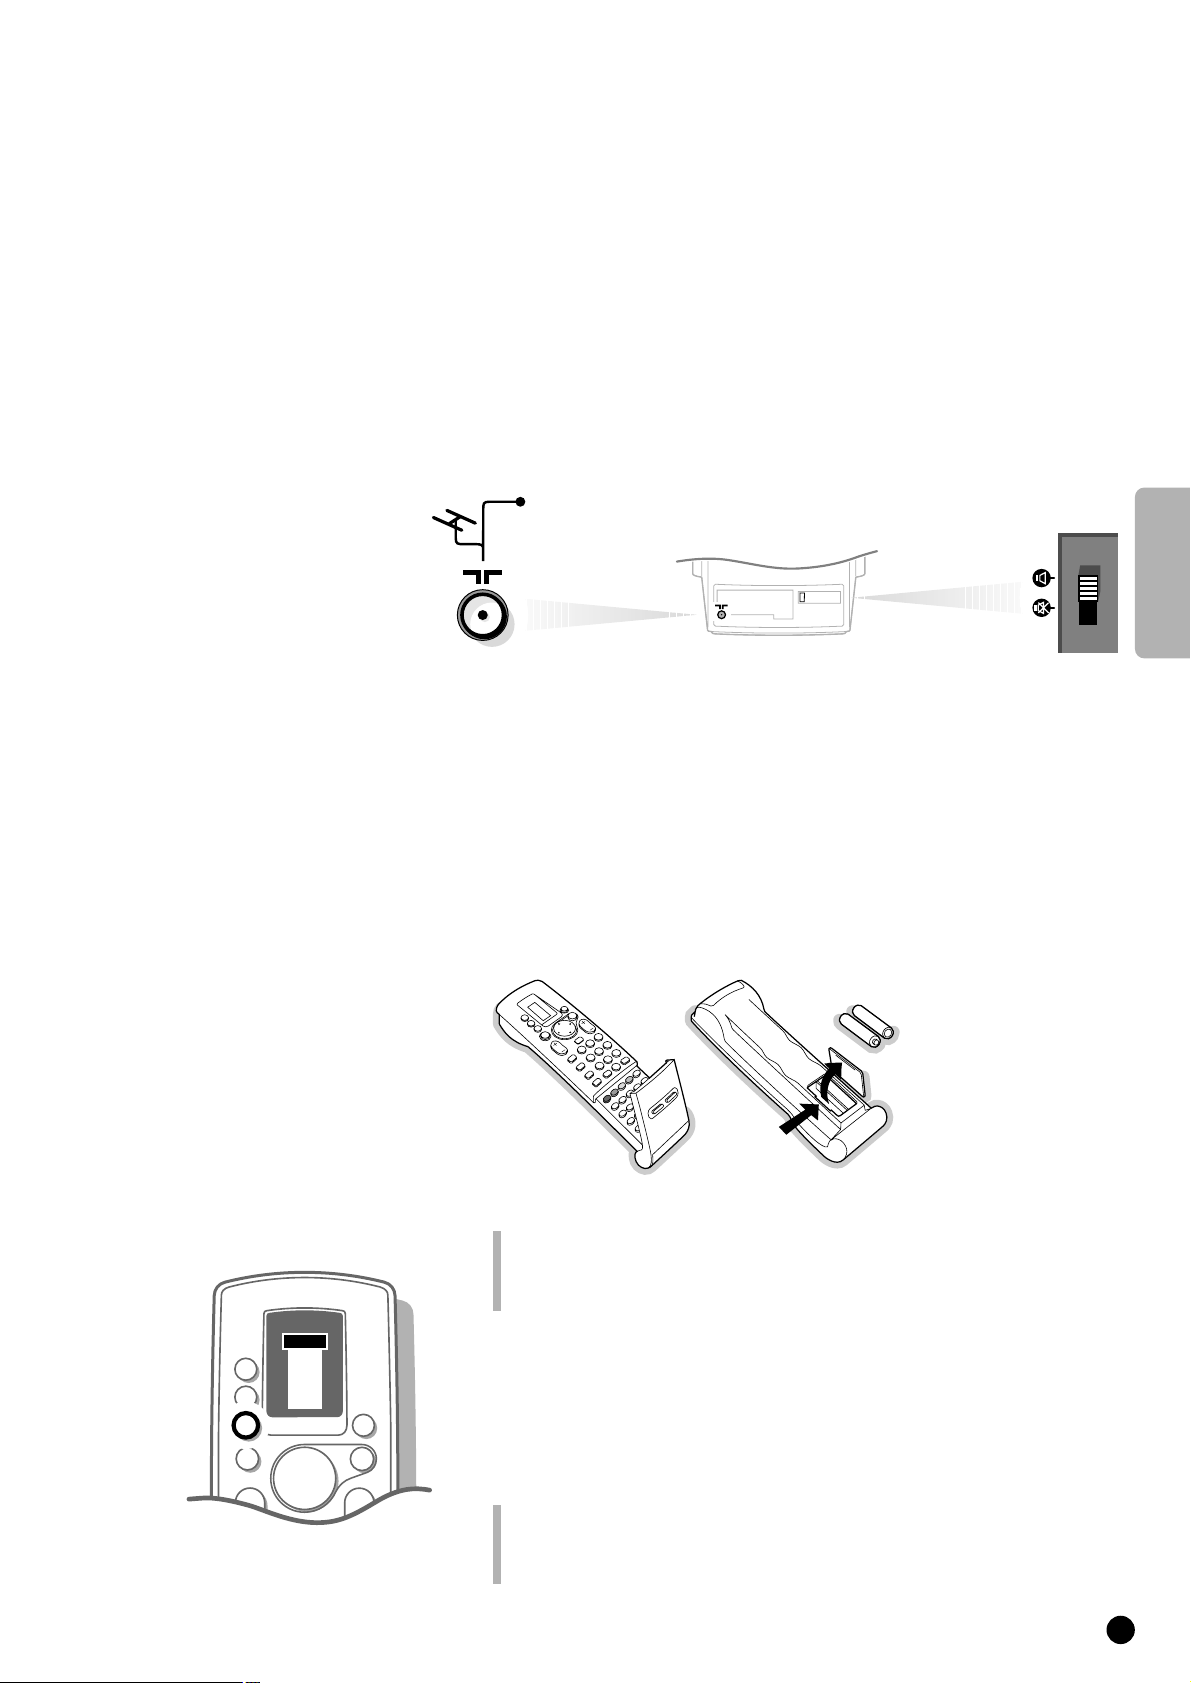
Place the TV on a solid surface.
For ventilation, leave a space of at least 5 cm free all around the set.
To prevent any fault and unsafe situations, please do not place any objects on
top of the set.
Insert the aerial plug tightly into the aerial socket
g at the back of the TV
with an aerial cable of good quality.
4 Check if the loudspeaker switch at the back of the TV is in the l position.
Insert the mains plug in the wall socket with a mains voltage of 220V-240V.
CABLE
Installation
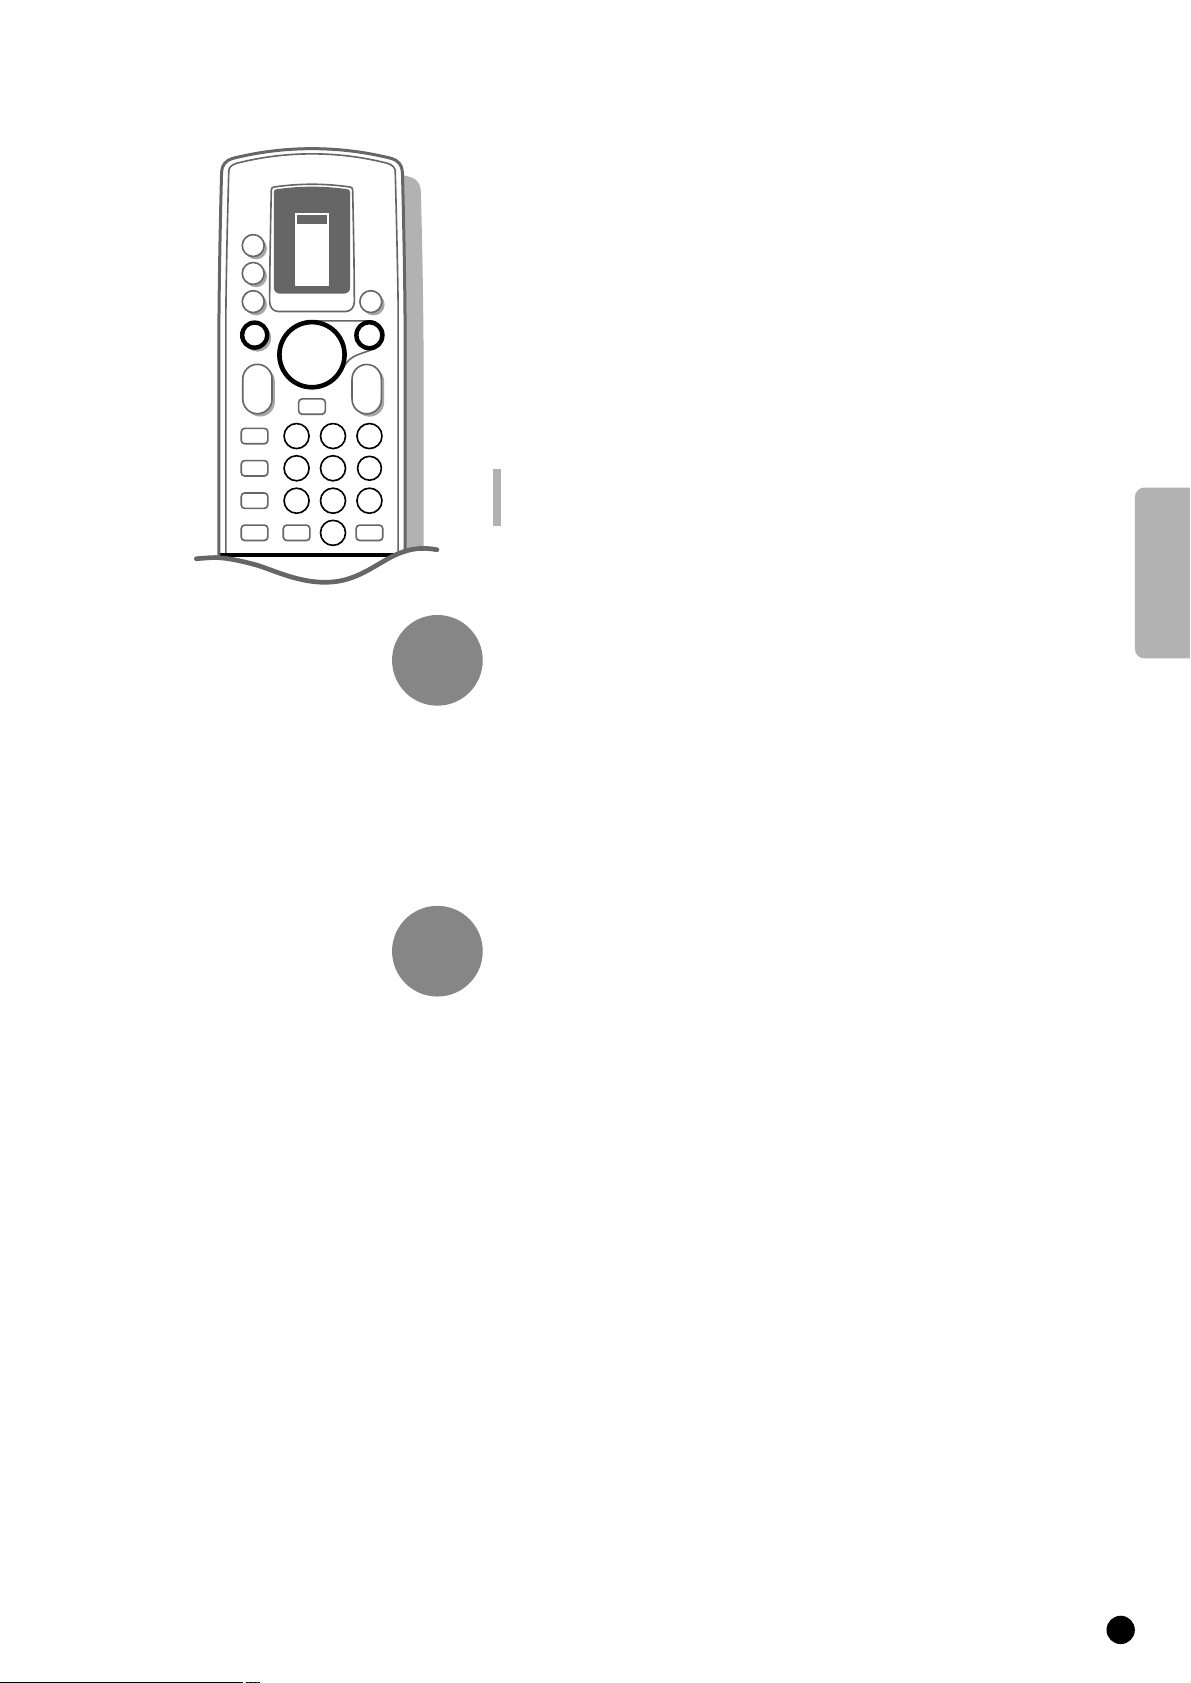
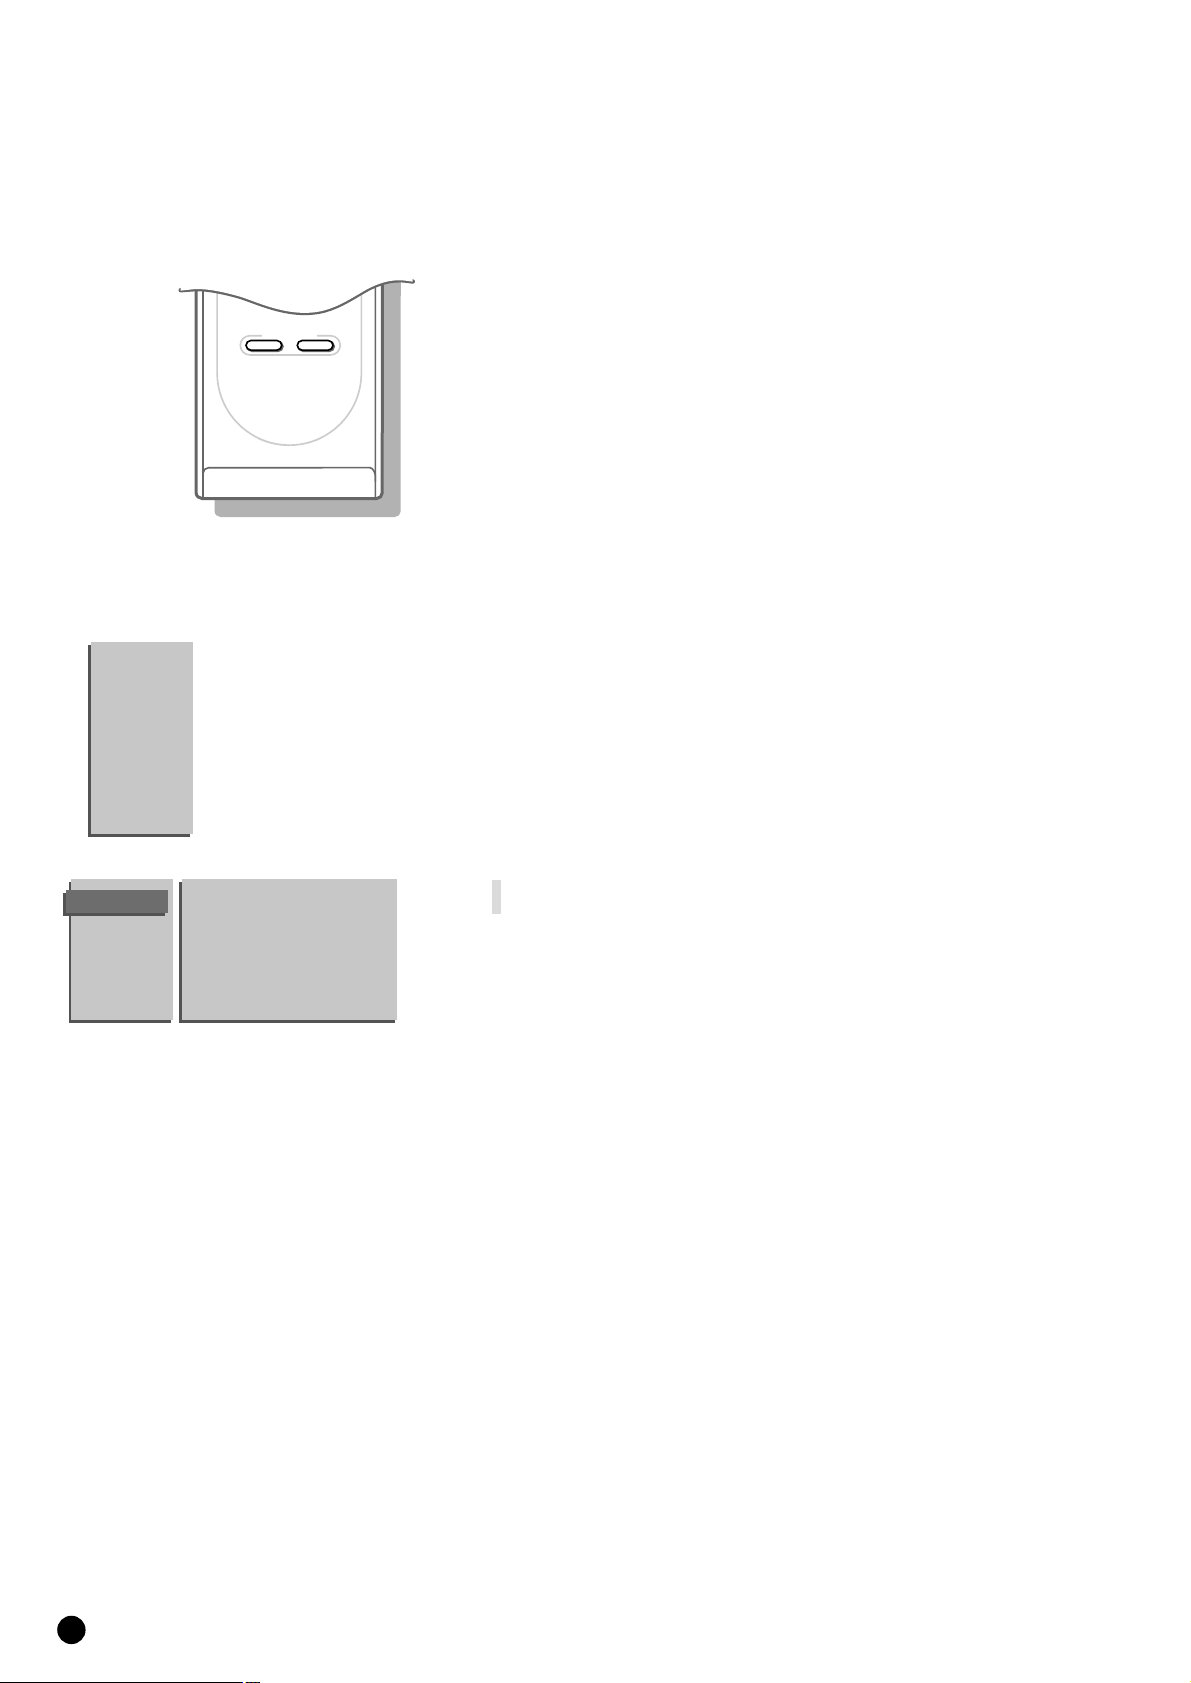
Remote control
Remove the cover of the battery compartment on the back of the remote
control.
Insert the 2 batteries supplied (Type R03G-1,5V).
Click the cover back into place.
The Philips batteries supplied do not contain the heavy metals mercury and cadmium.
Nevertheless in many countries exhausted batteries may not be disposed of with your
household waste. Please inform yourself on how to dispose of exhausted batteries
according to local regulations.
4 Press the TV key next to the display.
5 In the display of the remote control the letters TV appear in a black block for
a few seconds.
You can now operate your TV with the remote control.
Should your remote control be lost or broken you can still select TV channels, adjust
the volume and modify some basic picture and sound adjustments with the keys
PROGRAM, VOLUME and LOCAL MENU behind the front door of your TV. See
page 16.
a
TV
MENU
a
E
TV
TV
TUNER
VCR 1
TAPE
VCR 2
DCC
SAT
CD
AMP
M
B
B
B
OK
B
B
KK
0
LL
c
4
Switch TV on
4 Press the power switch A on the front of your set.
5 A green or red lamp lights up on the front of your set.
green ...................................................
5 The TV is switched on.
The screen lights up after a few moments.
red .....................................................................
5 The TV is switched on but the screen stays
dark. Your TV is on standby.
4 Press a digit key on the remote control.
5 The TV switches on.
The screen lights up.
or
5 The green lamp blinks every time you press a key on the remote control.
You can now choose which language the menus are presented in.
When you switch on your set for the first time, the
MENU LANGUAGE
automatically appears on the screen.
See the explanation on your screen. Alternately the explanation automatically
appears in the different languages.
If the
MENU LANGUAGE menu does NOT automatically appear on the screen,
proceed as follows :
4 Press MENU on the remote control.
5 The MAIN MENU appears on the screen.
4 Keep the key W pressed and select INSTALLATION.
5 INSTALLATION lights up.
4 Press OK.
5 The INSTALLATION menu appears and Menu Language lights up.
4 Press OK.
5 The MENU LANGUAGE appears.
4 Select the language of your choice with the keys V, W, B or C and press OK.
5 The INSTALLATION menu reappears.
From this point on, all menus are presented in the language of your choice.
Have you pressed the wrong key ?
Press OK again and make a new choice.
Select the menu language
Select Countr y
4 Press the keys W or V to select Country.
5 Country lights up.
4 Press OK.
5 The menu COUNTRY appears.
4 Select the country where you are now located with the keys
W, V, C or B and press OK.
Select Other when none of the countries applies.
5 The INSTALLATION menu reappears.
Menu Language
Country
Automatic Installation
Manual Installation
Give Name
Reshuffle
Favourite Programmes
TV Configuration
Decoder/Descrambler
MENU
LANGUAGE
English ••• •••
••• ••• •••
••• ••• •••
MAIN
MENU
PICTURE
SOUND
FEATURES
PROGRAMMES
INSTALLATION
INSTALLATION
COUNTRY
UK
•••
••• •••
••• Other
c
VCR 1
VCR 2
SAT
AMP
TUNER
TAPE
DCC
CD
TV
B
B
B
B
OK
M
a
0
a
K
L
K
L
B
TV
MENU

English
5
Store TV channels
This can be done in two different ways : automatically or manually.
Automatic installation........................
All TV channels are searched for and
stored automatically. As far as it is
transmitted by the cable company or a TV
channel a programme number and a name
is attributed automatically as well and filled
in in the programme list.
If you wish the order of programme
numbers and names of stored TV channels
can be modified afterwards.
Follow very closely and step by step the
instructions of the Automatic Installation.
Manual installation
With manual installation it is possible to
select whether TV channels are searched
for by frequency or channel number.
Follow very closely and step by step the
instructions of the Manual Installation
procedure.
You must go through every step.
Go on to page 6.
or
4 Select Automatic Installation with the keys V or W and press OK.
5 The menu AUTOMATIC INSTALLATION appears.
4 Press OK again.
4 Press the keys C or B to select On.
5 The message Searching appears as the TV searches for all the channels
available in your area.
The automatic installation can be interrupted by pressing the
MENU key.
5 Every time a TV channel is found it is automatically placed under the next free
programme number in the programme list.
5 The message Ready appears on the screen when the automatic installation is
complete. The programmes are stored in the programme list after the message
has disappeared.
If a cable system or a TV channel transmitting a teletext page with the
frequencies and programme names of all the TV channels which can be
received, is detected, the search is stopped and a programme list appears.
The programme list is automatically filled with all the programme numbers and
names of the TV channels transmitted.
It is possible that the cable company or the TV channel displays a broadcast selection
menu. Layout and items are defined by the cable company or the TV channel. Make
your choice of the presented possibilities with the keys
W or V
and press OK.
4 Press MENU.
5 The INSTALLATION menu reappears.
Go on to page 8.
Automatic installation
AUTOMATIC
INSTALLATION
Automatic Installation
Searching 0 % ............. 100 %
Menu Language
Country
Automatic Installation
Manual Installation
Give Name
Reshuffle
Favourite Programmes
TV Configuration
Decoder/Descrambler
INSTALLATION
6
Manual installation
4 Select Manual Installation with the keys V or W and press OK.
5 The menu MANUAL INSTALLATIONappears.
In the left upper corner of the screen a programme number, a system,
a frequency or possibly a channel number are displayed.
5 Selection Mode is only present and lights up if the country you selected in
the
COUNTRY menu also offers the channel option.
In this case you can choose either channel or frequency mode.
4 Press the keys C or B to select frequency, C-channels (aerial channels) or
S-channels (broadcast by a cable company).
You have your own aerial.........................
4 Select the country or part of the world
from where you want to receive the TV
channel with the keys
B or C.
Go on to 2.
You are connected to a cable system
4 Select the country or part of the world
where you are now located.
Select the TV system
Television pictures are not broadcast in the same way in all countries. We
speak of different television systems (PAL, SECAM, NTSC,...).
4 Select System with the keys V or W.
Search for a TV channel
4 Select Search with the keys V or Wand press OK.
5 The TV searches for a channel.
5 The frequency or the channel number increases until a TV channel is found.
Dependent on the choice you made in the selection mode the searching stops
at a frequency or at a channel number.
5 In the bar, which may appear briefly at the bottom of the screen, the
broadcaster may transmit its programme name or another message.
4 Press J of the remote control to recognise which programme is being
broadcast.
5 The menu MANUAL INSTALLATION disappears temporarily.
Is the reception poor ?
You may be able to improve the reception of picture and sound of a TV
channel by adjusting the frequency with the P - or + key on the remote
control. The frequency is adjusted in the block shown in the upper left corner
of the screen.
Go on to 3 if you want to store the channel that has been found.
Do you want a different channel ?
4 Press OK again to restart the search.
No channel found ?
4 Interrupt the searching by pressing the keys V or W or the MENU key.
Check that you have selected the correct TV system or that the aerial is
connected properly. See Tips p. 36.
or
MANUAL
INSTALLATION
05 10
16 11
27 12
38 13
4 9 ...
Selection Mode
System
Search
Programme No.
Store
.......
.......
.......
1
2
1
23
456
789
0
c
E
2
J
e
a
c
VCR 1
VCR 2
SAT
AMP
TUNER
TAPE
DCC
CD
TV
B
B
B
B
OK
M
a
0
a
K
L
K
L
B
TV
MENU
J
English
7
Direct selection of a TV channel
If you know the frequency, or the C- or S-channel number, it can be entered
directly with the digit keys on the remote control and in this way call up the
TV channel.
Ask for a list from your cable company or dealer, alternatively consult the
Table of frequencies on the inside backcover of this handbook.
4 Select Search with the keys V or W.
4 Enter the 3 digits of the desired frequency or the 2 digits in case of
C-or S-channels.
4 For frequencies under 100 MHz, first enter a 0. For example : 063.
5 The frequency is automatically finetuned.
Have you entered a wrong number ?
First complete the frequency or the channel number with arbitrary numbers and then
start again.
Go on to 3.
Enter the programme number
Now assign a number of your choice to the TV channel you have located. In
this way you decide the order of all your TV channels.
4 Select Programme Number with the keys V or W.
4 Select with the keys C or B or with the digit keys the desired programme
number.
Go on to 4.
Store steps 1 to 3
Now the steps 1 to 3 must be stored in the memory.
4 Select Store with the keys V or W and press OK.
5 Stored appears briefly at the bottom of the screen.
5 The programme number and probably the programme name are stored in the
programme list after the message has disappeared.
If you want to store another TV channel.
4 Repeat & to ‘.
If you are connected to a cable system.
4 Begin immediately with é. You have already selected the TV system in &
for all channels.
If you have finished storing TV channels.
4 Press MENU.
5 The INSTALLATION MENU reappears.
repeat
end
3
4
1
23
456
789
0
c
E
2
J
e
a
c
VCR 1
VCR 2
SAT
AMP
TUNER
TAPE
DCC
CD
TV
B
B
B
B
OK
M
a
0
a
K
L
K
L
B
TV
MENU
8
It is possible to change the name stored in the memory or to assign a name to
a TV channel which has not yet been entered. A name with a maximum of 5
letters or numbers can be given to the programme numbers 0 to 99. For
example SUPER, BBC1,...
Between 99 and 0, you can also name any peripherals that are connected.
4 Select Give Name with the keys V or W and press OK.
5 The GIVE NAME menu appears.
4 Select the TV channel to be modified or assigned a name with the keys V, W,
B or C and press OK.
5 A block appears on the first position of the name.
4 Select with the keys B or C the position of the letter or number you want
to change or to enter.
4 Select with the keys V or W the letter or number you want to enter or to
correct. A space, numbers or other special characters are located between
Z and A.
Did you fill in a wrong letter or number ?
Select with the keys
B or C the position of the letter or number you want to modify.
Select with the keys
V or W the correct letter or number.
When the complete name is filled in.
4 Press OK.
4 Select another TV channel to be modified or assigned a name with the keys
V, W, B or C and press OK.
4 Repeat as described above.
When you have finished entering or modifying programme names.
4 Press MENU.
5 The INSTALLATION menu reappears.
Reshuffle the programme list
According to your preference you can change the order of the stored TV
channels.
When you are satisfied with the order of the programme list, go to page 9.
4 Select Reshuffle with the keys V or W and press OK.
5 The menu RESHUFFLE appears.
4 Select the TV channel you want to change the programme number of with the
keys
V, W, C or B and press OK.
4 Use the keys C or B to select another column of the programme list.
5 The programme number and the name of the TV channel appear in a black
block.
4 Use the keys V, W, B or C to move to the number where you want to locate
the TV channel.
4 Press OK.
5 The TV channel moves to the selected programme number.
The TV channel which was located on that position automatically moves to the
programme number of the TV channel you have modified.
4 Repeat this for all the other TV channels you want to swap.
When all the TV channels are allocated as you like.
4 Press MENU.
5 The INSTALLATION menu appears again.
GIVE NAME
90
EXT1 0
91 EXT2 1 BBC1
92 EXT3 2 BBC2
93 FRONT 3 ....
94 4 ....
95 5 ....
96 .......
97
98
99
RESHUFFLE
90 ...
0 ... 10 ...
91 1 BBC1 11 ...
92 2 BBC2 12 ...
93 3 ... 13 ...
94 ...... 14 ...
95 ...... 15 ...
96 ...... ......
97
98
99
Enter or modify a programme name
c
VCR 1
VCR 2
SAT
AMP
TUNER
TAPE
DCC
CD
TV
B
B
B
B
OK
M
a
0
a
K
L
K
L
B
TV
MENU
English
9
Select Fa v ourite TV channels
During the installation all the stored TV channels have automatically been
placed into the favourite list.
This will make selection of only your favourite TV channels a lot easier and
faster.
In the Favourite Programmes menu you can indicate for each TV channel if you
want to keep that TV channel as a favourite.
You can also do this for a programme number reserved for the programmes
you receive from your decoder.
After leaving the installation you can quickly run through the TV channels by
pressing the P - or +. Only those TV channels which are in the favourite list
will be displayed. The non-favourite TV channels can still be selected with the
digit keys.
4 Select Favourite Programmes with the keys V or W and press OK.
5 The FAVOURITE PROGRAMMES menu appears.
5 Programme Number lights up.
4 Select the programme number of a TV channel with the digit keys.
4 Select Favourite with the keys V or W.
4 Press the keys B or C to select Yes or No.
In this way you decide whether you want to keep the selected TV channel as a
favourite TV channel or not.
Repeat this for every TV channel you like to change into a favourite or a nonfavourite TV channel.
4 Press MENU again if you have finished selecting TV channels in the favourite list.
5 The INSTALLATION menu reappears.
FAVOURITE
PROGRAMMES
EXT1 0 ... 10 ...
EXT2 1 ... 11 ...
EXT3 2 ... 12 ...
FRONT 3 ... 13 ...
4 ... 14 ...
5 ... 15 ...
..... ......
Programme Number
Favourite
c
VCR 1
VCR 2
SAT
AMP
TUNER
TAPE
DCC
CD
TV
B
B
B
B
OK
M
a
0
a
K
L
K
L
B
TV
MENU
10
Define Decoder/Descrambler pr og. n umbers
If you have connected a decoder or a descrambler, see p. 32, you can define
one or more programme numbers as decoder programme numbers.
4 Select Decoder/Descrambler with the keys V or W and press OK.
5 The DECODER/DESCRAMBLER menu appears.
4 Select Programme with the keys V or W.
5 Programme lights up.
4 Select the programme number under which you have stored the programme
coming from your decoder with the digit keys.
4 Select Decoder Status with the keys V or W.
5 Decoder Status lights up.
4 Press the keys B or C to select Off , EXT1 or EXT2, the euroconnector where
you connected your decoder.
Select Off if you do not want the selected programme number being activated
as a decoder programme number.
DECODER/
DESCRAMBLER
Programme
Decoder Status
Fast exit from the menus
4 Keep the MENU key pressed to switch off all menus.
Install TV Configuration
Different options can be selected depending on the different peripheral
equipment you may have connected to your TV.
4 Select TV Configuration with the keys V or W and press OK.
5 The TV CONFIG. menu appears and Audio Output lights up.
Audio Output
If you have audio equipment or another external sound source connected to
your TV, you can select two types of audio output.
4 Select Variable with the keys B or C if you want to adjust the volume of
your audio equipment via the TV.
Select Constant if you want to adjust the volume with the volume control
of your audio equipment.
Ext2 Output
See Record with your video recorder, p. 34.
CD-i/Photo CD
See Connect Peripheral Equipment, TV and a CD-i/Photo CD, p. 30.
Information Line
4 Select Information Line with the keys V or W and press OK.
4 Press the keys C or B to select On.
5 After the selection of a TV channel or after pressing the key J on the
remote control, a TV channel which broadcasts teletext may transmit the name
of the TV channel or the programme name or another message which appears
briefly in the information line at the bottom of the screen.
4 Press the keys C or B to select Off.
5 The information line will only appear after pressing the key J on the remote
control, see p. 21, and not after the selection of a TV channel.
4 Press MENU.
5 The INSTALLATION menu reappears.
TV CONFIG.
Audio Output
Ext2 Output
CD-i/Photo CD
Information Line
c
VCR 1
VCR 2
SAT
AMP
TUNER
TAPE
DCC
CD
TV
B
B
B
B
OK
M
a
0
a
K
L
K
L
B
TV
MENU
English
11
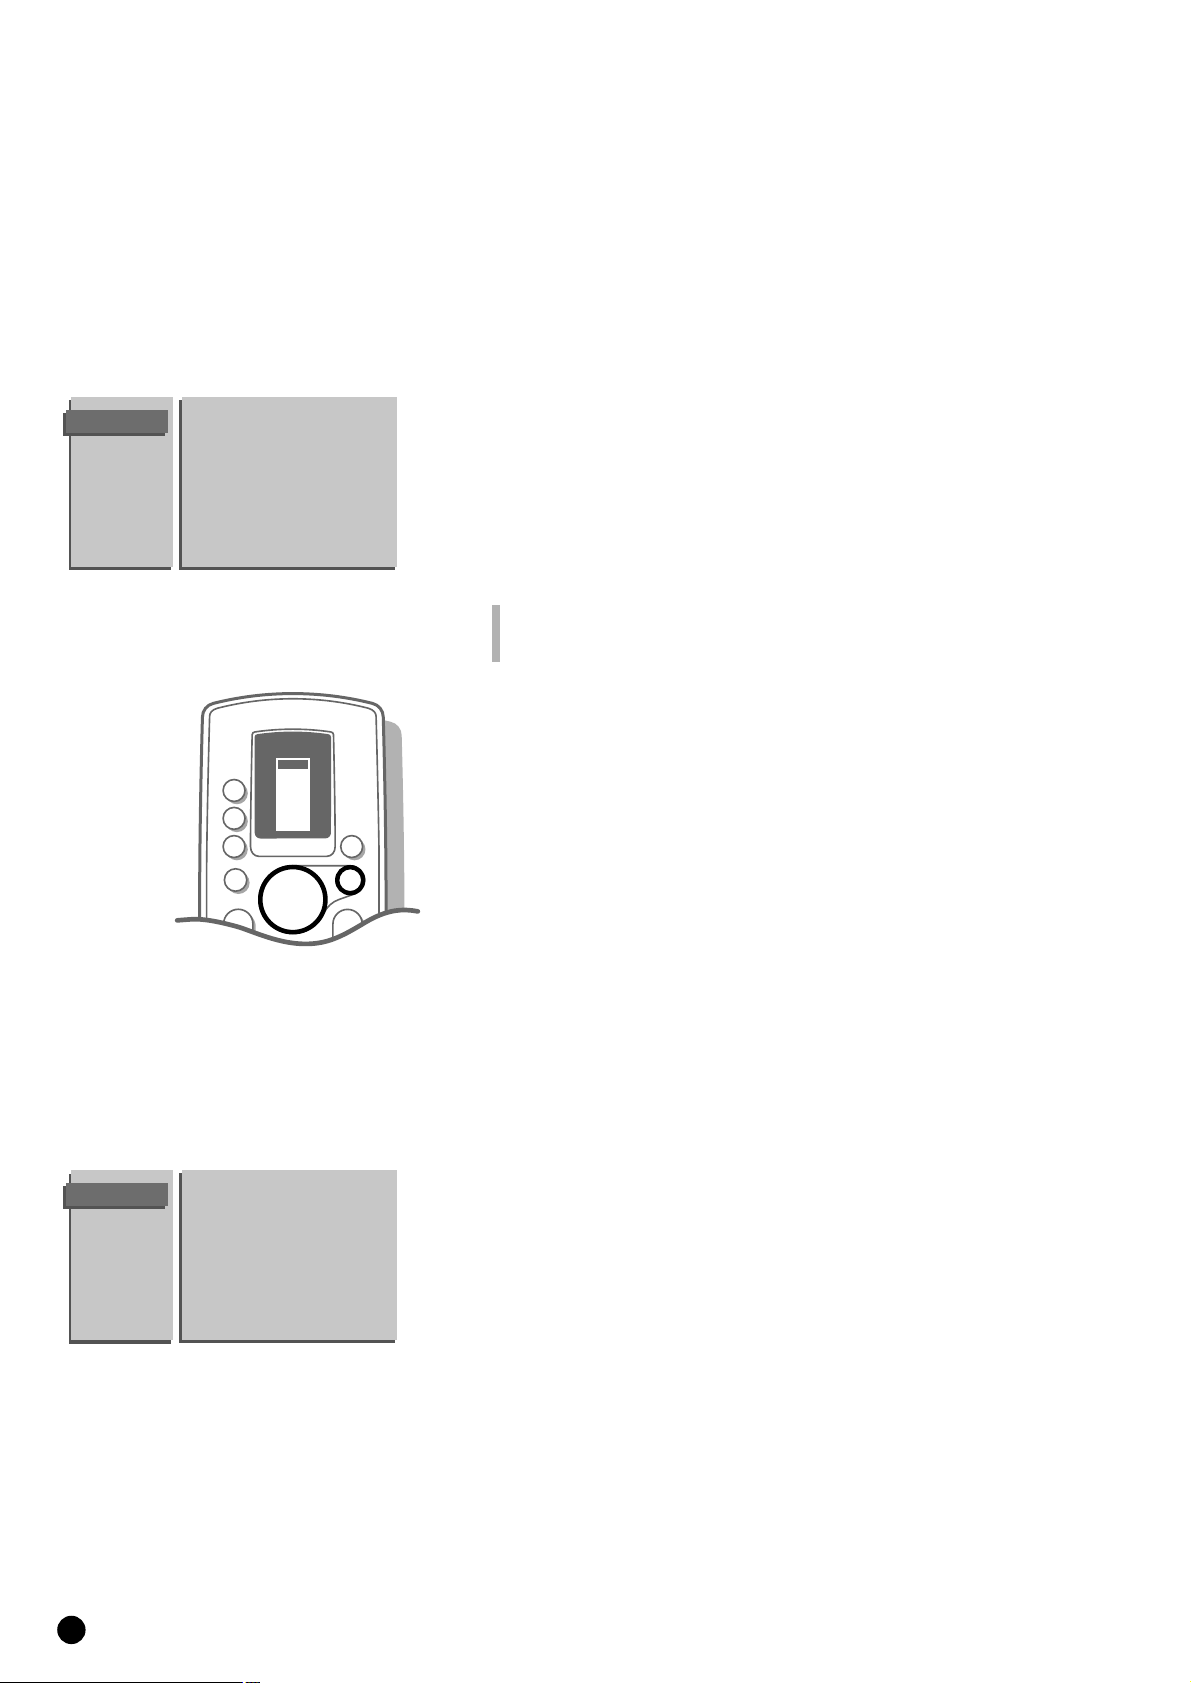
Operation
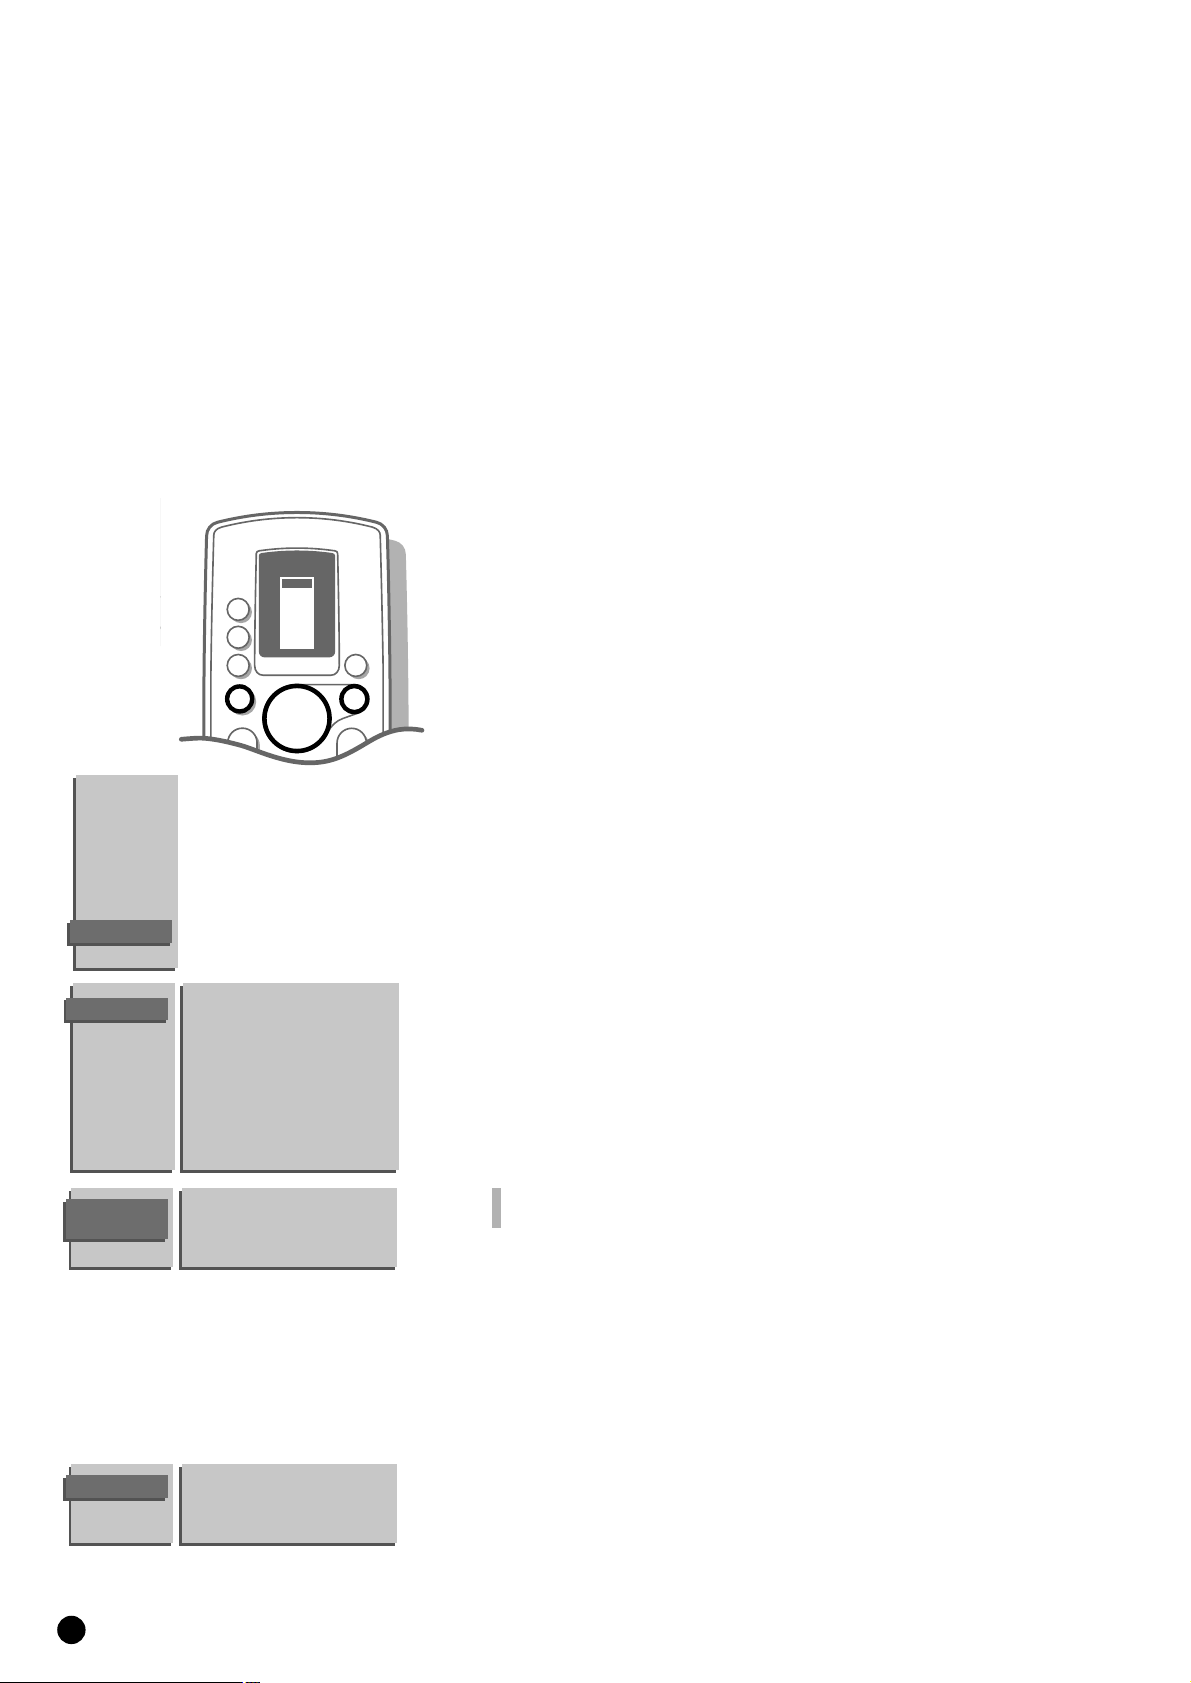
To be operational with the remote control
your TV should be in the TV operation
position.
If this is not the case, first press the TV
key left of the display. The letters TV in
the display of the remote control appear in
a black block for a few seconds.
Every time you press a key on the remote
control, a green lamp on the front of your
TV set blinks.
Switch TV on
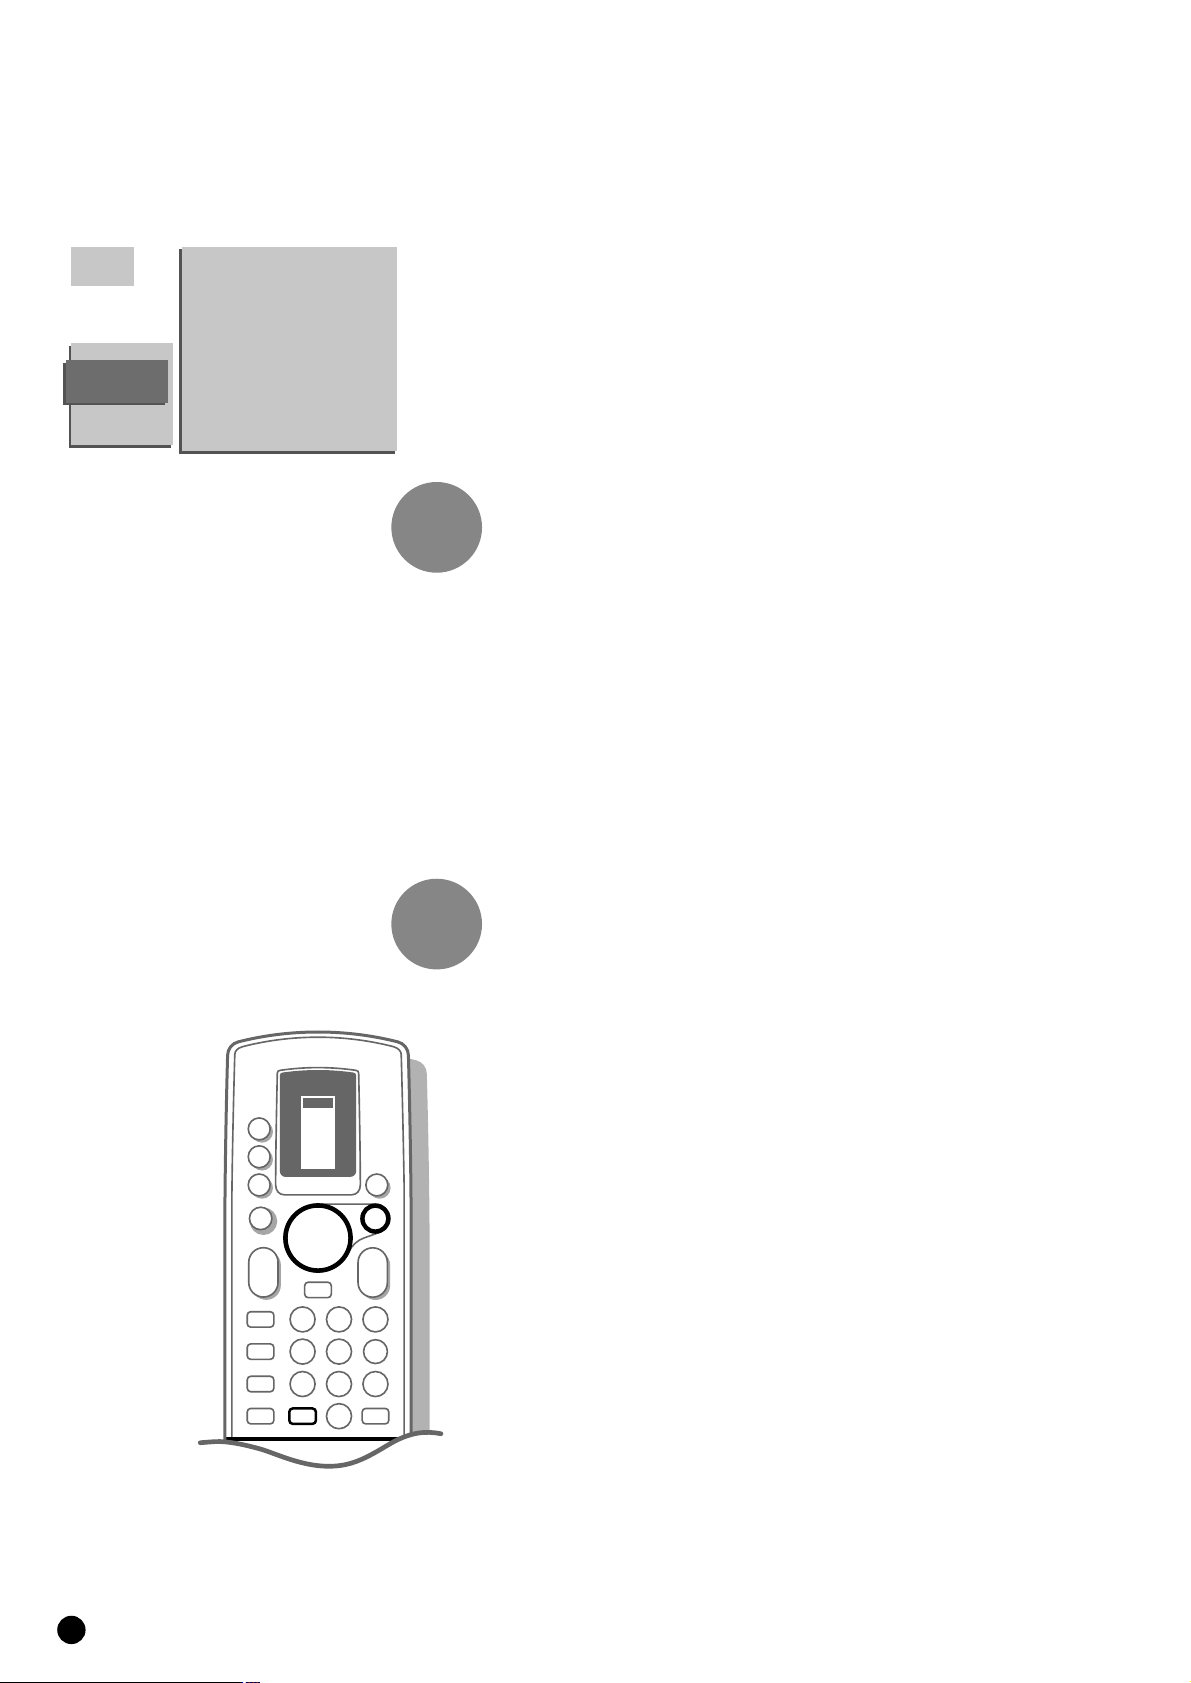
4 Press A on the front of your TV.
5 A green lamp lights up and the programme appears.
5 Does a red lamp light up ? Your TV is on standby. Read on.
Switch to standby
4 Press the red standby key B at the top of the remote control to switch the
TV off temporarily.
5 A red lamp on the TV lights up.
4 Press the digit keys or P - or + in order to switch the TV on again.
If for a period of 10 minutes no aerial signal is received, then your set
automatically switches to standby.
Your TV consumes energy in the standby mode. Energy consumption contributes to air
and water pollution. We advise to switch off your TV overnight instead of leaving it on
standby. You save energy and the picture tube is demagnetised which maintains
good picture quality.
Select TV channels
4 Select the TV channel with the digit keys or with the key P - or + on the
remote control.
4 For a two digit programme number, enter the second digit within 2 seconds.
Quickly run through the TV channels from the Favourite list.
4 Press the P - or + key repeatedly.
Adjust the volume
4 Press a - or +.
If you want to store the volume adjustment in the memory, see the Features
menu, General PP Store, p. 17, to store the same volume adjustment for all the
stored TV channels.
Temporarily interrupt the sound
4 Press c.
5 The sound is temporarily interrupted.
4 Press c again to get the sound back.
Switch menus on and off
4 Press MENU on the remote control.
5 The MAIN MENU appears.
4 Use the keys V and W to make a selection of the Main Menu items.
5 Your selection lights up.
4 Press the OK key on the remote control to activate the selected menu.
4 Press MENU again to return to the previous menu.
4 Keep the MENU key pressed to switch off all menus.
c Sound Muted
a
M
TV
MENU
a
E
TV
SAT
B
1
TUNER
TAPE
DCC
CD
B
B
B
c
23
B
OK
K
0
L
VCR 1
VCR 2
AMP
K
L
e
456
c
789
a
J
0
2
12
Main Menu
SMART CONTROLS
Select the picture settings
During manufacture four types of picture setting have been pre-defined.
You can choose among these four different settings with the
PICTURE key of
the smart controls on the door of the remote control.
4 Press the Smart Controls' key PICTURE repeatedly to select : Soft, Natural,
Rich or Personal.
5 The picture setting possibilities are displayed briefly on top of the screen.
The picture settings correspond with a specific predefined setting of Contrast,
Colour, Sharpness and Dynamic Contrast.
Personal refers to the personal preference settings of contrast, colour,
sharpness and dynamic contrast you can adjust in the
PICTURE menu and store
with General PP store in the
FEATURES menu.
Adjust picture settings
4 Press MENU on the remote control.
5 The MAIN MENU appears and PICTURE lights up.
4 Press OK.
5 The PICTURE menu appears.
4 Select with the keys V and W the adjustments of Contrast, Brightness,
Colour, Sharpness, Tint, Digital Scan and Dynamic Contrast you want
to change.
When you are watching a TV channel in the NTSC-system, the option Hue also
appears and can be adjusted in the
PICTURE menu.
4 Press the keys C or B to alter the selected adjustment.
5
The PICTURE menu disappears and only the selected menu item remains
(including its bar) on the screen.
5 The PICTURE menu reappears after a few moments or by pressing OK .
Now you can select another adjustment with the keys
V and W.
5 The picture setting in the Smart Controls for PICTURE is set to Manual until
the modified adjustments are stored.
Sharpness
The selected setting for Sharpness is stored only for the selected TV channel
after the indication disappeared.
You can adjust the sharpness for each TV channel separately.
PICTURE
Contrast
Brightness
Colour
Sharpness
Tint
Digital Scan
Dynamic Contrast
MAIN
MENU
PICTURE
SOUND
FEATURES
PROGRAMMES
INSTALLATION
PICTURE SOUND
 Loading...