

Page 1
PHILIPS
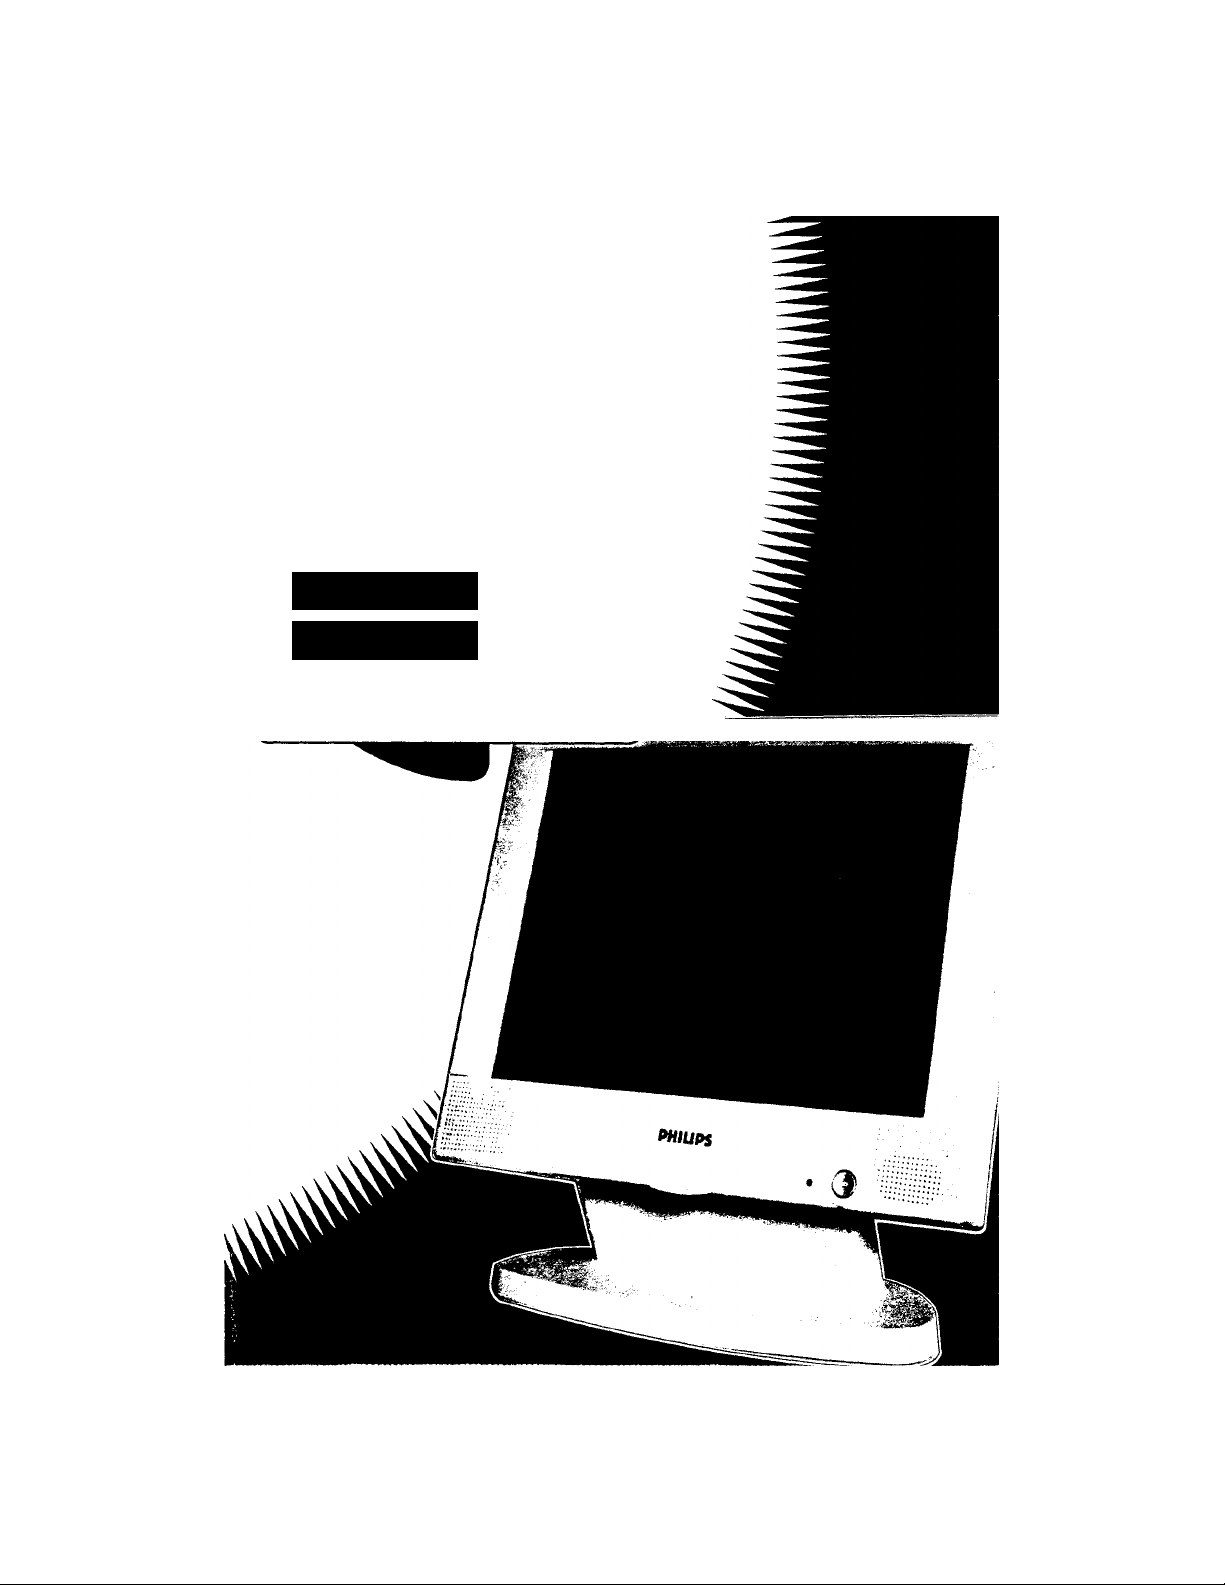
BRILlk^E
LCD XGA MONITOR
14.5" TFT
miuAHci,,..,
14.5“ VIS colour TFT LCD monitor comparable to a 17“ CRT monitor
Analog video interface for full compatibility with standard video cards
Fine 0.288mm dot pitch with 1024 x 768 resolution
- L
----------
Page 2

Attention!
When setting up your video card for use with the Philips Brilliance 4500AX.
Please
DO NOT USE INTERLACED MODES
An interlaced video signal may result in image distortion but will not
cause permanent damage to the monitor.
PHILIPS
Page 3

Contents
Names of Parts and their Functions 7
Connection 9
Connector Pin Configuration 10
Operation 11
Adjustment 13
Clock Adjustment 17
Automatic Adjustment Function 18
Power Management Function 19
Audio 20
DDC 21
Preset Timing 22
Troubleshooting 25
Specifications 27
Page 4

Page 5

Safety Instructions
The folfowing section describes instructions that should be
followed to prevent any danger to users and others as well as
damage to property.
DANGER: Neglecting to follow instnictions with this symbol may lead
to death, serious injury or other damage.
CAUTION: Neglecting to follow instructions with this symbol may lead
to injury or material damage only.
Cautions:
♦ If a malfunction occurs, immediately turn off the power switch,
unplug the AC cord, and consult your service representative.
♦ Do not connect the LCD Monitor to a power source with a voltage
other than the one indicated, doing so could result in fire or
electrical shock.
♦ Usage of outlets and wiring that causes the rated voltage to be
exceeded should be avoided. If the rated voltage is exceeded
through the use of a muitiple plug or other device, it could lead to
fire caused by overheating.
♦ Do not damage, modify, place near a heating device, bend sharply,
twist, pull, place heavy objects on or bundle up the power cord.
♦ Failure to insert the power plug and AC adapter in securely could
lead to electrical shock or overheating.
♦ Do not use damaged plugs or loose outlets.
♦ Do not remove any screws, or disassemble or modify the LCD
Monitor, doing so could result in a fire or electrical shock hazard.
♦ Do not insert or remove the power plug with wet hands, doing so
could lead to electrical shock.
♦ If dust collects on the power plug, humidity and other factors could
cause bad insulation, leading to fire. Remove the plug and wipe it
clean with a dry cloth.
♦ In case that substances get inside the LCD Monitor, immediately
turn off the power switch, unplug the AC cord, and consult your
service representative.
Page 6

Cautions
Using the AC adapter with any device other than the LCD Monitor
could lead to smoke emission.
Pulling the power cord could damage the cord and lead to fire or
electrical shock.
Do not place the LCD Monitor in an unstable location, doing so
could injure you by falling down.
Do not move the LCD Monitor with the power plug inserted, doing
so could damage the power cord and lead to fire or electrical
shock.
If the power cord is damaged, immediately remove the power plug
and consult your service representative.
When not using the LCD Monitor for an extended period of time,
such as when you are away on a trip, unplug the power cord for
safety.
♦
Do not close the holes for ventilation, doing so could lead to fire.
♦
Do not place the LCD Monitor in a highly humid or dusty location,
doing so could lead to fire or electric shock.
Always turn the volume to low before attaching and using the
headphones, then turn it up slowly to the optimum level.
Attaching the headphones without checking if the setting is high
could lead to ear damage.
Do not use the headphones for an extended period of time at a
loud volume.
If you become used to the loud volume and raise it even higher, it
could adversely affect your hearing. Lower the volume or stop use
if you notice anything wrong with your hearing.
Page 7

Other Cautions:
Power Supply
♦ Always use the special AC adapter supplied with the LCD Monitor.
♦ When not using the LCD Monitor for an extended period of time,
remove the AC adapter plug from the AC wall outlet.
♦ A marginal amount of electricity of 1 W or less will be consumed
even when the power switch is turned off or when the AC adapter
DC plug is disconnected from the display unit.
LCD Panel
♦ Do not expose the LCD panel to direct sunlight or ultraviolet light.
♦ Do not apply excessive force on the display surface.
♦ Do not press sharp or pointed objects against the display.
Cleaning
♦ Wipe the cabinet using a well-wrung soft cloth soaked in water or a
mild cleaning agent.
♦ Avoid the use of solvents such as benzene or thinner.
♦ If using chemically-treated wipe cloths, follow the instructions for
use.
Surface of the Display
♦ Soak a soft cloth such as one made of gauze in isopropyl
alcohol or ethyl alcohol and lightly wipe the surface of the
display. Avoid dusting it or wiping it with a cloth dampened with
water.
♦ Do not use ketone substances such as acetone or solvents such
as xylene or toluene to clean the display.
Page 8

Installation Locations
Avoid Heat and Cold Extremes:
♦ Do not store or use the LCD Monitor in locations exposed to heat,
direct sunlight, or extreme cold.
♦ Avoid moving the LCD Monitor between locations with large
temperature differences. Choose a site falling within the following
temperature and humidity ranges.
Temperature: 5-35° C
Humidity: 20-80% RH
♦ Do not subject the LCD Monitor to severe vibration or high impact
conditions. Do not place the LCD Monitor inside a car trunk.
♦ Take care not to knock this product off the top of your desk or drop
it when operating or transporting it.
♦ Do not store or use the LCD Monitor in locations exposed to high
humidity or in a dusty environment. Also, do not allow water or
other liquids to spill on or into the LCD Monitor.
♦ Do not place the LCD Monitor near a television or radio receiver,
or other equipment radiating RF energy fields.
♦ If the rotating mechanism does not operate properly, wipe off the
rubber on the underside of the stand base. The tilt swivel stand of
the LCD Monitor is equipped with a rotating mechanism which may
not work properly if dust and other dirt adheres to the rubber on the
underside of the stand base, depending on the installation site. If
necessary, carefully remove all the dust and other dirt adhering to
the rubber.
Accessories
1. AC adapter
2. AC cord
3. Signal Cable
4. Audio Cable
5. Tilt Swivel Stand
(the main unit and stand are connected at shipment)
6. Operating Instructions
Page 9

Names of Parts and their Functions
Front:
n
©
© © ®
Power switch
Power indicator
Lights green or orange when the power is connected.
LCD contrast control
Turn up to increase the contrast.
Turn down to decrease the contrast.
Brightness switch
*
Allows display brightness to be adjusted.
Adjustment switch cover
*
Open this cover and use the buttons inside to make various
adjustments.
Headphone jack
*
Connect a 32 ohm headphone.
Volume control
Tilt swivel stand
Tilts fonvard and back 0-30°.
Rotates 120° to the left and right.
Caution:
Depending on the installation site, dust and other dirt may adhere to
the rubber on the underside of the stand base, preventing it from
working properly. If this happens, remove all the dust and other dirt
from the rubber.
Page 10

Rear:
* Covers the cable after it has been connected.
* When removing the covers, start with the top cover, followed by the
bottom.
* When attaching the covers to the stand, start with the bottom cover,
followed by the top.
©. RGB signal input connector (RGB IN)
* Connect the video signal cable here.
®. Audio input jack (LINE IN)
* Connect the supplied mini plug cord here.
@. DC IN jack ( DC IN )
* Connect the supplied AC adapter DC plug here.
Page 11

Connection
Connecting the Power Source
1. Insert the AC plug into the AC adapter
2. Insert the AC plug into the wall outlet.
3. Connect the DC plug to the LCD Monitor.
4. Insert the DC plug of the supplied AC adapter into the DC IN Jack of
the LCD Monitor.
Caution: Never use an AC adapter other than the one supplied.
When using a Macintosh Computer
Macintosh video
conversion adapter
* Connect by using a conversion adapter (not included) as shown.
Caution; When connecting the LCD monitor to the Macintosh
computer, use a Macintosh adapter purchased separately from a retail
outlet.
Page 12

Connector Pin Configuration
* Signal Input Cable
© ® © © ©,
© © ® © @
@ @ ® @ ©i
* 15-pin mini D-sub (male)
Pin
Number
10
Signal name Pin
Number
1 Red Image Input (R)
2 Green Image input (G) 10 Gound (GND)
3 Blue Image input (B)
4 Disconnected (NC) 12 DDCdata (SDA)
Disconnected (NC)
5
7 Ground (GND) 14
8 Gound (GND) 15 DDC data clock ( SCL )
Signal name
Disconnected (NC)
9
11
Ground (GND)
Horizontal synchronizing
13
signal (HSYNC)6 Ground (GND)
Vertical synchronizing
signal (VSYNC)
Page 13

Operation
Names of Adjustment Buttons and their Functions
©. Displays/clears menus of items to be adjusted.
(D. Moves values and items to be adjusted up/down.
®. Allows the selection of items.
* All adjustments are undertaken using the on-screen menu.
@. Stores adjustments.
* Storage Function for Adjustment.
* Adjustments and changes that have been made can also be stored.
(D. Initializes the stored items.
®. Starts the automatic adjustment function.
‘ The LCD Monitor automatically determines the display mode, in
accordance with the synchronizing signals of the computer being
used.
Storing
* Up to seven adjustments can be stored using the storage function.
The adjustments can be called up in accordance with the input
synchronizing signals.
* A total of seven adjustments can be stored as user defined mode
by pressing the [MEMORY] button after the adjustments have been
made.
* If more than seven adjustments have been stored, older adjustments
will be overwritten.
11
Page 14

Recalling a factory setting
* Press the [RESET] button.
The [RESET] screen appears. Select YES to initialize the factory
setting for the current display mode.
Recalling All factory settings
* Keeping the [SELECT] button pressed, press the [RESET]
button.
* [ALL RESET] screen appears. Select YES to initialize all
factory settings.
• The on-screen menu characters may flicker slightly. This is not a
malfunction.
12
Page 15

Adjustment
(I) General Adjustment:
• Enter the adjustment mode.
• By pressing [MENU] button.
AUTO RESETHEMORSELECCOWN UP MENt
t
(II) Select the item to be adjusted.
• Press the [UP] and [DOWN] buttons to move the cursor up
and down among the items to be adjusted.
(Ill) Press the [SELECT] button to select the item to be
adjusted.
Perform the adjustment
H.POSITION: Moves the screen to the left and to the right.
• [UP] button —Scrolls the screen to the right.
• [DOWN] button —Scrolls the screen to the left.
• Confirm the adjustment by pressing the [MENU] button.
• To store further adjustments, press the [MEMORY] button.
PINT
IPT-iASTT.
olook:
FR E: QTXEIsrC'
13
Page 16

V.POSmON: Moves the screen up and down.
• [UP] button—Scrolls the screen up.
• [DOWN] button—Scrolls the screen down.
• Confirm the adjustment by pressing the [MENU] button.
• To store further adjustments, press the [MEMORY] button.
PHASE: Clock phase adjustment (adjust when characters and
other items displayed flicker).
• Adjust to reduce the flickering (blurring) of characters to a minimum.
■V, :E>osxa?xc
oi_.ook:
ip X OT ij Ft e:
Buiii
CLOCK: Allows adjustment of the horizontal synchronizing clock
value. (Adjusted for the factory setting.)
• In some cases, there may be some vertical flickering even when
PHASE is adjusted. This is because the personal computer image
signal timing is off and does not correspond to the standard timing
indicated in p. 21-22. You can correct the problem by adjusting the
CLOCK value. Refer to the page on “CLOCK Adjustment”
concerning how to perform the adjustment.
H - E>OSXTXC
V . r»03XTXC
v:,
x>xc:tof?.e;
or.,ooi<:
3 jR e: QTJEiisro
14
Page 17

PICTURE: Adjusts the screen.
• Select the item to be adjusted.
• By moving the cursor using the [UP] and [DOWN] buttons.
• Confirm the adjustment by pressing the [MENU] button.
• To store further adjustments, press the [MEMORY] button.
Perform the adjustment
CONTRAST
• Standard adjustments have been made to the LCD Monitor as
the factory setting, however, depending on the computer
connected, color blurring may result and the correct gradations
may not be achieved. If this happens, adjust the contrast.
BRIGHTNESS
• Adjust the brightness of the screen.
• (The optimum value has been selected as the factory setting.)
mm
R.G.B SUBCONTRAST
• Adjust the contrast of each RGB color to change the tones.
• (The optimum value has been selected as the factory setting.)
15
Page 18

COLOR SELECT
• COLOR 1 and COLOR 2 are reserved for future models which
allows users to select:
COLOR 1 for 16,000,000 colors display
COLOR 2 for 260,000 colors display
The current setting is 260,000 colors for both COLOR 1 and
COLOR 2.
SIZE
• Set the display size when the display mode is not 1024x768.
• NORMAL shows the displayed picture element at a size
matching that of the LCD screen picture element.
• EXPAND shows it at a size that fills the entire screen. (As the
displayed picture element is enlarged, there may be some
distortion of characters.)
• EXEAND has been selected as the factory setting.
A£V<V4Jl
S X Z E-
FREQUENCY:
• Displays the frequency and polarity (P:positive N:negative) of the
horizontal and vertical synchronizing signals from the connected
video card.
и . X-OS X'XXC
\r . XOSXTXC
EFiASE
OEOdK
EXOTUFtE
16
Page 19

Clock Adjustment
* Display a screen which consists entirely of background color, such as
Windows software. Select H.POSITION from the menu and adjust
the left and right positions so that the left edge of the background
aligns with the left edge of the display area.
Display area
—f in case “a“
1. Make the following adjustments in accordance with
the right edges.
(a) When the right edge of the background is beyond the right edge
of the display area and is not displayed.
'Adjust the clock to reduce its value. Repeat adjustment of the
left and right positions and the clock until the background fills the
entire display.
(b) When the right edge of the background is displayed inside the
display area.
'Adjust the clock to increase its value. Repeat adjustment of the
left and right positions and the clock until the background fills the
entire display.
2. If there is flickering of characters and other items across
the entire screen after adjustment is completed, adjust
PHASE.
3. After performing the adjustment, press the [MEMORY] button and store the adjustment.
17
Page 20

Automatic adjustment function
* Depending on the video card used, adjustments to [H.POSITION],
[V.POSITION], [CLOCK], and [PHASE] may be necessary, even if
they have been preset. The same adjustments are required when
using the display with input signals that have not been preset.
These adjustments can be made manually on the on-screen menu,
but can be performed more efficiently with the automatic adjustment
function.
The automatic adjustment function is operated foilowing the steps below.
1. Input a signal with an image that fills the entire screen and display
it. (Use as bright an image as possible.)
2. Press the AUTO button without the on-screen menu displayed.
(The screen will disappear for a while.)
3. Check that [H.POSITION], [V.POSITION], [CLOCK], and [PHASE]
are at their correct settings and make any fine adjustments using
the on-screen menu if necessary.
4. Press the [MEMORY] button and store the adjustment.
This function may not operate correctly, depending on
the image input when the adjustments are made, if this
is the case, use the on-screen menu to make
adjustments.
With input signais that have not been preset, signais
other than those with a resoiution of 640 x 400, 640 x
480, 800 X 600, and 1024 x 768 cannot be adjusted
correctly. Furthermore, "interlaced" signals also
cannot be correctly displayed.
If the automatic adjustments do not operate correctiy
and the screen cannot be displayed, press the RESET
button followed by the SELECT button to return to the
screen before the automatic adjustments.
18
Page 21

Power Management Function
* The LCD Monitor conforms to the DPMS standards of VESA.
* In order to operate the electricity saving function of the LCD Monitor,
the video card and the computer must also meet the DPMS
standards of VESA.
* VESA: Video Electronics Standards Association
* DPMS: Display Power Management Signaling
The LCD Monitor changes to the modes indicated in the following
table, depending on the input signal.
DPMS
Mode
ON
STATE
STANDBY No
SUSPEND No
OFF
STATENodisplay
Screen
Status
Display
Status
display
display
LED
Electricity
Color
Green
Consumption
Normal Not
Orange
Orange 3.0 W
or less
Orange Within
Recovery
Time
applicable
Within
1 secorKj
Within
1 second
1 second
Horizontal
Sync
Yes
No Yes
Yes No
No
Vertical
Sync
Yes
No
*ln the STANDBY, SUSPEND, and OFF STATE described
above, the audio function is also off.
19
Page 22

Audio
Audio Function
• The speakers allow you to enjoy music and other sounds through
connection to the sound output terminal of computers and audio
equipment.
Connection with Computers and Audio Equipment
• Use the supplied mini plug cord to connect the display to the audio
sound output of computers and audio equipment.
Headphone Use
• Connect the headphone to the headphone jack (mini jack).
Volume
• Adjust the speaker and headphone volume with the volume control.
• Turn the volume control to low before using the headphones, then
turn it up slowly to the optimum level.
Notes:
• Enjoy the display at an appropriate volume, not too loud for your
ears and not disturbing to those around you. Be careful not to turn
up the display volume too high when listening without any break for
an extended period of time.
• Lower the volume or stop use if you notice anything wrong with
your hearing.
• Your ears can adapt to loud sounds if you listen to them without
any break. If you become used to the loud volume and raise it
even higher, it could adversely affect your hearing. Keep the
volume down, and be careful not to raise it too high.
• When adjusting the volume, turn the volume to low, then turn it up
slowly to the optimum level.
• After adjusting the volume to the appropriate level, use that level as
a guide to ensure that you do not turn it up too high.
• Turn the volume control to low when you are not using the audio
function.
• Do not turn the display power switch on or off if a signal is input in
the audio input connector of the display.
Caution; Connection to headphones with remote controller functions
may not always be possible.
20
Page 23

DDC
DDC (Display Data Channel) is a signaling standard established by
VESA to realize plug and play performance for displays and
personal computers. It allows the recreation of an optimum display,
exchanging display-related data concerning items such as
resolution between the display and the personal computer. In order
to make use of this function, your computer must be designed for
DDC.
There are several different types of DDC; DDC type varies
according to factors such as the communications system. The LCD
Monitor has been designed for DDC1 and DDC2 LEVEL B.
21
Page 24

Preset Timing
The following 13 timings have been stored in the factory setting.
Preset Number 1
Data Segment
Displayed Picture Element
Horizontal Frequency 31.47 31.47 37.86 37.86 35.00
Vertical Frequency
Synchronizing Signal Polarity 31.78 31.78
Horizontal Period
Horizontal Synchronization
Pulse Width
Horizontal back porch 25.42 25.42
Horizontal Data Display Period 16,68 14.27
Vertical Synchronization Pulse
Width
Vertical back porch 1.05 1.11
Vertical back Display Period 15.25 12.71 12.68
Preset Number
Data Segment SVGA SVGA SVGA SVGA
Displayed Picture Element
Horizontal Frequency 46.88 48.88 37.88 35.16 49.72
Vertical Frequency 75.00 72.19
Synchronizing Signal Polarity
Horizontal Period
Horizontal Synchronization
Pulse Width
Horizontal back porch 16.16 16.00
Horizontal Data Display Period 13.33 13.85
Vertical Syrrchronization Pulse
Width
Vertical back porch 0.45
Vertical back Display Period 12.80 12.48
VGA VGA
640x480
59.94
3,81
1.91
0.06
6
800x600
21.33
1.62 2.40 3.20 2.00 1.12
3.23 1.28 2.20 3.56 3.91
0.06 0.13 0.11 0.06 0.06
2
640x400
70.09 72.81
3.81 1.27 1.27
1.91
0.06 0.08 0.08 0.09
7
800x600 800x600
20.80 26.40 28.44 20.11
0.48 0.61
3
VESA
640x480 640x400
26.41 26.41 28.57
4.06 4.06
20.32
13.74
0.74
8
60.32
20.00
16.58
15.84
4
VESA
84.13
20.32 21.16
11.89
1.00 1.11
10.57 13.71
800x600
56.25 74.55
22.22 14.53
17.78
0.63
17.07 12.55
MAC
640x480
66.67
2.12
3.17
15.00
9
MAC
832x624
13.41
0.78
5
10
22
Page 25

Preset Number
Data Segment
Displayed Picture Element 1024x768 1024x768
Horizontal Frequency 56.48 48.36
Vertical Frequency
Synchronizing Signai Polarity 17.71
Horizontai Period 1.81 2.09 1.20
Horizontal Synchronization
Puise Width
Horizontal back porch 13.65 15.75
Horizontal Data Display Period
Vertical Synchronization Puise
Width
Vertical back porch 0.51 0.60 0.50
Vertical back Display Period 13.60 15.88 12.75
11
VESA VESA VESA
70.07
1.92 2.46
14.27 16.67 13.33
0.11 0.12 0.05
60.00 75.03
20.68
• Horizontal Synchronization Period
4. Horizontal data display period
12 13
1024x768
60.02
16.60
2.20
12.80
3. Horizontal back porch
—H^-------------
RGB signal
Horizontal synchronization signal
-1«— 2. Horizontal syncronization pulse
width
1. Horizontal period
• Vertical Synchronization Period
4. Vertical data display period
<---------------------------------------->
3. Vertical back porch
Vertical synchronization signal
2. Vertical syncronization pulse width
1. Vertical period
RGB signal
23
Page 26

Note:
• Display positioning may vary slightly according to the type of
video card connected. In this case, make adjustments with the on
screen menu and store them using the [MEMORY] button.
• When entering timing signals other than those shown above,
display the screen using the appropriate preset data. The power
indicator will then flash green. After adjusting the screen with the
on-screen menu or the automatic adjustment function, press the
MEMORY button to store the adjustments.
• When using a Macintosh, Sync on Green and Composite Sync
entry is impossible.
• VGA 640 X 350 and VESA 640 x 350 are displayed in the 640 x
400 mode.
• With the expand mode for preset number 10 in the above table,
819 X 614 is displayed in stead of the actual 832 x 624 resolution.
24
Page 27

Trouble shooting
The LCD Monitor may not always function as you would like. If you
suspect something is wrong, check the following.
If the LCD Monitor is not functioning correctly:
1. Stop use of the LCD Monitor, and check the items in the following
table, using the problems listed as a guide. Continued use may
result in internal adjustment data being lost.
2. Note down the type of operation you were performing and the
status of the LCD Monitor immediately prior to the malfunction.
Problem Item to be Checked
Nothing appears in the
display screen.
The display screen is
too dark.
The display screen has
turned off.
An after-image appears. • If an image remains in the screen for an
• Has the LCD contrast control been
adjusted correctly?
• The display may turn off automatically
due to the power saving function of
the computer. Press any of the keys of
the computer to return it to its original
state.
• Has the LCD contrast control been
adjusted correctly?
• Has the brightness switch been adjusted
correctly?
• The display may enter a standby or
suspended status due to the power
saving function of the computer. If it is in
such modes, press any key or move the
mouse of the computer to return it to its
original state.
extended period of time, it may
be imprinted in the screen and leave an
after-image. This usually disappears
after a few hours.
25
Page 28

Problem Item to be Checked
An after-image remains
after the power has been
turned off.
Green, red, and blue dots
remain on the screen.
• This is a characteristic of the liquid
crystal and is not caused by a
malfunction or deterioration of the
liquid crystal. The after-image will
disappear after a while.
• The remaining dots are a
characteristic of the liquid crystal, and
are not a malfunction.
26
Page 29

Specifications
(I) Item/Model:
LCD type
Pixel pitch
Resolution
Display Modes
Input Terminal/RGB
Power Source
Input
Power Consumption :
(DC input)
(During power saving mode):
Mass (weight)
Dimensions
(W X D X H)
Operating Environment
Temperature
Humidity
Input Terminal
RGB
Audio Input
Output Terminal
Headphone
Output (rated output)
Speaker Rated Output
14.5 inch color
TFT Liquid Crystal
0.288 mm x 0.288 mm
1024 X 768 pixels
1024 X 768, 832 X 624, 800 x 600,
640 X 480, 640 X 400, 640 x 350
15-pin mini D-SUB connector
AC adapter 15 V (DC) 100 - 240 V;
50/60 Hz
33 W
(3.0 W or less)
Approx. 5.0 kg
(3.2 kg for main unit only)
Main Unit
364 X 63 X 298 mm
364 X 150 X 368 mm
(Including stand)
5 - 35°C
20 - 80% RH (without condensation)
15-pin mini D-SUB connector
Stereo, mini jack
Stereo mini M3
32 ohm 50 mW
Stereo (1 W + 1 W)
This operating manual is subject to change without notice due to
product improvements.
No part of this operating manual can be reproduced without
permission.
Operating manuals with omissions and imperfections will be
replaced.
27
 Loading...