

Page 1

Philio Technology Corporation
www.philio-tech.com
Quick Installation Manual
PSC01 Z-Wave IP Gateway
PSE02 Multi Sound Siren
PST02 4 in 1 sensor
PAN11 Plug with Power Meter
Smart Home Kit
Page 2

Z-Wave IP Gateway
PSC01 the Z-Wave IP Gateway
can be connected wireless or
wired to the Internet and
wirelessly connects all of your
sensors so that you can receive
notifications via mobile
devices and also control
different smart devices in your
home or office.
Page 3

Know your Gateway
Here are the A.B.C.D. you need to know about PSC01.
5Vdc Power
USB slot
A. Front
White light LED for the Internet
indications
Lens : logo
B. Connections
Page 4

Know your Gateway
C. Green Lights LED
indications
Green LEDs indications
1. WiFi
2. Ethernet
3. Internet
4. Z-Wave
5. Power
Page 5
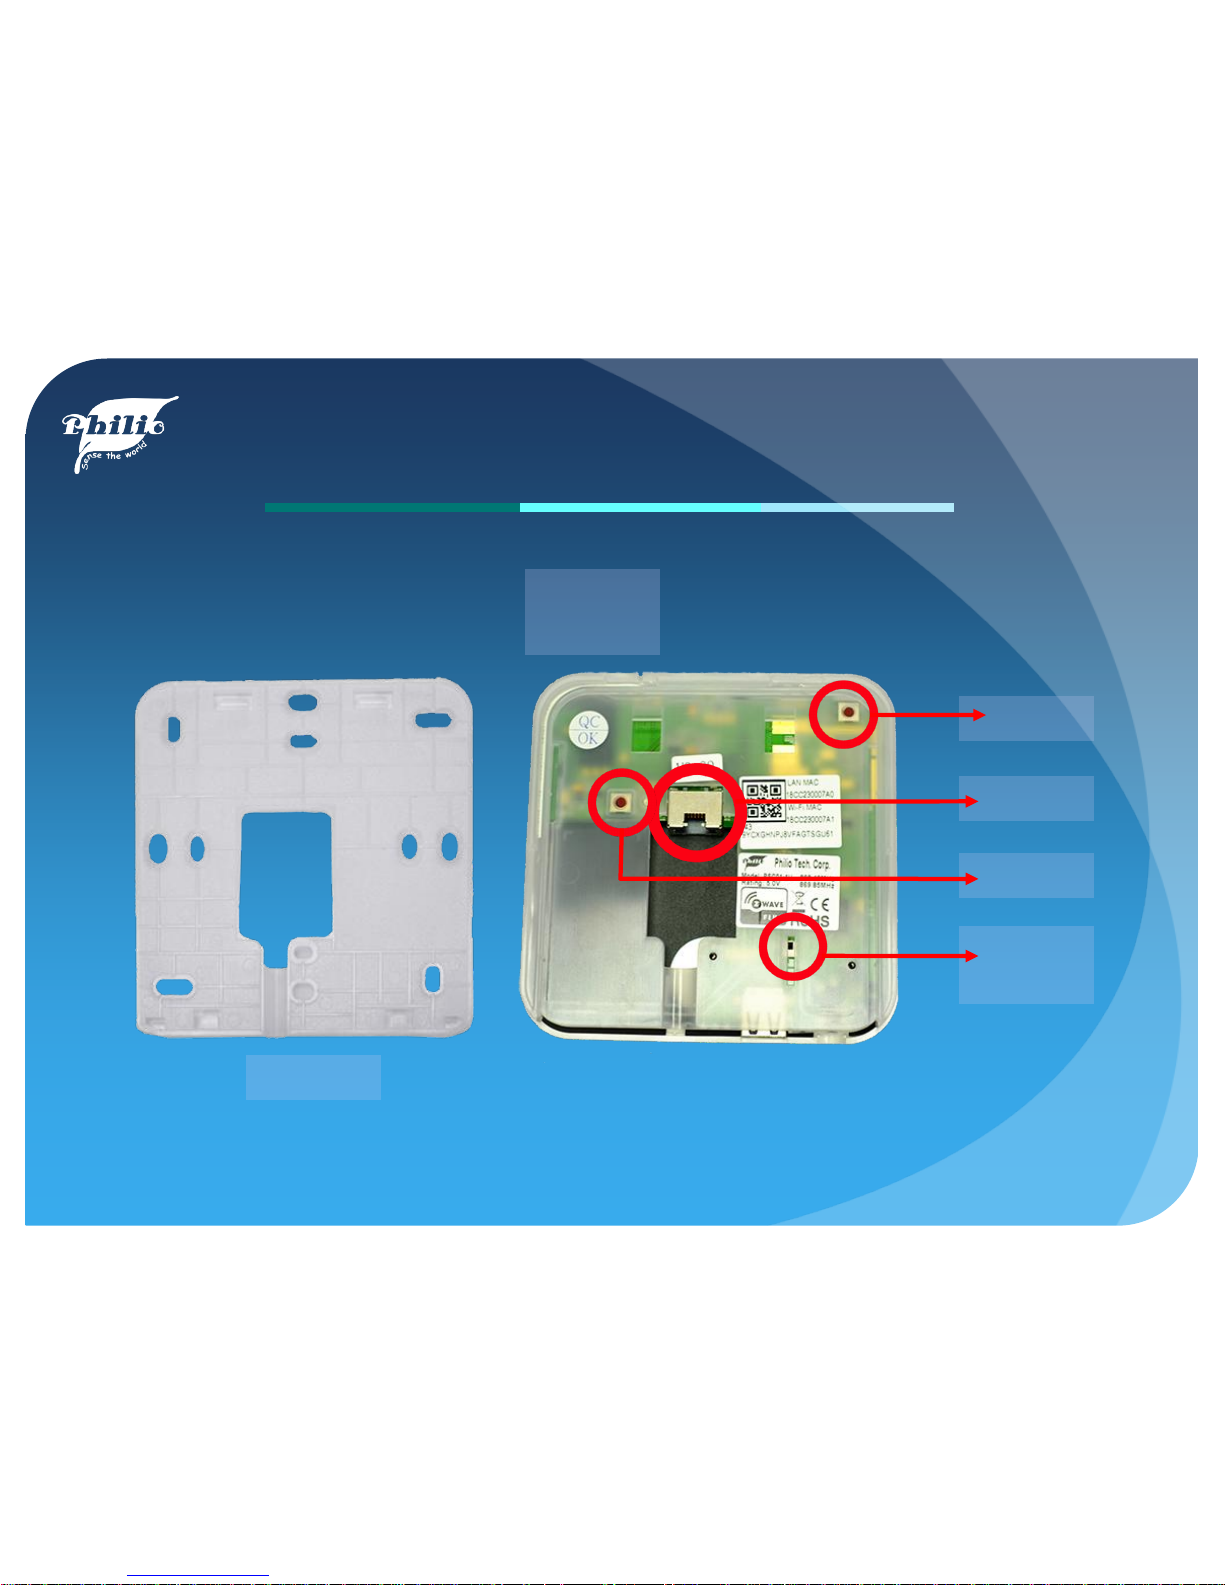
Know your Gateway
WPS
holder
D.
Back
Reset
RJ45
Tamper
Switch
Page 6

Installation 1 2 3
1. Download the APP
Search “Z-Wave Home Mate”
Or Scan QR Code below
Page 7

Installation 1 2 3
2.1 Connect PSC01 to the Router by Ethernet
cable
Ethernet
5Vdc Power
Router
PSC01
Note: when the network is built, LED light 2 on the side will flash.
Page 8

Installation 1 2 3
2.2 Connect PSC01 to the Router by
WPS
5Vdc Power
PSC01
Press the WPS button on the
Router and PSC01
And it will build a network
connection within 120 seconds.
Note: the white light LED will flash when WPS is making a connection.
Page 9

Add the Gateway Main page
Installation 1 2 3
3. Add the Gateway and access the main
page
Page 10

Add Gateway
Gateway Setting
To fill up UID/ IP Address: Select
either “QR Code” or “LAN
Search” to locate your Gateway
888888
Customize gateway
The default password is
“888888”
Page 11

Edit : edit the Gateway name
Gateway Setting
Edit/Delete/Change Password
Delete : delete the Gateway
Change Password : change default
password to personal password
Page 12

Gateway Setting
Sensor: the list of sensors and its infomation
Room : to create rooms and group the sensors
Scene: to create different scenarios for easy use
Macro: to create IFTTT (IF This Then That)
Schedule : set schedule for sensors, scenes,
and macros
APP basic functions
Page 13

Include : include the devices
Gateway Setting
Include/Exclude/Add IP cam
Exclude : exclude the devices
Add IPCam : add IP cam (Max. 4 cams)
Setting : User/App/Gateway Information
Page 14

4 in 1 Multi Sensor
Include PST02-A
2. While device is in
inclusion mode, click on
the setting icon and
select “Include.”
1. Remove the small black pull tab.
Note: when plugged for the first time, it will automatically be in the
inclusion mode, red light slowly flashing for 30 seconds.
Page 15

Exclude PST02-A
3. Device excluded then
the device is in the
inclusion mode.
2. Press tamper key on
the device 3 times
then the red light LED
will flash.
1. Click on the setting
icon and select
“Exclude”.
Note: when device excluded, it will automatically be in the inclusion
mode, red light slowly flashing for 30 seconds.
Page 16

Smart Plug with Power Meter
Include PAN11/PAN16
1. Plug the device into the outlet.
PAN16
PAN11
2. While device is including
mode, click on the setting
icon and select “Include.”
Note: when plugged for the first time, it will automatically be in the
inclusion mode, red light slowly flashing for 30 seconds.
Page 17

Exclude PAN11/PAN16
3. Device excluded then
the device is in the
inclusion mode.
2. Press LED key on the
plug 3 times then the
red light LED will flash.
1. Click on the setting
icon and select
“Exclude”.
Note: when device excluded, it will automatically be in the inclusion
mode, red light slowly flashing for 30 seconds.
Page 18

Multi Sound Siren
1. Plug the siren into the outlet.
2. While device is in
including mode, click
on the setting icon and
select “Include.”
Note: when plugged for the first time, it will automatically be in the
inclusion mode, red light slowly flashing for 30 seconds.
Include PSE02
Page 19

Exclude PSE02
3. Device excluded then
the device is in the
inclusion mode.
2. Press Tamper key on
the back of siren 3
times then the red
light LED will flash.
1. Click on the setting
icon and select
“Exclude”.
Note: when device excluded, it will automatically be in the inclusion
mode, red light slowly flashing for 30 seconds.
Page 20

IP Camera
5Vdc Power
Router
1. Connect IP camera same router as PSC01
2. Click on the setting icon and select “Add IP Cam”
Use either QR Code or LAN Search
to search for your IP cam. The
default Password is “888888”.
888888
IP Cam
Page 21

Mobile APP
Z-Wave Home Automation
• Easy to set up and manage with Philio full
product line
• Drag and Drop user interface
• Grouping sensors for different rooms
• Scene management
• IFTTT management
• Scheduling management
• Notification when sensor is triggered
• Max. add 4 HD network camera
• Max. 4 gateway connection within one APP
• P2P easy network connection
• Support multi language
• Available on iOS and Android
Page 22
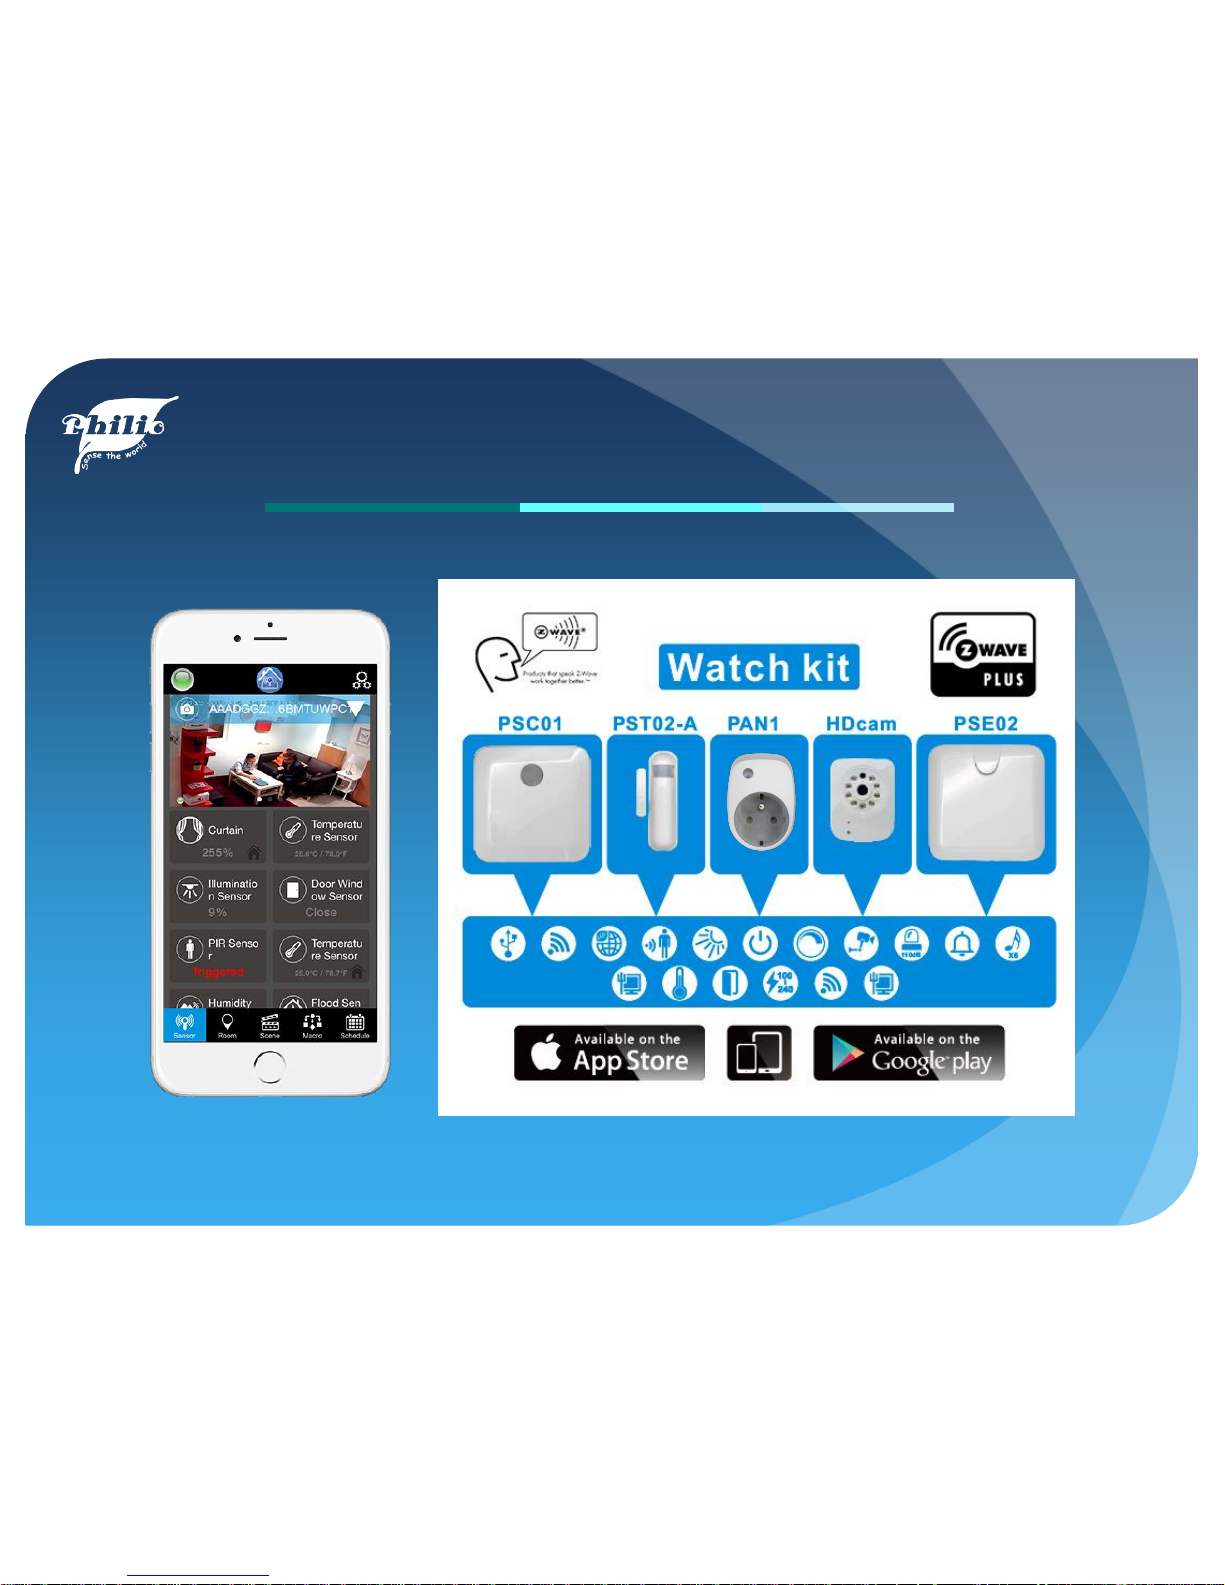
Smart Home Kit
Page 23
www.philio-tech.com
 Loading...