

Phenix PH50-2A42H-A, PH50-1A32H-A, PH50-1A31R-A, PH50-1A42L-A, PH50-2A43L-A User Manual
...Page 1

Phenix PH50 monoculaire microscoop
4503000
Page 2

Page 3

Although the design of our product provided the best safety for your usage.
But, inaccuracy of operation method or neglect the usage elucidation probably
cause body hurt and the prop-erty lose. For your safety. Before using this
instrument ,please carefulness reading the instructions.
Don’t lose the instruction manual, please saving it at near the instrument, in
order to consult at any time.
In this instructions, the safety hint is expressed the follow sign. Please you
must obey the sign, insure the right safety operation.
Page 4

Contents
1. Main Features .................................................................................................................................. 5
2. Usage and Coverage Area ............................................................................................................... 5
3. Electrical Capability ......................................................................................................................... 5
4. Working Circumstance of Microscope ............................................................................................ 6
5. Structure and Nomenclature ........................................................................................................... 7
6. Instrument’s Installation ................................................................................................................. 8
7. Operation Procedure ..................................................................................................................... 10
8. Digital Part, Installation and Useage of Parts ................................................................................ 16
9. Care and maintenance .................................................................................................................. 17
10. Replacing light bulb and fuse .................................................................................................... 18
11. Troubleshooting and Handling .................................................................................................. 20
12. Configuration table .................................................................................................................... 21
Page 5

1. Main Features
PH50 series biological microscope have Mono Viewing and Bino Viewing for
choice. And can be built-in CMOS or CCD camera system equipped with USB
output ports, making use of computer image processing software and computer
multimedia technology, so that you have observed show for variety of video
figures , can capture images of static and dynamic video, with Objective
measurement and a variety of image processing functions.
2. Usage and Coverage Area
PH50 is an ideal instrument for use in clinic and hospital laboratory, research
institution, university in the research of biology, pathology, bacteriology, also for
educational laboratory sessions.
3. Electrical Capability
3.1 Using the specified power supply:
For Domestic market: input Voltage: AC. 220V 50Hz.
For overseas market: input voltage: AC. 110V 60Hz ~ AC. 230V 50Hz
3.2 Using Specified Light bulb, Power wire, and Fuse
Halogen light: 12V/20W Fuse: 0.5A
Power wire: with earthed wire
Page 6

4. Working Circumstance of Microscope
This microscope is a precise optical instrument, if the usage or safekeeping isn’t
appropriate, it will cause the instrument damaged or influence precision. While
choose to use the place, please consider the following condition
The place for this microscope should not be too bright, and direct sun shine on
the instrument should be avoided.
The working temperature: 0℃-- 40℃. The maximum relative humidity: 85%,
the heat and humidity can stimulate the growth of mildew, which will cause the
damage to Microscopes and shorten its using life.
Dust can deteriorate the optical performance, avoid to use under such
circumstance.
Using the microscope On the steady and aclinic workbench.
Page 7

5. Structure and Nomenclature
Fig.1
(1) Viewing head:Viewing components.
(2) Stand: The microscope’s main body.
(3) Revolving nosepiece:Used to select objectives needed(Locate with sound).
(4) Objective:Magnify specimen for the first time.
(5) Slide clip:Clip specimen.
(6) Mechanical stage:Lay specimen
(7) Condenser moving knob:Adjust the height of condenser.
(8) Power plug:Connect power supply.
(9) Fine focusing knob:Tiny focusing.
(10) Coarse focusing knob:Large focusing.
(11) Power switch:Overall power switch of an instrument.
(12) Fuse:fixup fuse.
(13) Elasticity accommodable ring.
(14) Eyepieces: Magnify specimen for the second time, put up observation.
(15) Condenser screw bolt: Fixup condenser.
(16) Axis Y moving knob:Adjust working stage transverse motion.
(17) Axis X moving knob:Adjust working stage lengthways motion.
Page 8
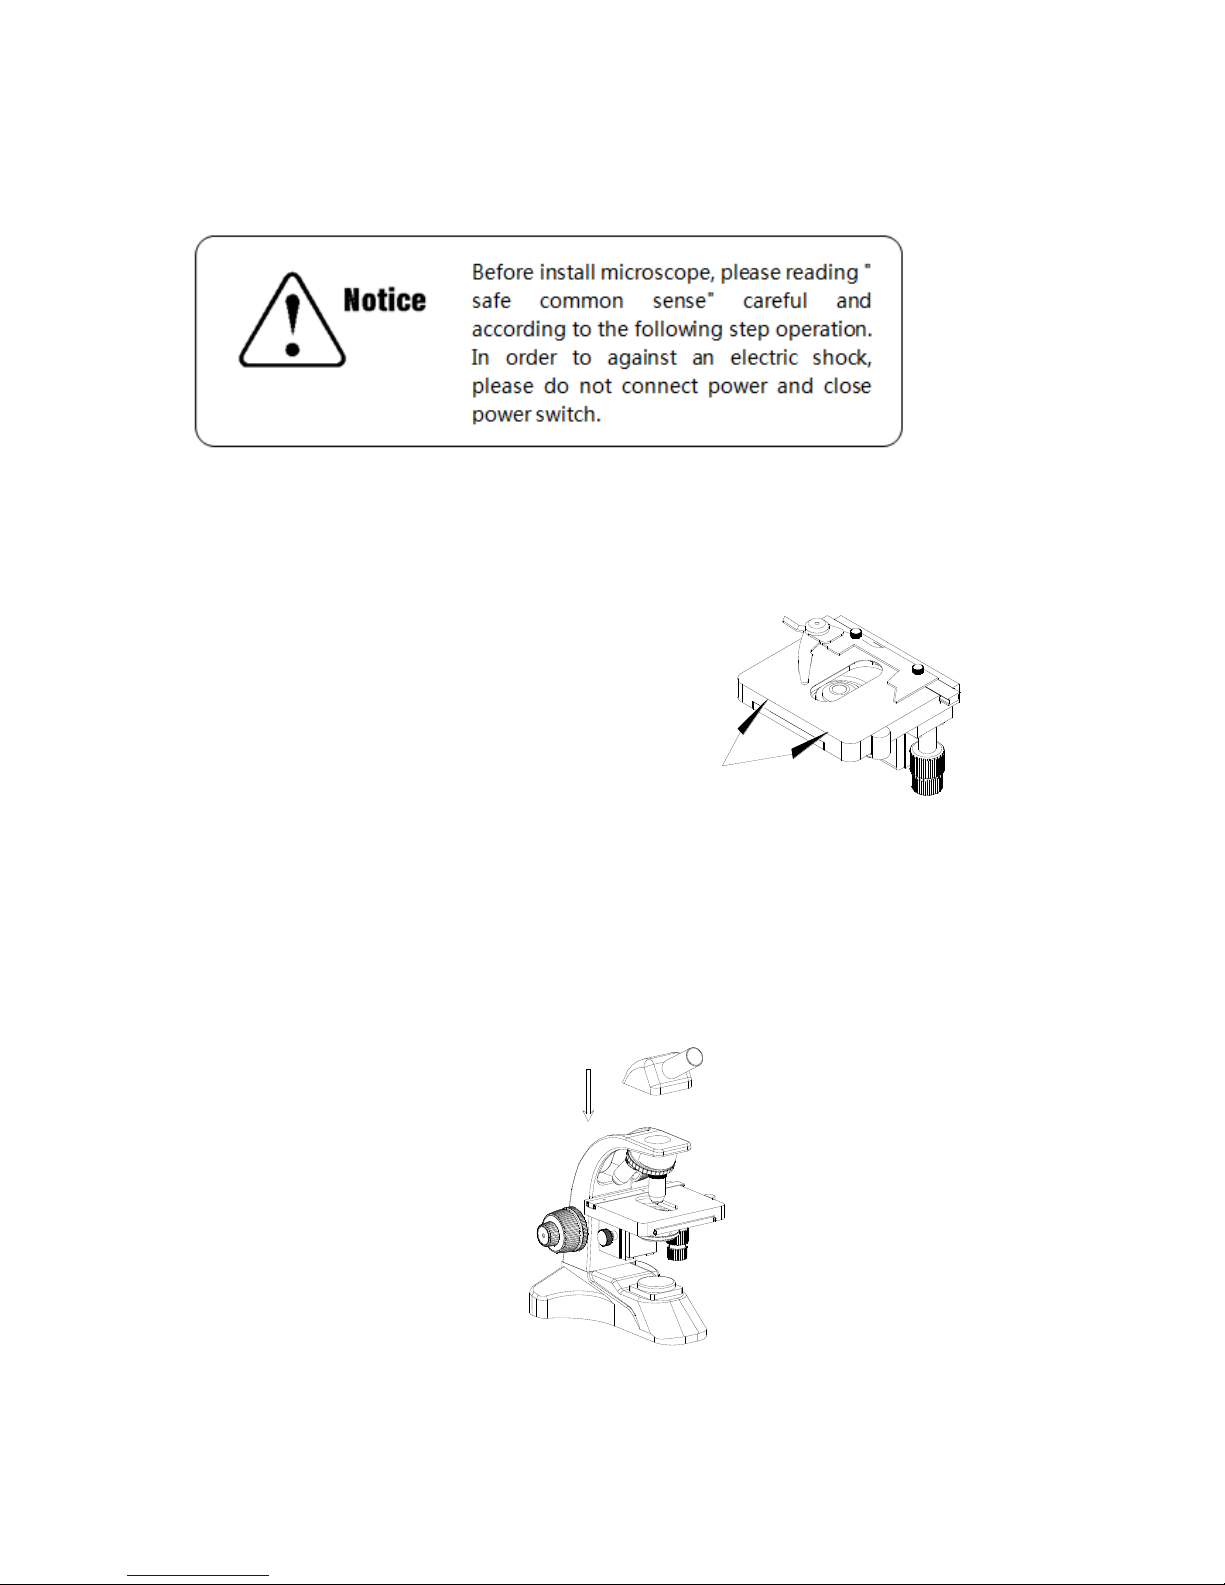
6. Instrument’s Installation
6.1 Place the microscope on a flat and stable working table, while moving the
instrument, especially the optical parts, make sure to avoid to contact the
lenses surface with hand or artic with
grease.6.2 On the way to transport
carry the objective table, it's surface
will be covered with the protection film,
before use please tear up the protected film(Fig.2)。
6.3 Place gently the viewing head into the Installation hole. Then use one hand to
press the viewing head from above while other hand fastens the screw located
at the both sides of view head.(Fig.3)
Fig.2
PROTECTION FILM
Fig.3
Page 9

6.4 Turn on the power: after all above procedures, please insert the Power plug on
the wall outlet, and turn on the Power switch , make sure you are using the right
voltage.
6.5 Insert the Eyepiece: slide the eyepiece into the Eyepiece tube. (Fig.4)
Fig.4
Page 10
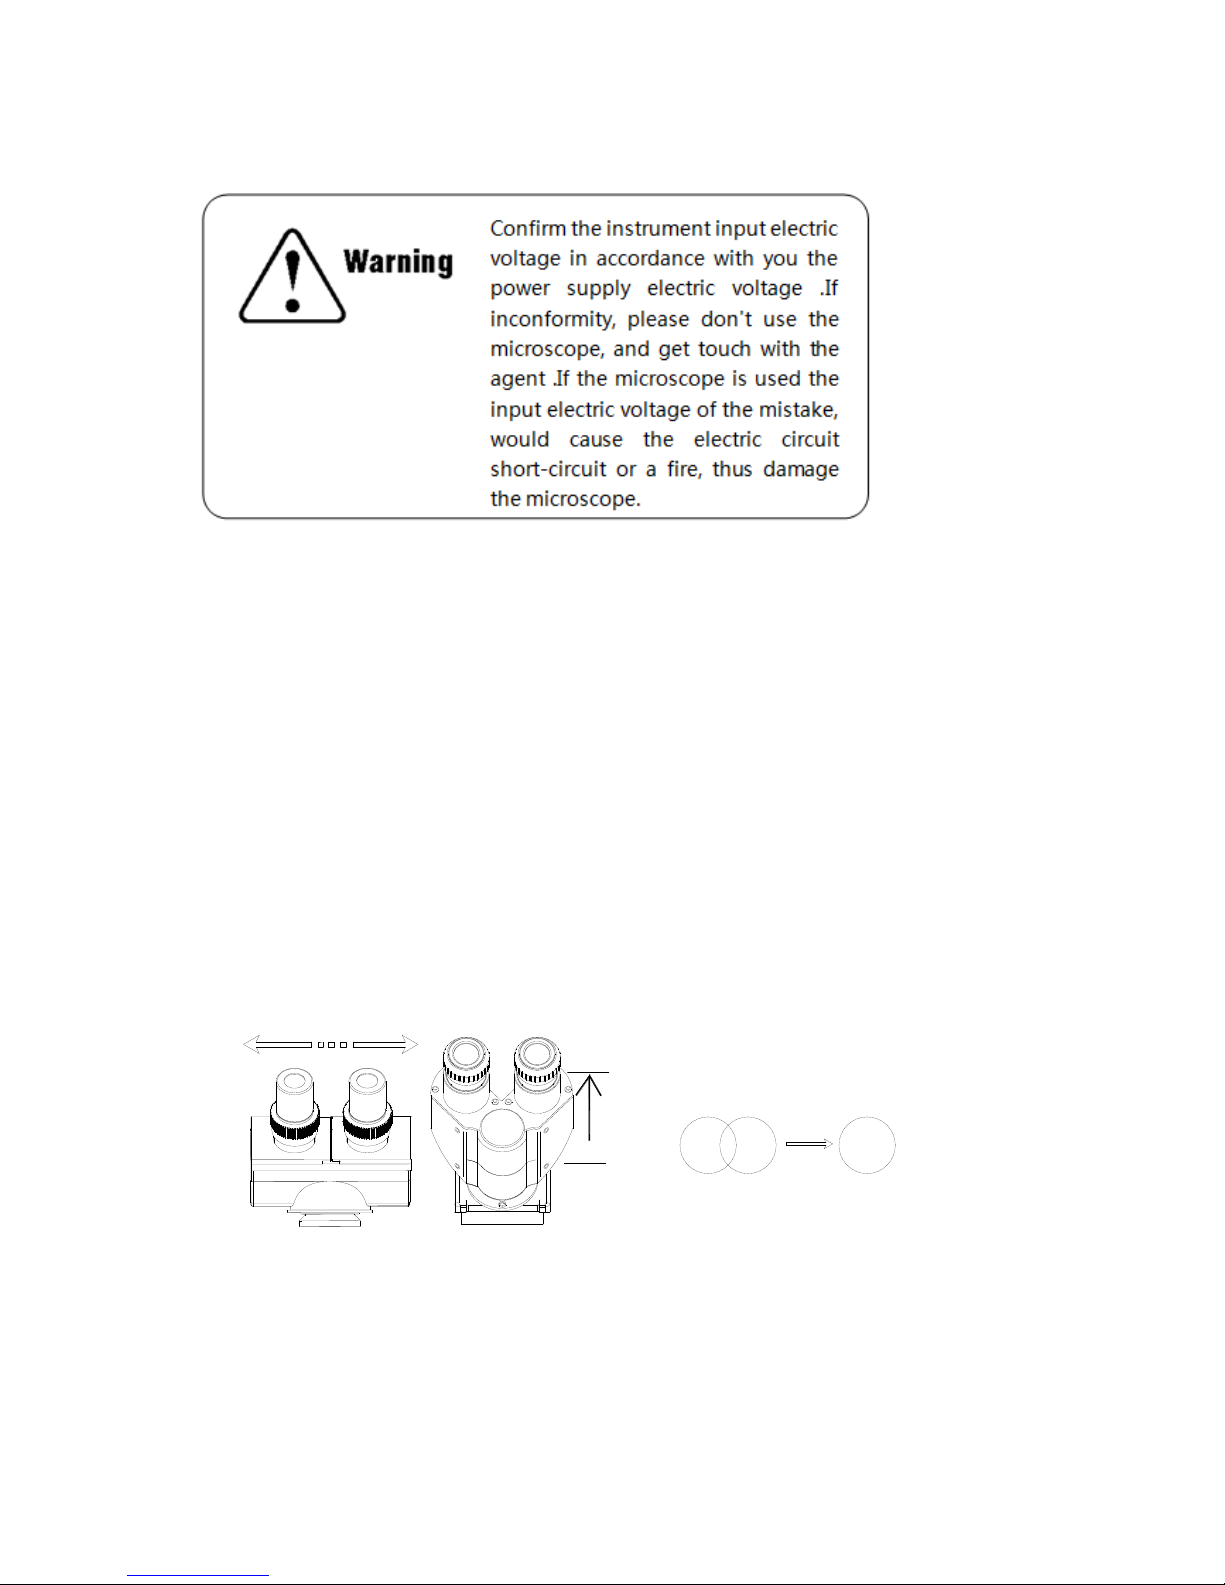
7. Operation Procedure
7.1 Turn on the power
8.1.1 Turn the power switch(turn switch to "-" ), make the bulb give out light。
8.1.2 Then revolve the handwheel of brightness regulates to regulate the
brightness of filed .
7.2 Restoration to adjust diopter of tube
To adjust diopter of tube on the R/L eyepiece tube, Make its bottom edge with
engrave the line to align, use the same method, adjust the left diopter .
7.3 Adjusting pupil distance
By adjusting pupil distance and Diopter ring on eyepiece, to eliminate the
Parallex, and to get the sharp and comfortable viewing. While using bino head,
And field of view is two intersectant circles, by rotating the eyepiece tube, the Eye
Relief has been changed, the field of view became a round view completely
coincided. (Fig.5)
Fig.5
Page 11

7.4 Mounting on the specimen
7.4.1 Turn apart the Specimen
Clips, put into the Specimen,
and use slide clip to hold it.
Release the fingers;make sure
that the viewing area right in the
middle of stage.(Fig.6)
7.4.2 Adjust the stage hand wheel
make sure that viewed field locates
objec -tive under. (Fig.7)
7.5 Using 10X objective focusing
7.5.1 By rotating the Revolving
nosepiece,make sure that lower
magnification objectives(4X or 10X)
are in the optical center, and get a
wide field of view.(Fig.8).
Page 12
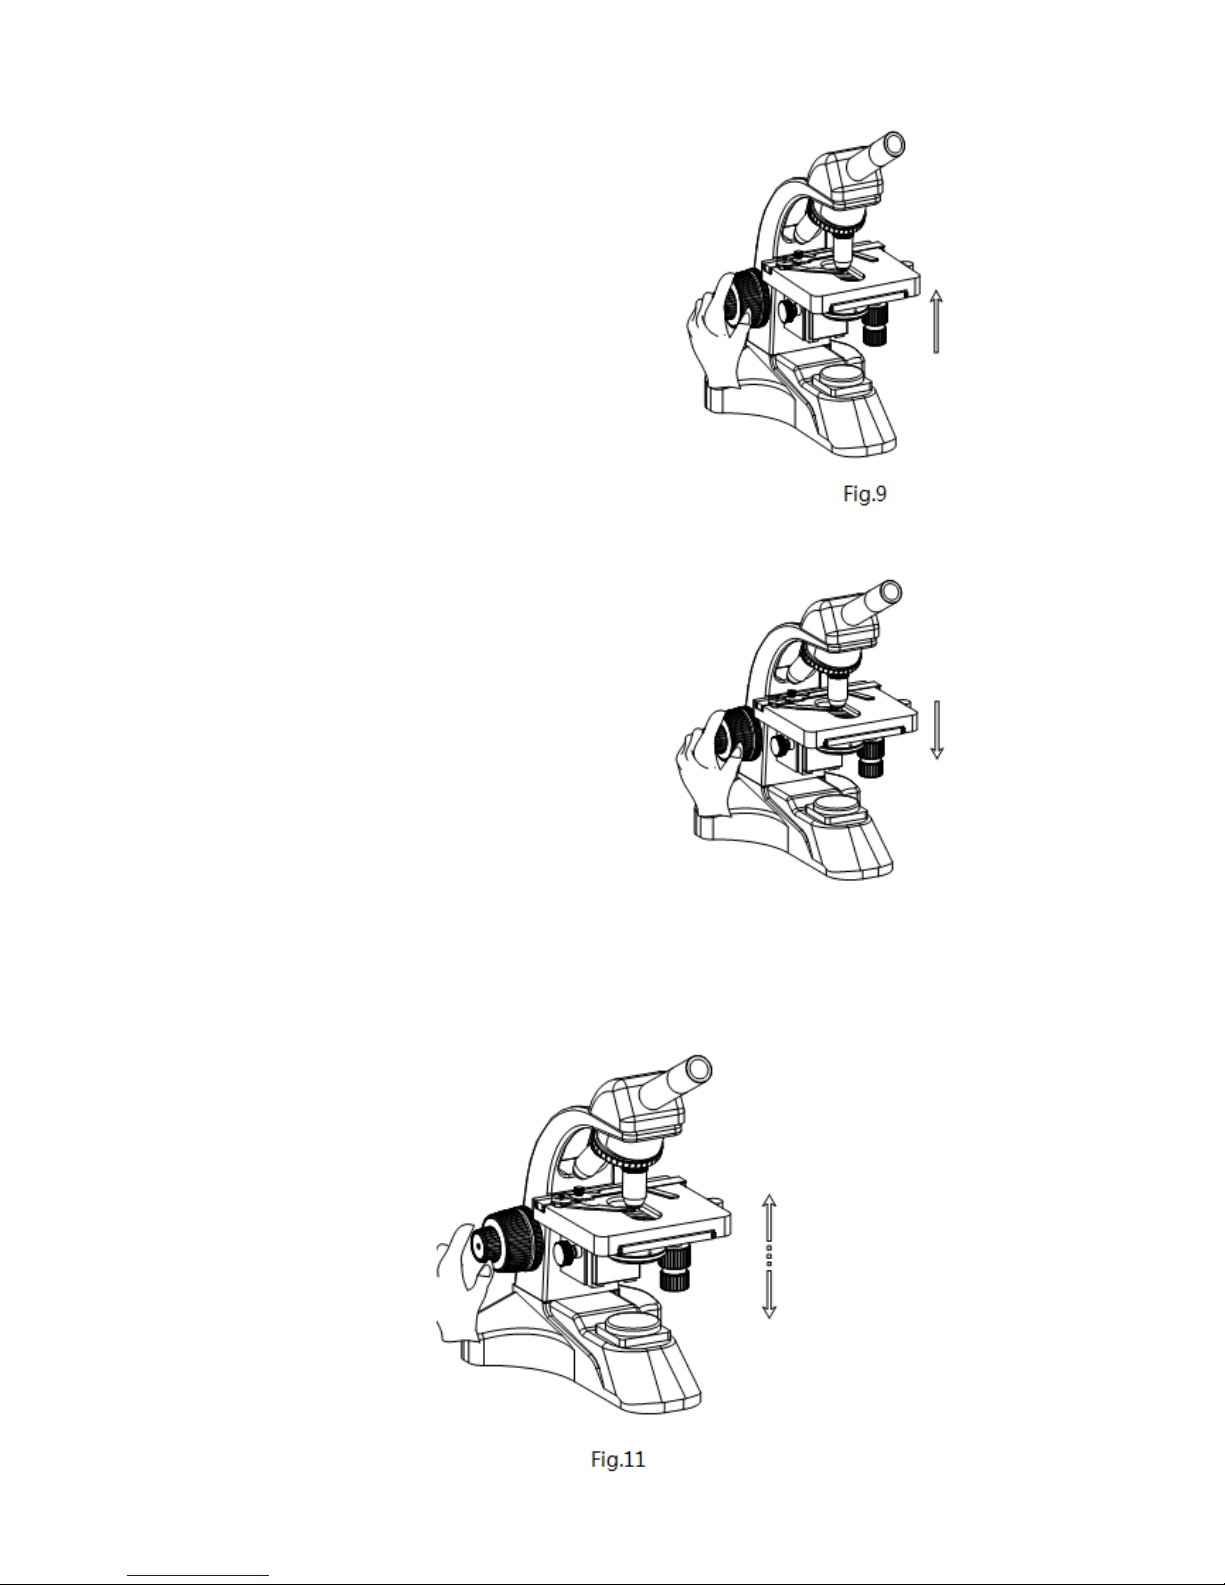
7.5.2 Rotating Coarse Focusing wheel,
moving the stage to the tiptop (Fig.9)。
7.5.3 Adjust Coarse focusing knob to find
sharp image. Adjust the diopter ring on
the diopter eyepiece until the image is
clear.(Fig.10)
7.6 Adjust fine focusing knob to find clear image. (Fig.11)
Page 13
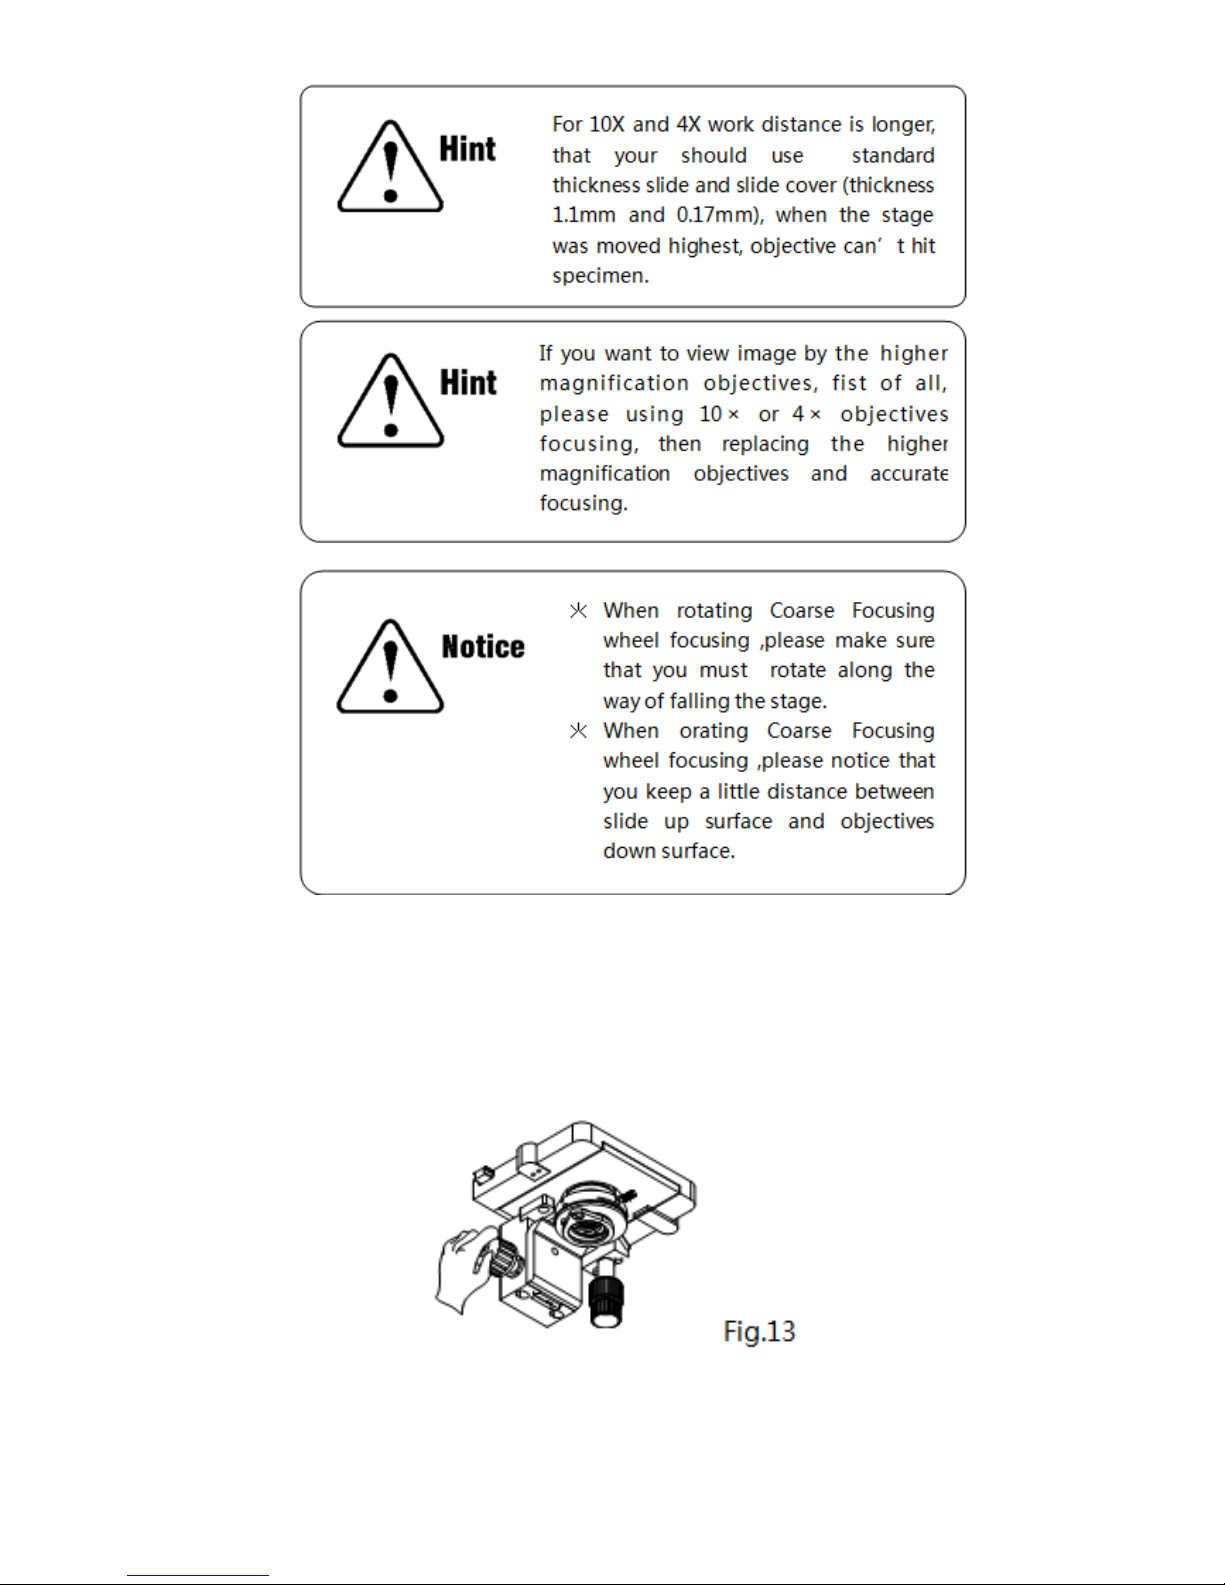
7.7 Rotating the Condenser moving knob, make condenser move highest and a little
lower. If you obverse dispersion image in view field , please adjust
condenser(Fig.13).
Page 14

7.8 Rotating Revolving nosepiece,choose magnification that you need.
7.9 Adjust the Viewing head setscrew, in order to objective easy. (Fig.14)
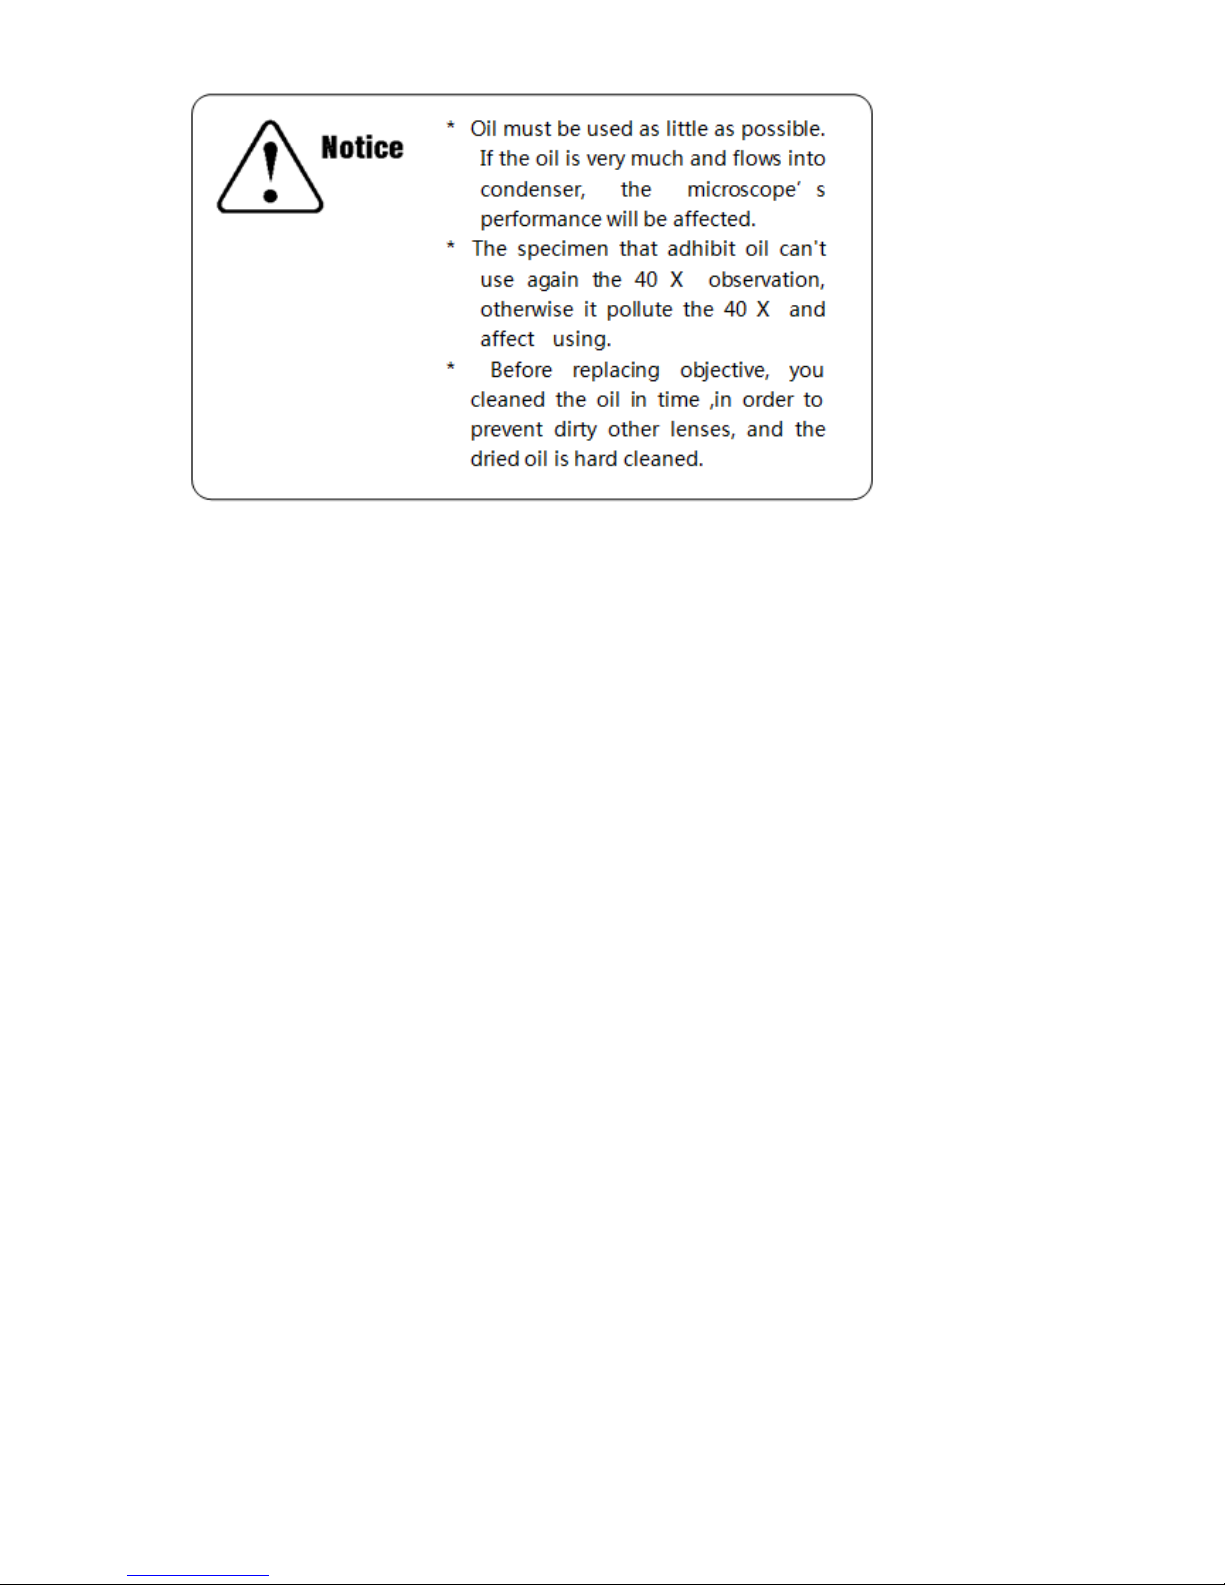
7.10 If objective selected is 100X oil (spring), use oil as observing medium.
By this the quality of image can be improved and the specimen is observed
clear. (Fig.15)
7.10.1 Then move the specimen into the view filed and rotate the nosepiece to
view field.
7.10.2 Extrude a little oil from oil bottle. Dip oil onto the pot to observe.
7.10.3 Then move the specimen into the view filed and rotate the nosepiece to
view field. The interspace between top objective and coverglass must be full of
oil. Only this can the observation be done.。
Page 15
7.11 When the microscope is not needed, turn off the power switch.
Page 16

8. Digital Part, Installation and Useage of Parts
8.1 Take out the digital observation, Place the pin at locating hole of the observation,
Load the observation lightly, Press the upper observation softly by one hand ,
Fixing the screw on both sides of the body. At the time of installation to ensuret
digital head tight.
8.2 Put the end of USB cable into USB port of the back of the computer, the other
end into USB port of the back of equipment, software installation see "PHMIAS
family of software instruction manual" (Fig 16).
8.3 The installation of an external CCD (for TV observation or trinocular head) firstly
adjusting microscope to clear field of view, Connecting CCD base with CCD
moving into TV tube, "TV / Video" ( TV / AV) is set to "AV", as video display,
rotating adjustment ring (Fig 17), the video will be clear.
Page 17

9. Care and maintenance
9.1 The power switch at the back side of Base is main power control. If the
microscope is no longer in use, please switch off the power to avoid the
electronic elements in working status. If the microscope will not be used for a
long period , please unplug the power wire from socket. Also keep various
accessories in safe places.
9.2 Using leaning gauze (or Silk, absorbent cotton )soaked with some ethanol to clean
the microscope body. After cleaning, cover it with dust cover.
9.3 Cleaning the Lenses:Use blower or soft cloth to wipe the surface dust. The
contaminated dust, finger prints can be wipe off by lens paper or soft clothe
soaked with blending (20-30% alcohol – 70-80% ether).
9.4 Cleaning the Microscope Surface:Clean with soft cloth, for severe stain, please
clean with neutral detergent.
9.5 Microscope Storage:If the microscope will not be used for quite a long period of
time, please turn off the power, cool down the light bulb, mask it with dust cover
and then put it back into packaging case. Store it in a cool, dry, clean place free
of Acid or Alkali steam. As this will cause mildew on the lenses.
9.6 Routine Inspection:In order to maintain the performance of
microscope, please conduct routine inspection and maintenance.
Page 18

10. Replacing light bulb and fuse
10.1 Replacing light bulb
10.1.1 Turn off the microscope ,unplug the power cord from socket.
10.1.2 Waiting for 30min, until it cools down.
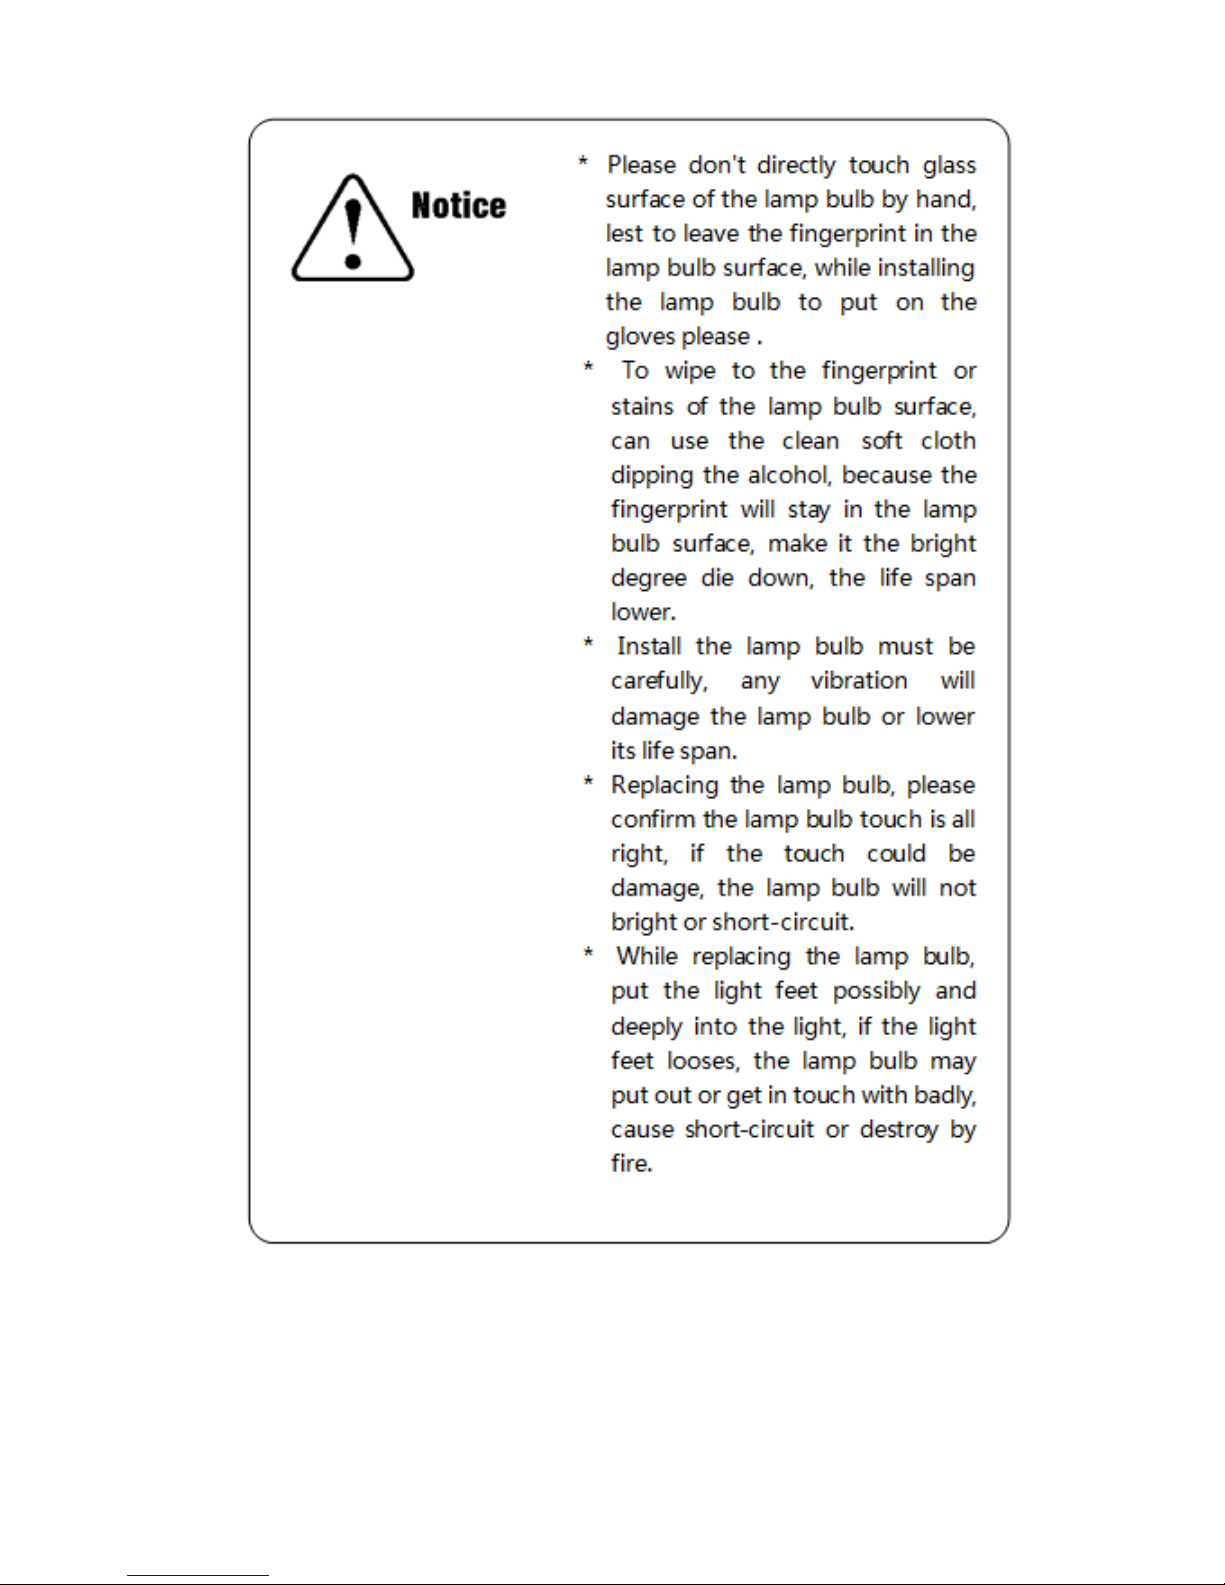
10.1.3 Screw off the light base, and pull out the light base board, and rotate at some
angel until the light base comes out. Take out the damaged bulb, and replace
with a new one. While inserting the new bulb, please make sure to get the
good contact and solid connection between light bulb and Base. While taking
bulb with hand, make sure to wear a glove to avoid the finger print being left
on the bulb. (Finger print will erode the bulb surface, lower the brightness,
shorten the bulb working life).(Fig.18)
10.2 Replace the fuse:Pull out the Fuse compartment cover, take out the damaged
fuse, and replace the new fuse and then build in on the Compartment cover.
Page 19
Page 20

11. Troubleshooting and Handling
Symptom
cause
Handling
Optical Parts
Uneven brightness
inside Field of view
Bad nosepiece
positioning(Different stalk of
light road)
Revolving the nosepiece, make it
into right position
Condenser position too low
Adjust the height of
Not centering with Condenser
Readjust the condenser
Wrong installation of light bulb
Check if the light bulb has been
mounted correctly
There are dirty vestige or dusts
on the specimen, condenser,
objective, eyepiece.
Wipe the relevant parts
Iris diaphragm opened too small
Make diaphragm larger
Dirty field of view
Dirty lens surface
Clean the surface
Slide cover dirty
Clean the surface
Resolution is not so
good Image is not
sharp
Slide has not been applied with slide cover
Apply with slide cover
Slide cover is too thin or too
thick
Use standard (thickness 0.17mm)
slide cover
Slide has been put on with the wrong side up.
Reverse it.
Oil on the dry objective
Wipe oil off
Oil objective without oil immersion
Immerse with oil
Dirty lenses surface (on eyepiece
and objective)
Clean the surface
There is a air bubble inside
immersed oil.
Remove the air bubble
Wrong immersion oil
Using standard oil
Iris diaphragm has been opened
too small
Enlarge the diaphragm
Condenser position too low
Adjust the height of
The single side of
picture is dark
Bad nosepiece positioning
Revolving the nosepiece, make it
into right position
The slide is higher mechanical
stage
The slide should be tight on the
stage
The image is the thin
yellow
The light bulb electric voltage is
lower
Revolve to adjust the light knob,
regulate the bright degree
Without using the blue filter
Using the blue filter
The image is ver y
bright
The light bulb electric voltage is
higher
Revolve to adjust the light knob,
regulate the bright degree
Don’t focusing at
using the higher
magnification
objectives.
Slide has been put on with the
wrong side up.
Reverse it.
Slide cover is too thick
Use standard (thickness 0.17mm)
slide cover
Objective is not hard up
Screw down objective
the left and right
image is notsuperposition by the double
eyepiece viewing.
Without adjusting the Pupil
distance
Adjusting the Pupil distance
The Diopter adjuster is not good
Adjusting the Diopter
Light can not
turned on
Power was not turned on
Check if the power was switched on
,if the supplied voltage same with
specified voltage
Bad contact between power
socket and outlet
Check if the connection between
power cord and power
Light bulb have been melted
Replace light bulb
Fuse have been melted
Replace fuse
Light blink
Bad contact between light bulb
or bulb socket
Re-screw the bulb securely
Power_wire contact is bad
Check Power_wire
contact
Page 21

12. Configuration table
PH50 Biological Microscope:Specification
PH50 Series
Product sequence number
1 2 3 4 5 6 7
Name
Specification
1A31
R-A
1A32
H-A
1A4
2L-A
1B4
3L-A
2A42
H-A
2A4
3L-A
3A4
3L-A
Total
Magnification
40X-640X
● ●
40X-1600X
● ● ● ●
●
Eyepiece
Wide Field WF10X/18mm
● ● ● ● ● ● ●
Wide Field WF16X/13mm
● ● ● ● ● ● ●
Lens Tube
Monocular,Inclined 45 degree,360
degrer Rotatable
● ● ●
Moncoular TV,Inclined 45
degree,360 degree Rotatable
●
Monocular,Inclined
45,360°Rotatable
Dual Observing,Inclined 45
degree,360 Rotating
genel-style binocular head,Inclined
30 degree,Interpupillary
Distance55-75mm
● ●
sliding-style binocular head,Inclined
45 degree,Interpupillary 55-75mm
Genel-style monocular head, Inclined
30 degree, Interpupillary Distance 5575mm(w/push-and-pull rod)
●
Nosepiece
Triplicate
● ●
Quadruple
● ● ● ●
●
Achromatic
Objectives
4X,10X,40X(S)
● ● ● ● ● ● ●
100X(O,S)
● ● ● ●
●
Plan
Achromatic
Objectives
PL4X,PL10X,PL40X(S),
PL100X(O,S)
Focusing
System
Coarse and Fine with Different Axis
Coarse Adjustment:22mm, Fine
Adjustment:1.8m
Coarse and Fine Focusing Coaxal
Coarse Range:22mm, Fine Precision
Scale:0.004mm
● ● ● ● ● ● ●
Working
Stage
Monolayer Working Stage with Clips
Area:120mmX110mm
●
Monolayer Working Stage with
Sliding stage
Area:120mm×110mm
Distance:60×30mm
● ●
●
Double Layers with Mechanical
Sliding Stage
120mm×115mm,50mm×35mm
● ● ●
Condenser
Single lens,N.A=0.65
with Iris Diaphragm and Filter stand
●
Abbe Type,N.A=1.25
with Iris Diaphragm and Filter stand
● ●
●
Abbe Type,N.A=1.25
with Iris Diaphragm and handwheel
stand
● ● ●
Illumination
Critical Illumination
● ● ● ● ● ●
Lamp-house
Plan-concave mirror,φ50mm
●
Halogen
lamp,12V/20W,Brightness
Adjustable
Page 22

LED 1W,rechargable, brightness
adjustable
● ●
● ●
LED 1W,non-rechargable,brightness
adjustable
Power
Onoff power,suitable for AC 96V246V
Power adapter
● ● ● ● ● ●
Package
Carton box with inner foam
● ● ● ● ● ● ●
Aluminium Metal box
Others
TV viewing head with simple CCD
adapter
PH50 Digital Microscope
Specification for parts
PH50 Series
Name
Specifiaction
DM048U
DB048U
DB130U
DB200U
Main optical machine part
Total
Magnification
40X-1600X
● ● ●
●
Eyepiece
Wide field
eyepiece:WF10X/18mm
●
Wide field
eyepiece:WF16X/15mm
●
Wide field
eyepiece::F10X/18mm,diopter
adjustable
● ●
●
Wide field eyepiece:
WF16X/15mm
Diopter adjustable
● ●
●
Digital viewing
head
monocular,Inclined 45 degree
CMOS Camera Integrated
●
genel-style binocular head
Inclined 30 degree
Interpupillary distance:55-75mm
CMOS Camera Integrated
● ●
●
Nosepiece
Quadruple
● ● ●
●
Achromatic
Objectives
4X ● ● ●
10X ● ● ●
40X(S)
● ● ●
100X(S,O)
● ● ●
Plan Achromatic
Objectives
PL4X
●
PL10X
●
PL40X(S)
●
PL100X(S,O)
●
Stand
Focusing system
Coarse and Fine Focusing
Coaxal system:22mm,Minimal
Graduation:0.004mm
● ● ●
●
Working stage
Double layers with mechanical
sliding stage
140mm×132mm,50mm×30m
m
● ● ●
●
Condenser
Abbe type,N.A=1.25
with Iris Diaphragm and
handwheel stand
● ● ●
●
Lamp-house
LED 1W,rechargable,
● ● ●
●
Page 23

brightness adjustable
Power
transformer
● ● ●
●
Package
Aluminium Metal box
● ● ●
●
Dividing ruler
0.01mm
● ● ●
●
Slides
Plant slides
● ● ●
●
CCD & CMOS
CCD Camera
470K Pixels,480 TV Line
CMOS Camera
480K Pixels,800×600
● ●
CMOS Camera
1300K Pixels,1280×1024
●
CMOS Camera
2000 Pixels,1600×1200
●
Image processing
AV-USB,720×576
Signal Output port
Video Output port
USB port
● ● ●
●
Signal Output Line
Video cable
USB signal cable
● ● ●
●
Micro Image Processing and Analyzing Software
Micro Image
Software
PHMIAS2006 Ver2.1(English
Edition)
● ● ●
●
Page 24

 Loading...