

Page 1
Page 2
1. Package Contents
PhaZZer G3 DVR Eyewear System
• 8GB micro SDHC Card
• A/C Adapter Charger
• Micro USB Cable
• Carrying Case
• Interchange lens colors: Polarized Tint, Clear, Amber & Mirrored
• Manual
2. System Requirements
G3 DVR Eyewear is Compatible with Windows® XP, Windows® Vista, Windows®7 and Windows®8 • Mac
OS X® 10.3 and above
3. Charging Your PhaZZer DVR Eyewear
For optimal performance, charge your new PhaZZer G3 Eyewear with the included wall charger for 2 hours prior to
use. Plugging the DVR Eyewear into a powered-on computer will increase the charging time duration.
While charging the LED indicator light will turn to a steady Red. When fully charged the indicator light will turn a
steady Blue. Avoid overcharging as this will degrade the battery life.
4. Setting & Changing the Date and Time
Time Tool Supports Windows® 10 operating system
• Connect the DVR Eyewear to your computer using the USB cord.
• Double click on “Time/ file” then right click open as administrator
• A dialog box will pop up to send data succeed tips. This will update the time and date in sync with the time
and date on your computer. After completion close the dialog box.
• Power the device off then on to initiate the reset.
5. Recording a Video
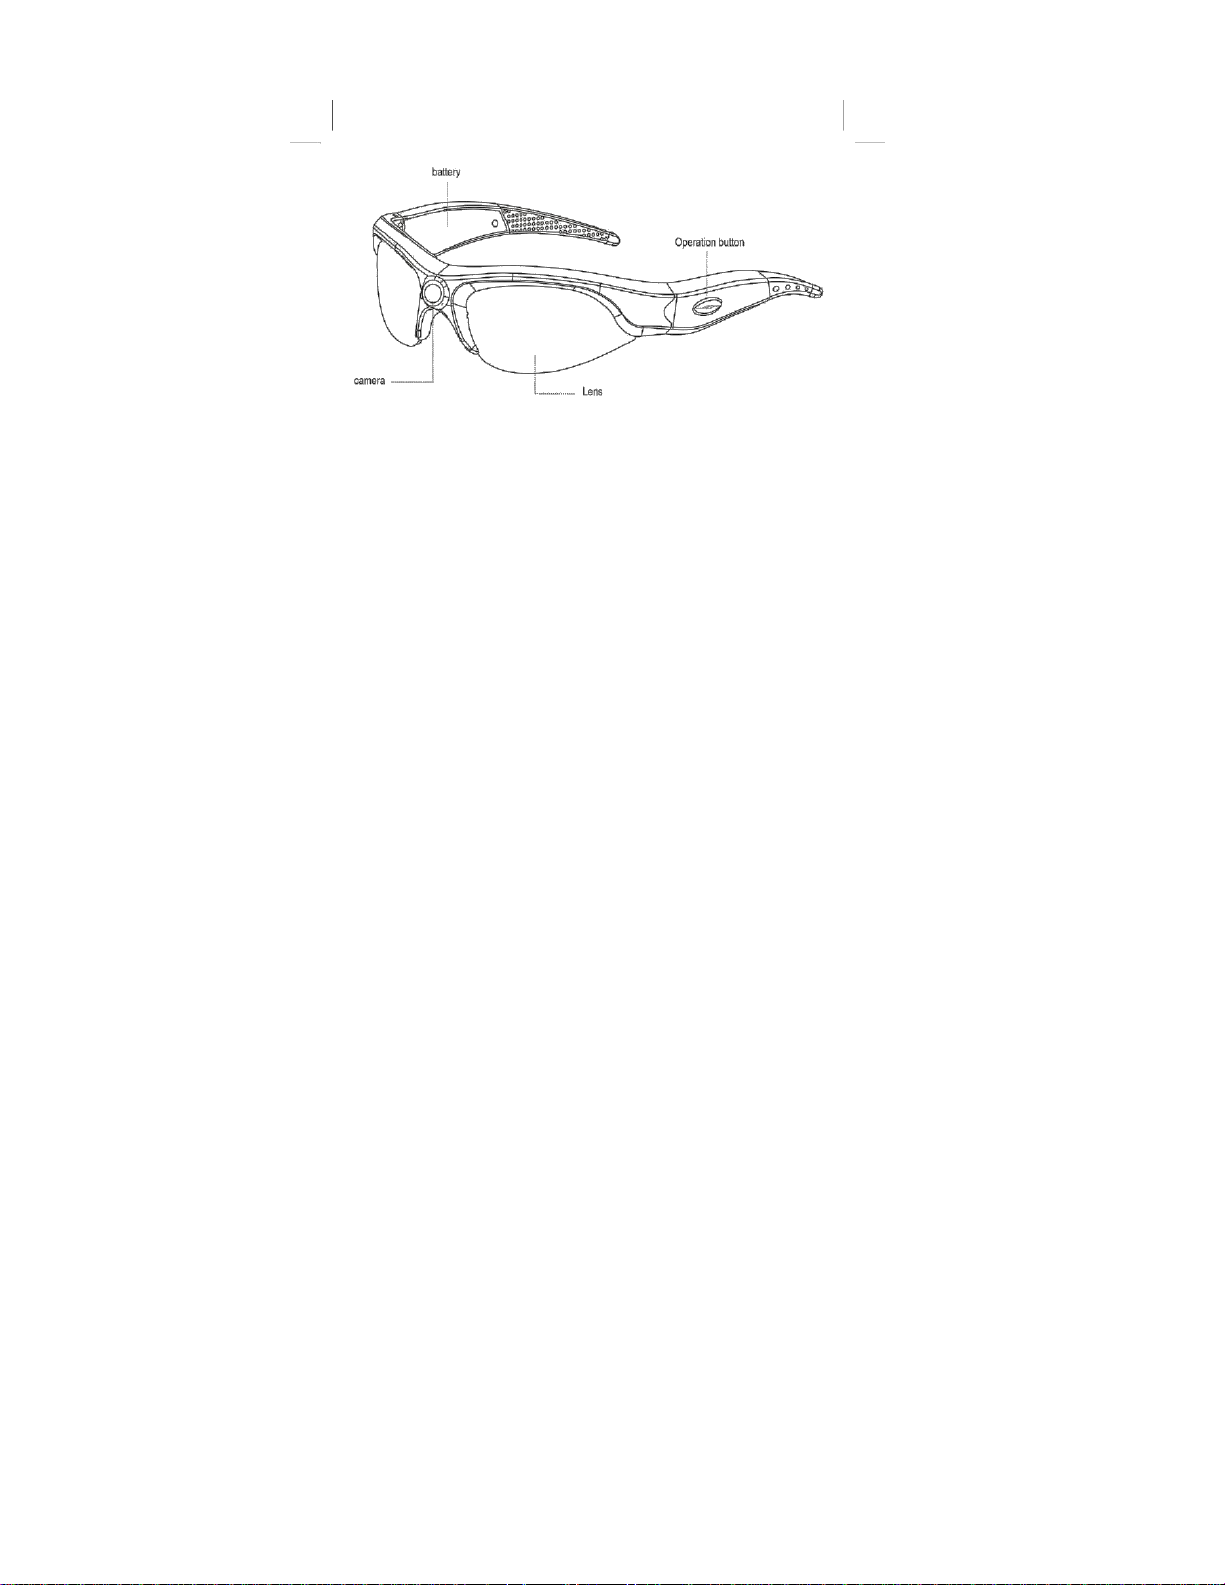
• Turn on the DVR Eyewear by pressing the “Operation Button” for 1-2 seconds. The unit will have a single
vibration and the light will turn red for initializing. Approximately 2 seconds thereafter powering device on
the light will slowly flash blue to indicating live recording.
• To stop and save the recording and powering off, press operation button again for 1-2 seconds and a triple
vibration will occur coinciding with a red-light power off indicator. To start recording again, simply quick press
the operation button.
Page 3
6. Turning off the DVR Eyewear
• To turn off the system, press and hold the “Operation Button” for 1-2 seconds again. The unit will triple
vibrate, red light will flash, and unit will turn off.
RECORDING NOTE
This system uses continual loop recording. Loop recording means the camera continuously records without stopping.
This loop is saved in 10-minute intervals until the memory card is full. At this point the unit will record over the oldest
file. Effectively you will have the most recent video.
7. Downloading Your Videos onto your computer
For All Operating Systems:
• Make sure the PhaZZer DVR Eyewear is turned off.
• Connect the unit to the computer with the included USB cable. A window will pop-up. Click “Open folder to
view files”.
• If you did not receive a pop-up window, your DVR Eyewear can be found as “Removable Disk” under “My
computer”.
• Recorded files will be listed in the “Video” folder. Open this folder to review, rename, save or delete your video
files as needed.
• Note: Mac OS X ® 10.3 or higher is needed to down-load AVI player from the Apple Store
8. Resetting the PhaZZer DVR Eyewear
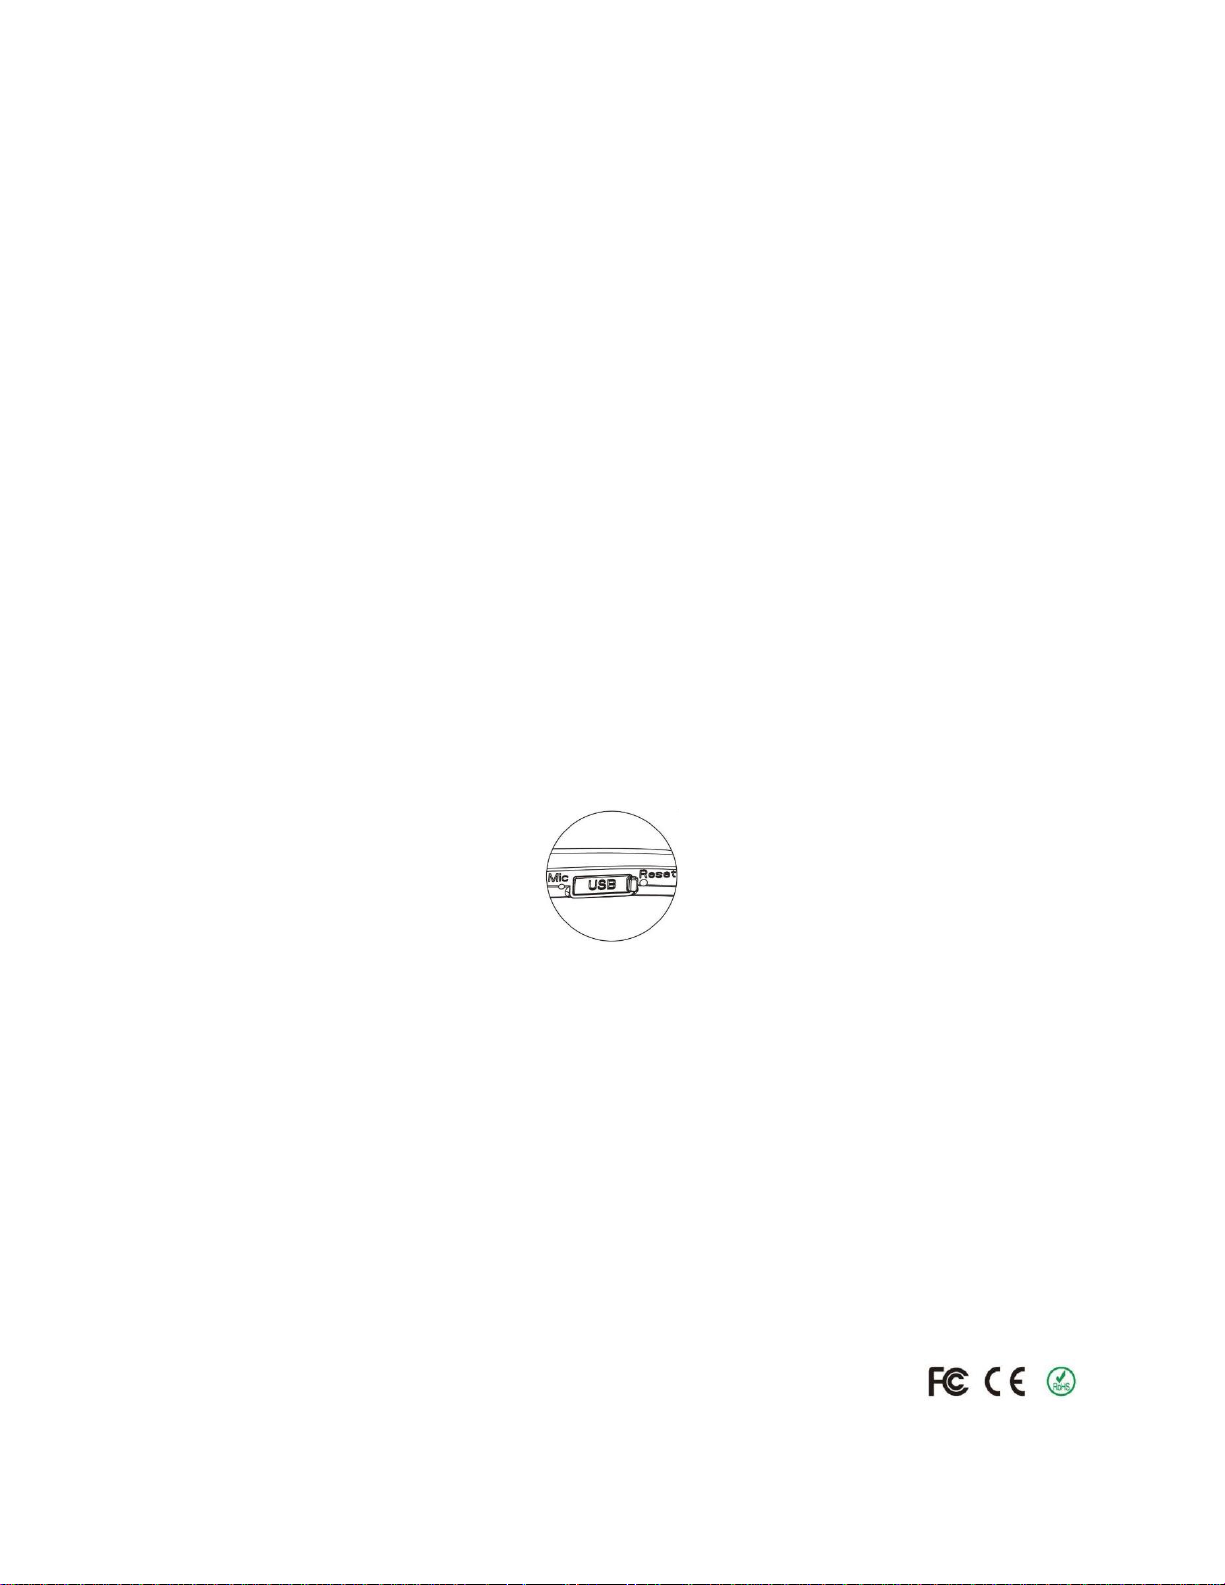
Should it be necessary to reboot this unit press the reset key through the reset pin hole which is located next to the
USB port.
9. Specifications
• Video Format: HD 1280 x 720P Resolution 25FPS
• AVI Video Encoding Format
• Utilizes the Loop technology
• One Button Activation
• Time/Date stamp
• On/Off Indicator LED & Vibration
• Built-in Memory: Includes interchangeable 8GB micro SDHC memory capacity coincides with battery duration
approximately 90 minutes.
• Battery Type: Built-in220mAH Li-Ion Rechargeable Battery
• USB 2.0
 Loading...