

Petsafe Pawz Away Operating And Training Manual

PetSafe® Paw z Awa y
™
Outdoor Pet Bar r ier
Operating and Training Guide
Please read this entire guide before beginning.

2 Customer Care Center 1-800-732-2677
Thank you for choosing PetSafe®, the best selling brand of electronic training
solutions in the world. Our mission is to be the most trusted brand in the pet
ownership experience. We want to ensure your pet’s safety by providing you
with the tools and techniques to successfully train your pet. If you have any
questions, please contact the Customer Care Center at 1-800-732-2677 or
visit our website at www.petsafe.net.
To get the most protection out of your warranty, please register your product
within 30 days at www.petsafe.net. By registering and keeping your receipt,
you will enjoy the product’s full warranty and should you ever need to call the
Customer Care Center, we will be able to help you faster. Most importantly,
PetSafe® will never give or sell your valuable information to anyone. Complete
warranty information is available online at www.petsafe.net.
Table of Contents
Components .............................................................................................. 3
Other Items You Will Need .......................................................................... 3
How the Pawz Away™ Outdoor Pet Barrier System Works ............................. 4
Key Defi nitions .......................................................................................... 4
Operating Guide - Wireless Option ........................................................ 5
Power Up the Barrier Transmitter ............................................................ 5
Set Up the Barrier Transmitter ................................................................. 5
Test the Barrier Area ............................................................................... 6
Fit the Receiver Collar on Your Pet ........................................................... 6
Operating Guide - Wire Option .............................................................. 9
Determine Placement of Barrier Transmitter & Wire Layout...................... 9
Connect the Wires to the Barrier Transmitter ...........................................10
Test the Barrier Area ..............................................................................11
Install the Boundary Wire .......................................................................11
Fit the Receiver Collar ............................................................................12
Additional Feature ....................................................................................12
Training Guide .......................................................................................13
Begin Your Pet’s First Session .................................................................13
Further Training .....................................................................................13
Additional Information ..............................................................................13
Accessories ...............................................................................................14
Troubleshooting ......................................................................................14
Terms of Use and Limitation of Liability ....................................................15
Compliance ..............................................................................................16
Customer Care International .....................................................................16
Caution ....................................................................................................16
Perchlorate Battery ....................................................................................17
www.petsafe.net 3
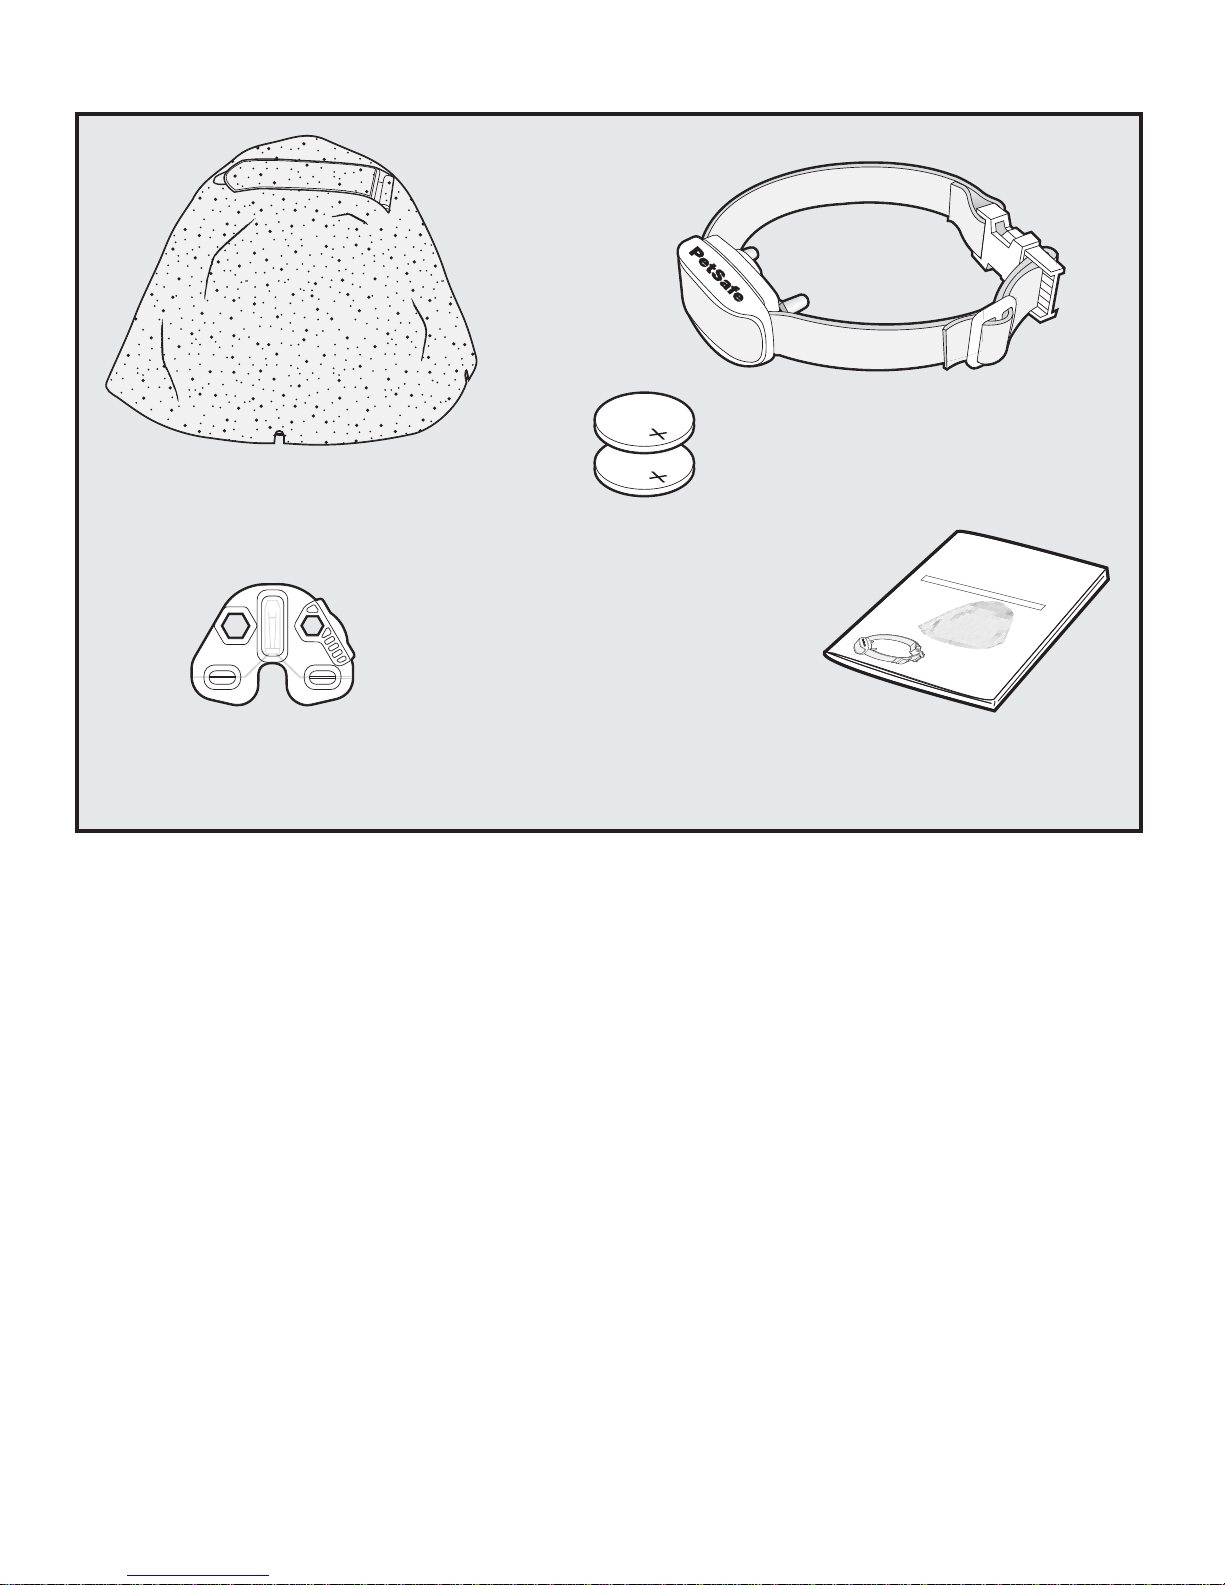
Components
Barrier Transmitter
(4 D Batteries not included)
Operating and
Training Guide
Test Light Tool
®
www.petsafe.net
Receiver Collar
(2) 3-V Lithium
Batteries for
Receiver Collar
PetSafe
®
Pawz Away
™
Outdoor Pet Barrier
System
Operating and T
r
aining Guide
P
lease re
a
d
th
is
en
tire guid
e
be
fore beginn
ing.
®
w
w
w.
p
e
t
sa
f
e
.n
e
t
Other Items Y ou Will Need
4 alkaline D-batteries•
Phillips screwdriver•
Non-metallic collar and leash•
Scissors•
Lighter•
Items needed for Custom Layout
Boundary wire rated for direct burial•
Pliers•
Wire stripping pliers•
Shovel or lawn edger•
Circular Saw with Masonry Blade (depending on your layout)•
Waterproofi ng Compound (depending on our layout)•
4 Customer Care Center 1-800-732-2677
How the Pawz Away™ Outdoor Pet Barrier
System W orks
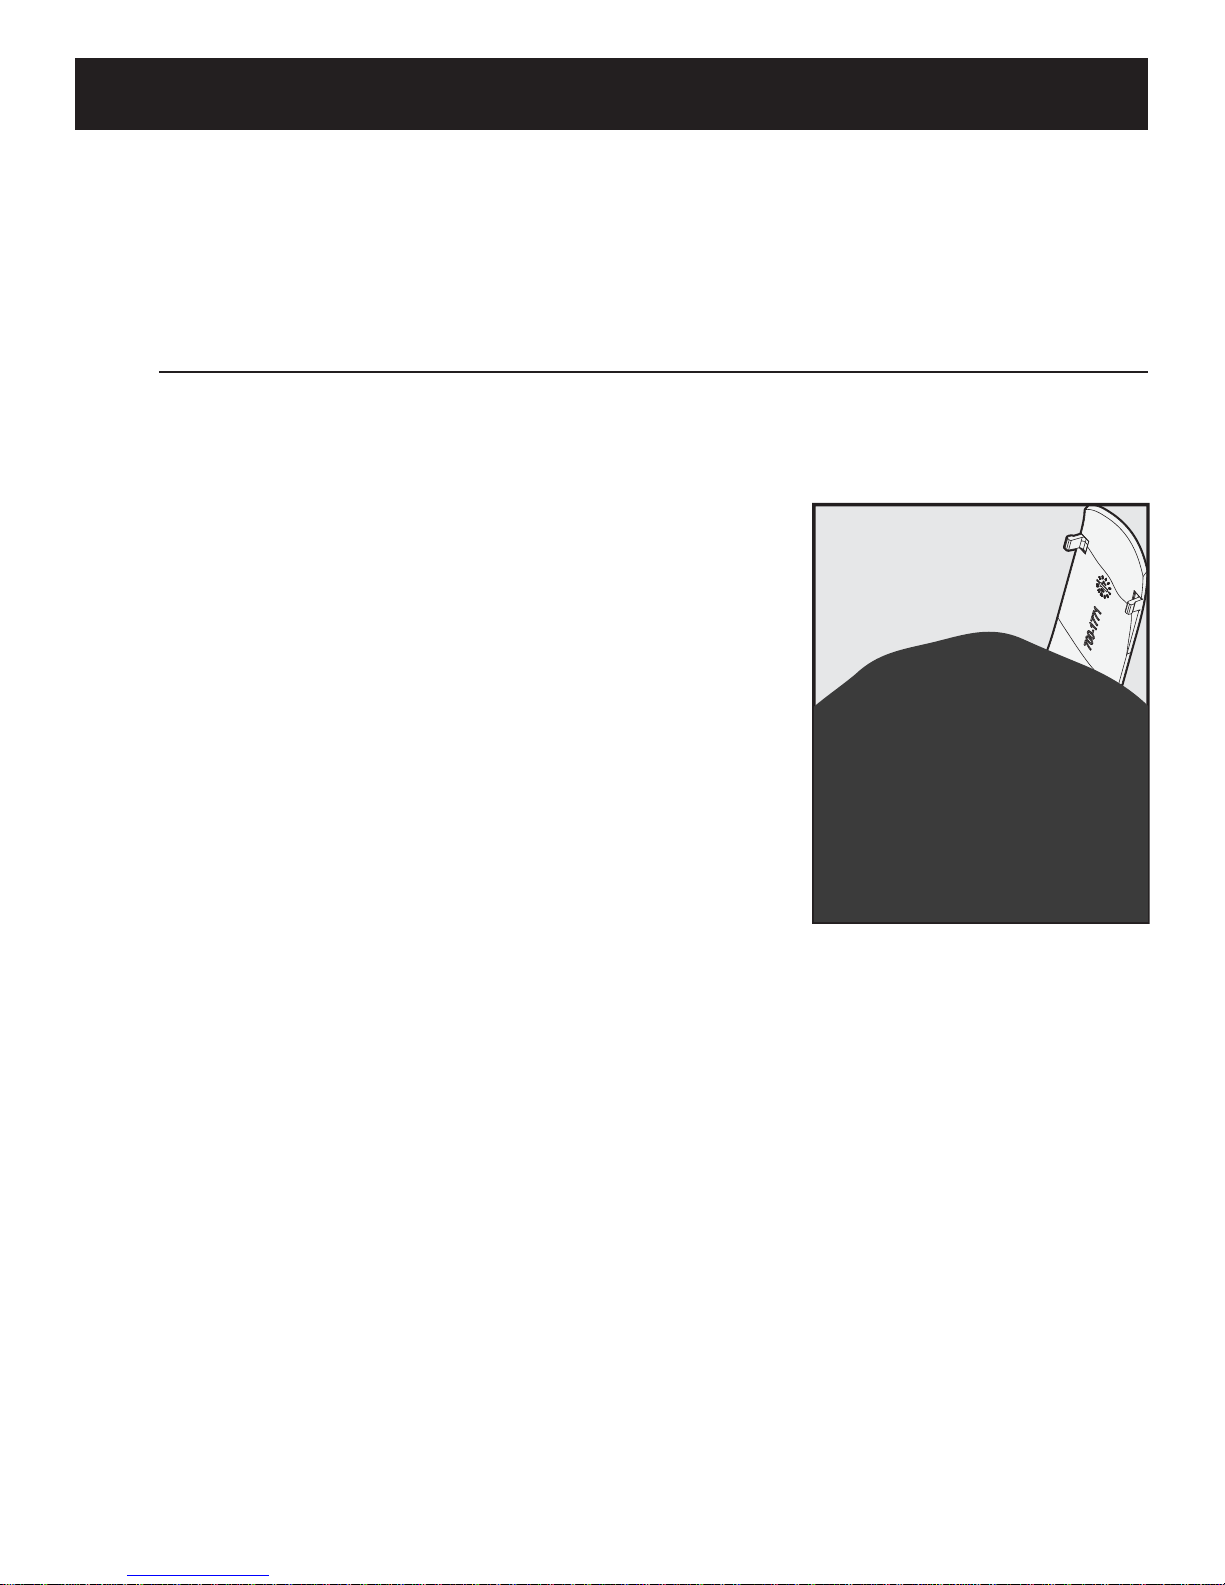
The Barrier Transmitter, disguised as a rock in your landscape, sends a spherical radio signal up to
16 feet in diameter or an 8 foot radius. Your pet wears a Receiver Collar with Contact Points that
touch his neck. When your pet enters the Barrier Area, he’ll hear a series of audible tones from the
Receiver Collar and he will feel a safe progressive Static Correction, delivered through the Contact
Points on his neck. It is designed to startle, not to punish. The progressive Static Correction will
get your pet’s attention, but will not cause harm. The correction continues until your pet leaves
the Barrier Area. The system has been proven safe, comfortable and effective for pets at least 6
months old and over 5 pounds.
You also have the option to create a custom shaped barrier using Boundary Wire. Create a barrier
loop up to 150 feet.
Warning: This is a deterrence system designed to keep pets away from areas in your
landscape you want to protect. THIS IS NOT A CONTAINMENT SYSTEM. Do not use
this system to keep your pet contained in your yard. The static correction is not intended
to keep your pet contained.
Key Definitions
Barrier Transmitter: Transmits the wireless radio signal.
Barrier Area: Area that you want to prevent your pet from gaining access to.
Receiver Collar: Receives the radio signal from the Barrier Transmitter.
Contact Points: Deliv er the safe progressive Sta tic Correction when your pet enters the Barrier Area.
Progressive Static Correction: Static correction begins at the lowest level and automatically
increases to maximum within 3 seconds of fi rst detection in the Barrier Area.
®
www.petsafe.net
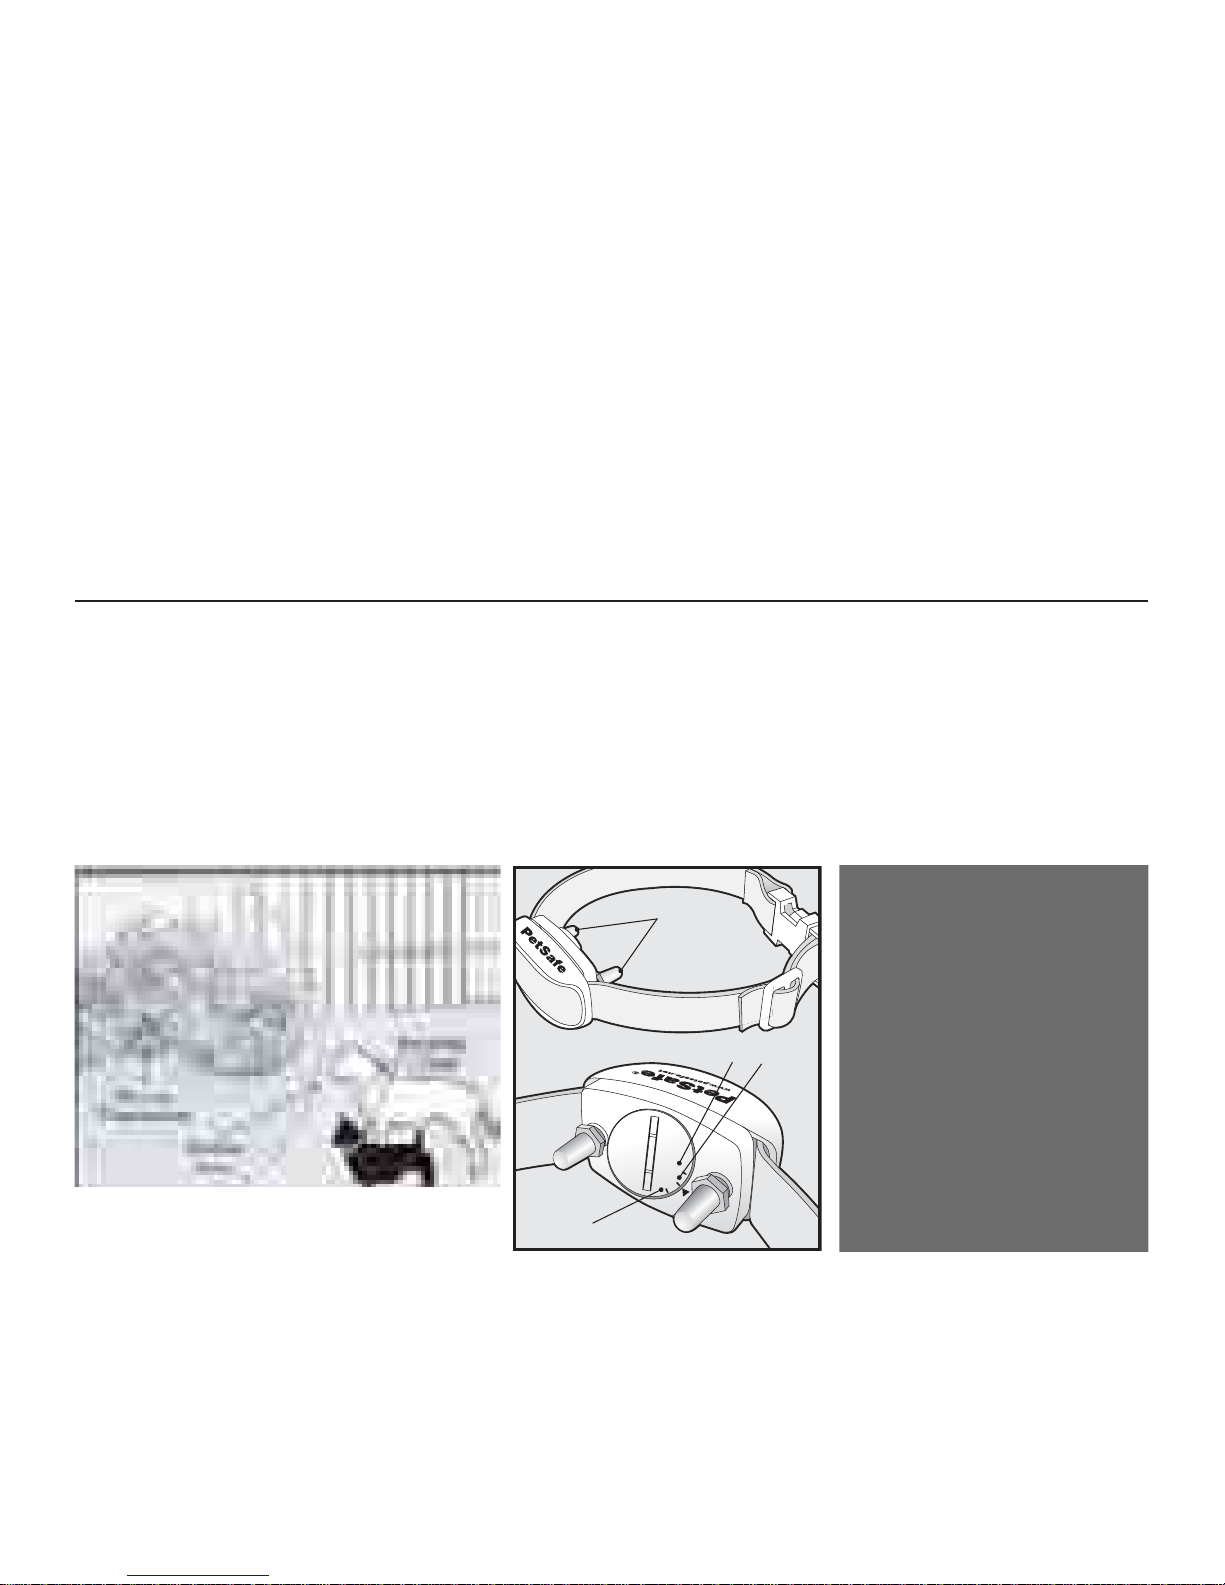
ON
OFF
OPEN
Contact Points
On/Off Dial
Open Battery
www.petsafe.net 5
Operating Guide - Wireless Option
Power Up the Barrier Transmitter
Locate the battery door on the bottom of the Barrier Transmitter. Loosen the 4 Phillips
head screws. The screws will stay in the battery lid. Install 4 alkaline D-batteries and
replace the battery door.
Under normal conditions, the batteries will operate the transmitter for up to one year. Test
the system every month to ensure it is working properly.
Set Up the Barrier Transmitter
Important: Never perform set-up procedures while your pet is wearing the
Receiver Collar.
Turn the Barrier Transmitter upright and open the lid 1.
exposing the LCD display and range buttons.
Press the up (+) button once to turn ON the Barr ier 2.
Transmitter. A black segment in the bottom of the
LCD display indicates the unit is set to the lowest
range (1A).
Each segment represents approximately two feet of 3.
diameter. You can create a Barrier Area up to 16 feet
in diameter. Using the up (+) and down (-) buttons,
adjust the range to fi t the desired pet Barrier Area.
1A
Step
1
Step
2
St
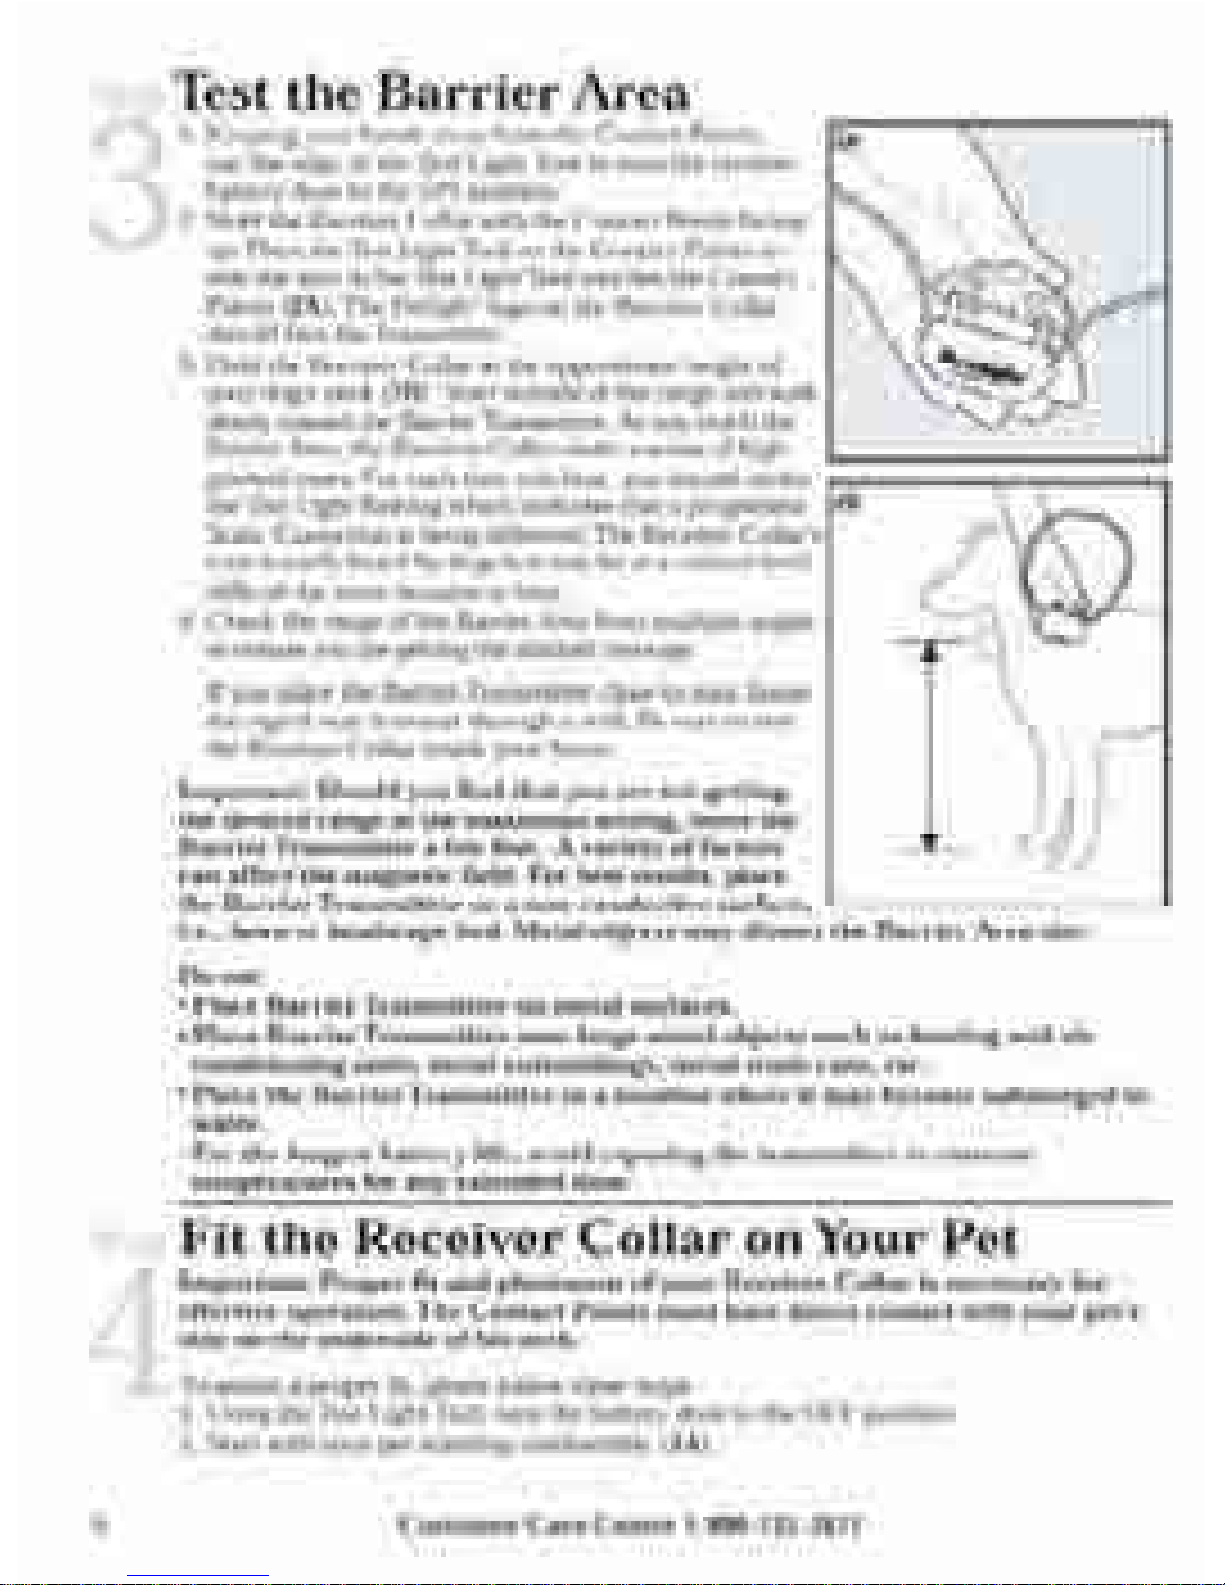
Test
the
Barrier
Area
1.
Keeping
your
hands
away from
the
Contact
Points.
use
the
edgeofthe
Test LightTooltoturn
the
receiver
battery
doortothe
ON
position.
2.
Hold
the Receiver Collar with the
Contact
Points facing
up. Place
the
Test LightTool
on
the
Contact
Points so
that the wire in
the
Test LightTool touches the
Contact
Points (2A).
The
PetSafe~
logo
on
the
Receiver Collar
should face
the
Transmitter.
3.
Hold
the
Receiver Collaratthe
approximate height
of
your dog's neck (2B).
Start
outsideofthe range
and
walk
slowly toward
the
BarrierTransmitter. As you reach the
Barrier Area, the Receiver Collar emits a series
of
high-
pitched tones.
For
each
tone
you hear,
you
should notice
the
Test Light flashing which indicates
that
a progressive 28
Static Correction is being delivered.
The
Receiver Collar's
tone
is easily heard by dogs
but
may beata volume level
difficult for some
humans
to hear.
4.
Check
the rangeofthe Barrier Area from multiple angles
to
ensure you are getting
the
desired coverage.
If
you
place
the
Barrier
Transmitter
closetoyour
house,
the
signal may
transmit through
a wall. Be
suretotest
the
Receiver Collar inside your
home.
Important:
Should
you
find
that
you
are
not
getting
the
desired
range
at
the
maximum
setting,
move
the
Barrier
Transmitter
a
few
feet.
A
variety
of
factors
can
affect
the
magnetic
field.
For
best
results,
place
the
Barrier
Transmitter
onanon-conductive
surface,
I.e.,
lawn
or
landscape
bed.
Metal
objects
may
distort
the
Barrier
Area
size.
Do
not:
•
Place
Barrier
Transmitter
on
metal
surfaces.
•
Place
Barrier
Transmitter
near
large
metal
objects
such
as
heating
and
air
conditioning
units,
metal
outbuildings,
metal
trash
cans,
etc.
•
Place
the
Barrier
Transmitter
inalocation
whereitmay
become
submerged
in
water.
•
For
the
longest
battery
life,
avoid
exposing
the
transmitter
to
extreme
temperatures
for
any
extended
time.
St
Fit
the
Receiver
Collar
on
Your
Pet
Important:
Proper
fit
and
placement
of
your
Receiver
Collar
is
necessary
for
effective
operation.
The
Contact
Points
must
have
direct
contact
with
your
pet's
skin
on
the
underside
of
his
neck.
To assure a
proper
fit, please follow these steps:
1.
Using
the
Test LightTool,
turn
the
battery
doortothe
OFF
position.
2.
Start
with
your
pet
standing
comfortably (3A).
6
Customer
Care
Center
1-800-732-2617
 Loading...