

Page 1
Universal Spark Plug Wire Set
Installation Instructions
To avoid the possibility of placing the plug wires on the distributor cap
incorrectly, REMOVE ONE WIRE AT A TIME. Start with the longest wire
and replace it with the longest new wire. Then replace the next longest, and
so on, until ending with the shortest wire.
1. Remove the longest existing wire from the vehicle.
2. Select the longest wire from the Flame-Thrower wire set, and press the
spark plug boot onto the spark plug. Route the new wire back through the
wire looms to the distributor cap.
3. Determine the proper length for the wire, add
approximately ½“ to the length and cut the wire.
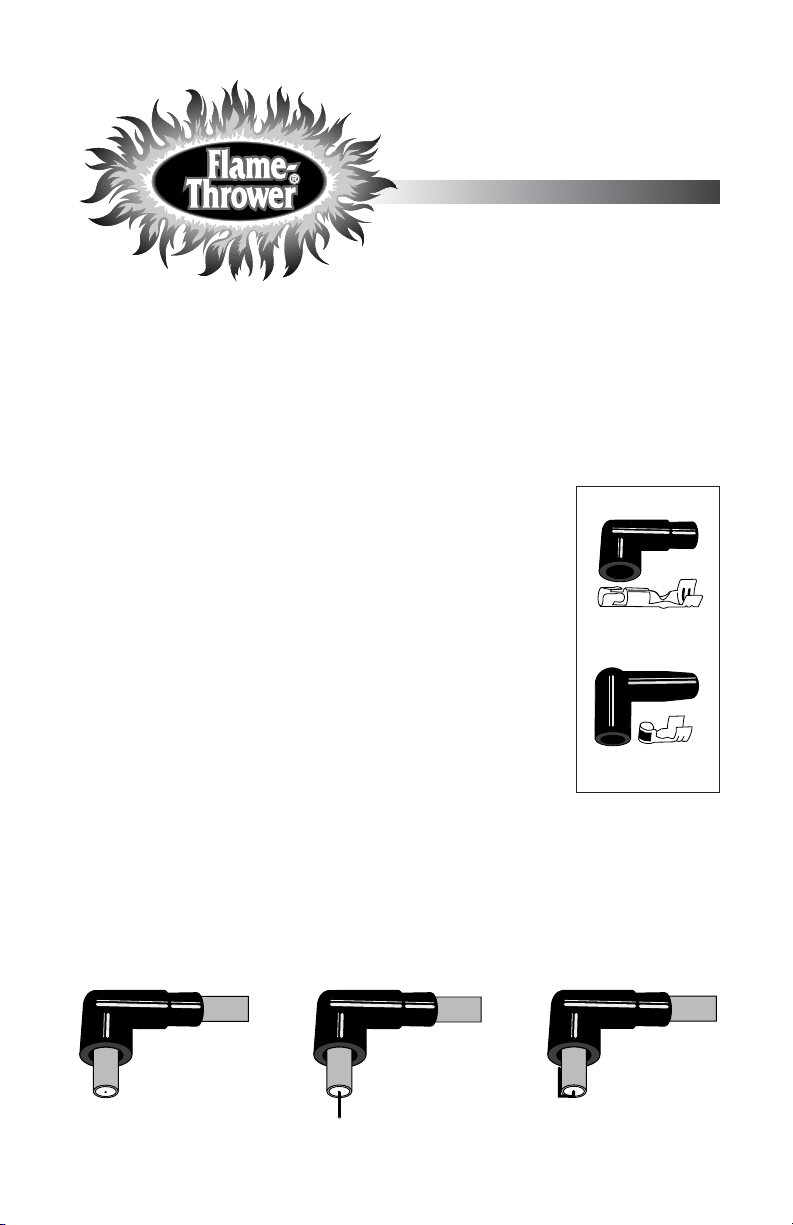
4. Choose the proper distributor boot and terminal for your
application. (See Figure A)
5. Apply silicone lubricate to the wire and boot. Slide the
distributor boot onto the spark plug wire. (See Figure 1)
6. Strip the insulation from the ½” of wire. (See Figure 2).
CAUTION...Do not cut into or nick the conductor core
when stripping away the insulation.
7. Fold the conductor back along the wire. (See Figure 3)
8. Place the proper terminal over the spark plug wire and
conductor. Use a spark plug wire crimp tool to crimp the
terminal in place. (See Figure 4 & 5) If using the brass
terminal, make a 90-degree bend. (See Figure 6)
9. Pull the boot down over the terminal. (See Figure 7)
10. Press the terminal firmly into the distributor cap.
11. Repeat steps 2 through 10 for each remaining wire from the longest to the
shortest ending with the coil wire.
CAUTION...
Make sure that there is adequate clearance between all spark plug wires
and the exhaust manifolds. Damaged wires due to inadequate clearance
are not covered under warranty.
Figure A
Boot and Terminal
for female cap
Boot and Terminal
for male cap
Figure 1 Figure 2 Figure 3
0016-00440001/03
Page 2
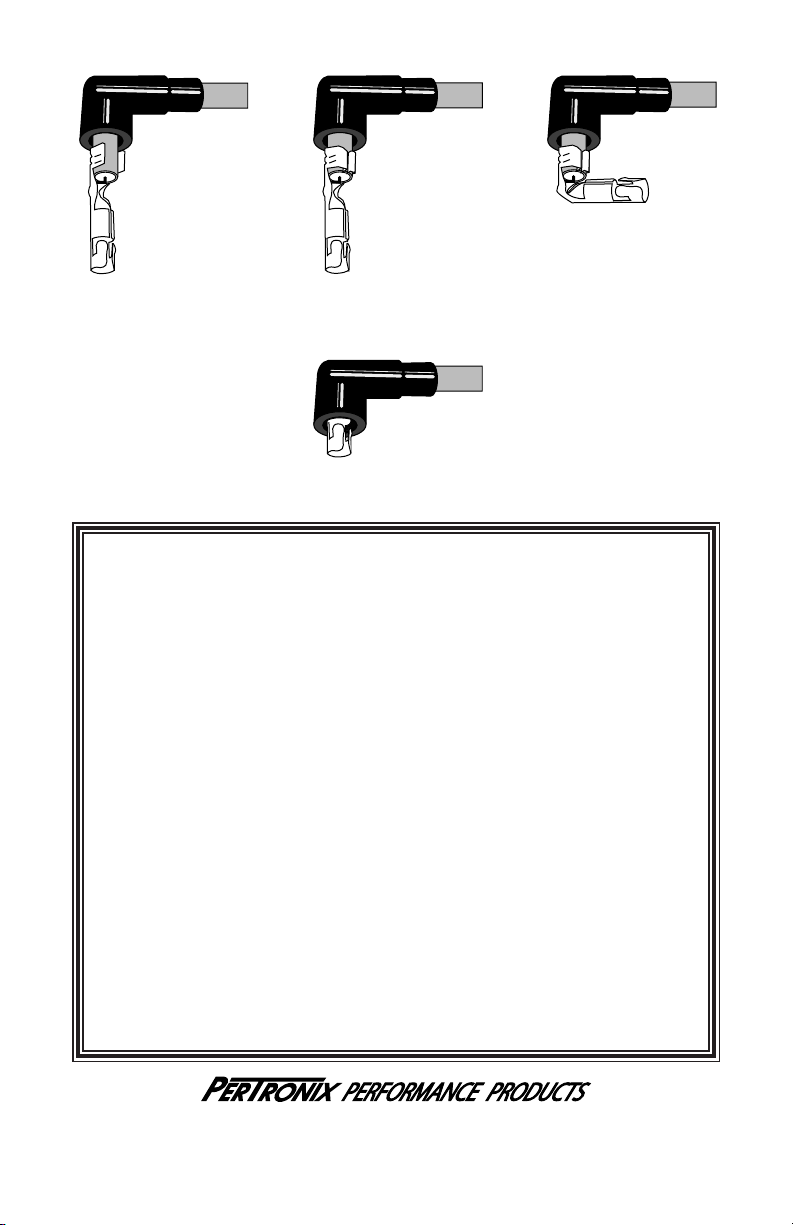
Figure 4 Figure 5 Figure 6
Figure 7
LIMITED WARRANTY
PerTronix, Inc. warrants to the original Purchaser of its Flame-Thrower Spark
Plug Wire set that the product shall be free from defects in material and
workmanship for the lifetime of the original installation.
If within the period of the foregoing warranty PerTronix finds, after inspection,
that the product or any component thereof is defective, PerTronix will, at its
option, repair such products or component or replace them with identical or similar parts PROVIDED that within such period Purchaser:
1. Promptly notifies PerTronix, in writing, of such defects.
2. Delivers the defective products product or component to
PerTronix (Attn: Warranty) with proof of purchase date; and
3. Has installed and used the product in a normal and proper
manner, consistent with PerTronix printed instructions
THE FOREGOING LIMITED WARRANTY IS EXCLUSIVE AND IN LIEU OF
ALL OTHER WARRANTIES, WHETHER EXPRESS OR IMPLIED, INCLUDING
ANY IMPLIED WARRANTY OR MERCHANTABILITY OR FITNESS FOR A
PARTICULAR PURPOSE.
THE FURNISHING OF A REPAIR OR REPLACEMENT COMPONENT OR
COMPONENTS SHALL CONSTITUTE THE SOLE REMEDY OF PURCHASER
AND THE SOLE LIABILITY OF PerTronix WHETHER ON WARRANTY, CONTRACT OR FOR NEGLIGENCE, AND IN NO EVENT WILL PerTronix BE LIABLE
FOR MONEY DAMAGES WHETHER DIRECT OR CONSEQUENTIAL.
440 East Arrow Highway
San Dimas, CA 91773
909-599-5955
www.pertronix.com
 Loading...