

Page 1

Installation Instructions
and Warranty Information
’65-’70 Ford Mustang 289/302 V8
P/N 6651S
Read all instructions carefully before attempting installation.
1.19.05
Page 2

Installation instructions for JBA Tri-Y Headers P/N 6651S
For ’65-‘70 Ford Mustang with 289/302 V8
** Requires JBA power steering ram drop down bracket p/n 6656P for installation on vehicles
equipped with factory power assist steering.
**‘64
1/2 - ‘66 Mustangs must use motor mount p/n D0OZ-6038-G or Sealed Power # 270-2286 for
proper clearance.
NOTE: Installation of this product requires an adequate workspace, general mechanic's tools,
general mechanical "know-how" and a reasonable degree of experience.
Most auto enthusiasts
with these resources will have little difficulty installing these headers. However, you should
carefully read these instructions before attempting to install these headers. If in doubt, consult a
professional mechanic. (Better to do it now than to get stuck halfway through the installation.)
This part is certified for use on Emission Controlled Vehicles.
By installing your JBA Performance Exhaust product, you indicate that you have read this
document and agree with the following terms.
The Purchaser is responsible for following all installation instructions and safety guidelines
supplied with JBA Performance Exhaust products.
JBA Performance Exhaust assumes no responsibility for damages resulting from improper
operation, misuse, abuse, or lack of responsible care, or any problems resulting from
incompatibility with other manufacturer's products.
Included with your installation instructions is a copy of the product warranty. Please read it
carefully before you begin any work on your vehicle. Should you have any questions about the
warranty policy or installation, please give JBA a call at 619 229-7797.
JBA uses sealing beads on all its headers. We have found that when installed correctly the
raised bead around each port increases the pressure exerted on the gasket directly adjacent to
the port and effectively prevents leaking gaskets.
It is important when installing the header, to
install all bolts loosely, then tighten evenly to ensure the flat installation of the flange. It is normal
for the flange to be raised off the cylinder head the thickness of the sealing bead.
Note: Typically the exhaust pipes in these early Vehicles are long gone. These instructions
contemplate the removal of old components and the installation of a new exhaust system
by a competent exhaust shop. Thus if you are replacing conventional headers (which
typically exit under the belly near the transmission) with the JBA Tri-Ys, and your exhaust
pipes are in good shape, the modifications to be performed by an exhaust shop will be
relatively minor. These instructions cover only the installation of the JBA headers.
1. Place vehicle in a location where the floor is solid and flat, with adequate lighting. Do not
attempt
to work on a hot engine. Heat causes metal to expand and makes removal of
fasteners difficult at best. Disconnect the battery cables from the battery. Raise the front
of the vehicle to obtain adequate access to the bottom exhaust manifold flanges. Use
large-base jack stands to support the vehicle. Do not rely on the jack! Block the tires to
prevent the vehicle from rolling off the jack stands.
2. Disconnect the spark plug wires by grasping and gently twisting the spark plug wire
boots.
Do not pull on the wires! Brush or blow any debris which may have collected
around the manifolds or spark plugs. This will help prevent foreign matter from entering
the combustion chamber when the manifolds are removed. Spray WD-40 or some type
of penetrating oil on all accessible fasteners and fittings before attempting to remove
them.
Page 3
3. Typically the exhaust pipes in these early Vehicles are corroded to the extent that they
are difficult to modify for use with headers. These instructions contemplate the removal
of old components and the installation of a new exhaust system by an exhaust shop.
These instructions cover only the installation of the headers. The necessary exhaust
system modifications should be left to an exhaust shop.
4. Unbolt the Driver’s side exhaust manifold and remove. Using a small wire brush or
similar instrument, clean any carbon deposits left on the head.
5. If installing headers on aluminum cylinder heads, apply anti-seize to the header bolts.
(Small
head 3/8” x 1” bolts & lock-washers included.). Bolt the header to the head.
Torque to factory specifications. Don’t forget the lock washers.
6. Unbolt the passenger side manifold and remove. As with the Driver side, apply anti-seize
and bolt the header to the engine.
7. Reinstall the spark plug wires and looms taking care not to let any wires rest against the
header tubes. Reinstall the battery cable. Make sure all rubber hoses and wires are kept
away from the headers. Otherwise, the heat will damage these components.
8. After the exhaust modification have been made to adapt the headers to your exhaust
system, recheck everything!
Make sure all bolts are tight.
9. Start the engine and let it warm up. Check for leaks. Shut engine off and let it cool
down.
Check to make sure all fasteners are tight.
10. Periodically check and retighten the header bolts.
Parts List:
(1) Driver’s Side Header Assembly
(1) Passenger’s Side Header Assembly
(16) 3/8” x 1” header bolts & lock washers
(2) Header gaskets (Header to Head flange)
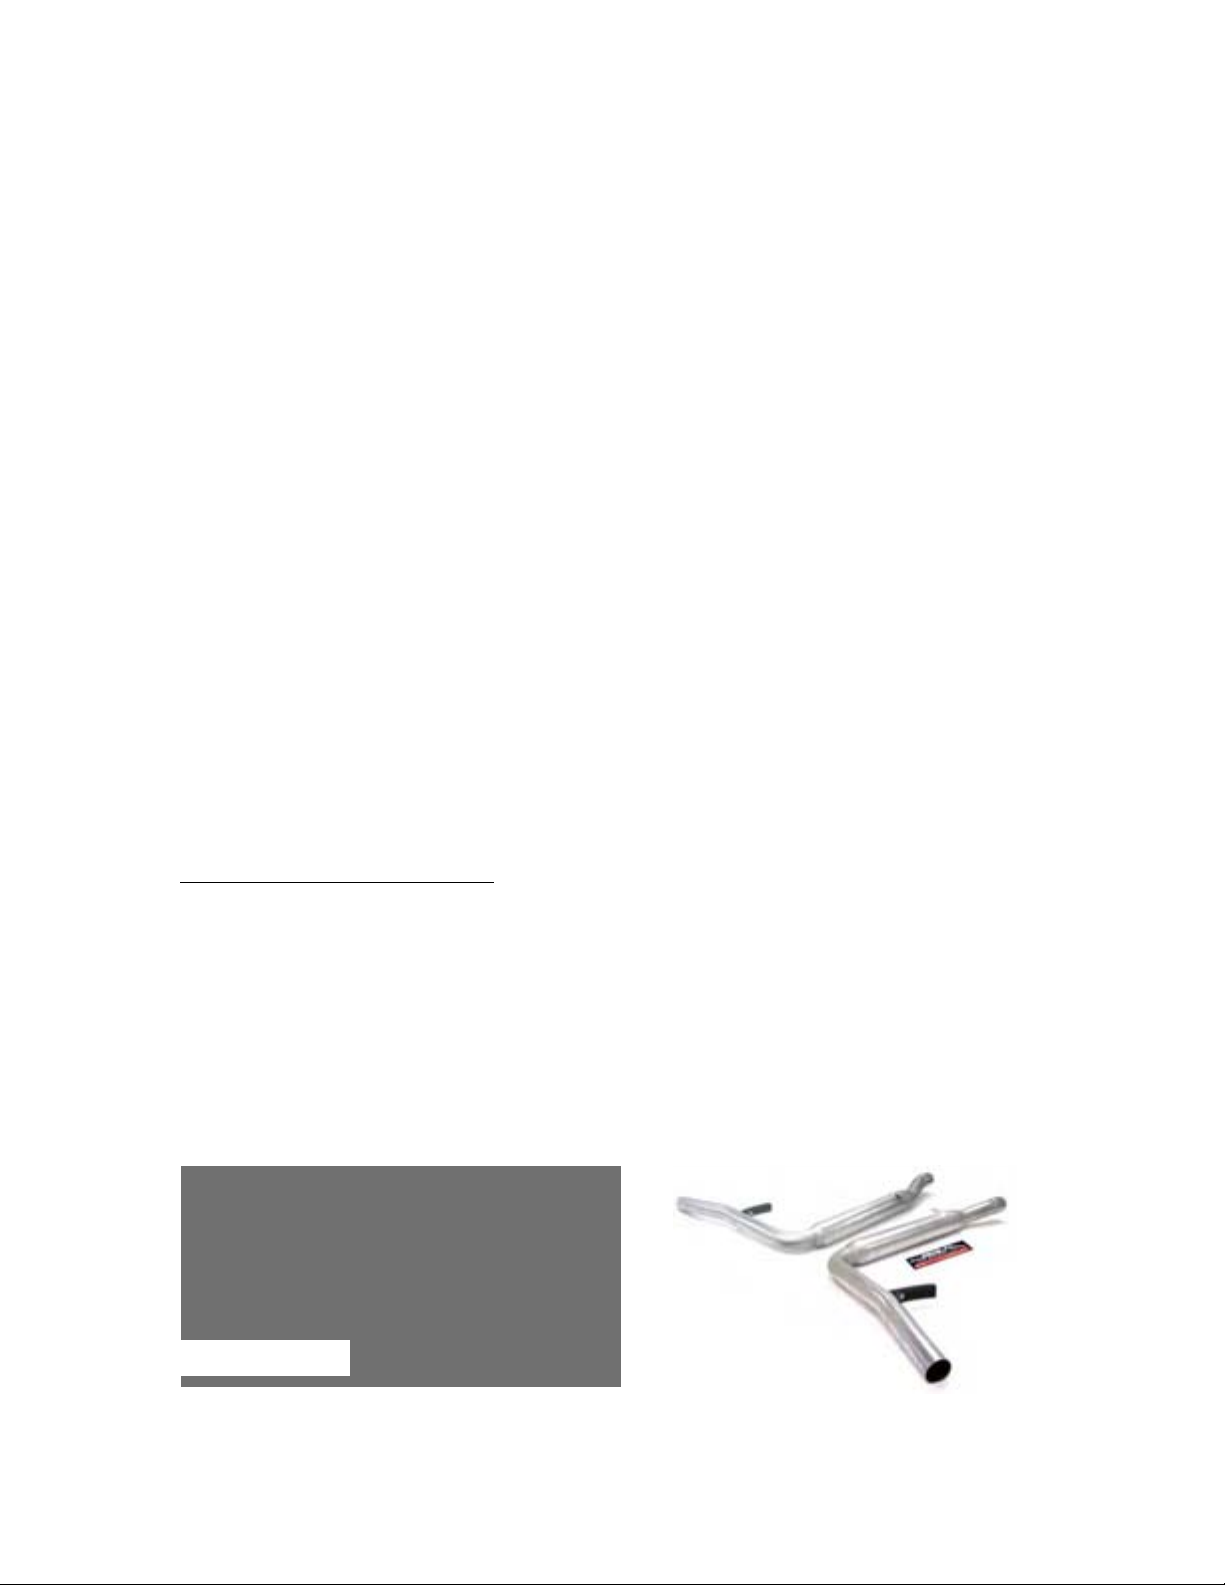
Other recommend JBA products:
For best performance and authentic Mustang “DNA” sound JBA offers performance
exhaust system in a variety of configurations. Complete your Mustang’s exhaust with
matched exhaust components from JBA. For more information about these products visit
www.jbaheaders.com or call 800.830.3377.
Part No. Description
50-2650 65-70 Mustang, dual rear exit, aluminized with turn down tips (shown)
50-2652
65-70 Mustang, R-model style dual side exit, aluminized (shown)
50-2653 65-70 Mustang, dual rear exit through valance, aluminized, 3”trumpet tips
Page 4
LIMITED LIFETIME WARRANTY
All products manufactured by JBA are guaranteed to be free from defects in materials and workmanship at
the time of sale. All products are guaranteed to fit the intended application, provided the vehicle has not
suffered structural damage or other modification*. Claims for damage occurring during shipment must be
made to the carrier. JBA, at its option, will repair or replace any product found to be defective in materials or
workmanship.
Failure of any JBA product while on the originally installed vehicle, will entitle the original purchaser to repair,
replacement, or pro rata credit according to the following chart:
Up to 2 years from the date of purchase
JBA will repair or replace at its option
After 2 years
JBA will allow credit of 50% of the current price
PURCHASER ASSUMES RESPONSIBILITY: JBA expressly disclaims, and the purchaser expressly
assumes, responsibility for all labor related costs and any incidental or consequential damages arising from
any JBA product installation or failure. JBA’s liability is limited to the purchase price of the product. JBA, at its
option, may refund the amount of the purchase to end a warranty claim. Labor charges incurred to install or
remove the product are not covered. Damage resulting from incorrect timing, fuel system problems, clogged
catalytic converters or backfire is not covered. Charges for the loss of use of vehicle, car rentals, and towing
are the responsibility of the customer and are not covered. Cost of customer-applied coatings is not covered.
As sound preference is subjective, sound is not warranted. Other than the warranty described herein, JBA
products are sold “AS IS”. No warranty terms are implied. The terms of this warranty are severable. Any
provision voided by state or other applicable law shall not act to enlarge other provisions of this warranty
except as expressly required by law. Catalytic converters and other products sold but not manufactured by
JBA are subject to the product manufacturer’s warranty only and are not warranted by JBA.
THE FOLLOWING WILL VOID THIS WARRANTY: Use of “ heat-wrap” products and/or the use of fuels other
than gasoline will void this warranty. Damage caused by improper installation is not covered under this
warranty. Damage caused by collision, road hazards, or failure of other components is not covered. Any
repair or alteration to a JBA product not performed by JBA or its authorized agents will void this warranty.
NO FREIGHT WARRANTY: JBA does not warrant freight. The purchaser will be responsible for freight to
and from JBA. Contact JBA to make a warranty claim and to receive a return authorization number. Return
the product freight prepaid along with a copy of the original purchase invoice and a written description of
the problem including the return authorization number to the address below. JBA does not accept freightcollect shipments. A product found to be defective or otherwise covered under this warranty will be repaired or
replaced per the above policy and returned freight-collect.
JBA cannot assume responsibility for compliance with local law and regulations regarding smog and noise
standards. Headers described as “smog legal” are warranted to be C.A.R.B. (California Air Resources Board)
exempt or pending exemption approval. This warranty is extended solely to the original purchaser and for the
original vehicle on which the product was installed.
JBA reserves the right to change the price, design, material, or specifications of any product without notice.
Automotive Engineered Products, Inc.
dba JBA Headers and Performance Exhaust
7149 Mission Gorge Road
San Diego, California 92120
(619) 229-7797
Copyright 2005 by Automotive Engineered Products, Inc. All rights reserved.
* Note that certain custom headers may require different engine mounts or brackets for proper fit
.
 Loading...