

Page 1
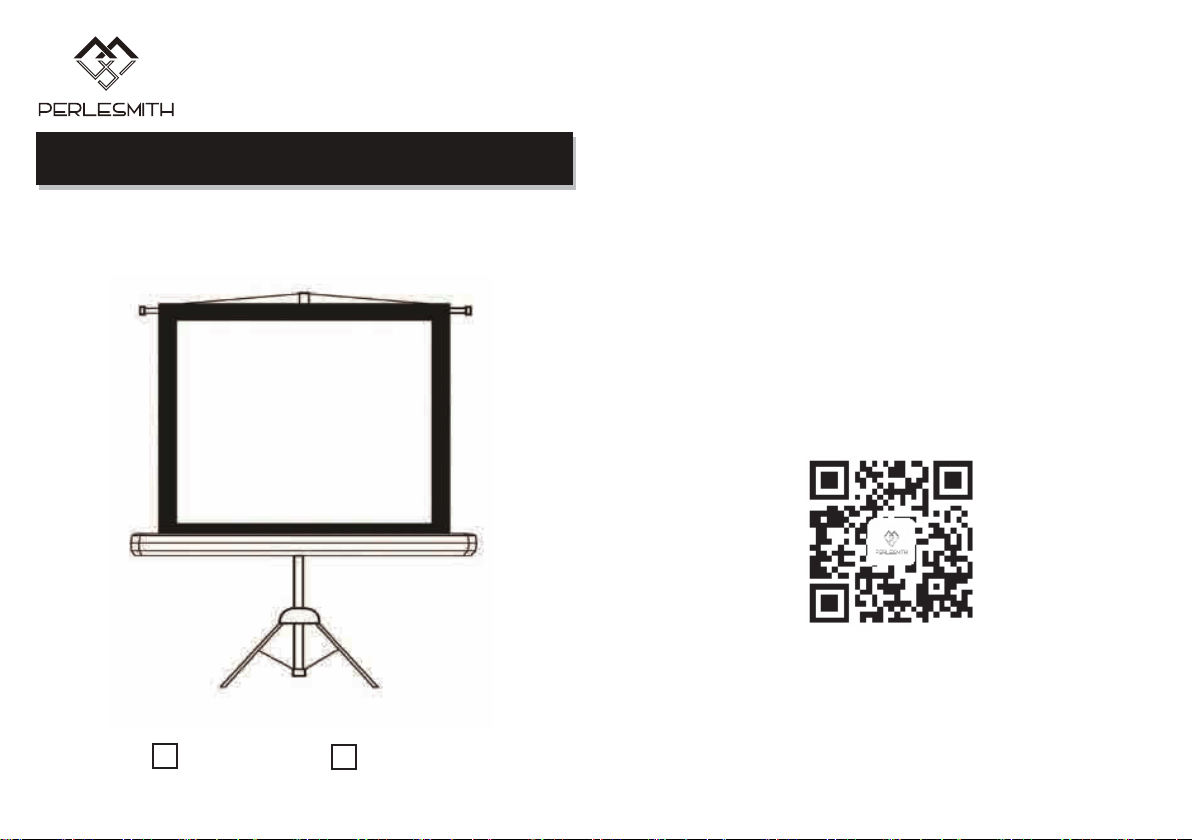
Tripod Projection Screen Operation Manual
V1.0
Disassembling the screen:
1. Lower the upper section of the tripod.
2. Remove the top supporting rod from the top of the tripod
and lower the screen until it’s fully retracted.
3. Hold down the latch and pull the screen out of the socket on
the tripod.
4. Raise the bottom piece then retract the tripod legs.
USER MANUAL FOR
TRIPOD SCREEN
PSPSB1
PSPS1
Maintaining Your Screen:
Keep screen in storage when not in use.
Make sure screen is clean prior to storing it.
Do not fold the screen fabric.
Keep screen surface away from sharp objects.
Use only clear water and clean soft cloth for screen cleaning.
Keep screen surface away from other liquids, smog and chemical.
Keep screen away from high temperature.
Store screen in dry environment.
Thank you for choosing our product! We strive to provide the best quality
and services for our customers. Would you kindly share your experience
on Amazon if you are satisfied? Should you have any issues, please don't
hesitate to contact us.
Telephone:800-5566-806 Mon-Fri 10am - 6pm (PST) (USA)
Email:[email protected] (US/CA/DE/UK/FR/IT/ES/JP/AU)
Page 2
Tripod Screen
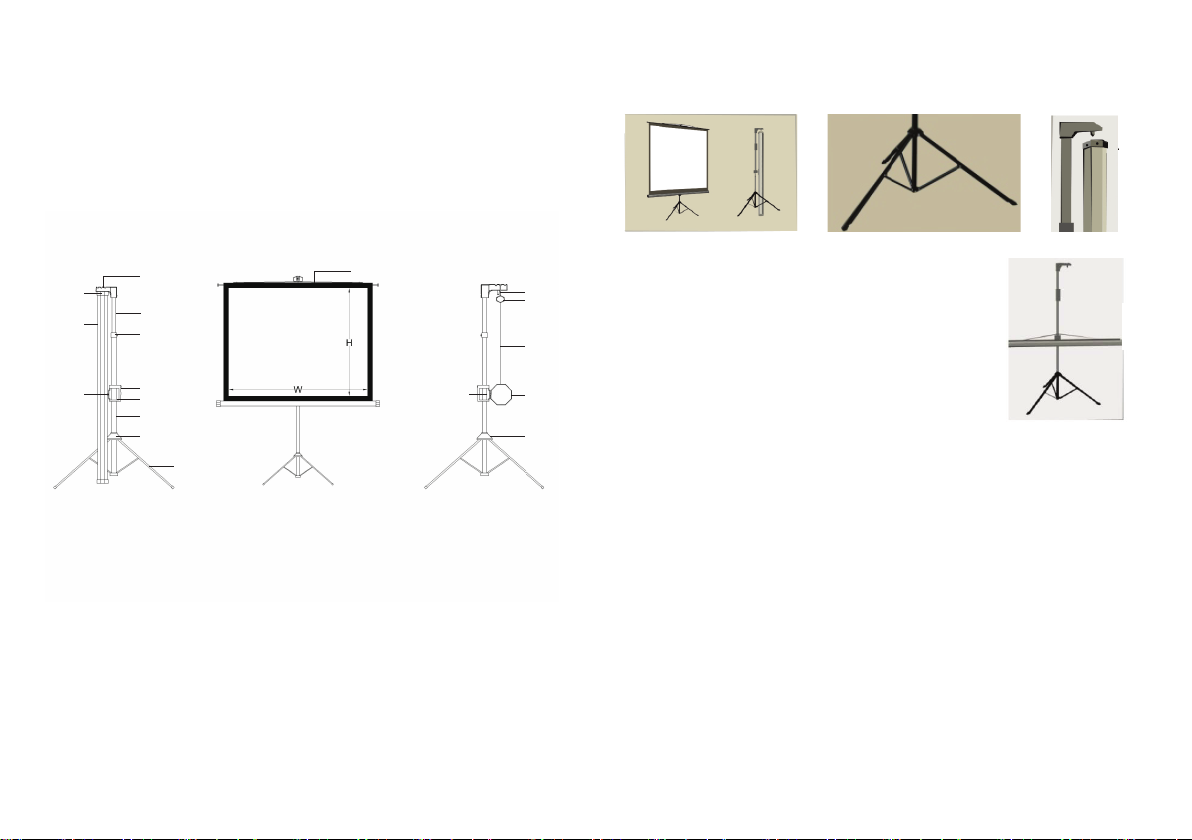
overview
Installation and use of the Tripod Screen
8
10
11
1.Tripod
2.adjust tube
3.Handle
4.Handle button
5.Adjust key
7
6
5
4
3
2
13
1
6.Drop tube
7.Topside tow bar
8.Poliing
9.Screen
10.Housing
12
11
11.Rotary locking pleses
12.Hang strip
13.Tripod fork
1.Remove all contents from the packaging.
12
8
Please take care as the contents are heavy.
2.Hold the unit firmly upright.
9
10
13
3.Open the tripod legs (1) slightly for stability.
4.Push on the Adjust Key (5), lift
the Drop Tube (6) until it clicks.
6.Rotate the Screen Housing (10)
horizontally with the screen
Rovolve around
angle 90°
facing upwards.
7.Lift the screen (9) by holding on to the Hang Strip (12) gently.
N.B. there are three indents on the
rotary pole, you can place the
screen on any of them to adjust the angle of the screen.
8.Then gently lift the unit and open the Tripod legs (1) fully until
stable.
9.The screen size can now be adjusted up or down until held in
place by the click. Care must be taken whilst doing this, one hand
on the Adjust Key (5) and one hand on the Drop Tube (6). As soon
as the Adjust Key is pressed the Drop Tube will drop rapidly! This
can cause injury if the Drop Tube is not held firmly.
 Loading...