

Page 1
Introduction
This guide covers the basic installation and configuration
setup of the JETSTREAM 4000. It is intended for systems
administrators familiar with UNIX and Windows NT
operating systems, Ethernet TCP/IP networks and the
RADIUS protocol.
For further information, pleas e refer to the JETSTREAM
Installation manual 5500023 and the JETSTREAM
Configuration manual 5500024 on the Serial/Console Ser ver
CD.
Summary of installation
1. Mount your JETSTREAM 4000 on a desk. You could also
mount it in a rack, or against a wall.
2. Connect it to the network using the 10/100BaseT por t.
3. Enter an IP address into the JETSTREAM: connect a
terminal or PC to the Admin Port on the rear panel (use the
supplied cable if connecting to a PC), and key in an ip
address, or use dhcp, bootp or rarp to send the unit an IP
address. In both cases enter other network information into
the unit; e.g. broadcast address, subnet mask.
4. Configure the JETSTREAM using on e of the following:
a. a PC to run JETset - a web browser program; it connects
to your unit using http.
b. a PC to run JETstart - a browser based ‘Wizard’
program that creates a basic configuration file.
c. a terminal or PC to type in commands using command
line interface, or to select menu options using text-based
menus
d. bootp or snmp
5. Attach your equipment (e.g. modems, printers) into the
front-mounted ports. Pin-outs of the serial ports are shown
on a label on the underside of the unit.
6. Test communications with your attached devices. If
communications are OK, your JETSTREAM is ready to
use.
LEDs on RJ45 ports (after bootup)
Rack Mounting with optional accessory
Admin Port, pin-outs
The pin-outs of a 9-way Admin Port connector are shown
below. They are suitable for a straight-through cable to a PC.
Connection examples
Entering network detail
1. Set your terminal or PC with terminal emulation to
emulate VT100 (if you cannot do this, see note 1.)
2. On your terminal/PC set : 9600 baud, 8 data bits, no parity
and software flow control.
3. Connect your terminal/PC to the DB9 or DB25 port
marked ‘ADMIN’ on the rear of the unit. Note: the Admin
port is VT100 emulation only.
You can also connect to any RS232 serial port; here you
can also use emulation types of ANSI or Wyse 60.
Connection examples for a terminal are shown in the
previous column.
4. Connect your JETSTREAM to mains power. After power
up, press <return> on your terminal/PC. You should see a
login prompt. If you do not see a login prompt, refer to
note 2.
5. (Admin Port) At the login prompt type ‘admin’; at the
password prompt press the <return> key.
6. (Serial Port) At the command line prompt, type ‘set line
<line number> termtype <termtype>’
where termtype is either VT100, ANSI or Wyse60 (same
as your terminal/PC).
7. Type ‘screen’ then press the return key; you should be
presented with the main text menu, see note 5. If you
cannot see the main menu refer to note 3.
8. Enter your JETSTREAM network details; see note 4.
Notes:
1. If your terminal/PC cannot emulate VT100, ANSI or
Wyse 60 you will not be able to use the text menuing
system during this installation; instead yo u will have to use
the command line interface (cli). After installation you can
download additional terminal definitions; some are
contained on the accompanying CDROM.
2. If you do not see the login prompt you may have a problem
with terminal settings (emulation type, baud rate, data bits,
etc.). Also, check your cabling.
3. If typing ‘screen’ does not take you into the menu system,
you may not be able to use the menus because of your
terminal emulation. Use the command line interface (cli).
4. Enter your JETSTREAM network configuration details:
server name - the name you want to give your
JETSTREAM,
e.g. socrates
internet address - the ip address you will use for your
JETSTREAM, in dot notation, e.g. 192.65.132.6
broadcast address - the address which will reach all the
necessary hosts. e.g. 192.65.132.255
subnet mask - e.g. 255.255.255.0
domain name - e.g. perle.com
ip_host - enter a default host ip address which can be used
for all users; enter in dot decimal notation
authentication - how users will be authenticated; you
have a choice of ‘both’ (by JETSTREAM, then if
necessary by the RADIUS host), ‘local’ (JETSTREAM
only) or ‘RADIUS’ (by the RADIUS host only).
gui_access - whether you want to allow web browsers to
access the GUI configuration program, named JETset.
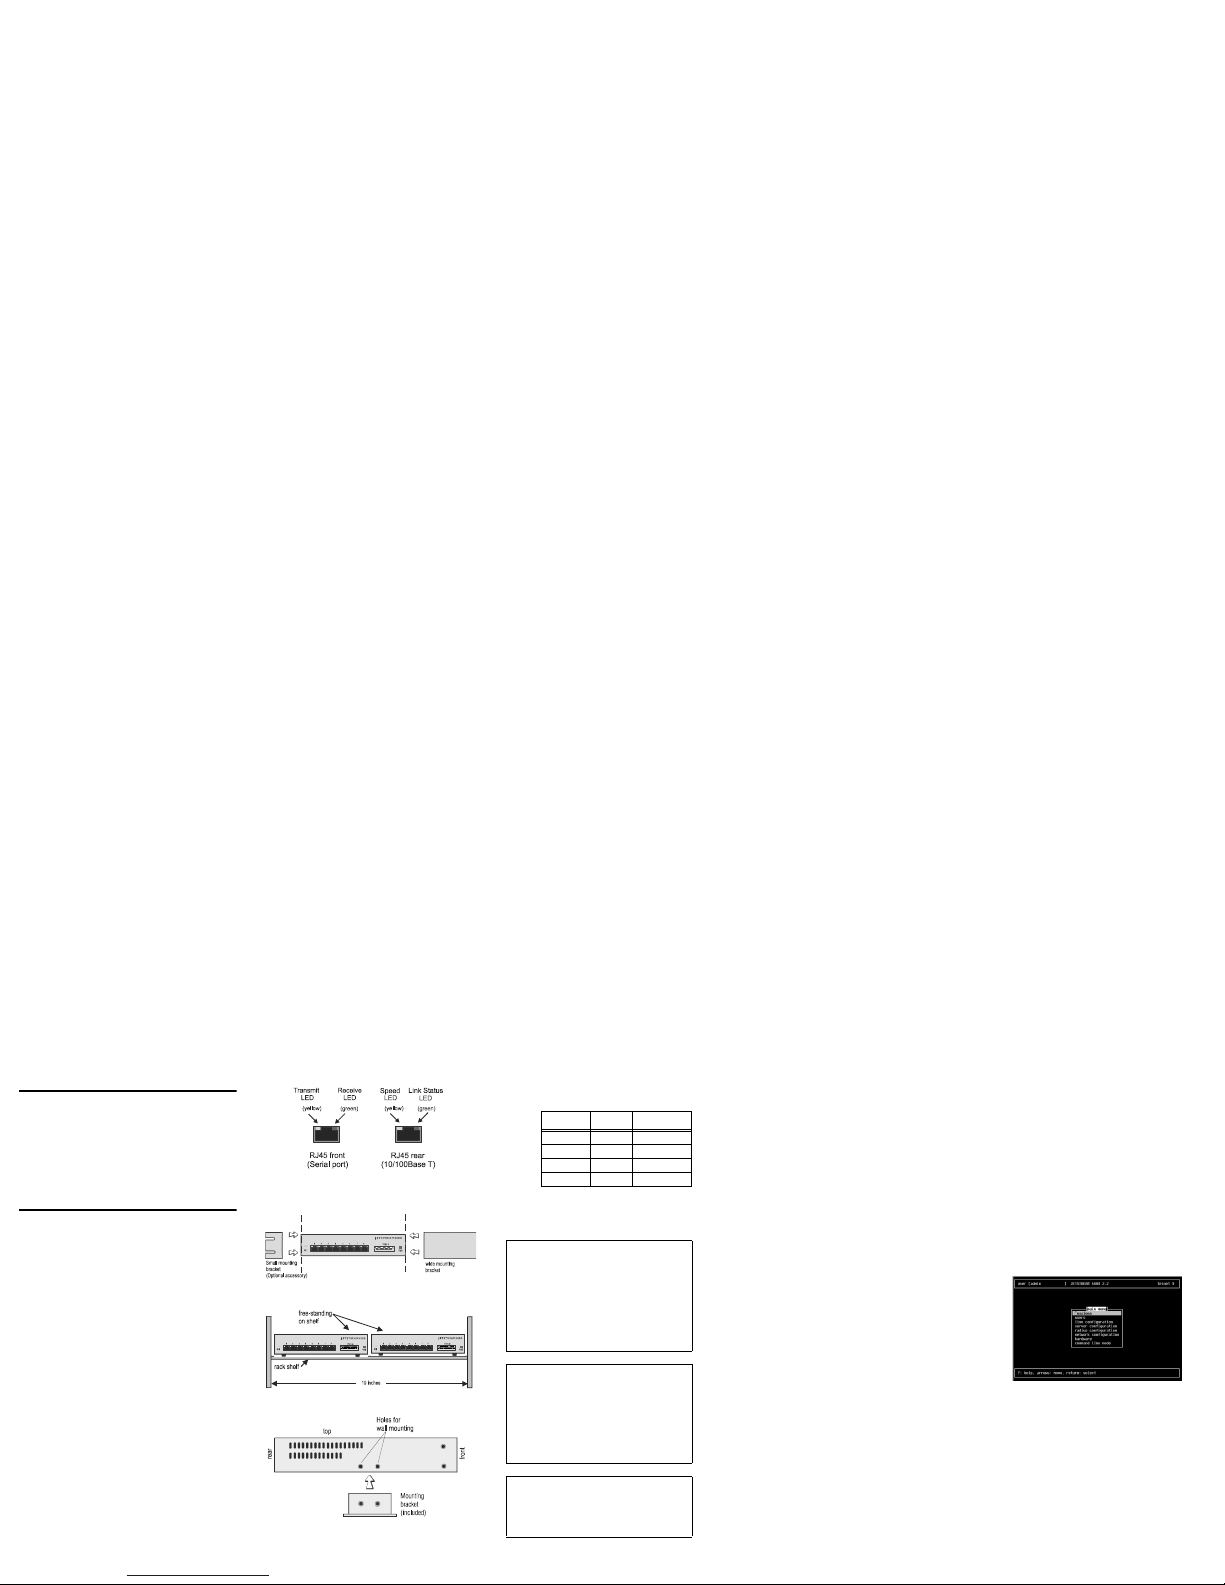
5. The main menu in the text menu s ystem is shown below:
Mounting on a rack shelf
W
all mounting
Pin Signal Function
3 RXD Receive
2 TXD Transmi t
5 S/GND Signal Ground
all others - do not connect
JETSTREAM Modem
RJ45 serial port (RS232) DB25
RXD 6 <————— 3 RXD
TXD 5 —————> 2 TXD
RTS 8 <————— 5 CTS
CTS 7 —————> 4 RTS
DSR 2 —————> 20 DTR
S/GND 4 —————— 7 S/GND
DCD 1 <————— 8 DCD
DTR 3 <————— 6 DSR
JETSTREAM Terminal
RJ45 serial port (RS232) DB25
RXD 6 <————— 2 TXD
TXD 5 —————> 3 RXD
RTS 8 <————— 4
or
20
RTS o r
DTR
CTS 7 —————> 5 CTS
S/GND 4 —————— 7 S/GND
JETSTREAM Printer
RJ45 serial port (RS232) DB25
RXD 6 <————— 2 TXD
TXD 5 —————> 3 RXD
S/GND 4 —————— 7 S/GND
Page 2

Configuration using JETset
If you want to use JETset - the full configuration program,
proceed as follows (this uses a PC with terminal emulation);
1. Open your web browser and enter the ip address of your
JETSTREAM in dot decimal notation.
The JETset home page now appears where you can now set
the admin password.
2. Within JETset, go to the User area.
3. Within the text menus, go to the Users Menu and select
Set Password. Alternatively, within the cli, type
set password.
Configuration using JETstart
For configuration you can also use JETstart - the
configuration ‘wizard’. JETstart is a java applet which you
run inside your web browser.
You open JETstart by opening file jetstart.htm, which is
supplied on the Serial/Console Server CD. You need either
Netscape version 4.05 (minimum) or Microsoft’s Internet
Explorer version 4 (minimum).
Using JETstart you create a configuration file. You then
download the file from your local machine to the
JETSTREAM using tftp; see the JETSTRE AM’s cli command
‘netload’.
What do you want to do next?
You can now perform one of the following tasks:
• Configure line s for terminal server connections
• Configure lines for remote access (SLIP/PPP) connections
• Configure us ers you will be able to set your screen display
into other languages
• Configure BOOTP
• Use SNMP to configure and manage some of the
JETSTREAM parameters
For further information on performing these tasks please refer
to the configuration manual 5500024 on the Serial/Console
Server CD.
JETSTREAM
4000
Midi Network Access Server
Quick start guide
• Remote acce ss
• Termin al server connections
• RADIU S authentication and accounting
• Parallel printer support
Contacting Perle Technical Support
Perle offers free technical support to Perle Authorised
Distributors and Registered Perle Resellers.
To access technical support please visit the Perle website
at www.perle.com/support.
Here you will find:
• latest drivers and firmware updates for download
• technical tips
• frequently asked questions
• documentation
• configuration support
• cabling information
• maintenance contract information
• and much more...
If you are unable to find the information you require, please
feel free to contact our technical support teams by email at:
USA
Email: [email protected]
Europe
Email: [email protected]
Asia
Email: [email protected]
Internet
www.perle.com/support
JETSTREAM 4000 Quick Start Guide
Part No: 5500025-16
Copyright © Perle Systems Limited, 2002
 Loading...