

Page 1
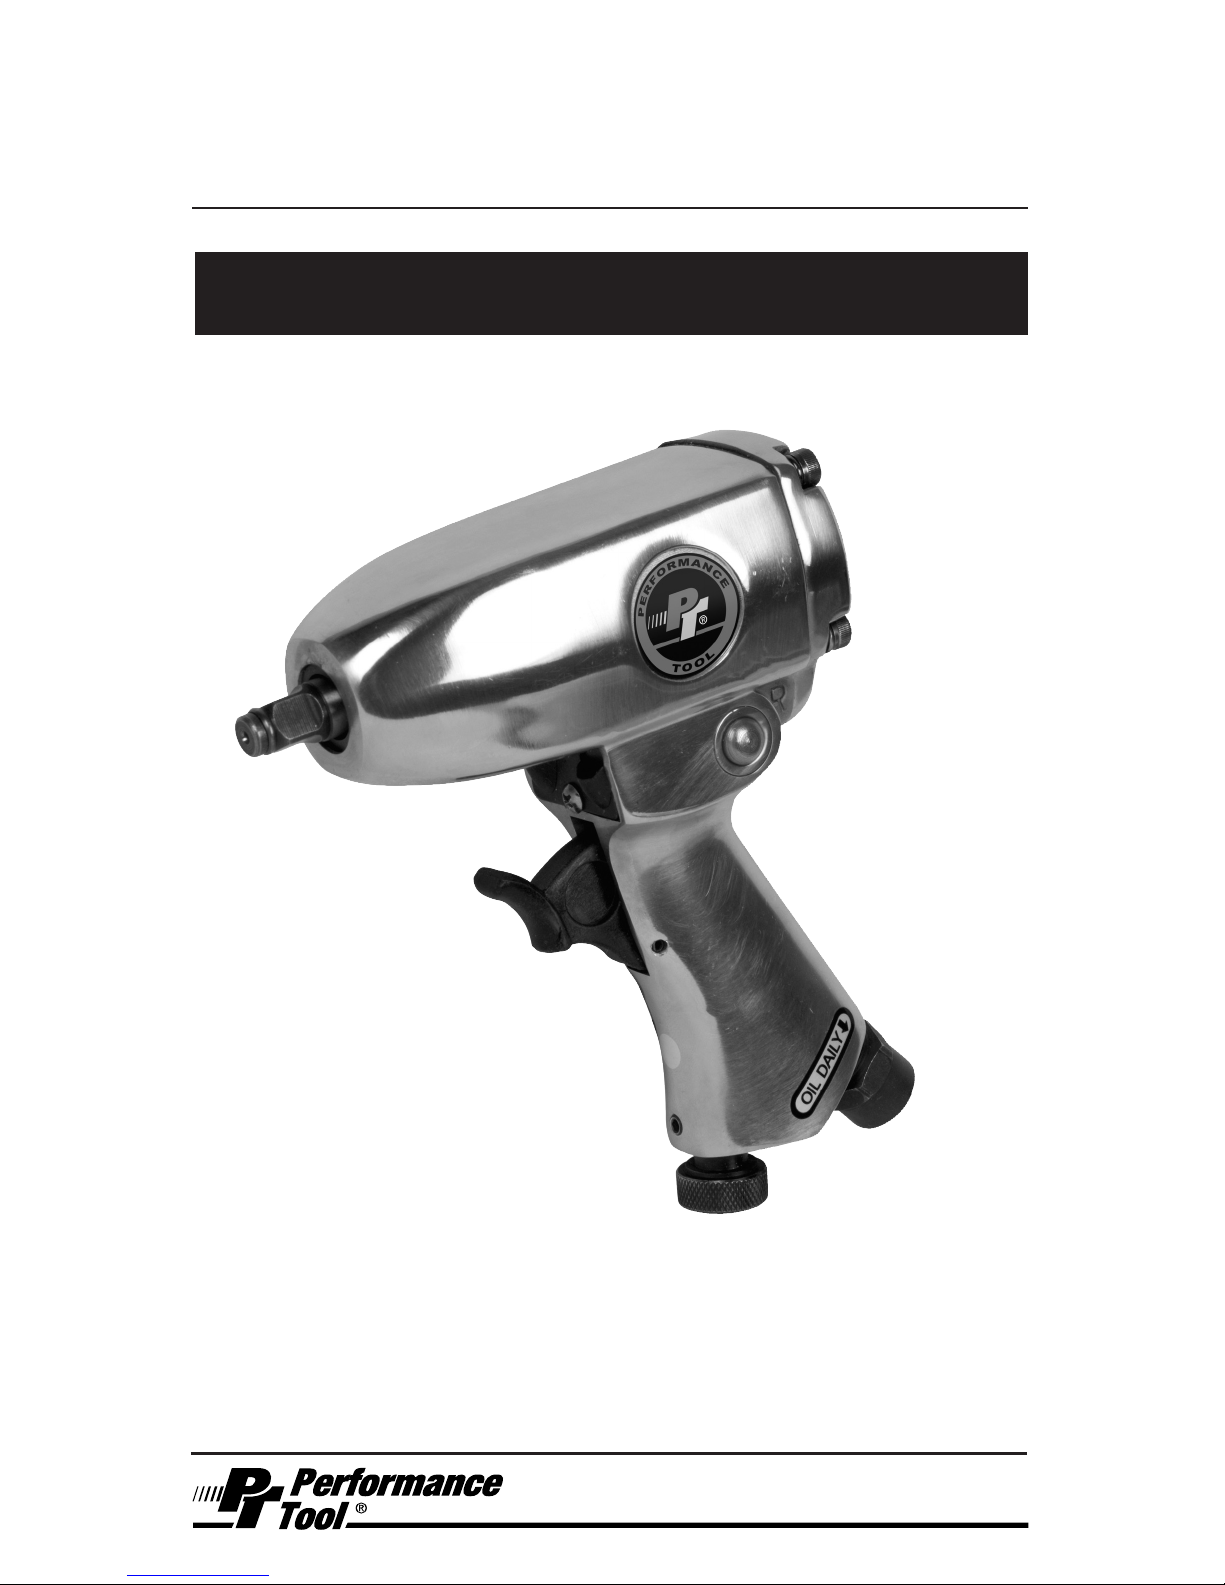
3/8 in. Dr. Impact Wrench
OWNER'S MANUAL
Stock Number M621
WARNING!
READ, UNDERSTAND AND FOLLOW ALL INSTRUCTIONS AND WARNINGS BEFORE
OPERATING THIS TOOL. FAILURE TO DO SO MAY RESULT IN PERSONAL INJURY
AND/OR PROPERTY DAMAGE AND WILL VOID WARRANTY.
Page 2

2
SPECIFICATIONS
Specifications are subject to change without notice
IMPORTANT SAFETY INFORMATION
WARNING!
READ, UNDERSTAND AND FOLLOW ALL INSTRUCTIONS AND WARNINGS
BEFORE OPERATING THIS TOOL. FAILURE TO DO SO MAY RESULT IN
PERSONAL INJURY AND/OR PROPERTY DAMAGE AND WILL VOID WARRANTY.
1. Keep work area clean. Cluttered areas invite injuries.
2. Observe work area conditions. Do not use machines or power tools in damp
or wet locations. Don’t expose to rain. Keep work area well lighted. Do not
use electrically powered tools in the presence of ammable gases or liquids.
Do not bring combustible materials near the tools.
3. Keep children away. Children must never be allowed in the work area. Do not
let them handle machines, tools, hoses or extension cords.
4. Store idle equipment. When not in use, tools must be stored in a dry location
to inhibit rust. Always lock up tools and keep out of reach of children and
other untrained persons. Switch off all unused electrical tools when stored.
Tools are dangerous in the hands of untrained users.
5. Always wear approved eye protection when using tools. If raising dust, wear
a suitable mask.
6. Work Safe. Do not wear loose clothing or jewelry that could become caught
by moving parts, causing injury. Operate tool a safe distance from yourself
and others in the work area. Keep proper footing and balance at all times. Do
not reach over or across running machines, hoses, etc.
7. Do not operate any tool if under the inuence of alcohol or drugs. Read
warning labels on prescriptions to determine if your judgment or reexes are
impaired while taking drugs. If there is any doubt, do not operate any tool.
Drive Size (IN.)....................................................................3/8
Max torque (Ft/Lbs)...........................................................120
Working torque (Ft/Lbs)................................................20-100
Free Speed (RPM)........................................................11,000
Avg CFM ............................................................................2.5
Air Inlet (NPT).................................................................1/4 in.
Standard bolt size..........................................................3/8 in.
Weight (LBS)....................................................................2.6
Warning!
Oil tool before each use. 4 to 5 drops of a good grade Air Tool Oil placed in the
air inlet is sufficient. Use proper air pressure and CFM rating listed for this tool.
Page 3

3
IMPORTANT SAFETY INFORMATION
ASSEMBLY & INSTALLATION
NOTE: For best service you should incorporate an oiler, regulator, and inline lter.
1. You will need to prepare a 1/4” quick air connector to connect to the air source
hose. Wrap the 1/4” quick air connector with pipe thread seal tape (not included)
before threading it onto the 3/8” air source hose. Then, connect the 1/4” quick
air connector to the Air Inlet on the tool. Note: If you are not using an automatic
oiler system, before operation, add a few drops of Pneumatic Tool Oil to the
airline connection. Add a few drops more after each hour of continual use.
2. Set the air pressure on your compressor to 90 PSI. Do not exceed the testing air
pressure of 90 PSI.
3. Check the air connection for leaks. Once you are satised there are no leaks, turn
off the air compressor and disconnect the tool.
8. Be sure air is in OFF position when connecting tool to air supply.
9. Use only those accessories that are designed for use with tools. For example, with impact wrenches do not use ordinary sockets. Use impact sockets
for all air tools.
10. Be sure to disconnect tool from air supply before changing accessories,
performing service on tool and when not in use.
11. Follow air source manufacturers' directions for connection of regulators,
lters, and other accessories to air source. Do not install quick couplers
directly on tool as they put unnecessary strain on the air inlet threads possibly
causing them to wear out prematurely. Instead, install them on a short length
of air hose attached to the tool.
12. Check for damaged parts. Before using any tool, any part that appears damaged should be carefully checked to determine that it will operate properly
and perform its intended function. Check for alignment and binding of moving
parts; any broken parts or mounting xtures; and any other condition that may
affect proper operation. Any part that is damaged should be properly repaired
or replaced by a qualied technician.
13. Maintenance. For your safety, maintenance should be performed regularly by
a qualied technician using original PERFORMANCE TOOLS® replacement
parts. Failure to do so can lead to accidents for the operator. Use of any
other parts will void the warranty. Only use accessories intended for use with
this tool. Approved accessories are available from Performance Tool®. Use
only accessories that are recommended by the manufacturer for your model.
Accessories that may be suitable for one tool may become hazardous when
used on another tool.
WARNING: This product and its packaging contain a chemical known to the
State of California to cause cancer, birth defects, or other reproductive harm.
WARNING: The warnings, cautions, and instructions discussed in this instruction
manual cannot cover all possible conditions and situations that may occur. It
must be understood by the operator that common sense and caution are factors
which cannot be built into this product, but must be supplied by the operator.
Read and understand all of the instructions provided in the instruction manual of
this product, as well as, any other tool (s) used with this product.
Page 4
4
AIR SOURCE
Clean air of correct air pressure is recommended for the power supply for this tool. A
maximum of 90 PSI at the tool is recommended for most air tools of this class. Check
specifications section for recommended pressure. (Depending on length of air hose and
other circumstances, air pressure at compressor may need to be increased to 100 PSI to
ensure 90 PSI at the tool.)
Water in the air hose and compressor tank contributes to reduced performance and
damage of the air tool. Drain the air tank and filters before each use and as necessary to
keep the air supply dry.
Hose length over 25’ causes loss in line pressure. Increase hose I.D. or increase
compressor pressure to compensate for the pressure loss. Use an in-line pressure
regulator with gauge if air inlet pressure is critical.
1. This impact wrench is rated to 3/8 in. USS bolt size. Rating will decrease for U-Bolts,
Long Cap Screws, Spring Fasteners and rusted or corroded fasteners. All of these factors
absorb power and reduce torque capability.
2. Use the simplest socket to wrench hook-up. Any additional extensions, U-joints or
adaptors will absorb power and reduce torque capability.
3. Use only impact sockets designed for impact wrenches.
4.
Forward/Reverse Lever. Select “F” for Forward (clockwise) or “R” for Reverse (counter-
clockwise) operation. Do not attempt to change direction while tool is running.
5.
If fastener bogs, slows or binds the tool, or if the fastener fails to move after 5 seconds, use a
larger size impact wrench with a higher torque rating. Overloading this tool will cause premature
wear and/or permanent damage to internal and external drive parts and will void warranty.
6. The air regulato
r can be used as an air
throttle. Turn air regulator knob out
(counter-clockwise) for maximum power.
7. Torque setting: To set the tool to desired
torque, select a fastener of known
tightness of the same size, thread pitch
and thread condition as those on the job.
Turn air regulator to lowest position.
Apply wrench to (turn regulator out) until
fastener moves slightly in the direction it
was originally set. The wrench is now
set to duplicate the torque applied to this
fastener. Critical torque specifications
cannot be met by any wrench in this
class. Use an appropriate torque wrench
to obtain a specific torque.
OPERATION
LUBRICATION & MAINTENANCE
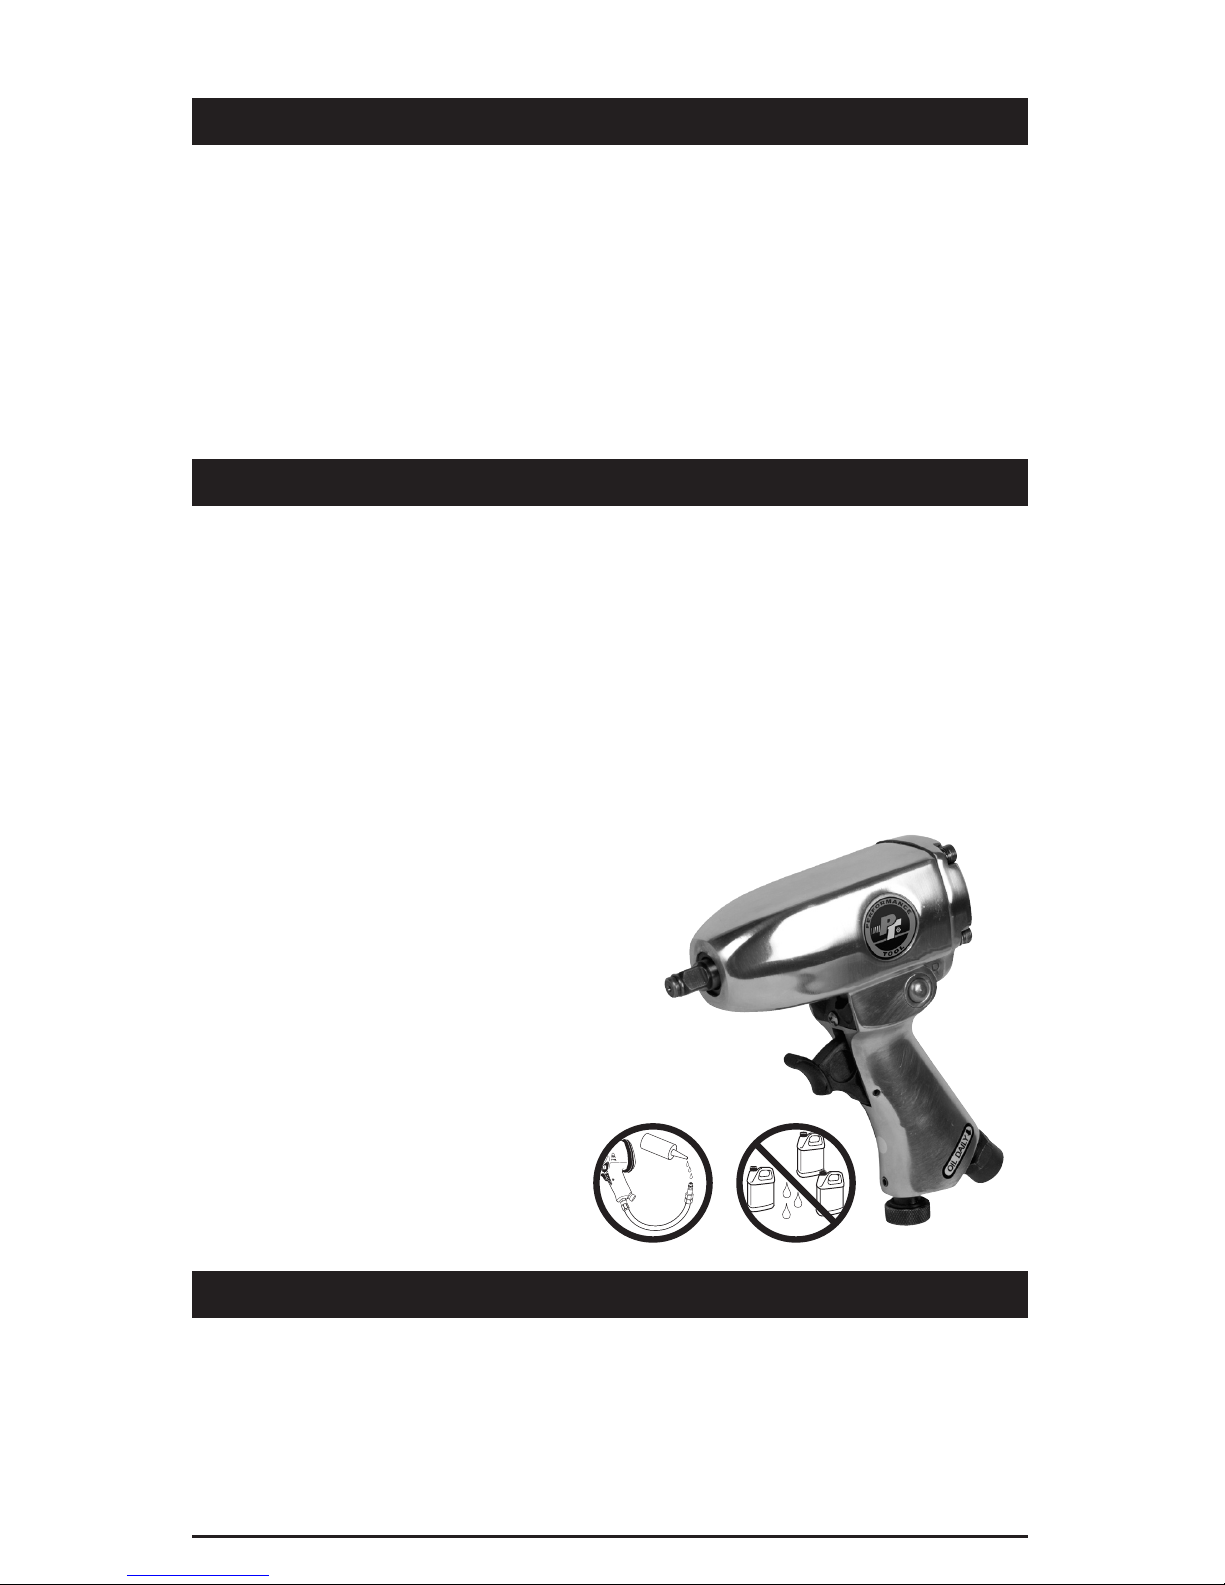
Oil tool before each use. 4 to 5 drops of a good grade Air Tool Oil placed in the
air inlet is sufficient. Use proper air pressure and CFM rating listed for this tool.
Drain water from hoses and compressor tank. Water in the air supply line will
cause gumming and loss of power. Clean the air filter on the supply line and
flush the tool with gum solvent or a 50/50 mix of air tool oil and kerosene. It may
be necessary to disassemble the tool to properly clean and re-lubricate.
Moto
r
Oil
Trans.
Fluid
Brak
e
Fluid
Water
Whip
hose
Air Tool
Oil
Yes No
Page 5
5
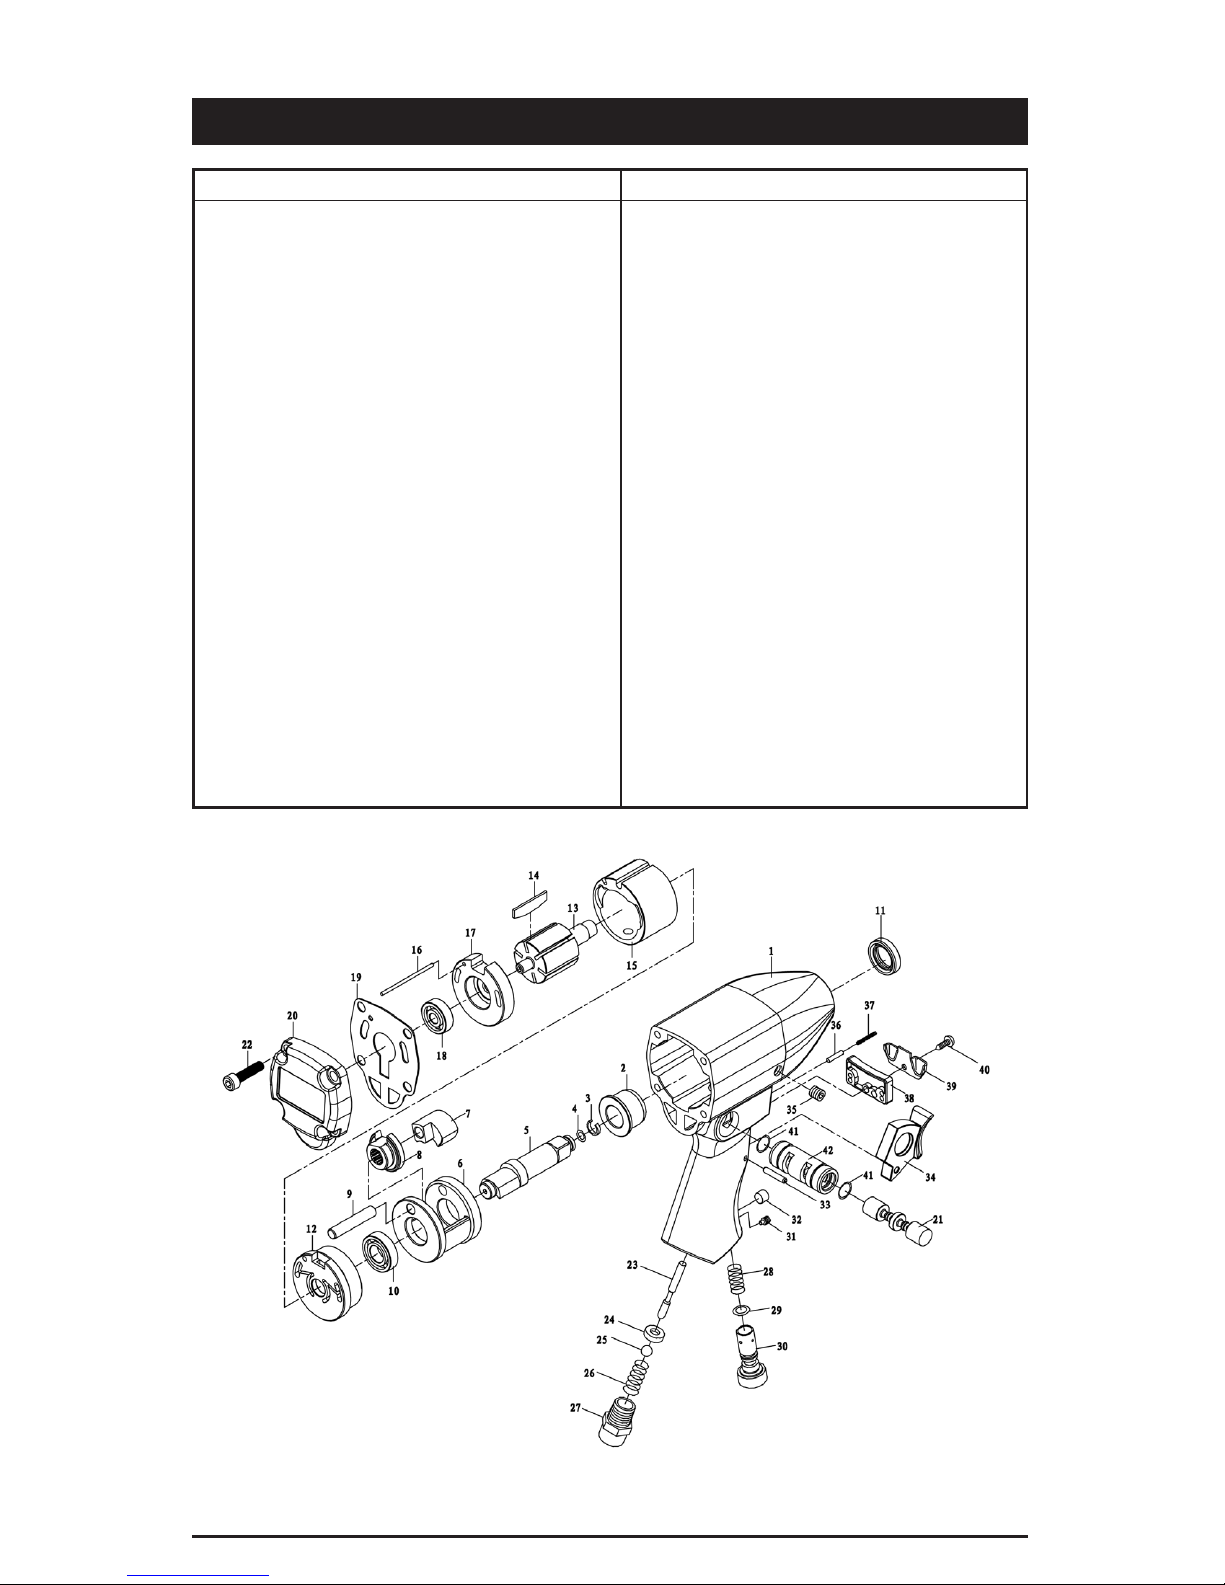
# Part # Description Quantity # Part # Description Quantity
PARTS LIST
1 Housing 1
2 Anvil Bushing 1
3 Anvil Collar 1
4 O-ring 1
5 M621K-01 Anvil 1
6 Hammer Cage 1
7 M621K-01 Hammer Dog 1
8 M621K-01 Drive Cam 1
9 Fixed Pin
1
10 Front Bearing 1
11 Oil Seal 1
12 Front Plate 1
13 Rotor 1
14 M621K-01 Rotor Blade 6
15 Cylinder 1
16 Cylinder Pin 1
17 Rear Cover 1
18 Rear Bearing 1
19 M621K-01 Rear Gasket 1
20 Seal Cover 1
21 Reverse Valve 1
22 Screw 4
23 Pin 1
24 O-ring 1
25 Steel Ball 1
26 Spring 1
27 Air Inlet 1/4" 1
28 Spring 1
29 M621K-01 O-ring 1
30 Air Regulator 1
31 Screw 1
32 Plug 1
33 Trigger Pin 1
34 Trigger 1
35 Screw 1
36 Pin 1
37 Spring 1
38 Muffle Cover 1
39 Exhaust Deflector 1
40 Screw 1
41M621K-01 O-ring 1
42 Valve Sleeve 1
Page 6

6
LIMITED WARRANTY
PERFORMANCE TOOL® extends only the following warranties, and only to original retail purchasers. These warranties give specific legal
rights. Except where prohibited by local law, the law of the State of Washington governs all warranties and all exclusions and limitations
of warranties and remedies. There may be other rights which vary from state to state.
PERFORMANCE TOOL® warrants the product to be free from defects in materials and workmanship under normal use and service. A
defective product may be returned for a free replacement within 90 days from the date of purchase, provided that product is returned to
place of purchase immediately after discovery of defect. After 90 days and up to one year from date of purchase, PERFORMANCE
TOOL® will replace at no charge any parts which our examination shall disclose to be defective and under warranty. These warranties
shall be valid only when a sales receipt showing the date of purchase accompanies the defective product or defective part (s) being
returned. For part (s) after 90 days, please remit your request, postage prepaid to:
PERFORMANCE TOOL, P.O. Box 88259 Tukwila, WA 98138
These warranties exclude blades, bits, punches, dies, bulbs, fuses, hoses, and other consumables which must be replaced under normal
use and service. These warranties shall not apply to any product or part which is used for a purpose for which it is not designed, or which
has been repaired or altered in any way so as to affect adversely its
performance or reliability, nor shall these warranties apply to any product or part which has been subject to misuse, neglect, accident or
wear and tear incident to normal use and service.
PERFORMANCE TOOL® does not authorize any other person to make any warranty or to assume any liability in connection with its
products.
Except for warranties of title and the limited express warranties set forth above, PERFORMANCE TOOL® makes no express or implied
warranties of any kind with respect to its products. In particular, PERFORMANCE TOOL® makes no implied warranty of merchantability
and no implied warranty of fitness for any particular purpose, except that for goods purchased primarily for personal, family or household
use and not for commercial or business use, PERFORMANCE TOOL® makes an implied warranty of merchantability (and, if otherwise
applicable, an implied warranty of fitness for a particular purpose), but only for the particular qualities or characteristics, and for the
duration, expressly warranted above.
The laws on limitation of implied warranties may differ from state to state, so the above limitations may not apply in all cases.
PERFORMANCE TOOL® shall not be liable for consequential, incidental or special damages resulting from or in any manner related to
any product, or to the design, use, or any inability to use the product. The sole and exclusive remedy for a defective product or part shall
be the repair, or replacement thereof as provided above. The laws on limitation of remedies or on consequential, incidental or special
damages may vary from state to state, so the above limitations may not apply in all cases.
© Copyright 2010 WILMAR CORPORATION, P.O. Box 88259 Tukwila, WA 98138
INSUFFICIENT POWER:
Probable Cause Solution
Dirty or clogged air passages Flush and lubricate tool, drain air tank
and supply line
Insufficient air supply Increase line pressure, make sure
compressor matches tool's air pressure
and consumption needs
Air leakage Use PTFE tape at all fittings and joints.
Check tool for worn or damaged O-rings
& seals.
Worn/damaged wear & tear parts Replace as necessary.
Tool matching Be sure you are using a tool suited for
the lubing requirements of the
job at hand.
TROUBLESHOOTING
Page 7

7
 Loading...