

Page 1
1
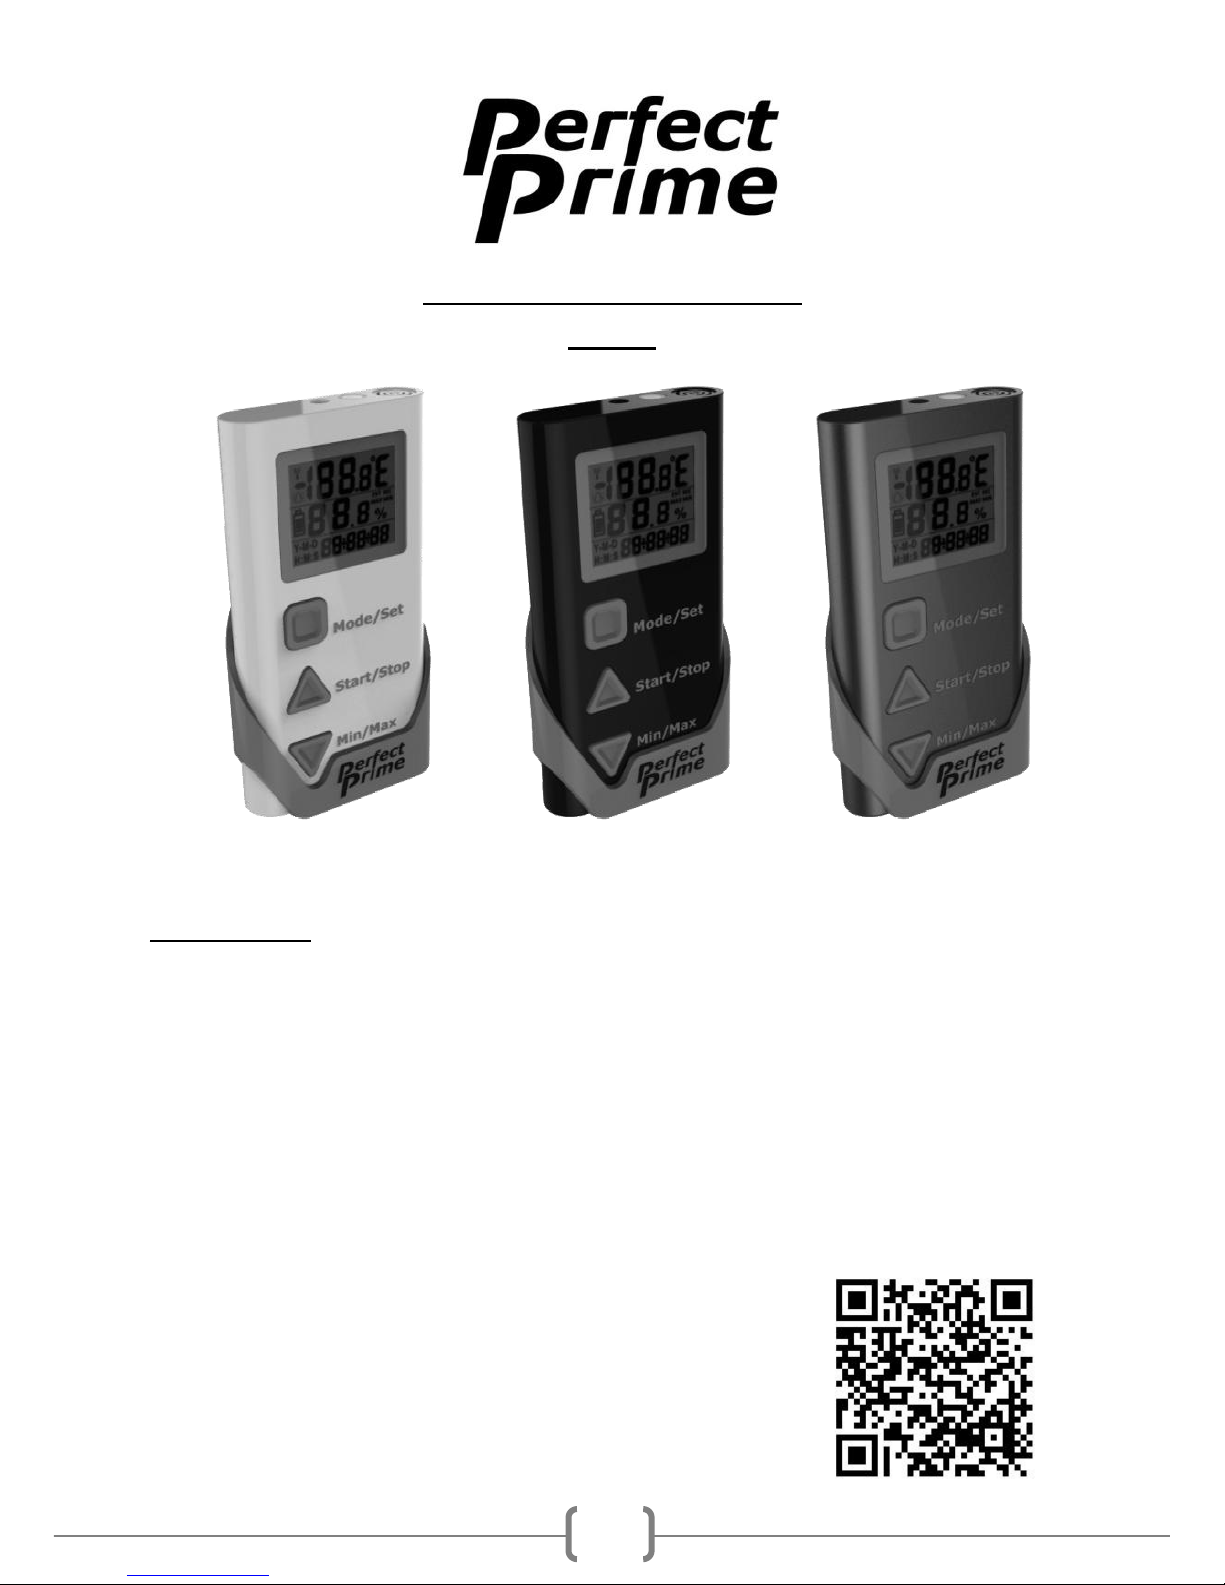
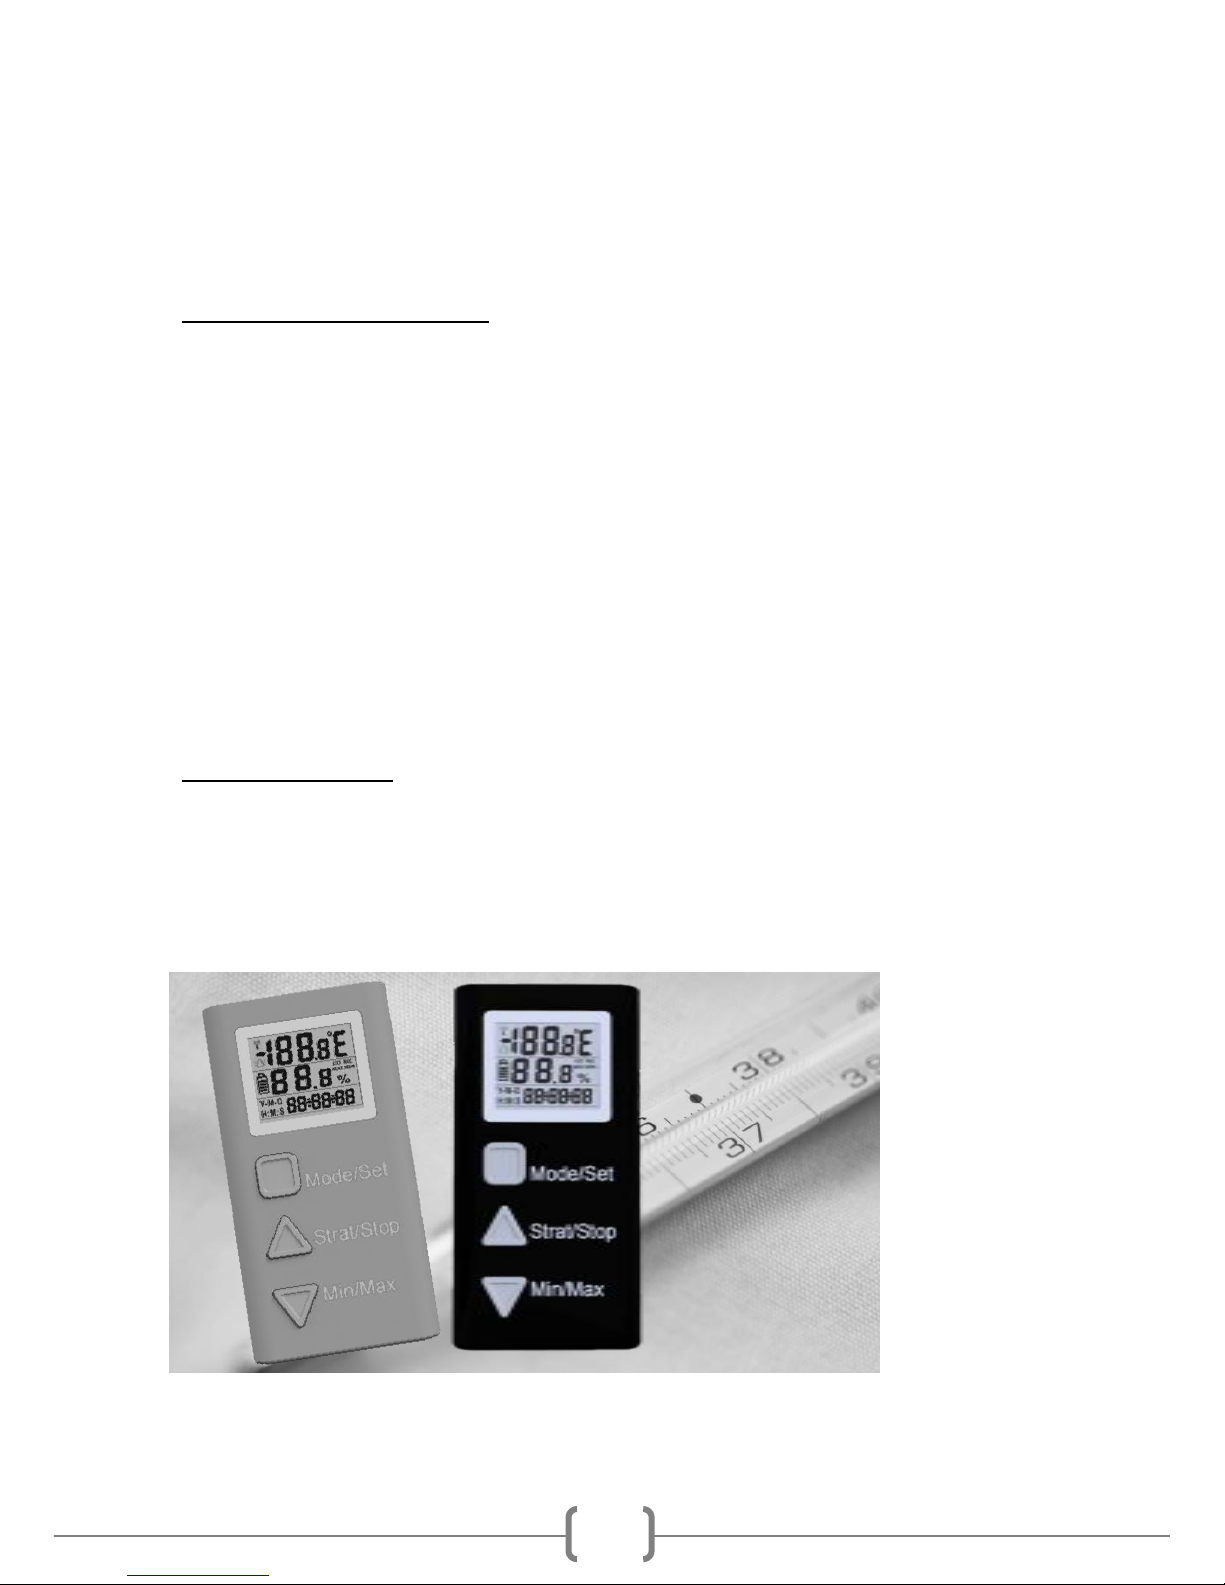
Prime Capsule Portable Data
Logger
Picture of products for reference only
Features :
- LCD Display for EASY data review
- Data log with or without PC software setup
- External probe for difficult access monitoring
- Small form factor design for various applications
- Micro USB connector for PC data upload
- AAA battery for greater convenience
Product Registration URL :
Page 2
2
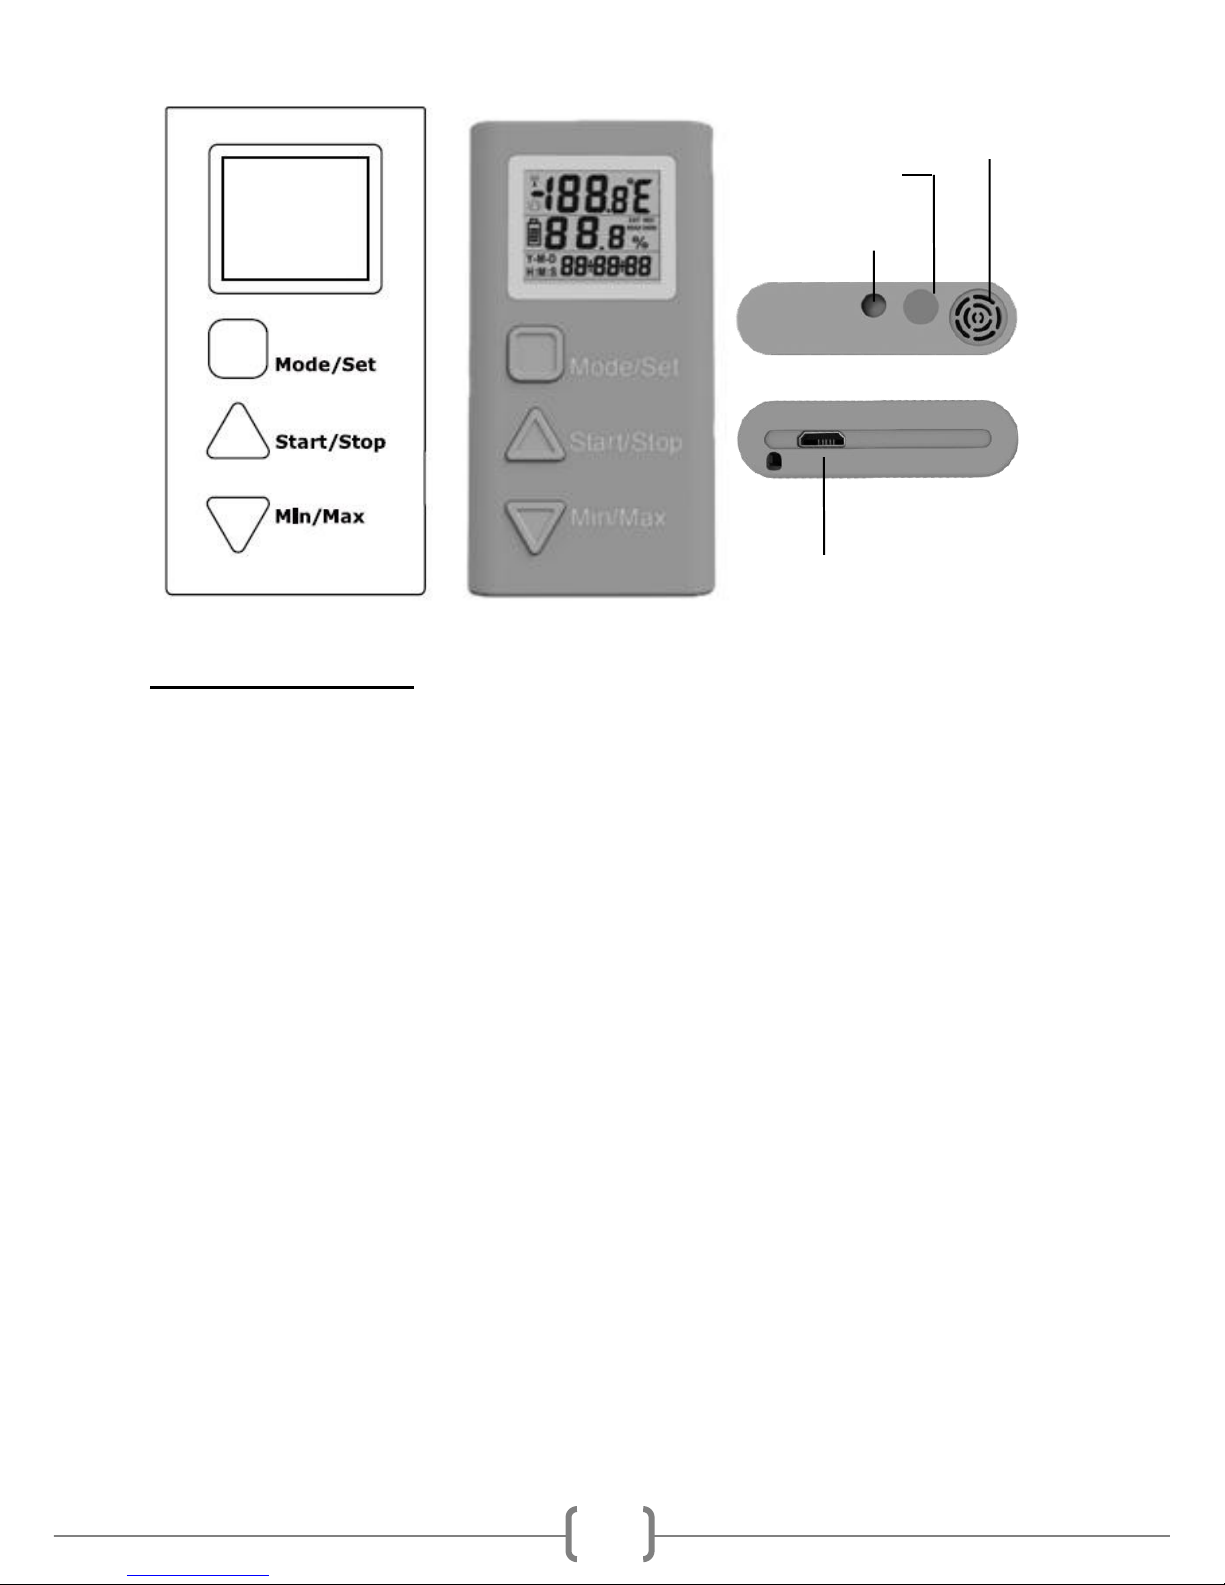
Operation Keys :
Mode / Set
-During standby state, press mode button to check current data and
status.
-During Data Display mode, press mode button to select between °C
or °F.
-Hold mode button for 5s to enter different operation mode selection.
Start / Stop (use it when meter in sleep mode, i.e. no display)
-Press “Start” to start Data Logging after setting up Manual to start
logging on PC software.
-“Up” key during Mode and Date/Time setup.
Min / Max (use it when meter in sleep mode, i.e. no display)
-Press to display “Min” and “Max” Temp. and Humidity during data log.
For External
Probe
Micro USB
Reserve
Sensor Window
Page 3
3
-“Down” key during Mode and Date/Time setup.
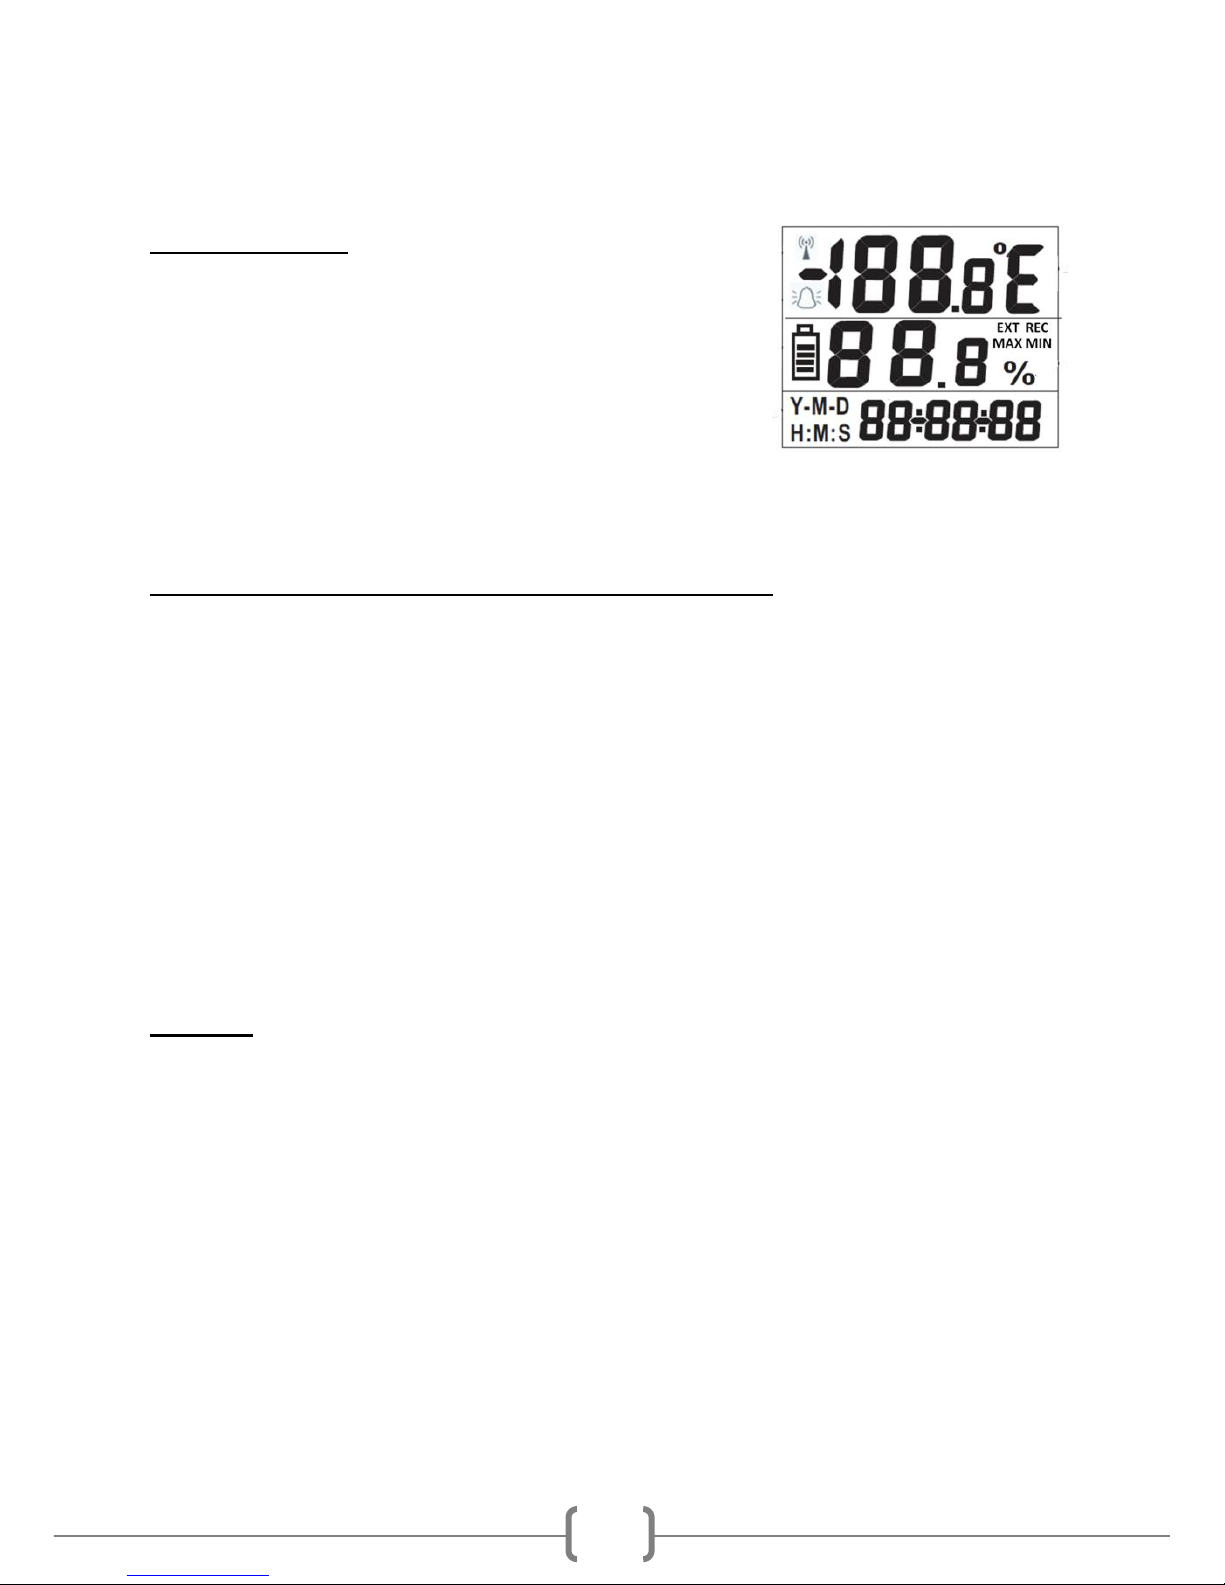
LCD Display :
1stRow : Temperature & °F/°C symbol
2ndRow : Battery status icon / Humidity data/
External probe (EXT) / Record (REC)
/ MAX / MIN icons
3rdRow : Date / Time icons and display
Operating Instruction – Getting Started:
1. Open PRIME CAPSULE back cover and put in 2 AAA size batteries.
2. The data logger will start up and LCD screen will turn ON for 60s,
showing current Temperature and Humidity readings.
3. It then will turn OFF and enter standby state.
4. Press and release MODE/SET button to show current readings, the
unit will enter standby after 20s.
5. To set up data logging, use; PC setting or Manual Setting (both
below).
Note :
1. Please set the correct date and time before logging, using the PC
SYNC Software/through the MANUAL “P5”-Clock Setting Mode (See
below)
2. After the capsule is setup for data logging, it enters standby mode
where the LCD will be turned off.
3. Press MODE/SET button to show current readings and recording
(REC icon), the unit will enter standby after 20s.
Page 4
4
4. The PC SYNC software require a windows PC to work.
PC Setting
1. Connect capsule to PC with the PC SYNC software running, using the
micro cable supplied.
2. Press “SET TIME” button to synchronize the devices time to that of
the PCs.
Setting parameters
1. Press “SET PARAM” button to open Set Parameter Dialog Box.
Enter corresponding data logging parameters:
A. Record Interval (Set time interval between each data log)
B. Total Records (Max. number of record < 21,000)
C. Immediate/Manual (Data log start immediately or after
pressing the START button)
Manual Setting
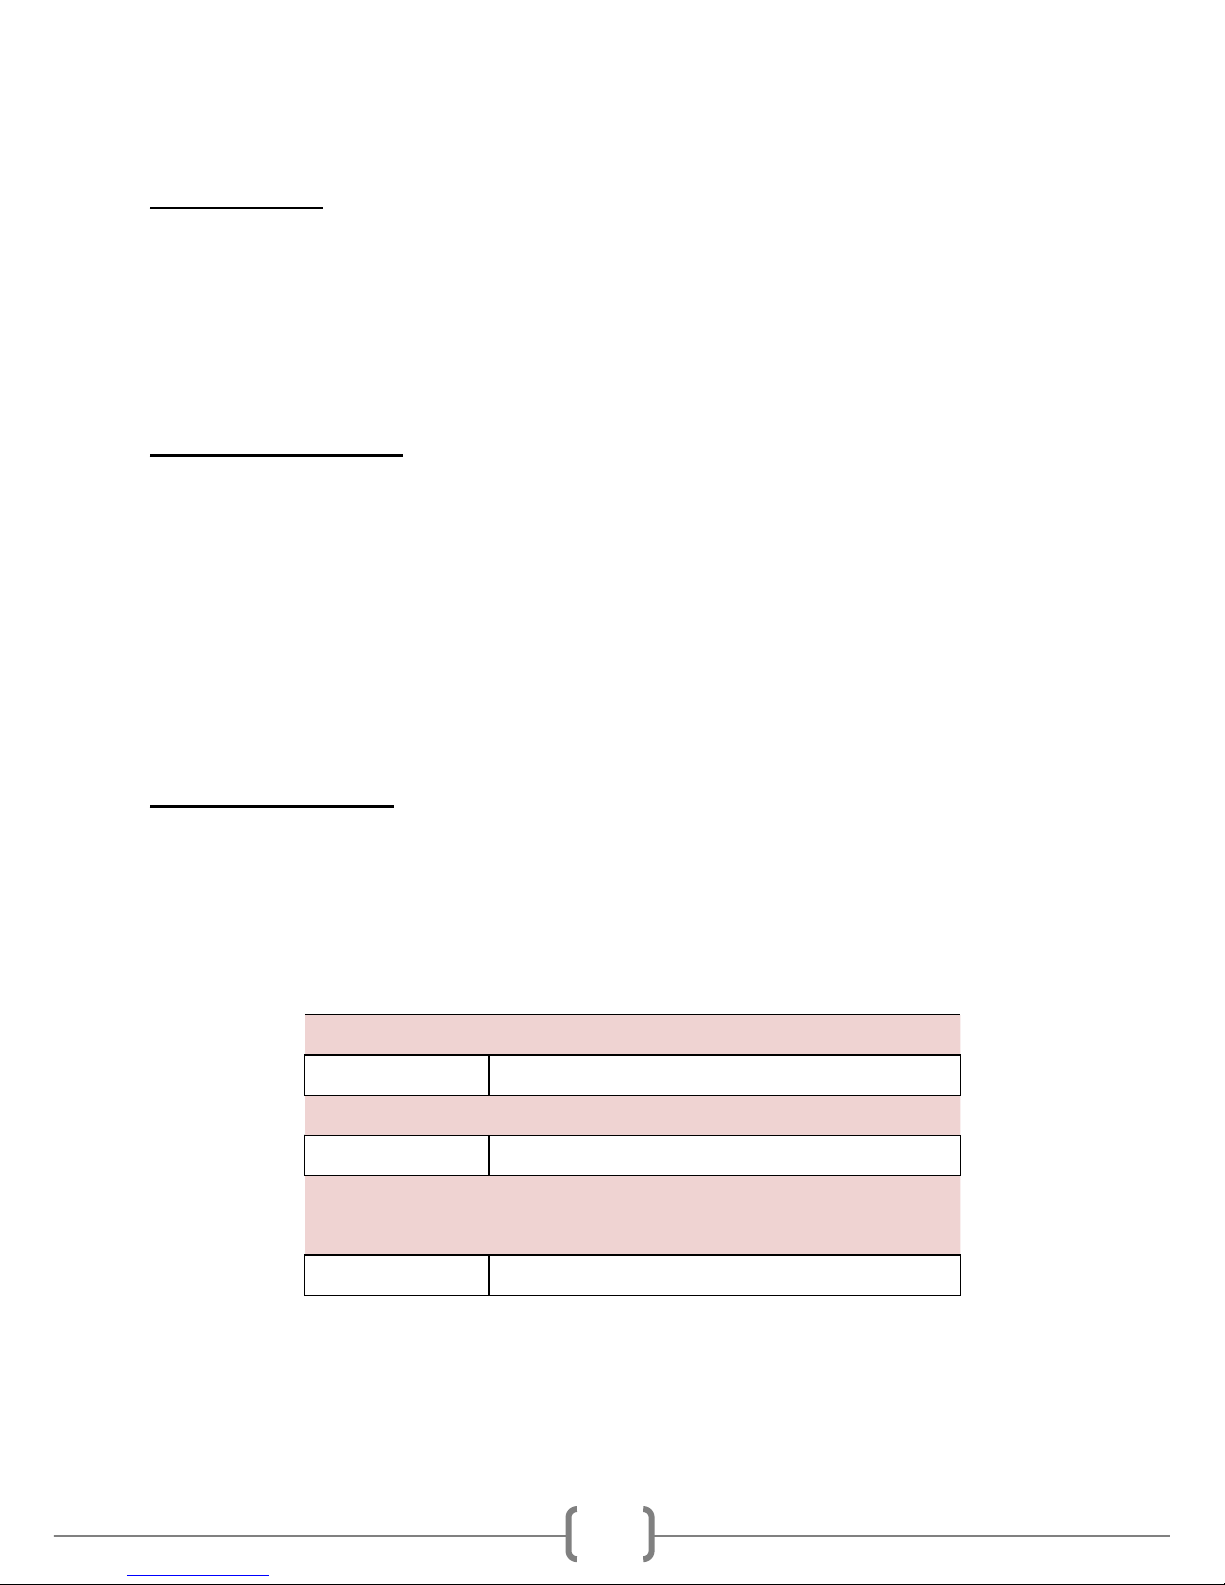
Prime Capsule has 6 pre-set modes. P1 through P4 are for
data logging, P5 is for setting the clock, and P6 is freerun/demo mode.
Mode
Operation
P1
Set Data Log – 1 minute interval
P2
Set Data Log – 15 minute interval
P3
Set Data Log – 30 minute interval
P4
Set Data Log – 1 hour interval
P5
Set Date / Time of Data Logger
Clock
P6
Set Free Run / Demo Operation
Page 5

5
CHOOSING P MODES
Warning! Changing modes will erase existing data, please upload
data you wish to save on a PC before changing modes
1. Press the MODE / SET button for about 5s to enter “Manual Setup”.
2. The LCD will show P”X”, where “X” can be between 1 to 6,
depending on its previous state.
3. Press “Up”/“Down” keys to scroll through P1 to P6.
-After reaching the appropriate P mode, press MODE / SET for 5s
to enter the corresponding P mode.
PRESET DATA LOGGING MODES (P1, P2, P3, P4)
For the 4 preset data logging modes, Temperature and Humidity
data are recorded once every :
P1 : 1 minute / P2 : 15 minutes / P3 : 30 minutes / P4 : 1 hour
The LCD display will turn off in approximately 5s after such mode is
selected and will stay OFF for battery saving. The recording will
continue as shown by a brief flash.
MANUAL CLOCK SETTING MODE (P5)
After batteries are inserted, the capsule’s internal clock will start
from 2014/1/1 (Date) ,00:00:00 (Time). The time and date can be
adjusted by going into P5 mode or using PC SYNC software.
1. In P5 mode, press “Up” and “Down” buttons to adjust each digit’s
value for Date/Time.
2. Press “MODE / SET” button to shift to next digit for adjustment.
3. After all Dates/Times digits value are entered, the LCD will flash
Page 6
6
between Date and Time.
4. Wait for 5 sec, P5 mode will exit with the Date and Time values
updated, and the display will turn off.
FREE RUN MODE (P6)
When the device is in P6 Free Run/Demo mode, Temp. & Humidity
values are updated every second and the LCD is kept ON
continuously for data monitoring.
Please note, in this state the device will consume power quicker and
the batteries will deplete faster.
(Free run mode does not record data; it can be entered without
affecting P1 to P4 and other data logging)
External Probe
Insert external probe to the socket at the top to connect to the
device, push the probe plug all the way to ensure strong contact.
The warning “Err” will display on LCD if the probe contact is not firm.
Page 7

7
visit www.perfectprime.com for more detailed information
PC Software/Manual :
https://perfectprime.com/pages/manual
Product Registration :
https://perfectprime.com/pages/product-registration-perfectprime
 Loading...