

Page 1
11 PINT
DEHUMIDIFIER
USER MANUAL
FOR MODEL:
3PAD11
COMFORT...BUILT TO LAST
Before using your dehumidifier,
please read this manual carefully
and keep it for future reference,
along with your receipt.
Page 2

Page 3
CONTENTS
MODEL 3PAD11
11 Pints/Day
(80°F, 60% RH)
Specifications .................................................................................................................................................. 1
Warning ............................................................................................................................................................ 2
Caution ........................................................................................................................................................ 2-3
Identification of Parts........................................................................................................................................ 4
Control Panel.................................................................................................................................................... 4
Operating Instructions .................................................................................................................................. 5-6
Maintenance .................................................................................................................................................... 7
If a Problem Occurs.......................................................................................................................................... 7
Troubleshooting............................................................................................................................................ 8-9
NOTE: All the illustrations in this manual are for explanation purposes only. Unit purchased may
be slightly different.
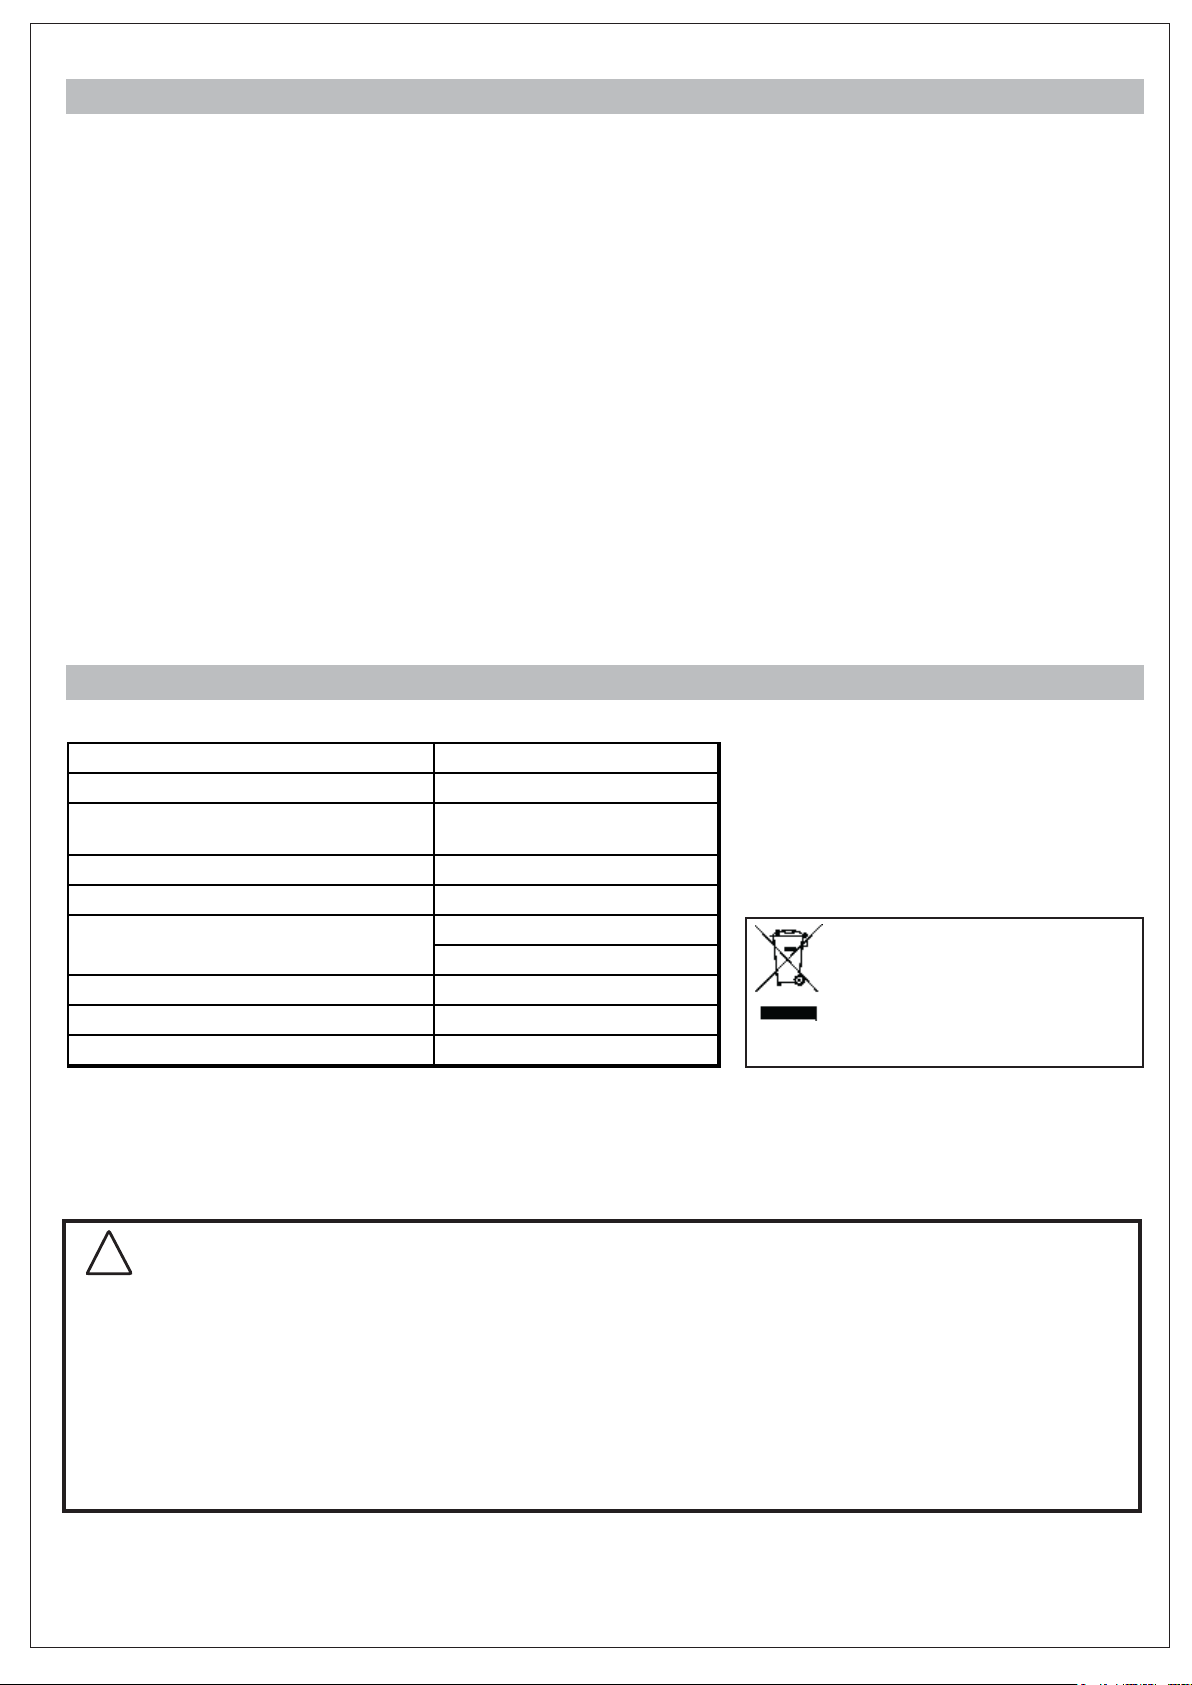
SPECIFICATIONS
POWER 115V~ 60Hz
MOISTURE REMOVAL
CURRENT CONSUMPTION: 1.9 A
BUCKET CAPACITY: 4.86 Pints
REFRIGERANT CHARGE:
UNIT SIZE (W x H x D)
WEIGHT 19 lbs
OPERATING TEMPERATURE
R-134a / 2.8 Oz
(80 g)
9 x 15 x 9 in
41ºF – 90ºF (5ºC – 32ºC)
The design and specifications of the
dehumidifier are subject to change
without prior notice for product
improvement. Contact Perfect Aire
Consumer Services at 877-365-6274
for details.
Electrical products should not
be disposed of with household
waste. Please dispose of unit
in accordance with local
electronic recycling laws.
CAUTION
!
• Contact an authorized service technician for repair or maintenance of this unit.
• Contact an installer for installation of this unit if necessary.
• The dehumidifier is not intended for use by young children without supervision. Young children should be
supervised to ensure that they do not play with the air conditioner.
• Disabled persons may require assistance with set up and usage.
• If the power cord is to be replaced, replacement work should be performed by authorized personnel only.
• Installation and repair work must be performed in accordance with the national wiring standards by
authorized personnel only.
(EU) No. 517/2014:
Do not vent R-134a into atmosphere: 134a is a fluorinated greenhouse gas, covered by
Kyoto Protocol, with a Global Warming Potential (GWP) = 1430.
-1-
Page 4

WARNING
Do not fold the power cord as • Make sure the plug is placed firmly • Do not use multiple sockets as
•
shown below. & completely into the socket shown below
Make sure the plug is clean.
•
(Remove any debris with a
DRY cloth.)
• After turning the unit off, please take • Never handle the plug with
wet hands.
CAUTION
Do not place anything on top • Do not place anything over the air • Do not let children play by or
•
of the unit. inlet and outlet grilles.
with the unit or remote control.
Do not get any liquid on the
•
machine. the machine. all servicing.
Keep flammable gas/oil away from
•
-2-
Have professionals to do
•
Page 5

CAUTION (continued)
• Do not pull the power cord to avoid broken • Do not use insect, oil or paint spray around the
cord, which lead to danger. machine, it might cause damage to the plastic
parts or start a fire.
• Do not place the machine on an uneven • Please always keep the unit 8 inches (30 cm)
ground, to avoid shaking, noise and leakage away from the wall to dissipate the heat properly.
of water.
8 in.
• It is dangerous to put anything into the • Close all the open windows to reach the maximum
machine. possible efficiency of removing moisture.
• Keep the machine away from any type of heat • When moving or put in storage, do not place the
sources. dehumidifier on side way or upside down and
avoid violent shaking.
-3-
Page 6

IDENTIFICATION OF PARTS
NOTE: All the pictures in the manual are for explanation purposes only. The actual unit you
purchased may be slightly different, but the operations and functions are the same.
CONTROL
PANEL
HANDLE
AIR INLET
GRILLE
AIR OUTLET
GRILLE
CONTINU OUS
D
RAINAGE O UTLET
WATER
BUCKET
with Cover & Gray Rubber Plug
WHAT IS THE "FLOAT"?
Inside the bucket, on the right side, is an “arm” mechanism that wobbles.
This piece is called the “float.” If the piece is removed, the bucket will overflow.
CONTROL PANEL
HUMIDIT Y SET KE Y
To set the humidity, press the key ( ) to select the desired setting.
The sequence is: 60% -> 50% -> 40% -> CONTINUOUS ( ) -> 60%
NOTE: If you have set the humidity to “Continuous” ( ), the unit will operate continuously
rather than cycling on/off based on a set humidity.
BUCKET FULL INDICATOR
When the bucket is full, bucket full
indicator will illuminate and the
dehumidifier will cycle off until the
bucket is emptied and returned to
its proper position.
-4-
POWER
On/Off
DEFROST INDICATOR
When frost builds up on the
evaporator coils, this light will
illuminate and the compressor will
cycle off (fan will remain on). Once
defrosting is complete, the unit will
resume operation automatically.
Page 7

OPERATING INSTRUCTIONS
Starting Operation
1
. Ensure that the unit is connected to the power socket.
2
.
Make sure the water tank is placed in the proper position. (After plugging in
the machine for the first time, if the “Bucket Full” light ( ) illuminates, pull
out the bucket using both hands and then push it back to the proper position.
. Press the “Power” button ( ) to turn on the machine. Then, press “ ” to select humidity setting.
3
4. If the humidity in the room is greater than the humidity you have set, the machine will begin to
remove moisture from the air. When the humidity in the room reaches the set humidity, the
machine will cycle off.
5
. When the humidity in the room rises and becomes greater than the set humidity again, the
machine will cycle back on.
NOTE: If you have set the humidity to “Continuous” ( ), the unit will operate continuously
and not cycle on/off based on a set humidity.
When “Defrost” Light Illuminates
When operating in low temperatures (less than 54ºF), the surface of the evaporator inside the
unit will accumulate frost and affect the efficiency of the dehumidifier. When this happens, the
machine will go into periodic defrost mode automatically. This is indicated by the illumination of
the “defrost” light ( ). This is normal.
Defrost time may vary.
If you notice the dehumidifier freezing up more than usual, turn the unit off for a few hour to
defrost. Then restart.
The unit will operate in room temperatures as low as 41ºF. It is not recommended that the
dehumidifier be used in room temperatures below 41ºF.
NOTE: While in automatic defrost mode, the fan inside the unit will continue to run to aid
with defrosting.
REMOVING THE COLLECTED WATER: 2 OPTIONS
OPTION 1: Use the Bucket
When “Bucket Full” Light Illuminates
When the water tank is full, the “Bucket Full” ( ) light will illuminate and
the dehumidifier will cycle off. Remove the water tank and empty the water,
holding the tank with both hands. Once empty, place the water tank back
into its proper position and the machine will cycle back on.
-5-
Remove and handle
the water tank
with both hands
when emptying.
Page 8

OPERATING INSTRUCTIONS (cont.)
REMOVING THE COLLECTED WATER: 2 OPTIONS (continued)
OPTION 2: Continuous Drainage
Water can be automatically emptied into a floor drain
by attaching a PVC hose (not included) to the
dehumidifier. If choosing this option, use a PVC hose
with a 1/2 in. (13 mm) inner diameter. It is
recommended that the hose is no longer than 6 ft.
1. Unscrew and remove drain cover (Fig. A) and pull
out gray rubber plug (Fig. B) from drainage outlet
and place them in the bucket for storage. (Be sure
the bucket is properly pushed back into its original
location. If it is not properly in place, the unit will
not operate.)
2. Connect the PVC hose to the drain outlet (Fig. C),
making sure it is securely and completely pushed
onto the outlet.
3 Power the unit on and select the desired humidity
setting for continuous draining to start.
Note: Continuous mode ( - described on page 4)
and continuous draining (described on this page) are
different. You do not need to be on Continuous mode
( ) to utilize the continuous draining function.
Back of Unit
Fig. A
Fig. B
Fig. C
Drain Outlet
Rubber Plug
(Gray Piece)
Drain Cover
Drain Outlet
Rubber Plug
(Gray Piece)
PVC Hose
(not included)
NOTES:
• A hose length of no more than 6 ft. is recommended as the hose must allow the water to
continuously travel downward into the drain.
• Make sure the hose is secure to avoid leakage.
• Direct the hose down toward the drain, making sure that there are no kinks that will stop the
water flow.
• Place the end of the hose into the drain and make sure the end of the hose is level or down to
let the water flow smoothly. Never let drain hose go upward against gravity.
Correct Hose Setup Incorrect Hose Setup
-6-
Page 9

MAINTENANCE
Turn the dehumidifier off and remove the plug from the wall outlet before cleaning.
1. Clean the Grille and Case
• Use a cloth dampened with water and a mild detergent. Do not
use bleach or abrasives.
• Do not splash water directly onto the main unit. Doing so may
cause an electrical shock, cause the insulation to deteriorate, or
cause the unit to rust.
• The air intake and outlet grilles get soiled easily, so use a vacuum
attachment or brush to clean.
2. Clean the bucket
Every few weeks, clean the bucket to prevent growth of mold, mildew and bacteria.
• Remove the bucket and clean it in an area away from the dehumidifier to avoid splashing
water onto/in the unit.
• Partially fill the bucket with clean water and add a small amount of
mild detergent. Swish it around in the bucket,empty and rinse.
NOTE: Do not use a dishwasher to clean the bucket.
After cleaning the bucket, it must be securely in place for the
dehumidifier to operate.
3. Clean the air filter
• For optimal performance and efficiency, clean the filter every two weeks.
• Remove the water bucket and carefully tilt the unit back slightly (at an angle of approx.
15º). The filter is located behind the front grille and can be pulled down gently to remove.
• Clean the filter with a vacuum cleaner or wash the filter with clean water, then dry
thoroughly before reinserting the filter.
• Put the cleaned air filter back in place and return the water bucket to its proper position
before plugging the unit back in and powering it on.
CAUTION: DO NOT operate the dehumidifier without a filter because dirt and lint will clog
the unit and reduce performance.
Air filter
15
4. Prolonged Periods of Non-Use
• Clean the main unit, water bucket and air filter and let dry completely.
• Cover the unit with a plastic bag.
• Store the unit upright in a dry, well-ventilated place.
IF A PROBLEM OCCURS
If a problem occurs, unplug the machine and consult the troubleshooting section of this user
manual. If additional assistance is needed, please contact Perfect Aire Consumer Services at
877-365-6274.
Do not disassemble the dehumidifier yourself! This is not only very dangerous, but will also
immediately void your warranty.
-7-
Page 10

Before calling for service, please review the chart below.
Issue Possible Solutions
UNIT DOES NOT START
DEHUMIDIFIER’S BUCKET FULL
LIGHT IS ILLUMINATED EVEN
THOUGH BUCKET IS EMPTY
DEHUMIDIFIER NOT
DRAWING WATER
TROUBLESHOOTING TIPS
Make sure the dehumidifer’s plug is pushed completely into the outlet.
Check the fuse/circuit breaker box in your home.
The bucket is full and needs to be emptied.
The water bucket is not in the proper position.
Verify drain plug is not removed from back of unit if using bucket to collect water.
Check float switch (inch length tab in top of unit behind bucket) to ensure it is not cracked, broken or stuck.
The switch is located on the right side behind the bucket when you are facing the unit.
Check that unit is level and the filter, vents and bucket are thoroughly clean.
Ensure float is snapped properly into place inside the bucket. (See page 4 for description of “float” piece.)
Unplug unit for at least 5 minutes. Plug back in unit. Remove and return bucket securely, then turn on unit.
Be sure unit is not too large or too small for the area of the room.
Allow enough time for unit to remove moisture.
Set humidity low enough to ensure moisture removal.
Setting may be the same as actual humidity in room, thus no moisture to remove.
Be sure all doors, windows and other openings are securely closed.
Be sure unit is level and that there is sufficient air circulation around the unit, as well as between unit and floor.
Make sure unit is level and that there are no curtains, blinds, or furniture blocking the unit.
Check that room temperature is 41º F or above.
If unit is near a heat source, such as a clothes dryer, etc., relocate unit.
Clean the air filter and air outlet.
Turn off unit and unplug 4-6 hours.
AUTO DEFROST
DISPLAYS REPEATEDLY
DEHUMIDIFIER
CONSTANTLY CYCLES
ON/OFF
UNIT MAKES A LOUD NOISE
WHEN OPERATING
Plug unit back in. Run in normal mode (no Turbo fan, not on Continuous operation).
Be sure unit humidity is not set too low, unit is not sitting on too cold of a floor and unit is not being used in too
cold of a room. (Room should be 41º F or above.)
Be sure there is sufficient air circulation between the unit and the surface on which it is sitting.
Be sure unit is not too large or too small for the area of the room.
Using unit in much less than its stated coverage will likely cause it to go on and off more frequently. Using too
small of a unit will cause it to run constantly.
If the humidity setting and actual humidity in room are cycling right around the same, the unit would go off and
on accordingly.
The fan will run for a few minutes after the compressor shuts off. If you have turned the Continuous mode on,
the fan and compresser will not turn off; they will run continuously in this mode.
Check that unit is level and the filter, vents and bucket are thoroughly clean and nothing is obstructing them.
Be sure all doors, windows and other openings are securely closed.
Ensure there is sufficient air circulation around the unit, as well as between unit and floor.
Unplug unit for at least 5 minutes. Plug back in unit, remove and return bucket to dehumidifier and turn on.
Make sure the air filter is clean and not clogged.
Make sure the unit is upright (not tilted) and on a flat, level surface.
NOTE: A highly recommended troubleshoot for any issue in general consists of turning off unit and unplugging for 5 minutes.
It is also recommended to try another wall outlet.
-8-
Continued on next page →
Page 11

TROUBLESHOOTING TIPS (CONTINUED)
Before calling for service, please review the chart below.
Question Possible Solutions
Be sure unit is not too large or too small for the area of the room.
Allow enough time for unit to remove moisture.
If set on Continuous Mode, de-select button and set unit to an appropriate humidity setting.
If humidity in room is above the set humidity, then unit will be running.
DEHUMIDIFIER ALWAYS
RUNNING
CONTINUOUS DRAIN
NOT WORKING
PROPERLY
Be sure all doors, windows and other openings are securely closed.
Be sure unit is level and that there is sufficient air circulation around the unit, as well as between unit and floor.
Make sure there are no curtains, blinds, or furniture blocking the unit.
If unit is near a source of moisture, such as a sink, shower, washing machine, etc., then relocate unit.
Check that filter, vents and bucket are thoroughly clean.
Be sure you have removed the gray, rubber drain plug from the black drain outlet.
Be sure hose is CLEAN, pliable and no longer than 6 feet in length (recommended). Clear tubing with sizing of
0.5 inches (13 mm) for inner diameter is recommended. (Tubing not included.)
Hose should be secure on both ends, being especially mindful that it is pushed all the way onto connector piece
inside unit.
Hose should exit through the back of unit and always be positioned at a DOWNWARD slope to the desired
drain location.
Check that filter, vents and bucket are thoroughly clean.
Be sure nothing is obstructing hose connection and there are no kinks or tears in any of the hosing.
Ensure unit is level and not tilted forward and that bucket is pushed in all the way. Though the unit may appear
level, if the surface it sits on is even slightly uneven and the front of the unit is tilted downward, continuous
draining may not work. If necessary, slightly prop up the front of the unit, taking care that the unit does not
fall backward.
If water is going into bucket instead of hose, the unit is working properly. Please double check all of the above
and/or un-hook hosing set-up and start again.
Check the hose connection points to make sure they are not loose.
WATER ON FLOOR
If collecting water in the bucket, make sure the gray, rubber continuous drain outlet plug has not been removed
from back of unit and that it is completely inserted into the black drain outlet.
Ensure float is snapped properly into place inside the bucket. (See page 4 for description of “float” piece.)
NOTE: The following occurrances are not defects.
A hissing noice or hollow sound.
A squeaking noise.
The unit does not immediately start
or change operation modes.
This sound is normal. It is generated from the refrigerant flowing in the pipes.
This noise is generated from the unit when it expands or contracts with temperature changes.
To prevent overloading the compressor motor, after the unit has stopped (or entered a mode), it cannot resume
operation (or enter a different mode) in the first 3 minutes afterwards.
NOTE: A highly recommended troubleshoot for any issue in general consists of turning off unit and unplugging for 5 minutes.
It is also recommended to try another wall outlet.
-9-
Page 12

COMFORT...BUILT TO LAST
Distributed by:
Perfect Aire, LLC
5151 Belt Line Rd.
Suite 878
Dallas, TX 75254
877-365-6274
www.perfectaire.us
Specification and performance data is subject to change without notice.
Printed in China
 Loading...