

Pentair Hydromatic TL-Pro Installation And Service Manual
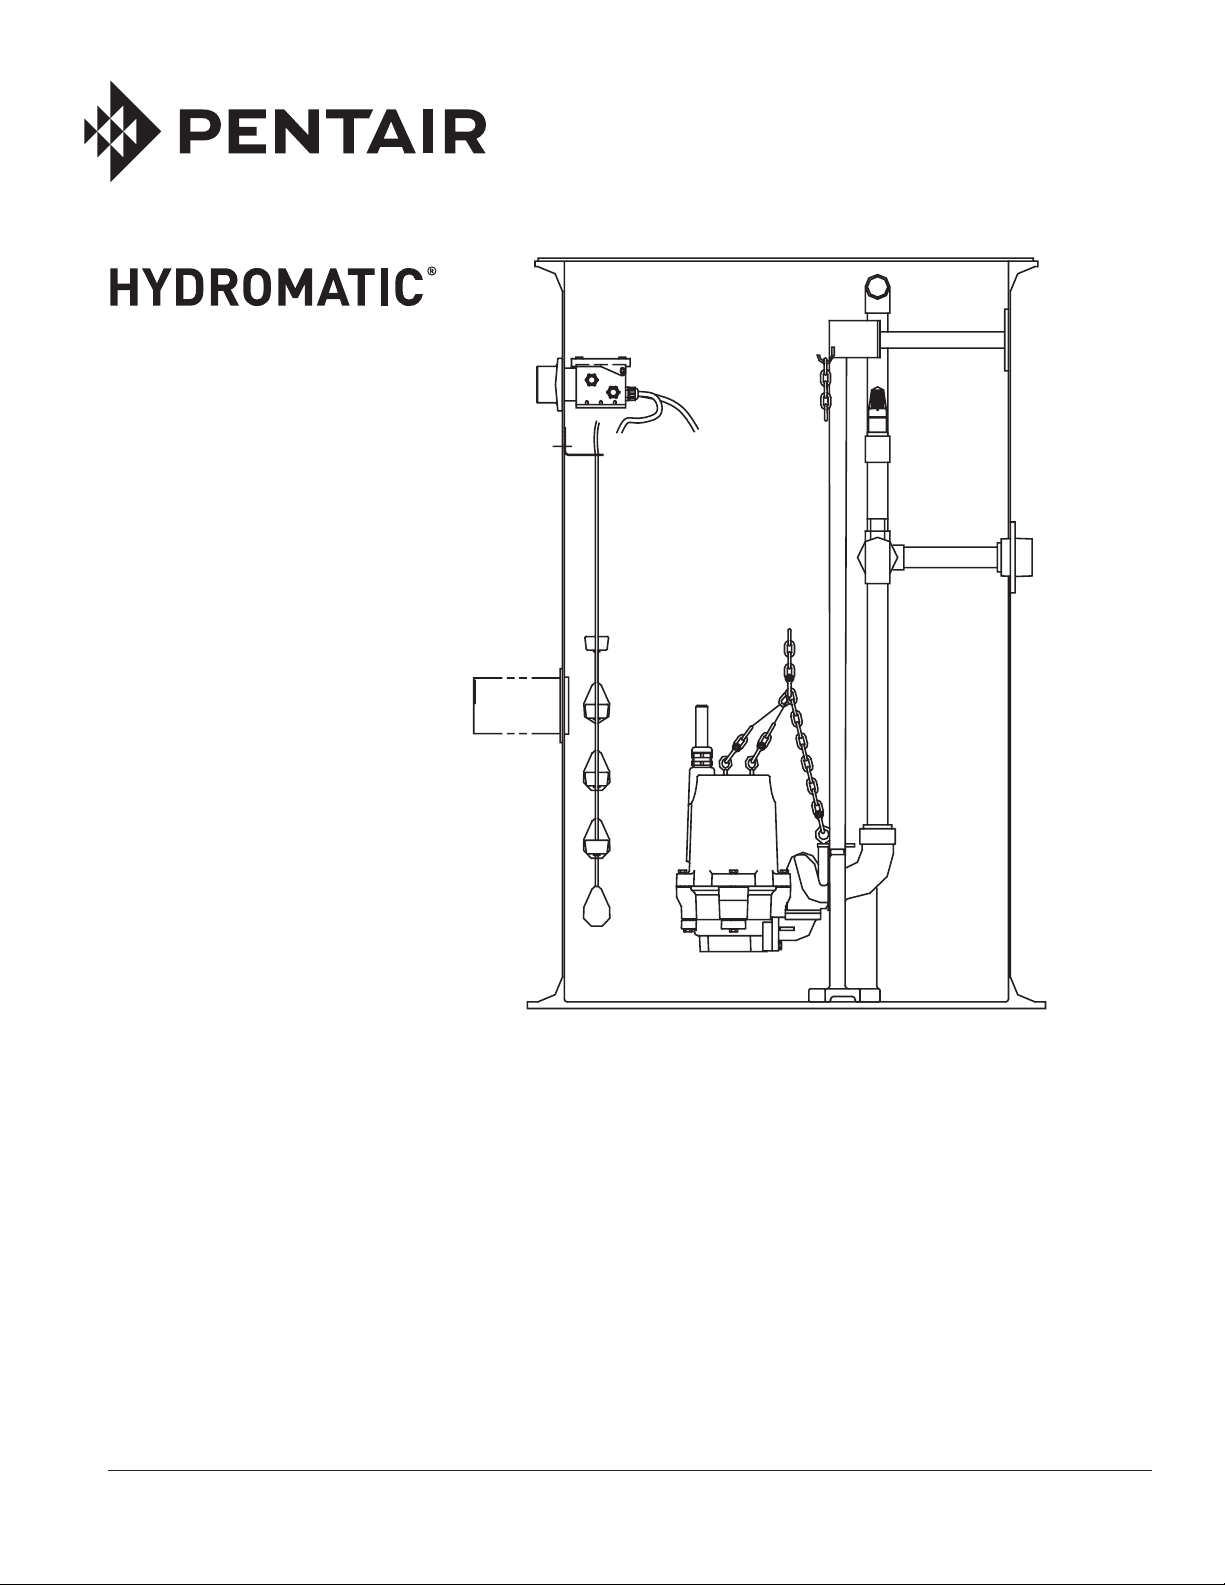
MODEL TL-PRO SYSTEM
COMPLETE GRINDER
PACKAGE OFFERING
INSTALLATION AND SERVICE MANUAL
For use with HPG(X)200 and HPGR200 Hydromatic Grinder Pumps.
NOTE! To the installer: Please make sure you provide this manual to the owner of the equip ment or to the responsible
party who maintains the system.
Item # E-03-457 | Part # 5625-457-1 | © 2012 Pentair Pump Group, Inc. | 10/31/12

General
Information
Thank you for purchasing your
Low Pressure Sewer Basin System.
Before Installation:
This manual contains important
information for the safe use of
this product. Read this manual
completely and follow the
instructions carefully. Reasonable
care and safe methods relating
to the installation and operation
of this product should be
practiced. Check local codes and
requirements before installation.
Risk of electrical shock or
electrocution. May result
in serious injury or death or
fire hazard. Installer must
disconnect all electrical sources
prior to installation. Only
qualified personnel may install
this system. NFPA 70/National
Electric Code (NEC) or local
codes must be followed. System
must be properly grounded
according to NEC.
Biohazard risk. Once wastewater
source has been connected to
system, biohazard risk exists.
Installer(s) and/or service
personnel must use proper
personal protective equipment
and follow handling procedures
per OSHA 29 CFR 1910.1030
when handling equipment after
wastewater source has been
connected to system.
Risk of fire or explosion. Do
not smoke or use open flames
in or around this system. This
system is not intended for use in
hazardous locations per NFPA
70 National Electric Code.
Consult factory for optional
equipment rated for this use.
Cutting risk. Risk of serious
cutting or amputation exists.
Disconnect all power sources
prior to servicing pump or
grinding mechanism. Pump may
start without warning. Grinding
mechanism is extremely sharp.
Use caution when handling
grinder mechanism.
CALIFORNIA PROPOSITION
65 WARNING:
This product and
related accessories contain
chemicals known to the State of
California to cause cancer, birth
defects or other reproductive
harm.
DO NOT THROW AWAY OR
LOSE THIS MANUAL. Keep
it in a safe place so that you may
refer to it often for the continued
safe operation of the product.
Installation Skill
Requirements
The installation of a basin system
is a specialized skill, which
requires individuals with the
basic understanding of pipe fitting,
excavating, and electrical wiring.
These instructions are meant
only to be an installation guide;
therefore, unusual installation
conditions not covered in these
instructions require experienced
personnel capable of using
reasonable engineering principles
for the installation and operation
of the system.
Excavation
Instructions
Excavation location shall be
made according to local codes
and regulations. Check with
local utility companies for
the location of underground
utilities prior to excavation.
Care should be taken to avoid
buried utility lines, piping, and
other buried structures and
foundations. Failure to follow
these instructions may result
in serious personal injury or
death.
Excavation for Basin Systems:
Effect appropriate excavation
based on size of the basin, desired
entrance point of the influent line,
and entrance of power connection.
Basin Installation
Instructions
If the basin is not tied down
during installation, rain or
flood conditions may cause the
basin to float upward, causing
damage to the basin or basin
con nec tions. Claims for this type
of damage cannot be processed
by Hydromatic.
Basin System Handling:
Factory built basin systems must
not be dropped, dragged, rolled,
or handled with sharp objects.
Improper handling of basins may
result in damage to the basin,
damage to basin components, or
leaks in the piping assemblies.
2
Step 1:
The pad under the basin requires
4 to 6 inches of appropriate fill.
The ideal basin pad is concrete
in conjunction with antiflotation
tie-down studs. Basin antiflotation
tie-down kits are available. If
concrete pad is not used, the
aggregate must be compacted to
a minimum 85% standard proctor
density per ASTM D698, or as
required by the Authority Having
Jurisdiction.
Concrete pad or aggregate surface
must be leveled flat and free of
voids to conform to the basin
bottom. Basin bedding depth
should be calculated such that the
basin top will protrude 3" above
the normal grade upon final
installation.
hub is used, refer to the directions
included with the hub.
Determine point at which influent
line will enter basin and, using a
properly maintained piloted hole
saw sized per chart below, drill a
hole through the basin wall. Clean
cut hole and apply a sealant
coating to the cut section to
prevent deterioration. Insert the
inlet grommet into the drilled
hole.
PIPE HOLE SAW
SIZE DI AM E TER*
3" 4"
4" 5"
6" 7"
* Contact the factory for availability
of proper size hole saw if necessary.
Backfill
Instructions
The Authority Having
Jurisdiction has the right to
require alternative materials or
procedures for backfilling the
installation.
Failure to properly backfill
may result in damage to the
basin which could cause
leaks or structural failure.
Failure to follow these backfill
instructions during the
installation of the basin voids
the basin warranty.
Step 2:
Lifting of the basin may be
done with a nylon or other nondamaging type material sling.
Do not wrap a chain or steel
cable around the basin as damage
may result. Do not attach lifting
mechanism around discharge hub
or electrical hub.
Step 3:
Lower the basin into excavation,
position and level properly. Mount
basin to base anchor bolts if an
antiflotation tie-down kit is used.
Seal off any cuts or scratches to
prevent deterioration.
Influent and
Discharge
Connections
Step 1:
An inlet grommet is the standard
supplied influent connection
device. If another type of inlet
Failure to use a properly piloted
hole saw may result in damage
to basin which may result in
structural failure or serious
leaks.
Step 2:
Lubricate inside lip of inlet
grommet with pipe soap. Clean
outer end of influent pipe and
push pipe through grommet.
Ensure pipe does not protrude
inside basin so as to interfere with
pump removal or float operation.
Step 3:
Close shut-off valve and make
discharge line connection. It is
strongly recommended that
an additional shutoff valve and
redundant check valve be located
outside the basin at any force main
entrances – check local codes for
specific requirements.
In freezing conditions the
backfill must be dry and free
of ice. Do not use other backfill
materials. Failure to use the
recommended bed and backfill
materials during installation
of the basin voids the basin
warranty.
Risk of electrical shock or
electrocution. May result in
serious injury or death or fire
hazard. Failure to properly
support electrical conduit, lines
and connections may result in
structural failure. Electrical
connections may be damaged,
exposing live electrical
connections.
Step 1:
Obtain proper backfill material.
The backfill material provides
as much as 90% of the basin’s
support under certain stress
conditions. The installer must
3

be positive that correct bed and
backfill materials are used per
instructions as follows:
a. Gravel – clean and free
flowing with particle size not
less than 1/8" nor more than
3/4" in diameter. Use this
description when ordering or
specifying as material varies
upon geographical location.
This material is commonly
known as “pea gravel”.
b. Stone or gravel crushings with
angular particle size of not
less than 1/8" nor more than
1/2" diameter, washed and
free flowing, is acceptable as
an alternative material.
Step 2:
At least a 4–6 inch wide band
of compacted aggregate must be
placed in successive layers (6"
lifts) around the entire periphery
of the basin. Carefully compact
aggregate under all piping and
electrical lines. Cover grade
should slope down 3" to the
normal surrounding grade. Care
must be taken to prevent damage
to any influent, discharge, or
electrical connections made to
the basin.
Internal Basin
Installation
Instructions
Systems Description:
Factory built basin systems are
available in 24" and 30" diameter
basins with 60" through 156"
depths in one foot increments.
In a TL-Pro system, the pump is
raised and lowered in the basin
using rope or chain attached to
the pump. This system includes
an integrated ball check valve
assembly that slides up and
4
down the dual rails, allowing
the pump to be removed without
disconnecting the piping.
Application:
These pump systems are designed
for pumping effluent or sewage
water with a pH ranging from 5
to 9, specific gravities from 0.9 to
1.1, viscosities ranging from 28
to 35 S.S.U. and temperatures up
to 140°F.
Inspection:
Check to be sure that all items
for your particular system are
included, and that the phase and
voltage on the pump nameplate
are correct as ordered. Codes: All
local codes must be observed.
Consult the local inspector(s)
before installation to avoid costly
delays or rework.
Grinder Pump Attachments:
Step 1:
Attach the ball check valve and
rail guide assembly to the grinder
pump discharge with bolts and
washers provided.
Risk of electrical shock or
electrocution. May result
in serious injury or death or
fire hazard. To reduce risk of
electrical shock, do not connect
conduit to pump .
Step 2:
Attach rope or chain as provided
to the guide plate lifting eye. A
hook is located on the top rail
support to hold the upper end of
the chain or rope when not in use.
Step 3:
Position pump so the guide rails
are located in the slots of the
guide plate. Slowly lower the
pump down the guide rails to
the base. The locating pins
(horizontal pin on seal plate)
should come to seat in the inclined
surface on the arms.
Internal Basin
Connections
Step 1:
If the system is supplied with a
float bracket, attach float switches
to the float bracket by clamping
strain relief bushings around the
float cords, then inserting and
twisting the bushings into the
float bracket slots.
Step 2:
After grinder pump attachments
have been made, lower the pump
unit down the rails and ensure ball
check valve aligns and connects
properly with base elbow in basin
bottom.
Junction Box Systems:
Step 1:
Ensure power source is off or
dis con nect ed.
Step 2:
Push pump power, seal failure/heat
sensor, and float cords through
cord grips in the junction box and
tighten. To prevent corrosion or
electrical short, plug any unused
holes.
 Loading...