

Page 1
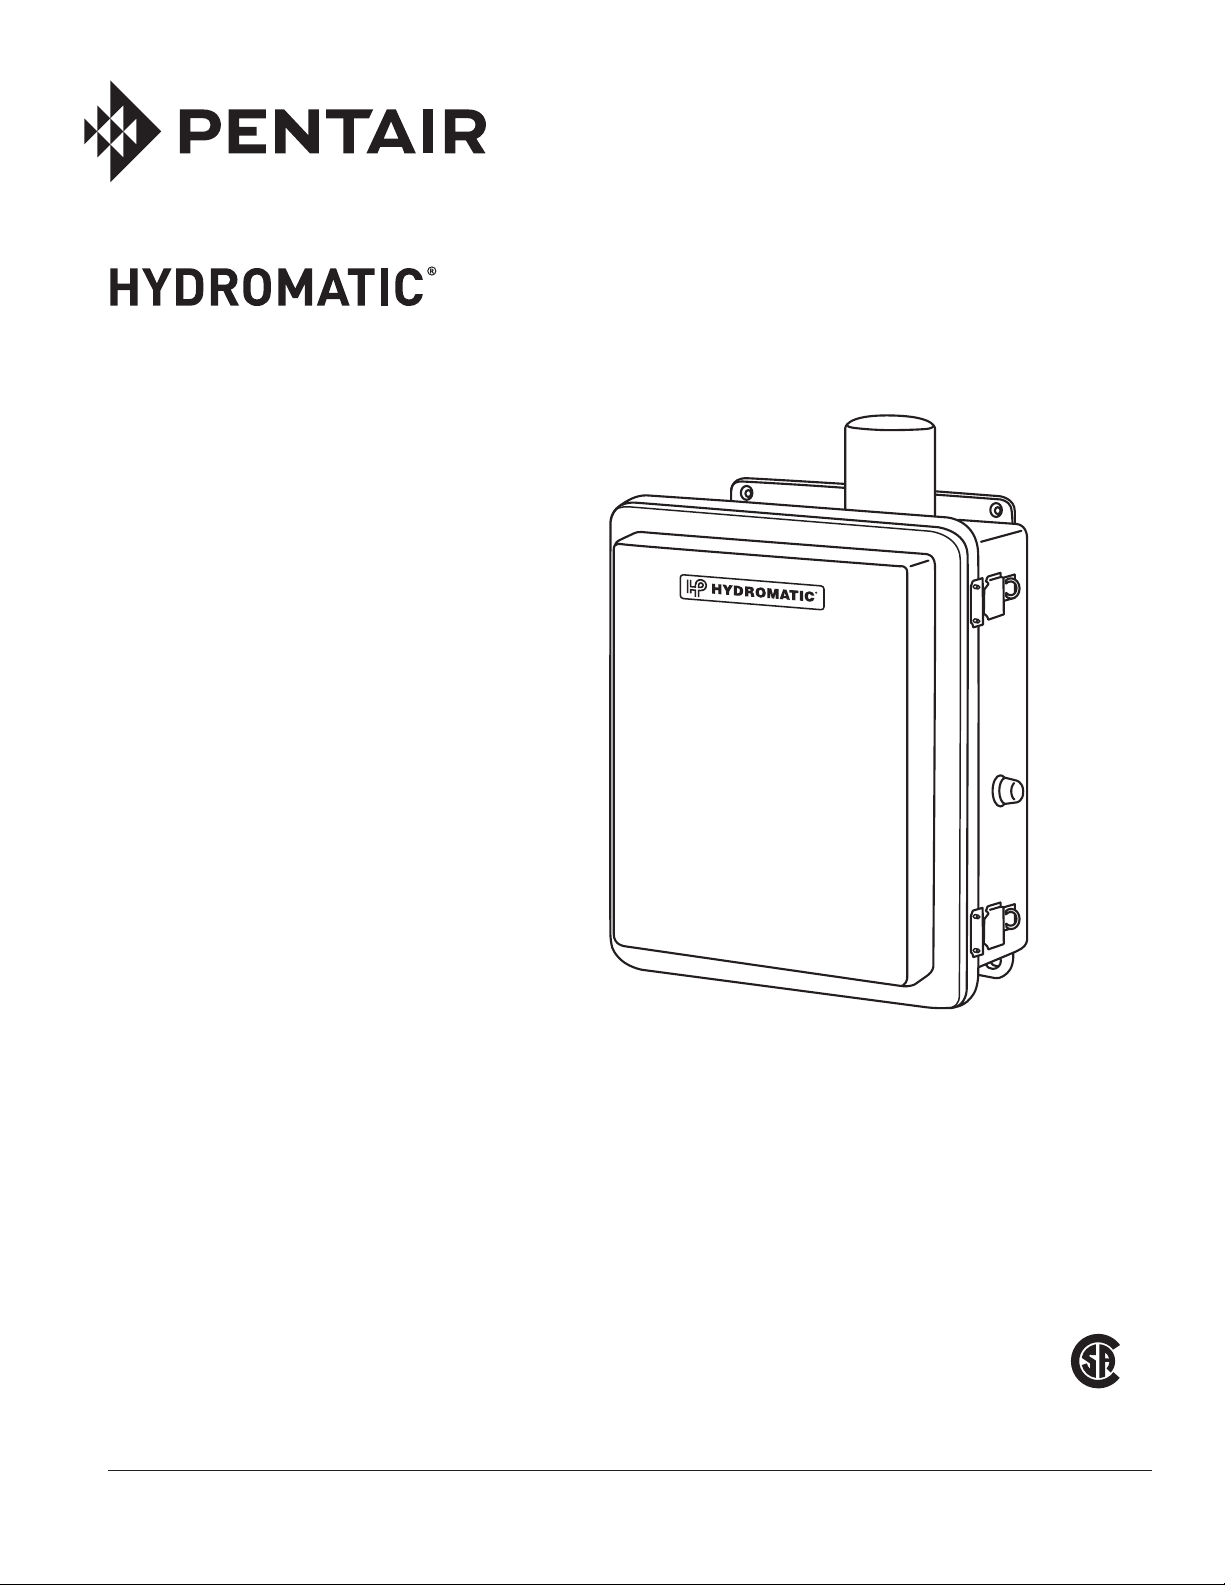
MODEL SPC-PANEL
Pump Controls for 2 HP Grinder Pumps
SIMPLEX, SINGLE PHASE
PUMP CONTROL PANEL
INSTALLATION AND SERVICE MANUAL
NOTE! To the installer: Please make sure you provide this manual to the owner of the equip ment or to the responsible
party who maintains the system.
Item # E-03-352 | Part # 5625-352-1 | © 2012 Pentair Pump Group, Inc. | 10/29/12
Page 2

General
Information
Thank you for purchasing your
Hydromatic
help ensure years of troublefree op er a tion, please read the
fol low ing manual carefully.
Before Operation:
Read the following in structions care ful ly. Reasonable care
and safe meth ods should be
practiced. Check local codes and
requirements before installation.
Attention:
This manual contains important
information for the safe use of
this product. Read this manual
completely before using this
product and refer to it often
for con tin ued safe product use.
DO NOT THROW AWAY OR
LOSE THIS MAN U AL. Keep
it in a safe place so that you may
refer to it when needed.
Unpacking Panel:
Remove panel from carton.
When un pack ing unit, check for
con cealed damage. Claims for
damage must be made at the
receiving end through the delivery
carrier. Dam age cannot be
processed from the factory.
WARNING: Before handling
these Hydromatic pumps and
controls, always disconnect the
power first. Do not smoke or use
sparkable electrical devices or
flames in a septic (gaseous) or
possible septic sump.
®
control panel. To
CALIFORNIA PROPOSITION
65 WARNING:
This product and
related accessories contain
chemicals known to the State of
California to cause cancer, birth
defects or other reproductive
harm.
Panel
Installation
Electrical Connections:
The contractor must conform
to the latest requirements of the
National Electrical Code. All
conduit and ca bles shall be in
accordance with NEC code NFPA
#70. To maintain UL type 4X
and CSA ENCL 4 rating, use UL
type 4 and CSA weatherproof
con duit hubs when connecting to
this enclosure. Prior to conducting
any in stal la tion, repair or service
with re gard to the control panel,
refer to the schematic ap pro pri ate
for that panel. The sche mat ic will
provide guidance with regard to
the terminal block con nec tions.
CAUTION: Nonmetallic
enclosures do not provide
grounding conduit con nec tions.
Use grounding bush ing and
jumper wires.
Make the Following Electrical
Con nec tions:
a. Connect the pump leads to
the control panel. When
connecting the pump leads
it is very critical that the
prop er sequence be main tained.
On single phase pumps, the
color coded pump leads black,
white, red, must be connected
to the appropriate terminals
as directed by the control
schematic.
b. Connect the pump heat sensor
and seal failure leads (if
available on the pump) to the
appropriate ter mi nal blocks
in the control panel. If the
heat sensor lead from the
pump is wired as indicated,
re move jumpers as defined by
the sche mat ic.
c. Connect all the float control
leads to the appropriate panel
terminal blocks. Con tractor must be very careful in
locating the floats at the proper
elevations. The maximum
distance from the control panel
and the floats is the lesser
of l00 feet, or the maximum
distance recommended for
the pump.
d. Before connecting power to
the control panel, make sure
all the control switches (e.g.
H-O-A switch) and protective
devices (e.g. breakers) are in
the Off position. Now connect
power to the circuit breaker as
directed by the schematic.
e. Power must be the correct
voltage for the pump model.
Power must have neutral
to supply 120 volts to the
control circuit.
f. Control panel must be grounded
properly per NEC and/or local
codes. To facilitate this, a
ground lug is provided on the
control panel.
Panel
Operations
WARNING: Before handling
these Hydromatic pumps and
controls, always disconnect the
power first. Do not smoke or use
sparkable electrical devices or
flames in a septic (gaseous) or
possible septic sump.
2
Page 3

Check List:
1. Check junction box for
moisture.
2. Check wiring of pump black,
white, red power wires.
3. Check wiring of heat sensor
and seal failure wires if
supplie
4. Energize control panel. (Turn
on power to panel.)
5. Check overload relay and
verify reset mode (if
overload is supplied).
6. WARNING! Live voltage
can kill! Check voltage to
the panel and to the con trol
circuit using a voltmeter.
7. Check float operation and
response to control panel
to the float operation. For
sequence of operation, refer
to design specification.
8. Check full load current with
amp probe and compare it
with the nameplate rat ing.
(Clamp amp probe around
black pump wire.)
9. With pump running, check
discharge to verify the pump
is running. Check for flow.
10.Check operation of start relay,
per procedure in Item #3 on
page 4.
11. Make sure H-O-A switch is
left in the Auto position after
start-up is com plet ed.
12.Make sure all conduits from
wet well to panel are sealed
below panel. Septic gases
will damage components in
panel.
Pump Start-up:
Refer to pump “Installation
and Service Manual”.
d.
Panel
Maintenance
WARNING: Before handling
these Hydromatic pumps and
controls, always disconnect the
power first. Do not smoke or use
sparkable electrical devices or
flames in a septic (gaseous) or
possible septic sump.
1. Pump does not run in
Hand position.
a. Check pump circuit breaker
and control fuse for trip ping
or blown condition.
b. Check incoming power
voltage and control
circuit voltage.
c. Check overload relay to see
if it is tripped. Reset relay
if tripped.
d. With the power off, check
motor heat sensor continuity.
e. Check wiring of pump to
control panel. It should
agree with the schematic.
f. Check contactor coil
resistance. It should be 50
to 200 ohms.
2. Pump does not run in
Auto position.
a. Check items (a.) through
(d.) per Item #1.
b. Floats may be miswired to
control panel. Check float
type (N.O. or N.C.) and
hook up by referring to the
schematic. If the start and
stop floats are hooked in
reverse, pump will short
cycle and will not pump the
level down.
c. Is the water level in the
system high enough to
activate floats?
d1. With the power off, remove
Off float and On float
wires and replace with
two jumpers made from
insulated wire.
d2.Turn power on (with H-O-A
switch in Auto position). If
pump runs, the prob lem is
in one of the floats.
d3.If the problem is in a float,
turn power off, remove
jumper and reconnect the
upper float. Turn power on
and see if pump will run in
Auto. This will help identify
which float is the problem.
Turn power off before
removing any jumper or
reconnecting any float.
3. Pump runs, but run light
does not energize.
a. Remove light bulb and
check with ohmmeter.
b. Check wiring for run light
in panel.
4. Pump runs but does not
pump down the wet well.
a. Impeller may be dragging
in volute due to solids.
High am per age draw would
identify this.
b. Refer to the pump manual
for other possibilities such
as closed discharge gate
valve, etc.
5.
Severe humming/chattering of
contactors and control relays.
a. There may be low voltage.
Check voltage to the panel
and to the control circuit
using a voltmeter. This
low voltage condition may
even cause se vere chattering
and burn-out of relays.
Contactors require a
minimum of 85% of full
3
Page 4

Panel
Maintenance
vol tage to pull in without
chatter. If the problem is
a recurring one, measure
voltage with re cord er on a
24 hour basis.
b. Contactor may have dust
around magnet of coil
struc ture. Dry or clean
as re quired.
c. Make sure the floats
are located away from
any turbulence.
d. Dry out the junction box
(if furnished); moisture in
the junction box may tend
to cause relays to energize
intermittently.
6. Nuisance tripping of
overload on motor starters
or circuit breakers.
a. Check all reset buttons and
tripped breakers.
b. Check pump amp draw with
amp probe and compare to
nameplate amps on pump.
c. The impeller may be locked
up due to excessive debris
or solids.
d. Possible motor failure (fault
on windings).
e. Pump may be miswired to
terminal blocks.
7. Short cycling pump.
a. Check float controls.
8. Run light stays on.
a. Selector switch may be in
the Hand position.
9. Test for blown fuse.
a. Check for continuity with a
V-O-M set on ohm scale.
Single Phase Pump Only:
Connections and start
components
WARNING: Disconnect all
power from the panel before
making these checks.
1. Motor winding resistance
readings.
a. Disconnect all three
motor leads.
b. Using a volt-ohm meter,
with the scale set on RX1,
measure the resistance
be tween the leads with the
following chart.
Typical
Motor Resistance
Winding Leads Reading
Main Black to Lowest
White
Start Black to Next
Red Lowest
(Middle)
Both White to Highest
Red
2. Capacitor Check.
a. Make sure the capacitors
are discharged. Use extreme
caution; severe shock hazard
may exist with capacitors.
b. Disconnect the capacitor
leads and connect a
volt-ohmmeter to the
capacitor terminals.
c. The meter should indicate
low ohms when it is
first connected, but as the
ca pac i tor becomes charged
(by the meter), it will return
to a reading of infinity
(open circuit).
NOTE: Set the meter on the
RX10,000 scale to check
the run capacitor.
Set the meter on the
RX1,000 scale to check the
start capacitor.
3. Start relay check.
a. With power off, check the
start relay coil resistance. It
should be 3000 to 7000
ohms.
b. Turn power on and run
pump in Hand position.
After the pump starts, check
the voltage from terminal
1 to terminal 2 on the start
relay to be sure that the
relay has operated. The
voltage from terminal 1 to
terminal 2 on the start relay
must exceed 10 VAC. For
some pumps the voltage
may exceed 400 VAC. If
after 5 seconds the voltage
from terminal 1 to terminal
2 on the start relay does
not exceed 10 VAC, stop
the pump as damage to the
start capacitor will occur
in about 15 seconds. If the
start relay is not operating,
check the pump and the
system voltage to be sure
that they match. Check the
power wiring to ensure
that the pump is connected
properly. Start the pump
once more and check to
see if the voltage from the
terminal for the black wire
to the white wire is within
system tolerance. Call for
help if you cannot resolve
the problem.
4
Page 5

THIS PAGE INTENTIONALLY LEFT BLANK
Page 6

THIS PAGE INTENTIONALLY LEFT BLANK
Page 7

THIS PAGE INTENTIONALLY LEFT BLANK
Page 8

STANDARD LIMITED WARRANTY
Pentair Hydromatic® warrants its products against defects in material and workmanship for a period of 12 months
from the date of shipment from Pentair Hydromatic or 18 months from the manufacturing date, whichever
occurs first – provided that such products are used in compliance with the requirements of the Pentair Hydromatic
catalog and technical manuals for use in pumping raw sewage, municipal wastewater or similar, abrasive-free,
noncorrosive liquids.
During the warranty period and subject to the conditions set forth, Pentair Hydromatic, at its discretion, will repair
or replace to the original user, the parts that prove defective in materials and workmanship. Pentair Hydromatic
reserves the right to change or improve its products or any portions thereof without being obligated to provide such
a change or improvement for prior sold and/or shipped units.
Start-up reports and electrical schematics may be required to support warranty claims. Submit at the time of start up
through the Pentair Hydromatic website: http://forms.pentairliterature.com/startupform/startupform.asp?type=h.
Warranty is effective only if Pentair Hydromatic authorized control panels are used. All seal fail and heat sensing
devices must be hooked up, functional and monitored or this warranty will be void. Pentair Hydromatic will cover
only the lower seal and labor thereof for all dual seal pumps. Under no circumstance will Pentair Hydromatic be
responsible for the cost of field labor, travel expenses, rented equipment, removal/reinstallation costs or freight
expenses to and from the factory or an authorized Pentair Hydromatic service facility.
This limited warranty will not apply: (a) to defects or malfunctions resulting from failure to properly install, operate or
maintain the unit in accordance with the printed instructions provided; (b) to failures resulting from abuse, accident
or negligence; (c) to normal maintenance services and parts used in connection with such service; (d) to units that
are not installed in accordance with applicable local codes, ordinances and good trade practices; (e) if the unit is
moved from its original installation location; (f) if unit is used for purposes other than for what it is designed and
manufactured; (g) to any unit that has been repaired or altered by anyone other than Pentair Hydromatic or an
authorized Pentair Hydromatic service provider; (h) to any unit that has been repaired using non factory specified/
OEM parts.
Warranty Exclusions: PENTAIR HYDROMATIC MAKES NO EXPRESS OR IMPLIED WARRANTIES THAT EXTEND
BEYOND THE DESCRIPTION ON THE FACE HEREOF. PENTAIR HYDROMATIC SPECIFICALLY DISCLAIMS THE
IMPLIED WARRANTIES OF MERCHANTABILITY AND FITNESS FOR ANY PARTICULAR PURPOSE.
Liability Limitation: IN NO EVENT SHALL PENTAIR HYDROMATIC BE LIABLE OR RESPONSIBLE FOR
CONSEQUENTIAL, INCIDENTAL OR SPECIAL DAMAGES RESULTING FROM OR RELATED IN ANY MANNER TO
ANY PENTAIR HYDROMATIC PRODUCT OR PARTS THEREOF. PERSONAL INJURY AND/OR PROPERTY DAMAGE
MAY RESULT FROM IMPROPER INSTALLATION. PENTAIR HYDROMATIC DISCLAIMS ALL LIABILITY, INCLUDING
LIABILITY UNDER THIS WARRANTY, FOR IMPROPER INSTALLATION. PENTAIR HYDROMATIC RECOMMENDS
INSTALLATION BY PROFESSIONALS.
Some states do not permit some or all of the above warranty limitations or the exclusion or limitation of incidental or
consequential damages and therefore such limitations may not apply to you. No warranties or representations at any
time made by any representatives of Pentair Hydromatic shall vary or expand the provision hereof.
740 EAST 9TH STREET 490 PINEBUSH ROAD, UNIT #4
ASHLAND, OHIO, USA 44805 CAMBRIDGE, ONTARIO, CANADA N1T 0A5
419-289-1144 800-363-PUMP
WWW.HYDROMATIC.COM
Warranty Rev. 12/13
 Loading...