

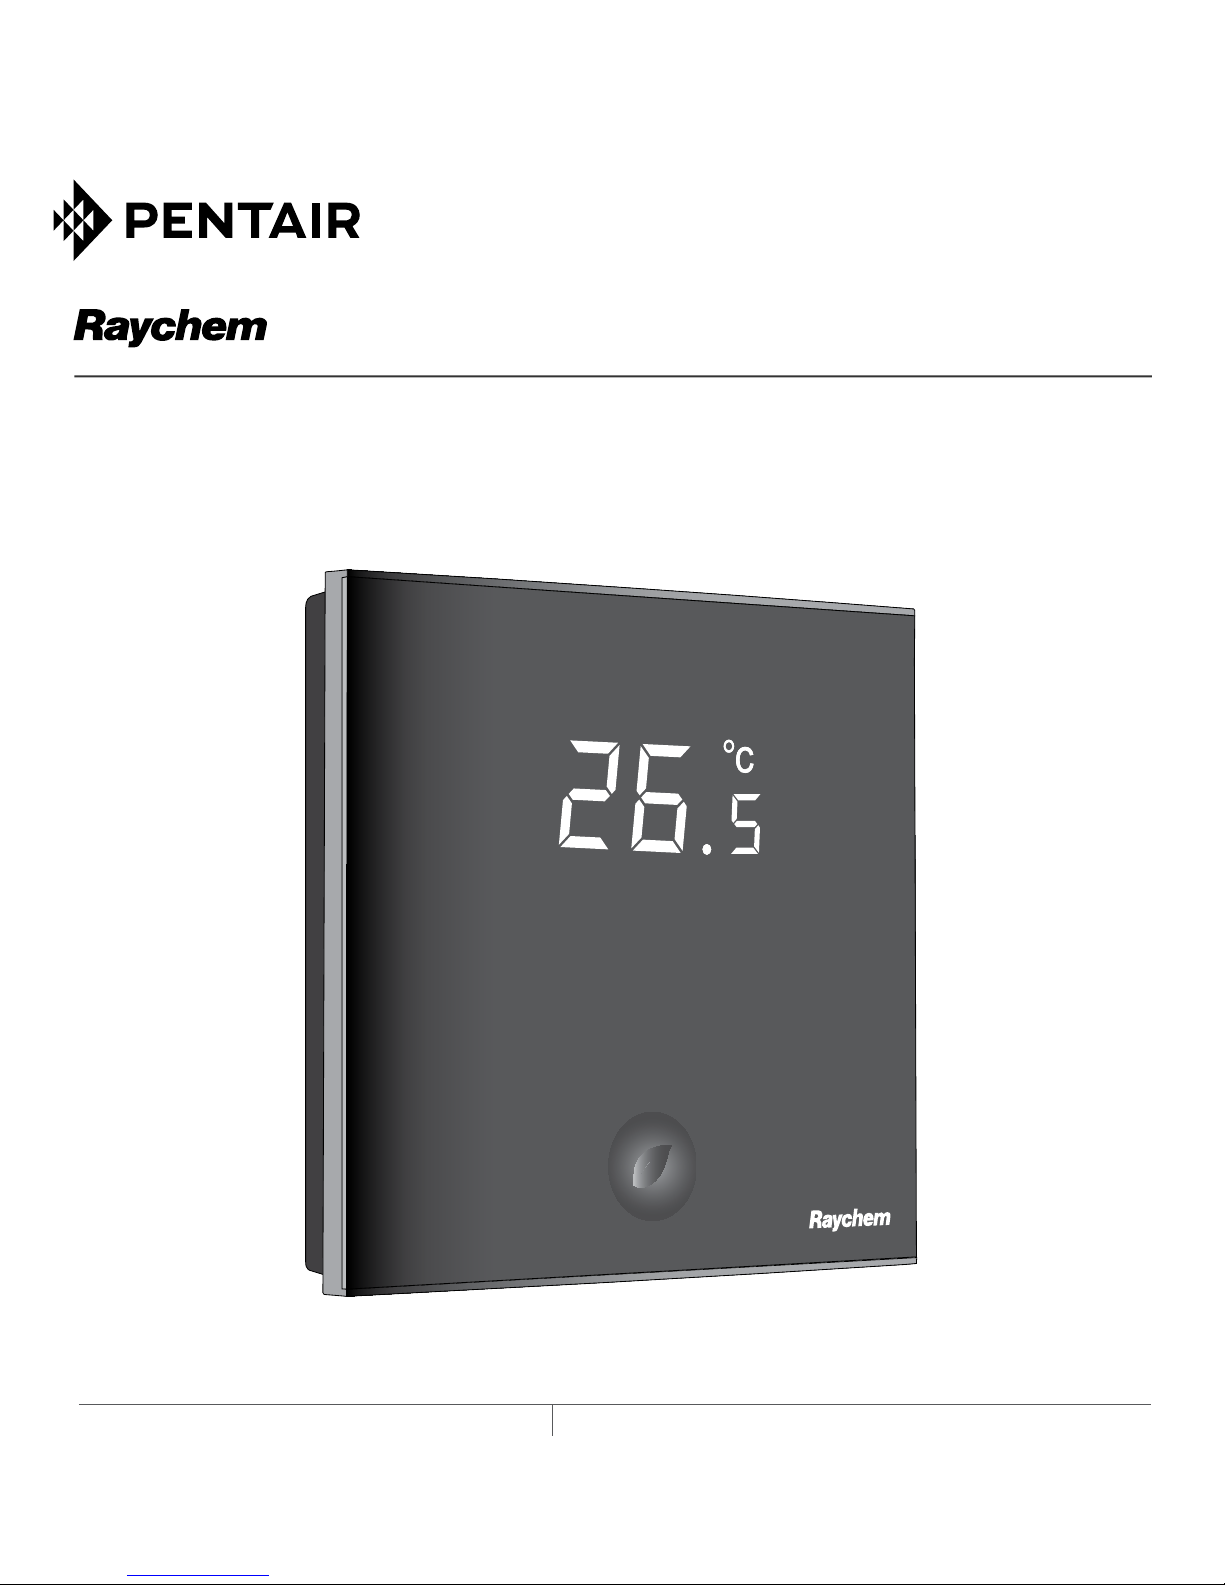
THERMAL MANAGEMENT SOLUTIONS EN-RaychemGreenLeaf-IM-EU0209 R1
GREEN LEAF
PROGRAMMABLE THERMOSTAT FOR ELECTRICAL FLOOR HEATING
INSTALLATION INSTRuCTIONS

2
CONTENTS
1. DESCRIPTION ..................................................3
2. MOUNTING AND INSTALLATION ......................4
Mounting the Thermostat ............................... 4
3.USING THE THERMOSTAT ................................. 9
The Display.....................................................9
Display in manual on/off programme ...................9
Display in timer programme ..............................10
The manual on/off programme ....................11
The timer programme .................................. 12
4. SETTING THE CLOCK .....................................14
5. PROGRAMMING THE TIMER PROGRAMME ....15
6. INSTALLER MENU .........................................17
7. TROUBLESHOOTING ......................................21
8. TECHNICAL SPECIFICATION .......................... 22

3
1. DESCRIPTION
The Raychem Green Leaf Thermostat is a
Programmable Thermostat designed for Electrical
Floor Heating. The thermostat is designed to control
your Electrical Floor Heating in order to give you the
best possible comfort and the lowest possible energy
usage.
The Thermostat can work in 3 different temperature
sensing modes:
• Floor Sensing mode
• Room Sensing mode
• Room Sensing mode with floor
temperature limiter
The Thermostat has 2 programs to choose from:
• Manual ON/OFF (Constant Single temperature)
• Timer programme (4 timer events/day)
To change from one programme to the other,
just press on the intelligent leaf button“
”.

4
2. MOUNTING AND INSTALLATION
Mounting the Thermostat
Green Leaf is intended for flush mounting in a wall
box. It should be positioned approximately 1.5 meters
above the floor, protected from direct sunlight and
draughts. All electrical conduits passing into the wall
box that contain cables must also be sealed to protect
the thermostat against draughts, e.g. with a piece of
insulation in the conduit outlet.
Step 1: Switch off the power supply
Step 2: Detach the metallic support from the
Thermostat using a screwdriver
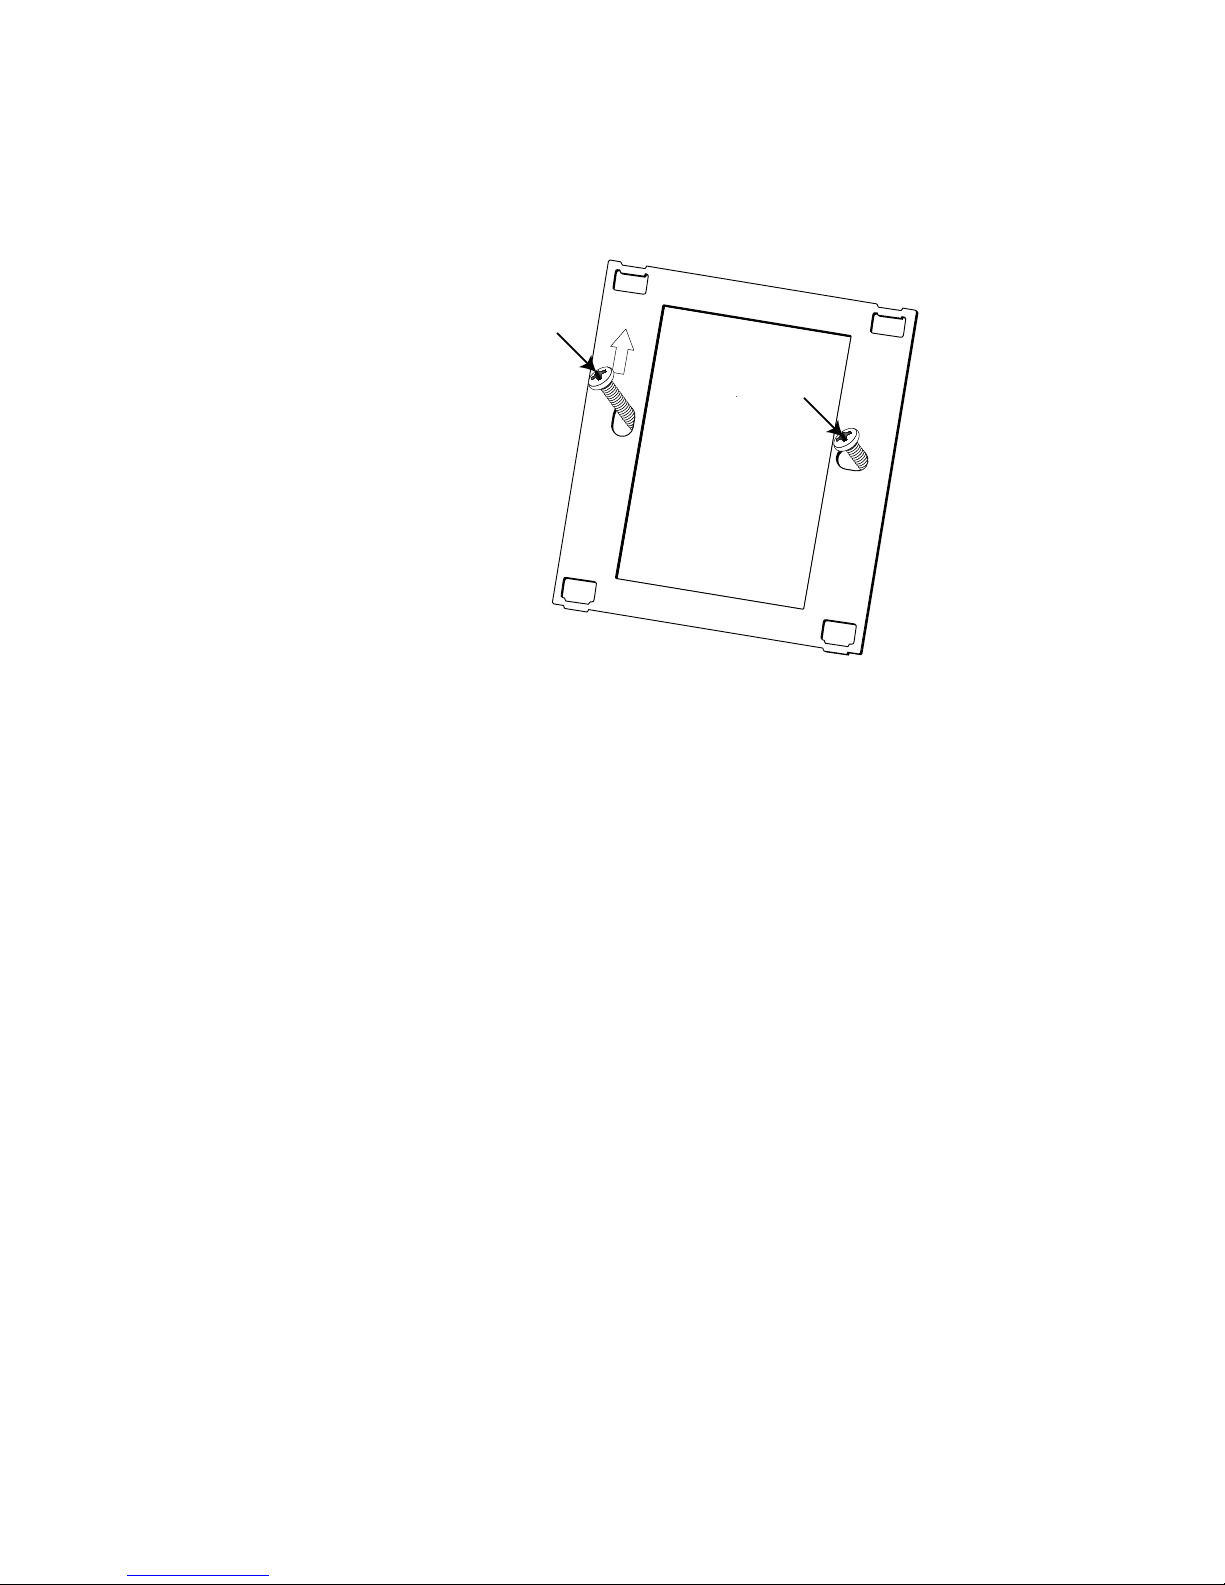
5
Step 3: Screw the metallic support frame to the
in-wall box
Step 4: Install the floor sensor (mandatory for floor
sensing mode or room sensing mode with floor
temperature limiter). The floor sensor should be
installed in a separate flexible conduit all the way
to the end, covering the end of the sensor, for easy
replacement and to avoid possible signal disturbance
on the sensor. For best control performance, position
the floor sensor between two heating cables as close
as possible to the top floor surface.
Do not position the floor sensor tip closer than 3 cm to
the heating cable.
The floor sensor cable can be extended up to 100 m
with a separate standard installation cable 2 x 1.5 mm
2
(230VAC).
6
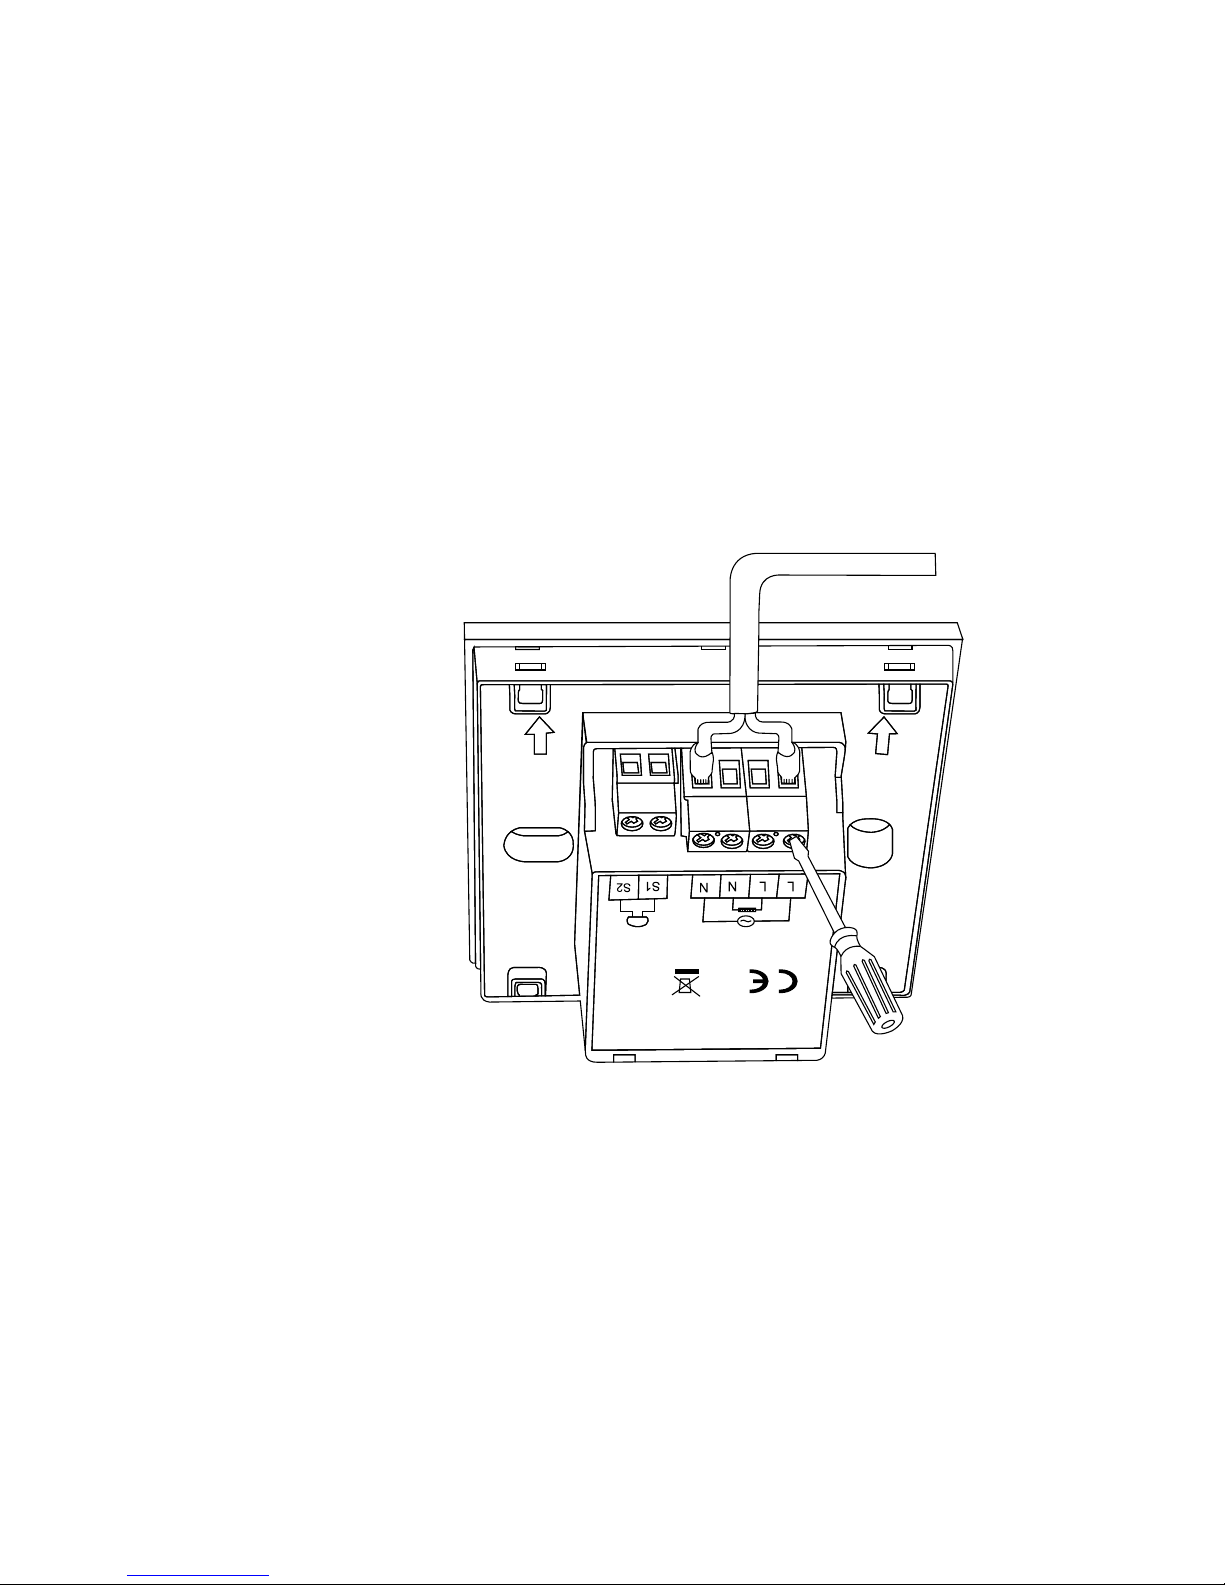
Step 5: Connect the electrical power supply, the
sensor and the cold lead of the electrical floor heating
system to the Green Leaf according to the electrical
diagram. If you connect heating cables exceeding
13A for constant wattage or 10A for self-regulating
cables you must use a contactor with an integrated
suppression device.
For the earth connection of the floor heating, you must
use a separate earth terminal connection block.
PENTAIR Green Leaf
230VAC-50H
Z
T40
13A
IP20
sensor

7
NTC
Floor
Sensor
Heating cable
230 VAC
Max. 13A*
Power supply
230 VAC
Direct connection - e.g. single heating circuit
* Max 13A for constant wattage cable, Max 10A for self-regulating cables
10K
N
L
L N
PE
PE
PE
NTC
Floor
Sensor
Connection via contactor - e.g. 3 heating circuits
Do not use contactor without suppression device.
10K
L N
L1
PE
A1
A2K1
Power supply
230 VAC
K1: contactor with
suppression device
NTC
Floor
Sensor
Power supply
heating cables
Connection via contactor - e.g. 3 heating circuits
Do not use contactor without suppression device.
10K
L N
L1
12345
6
L2 L3PEN
N N N
L L L
PE
A1
A2K1
Power supply
230 VAC
K1: contactor with
integrated
suppression device
8
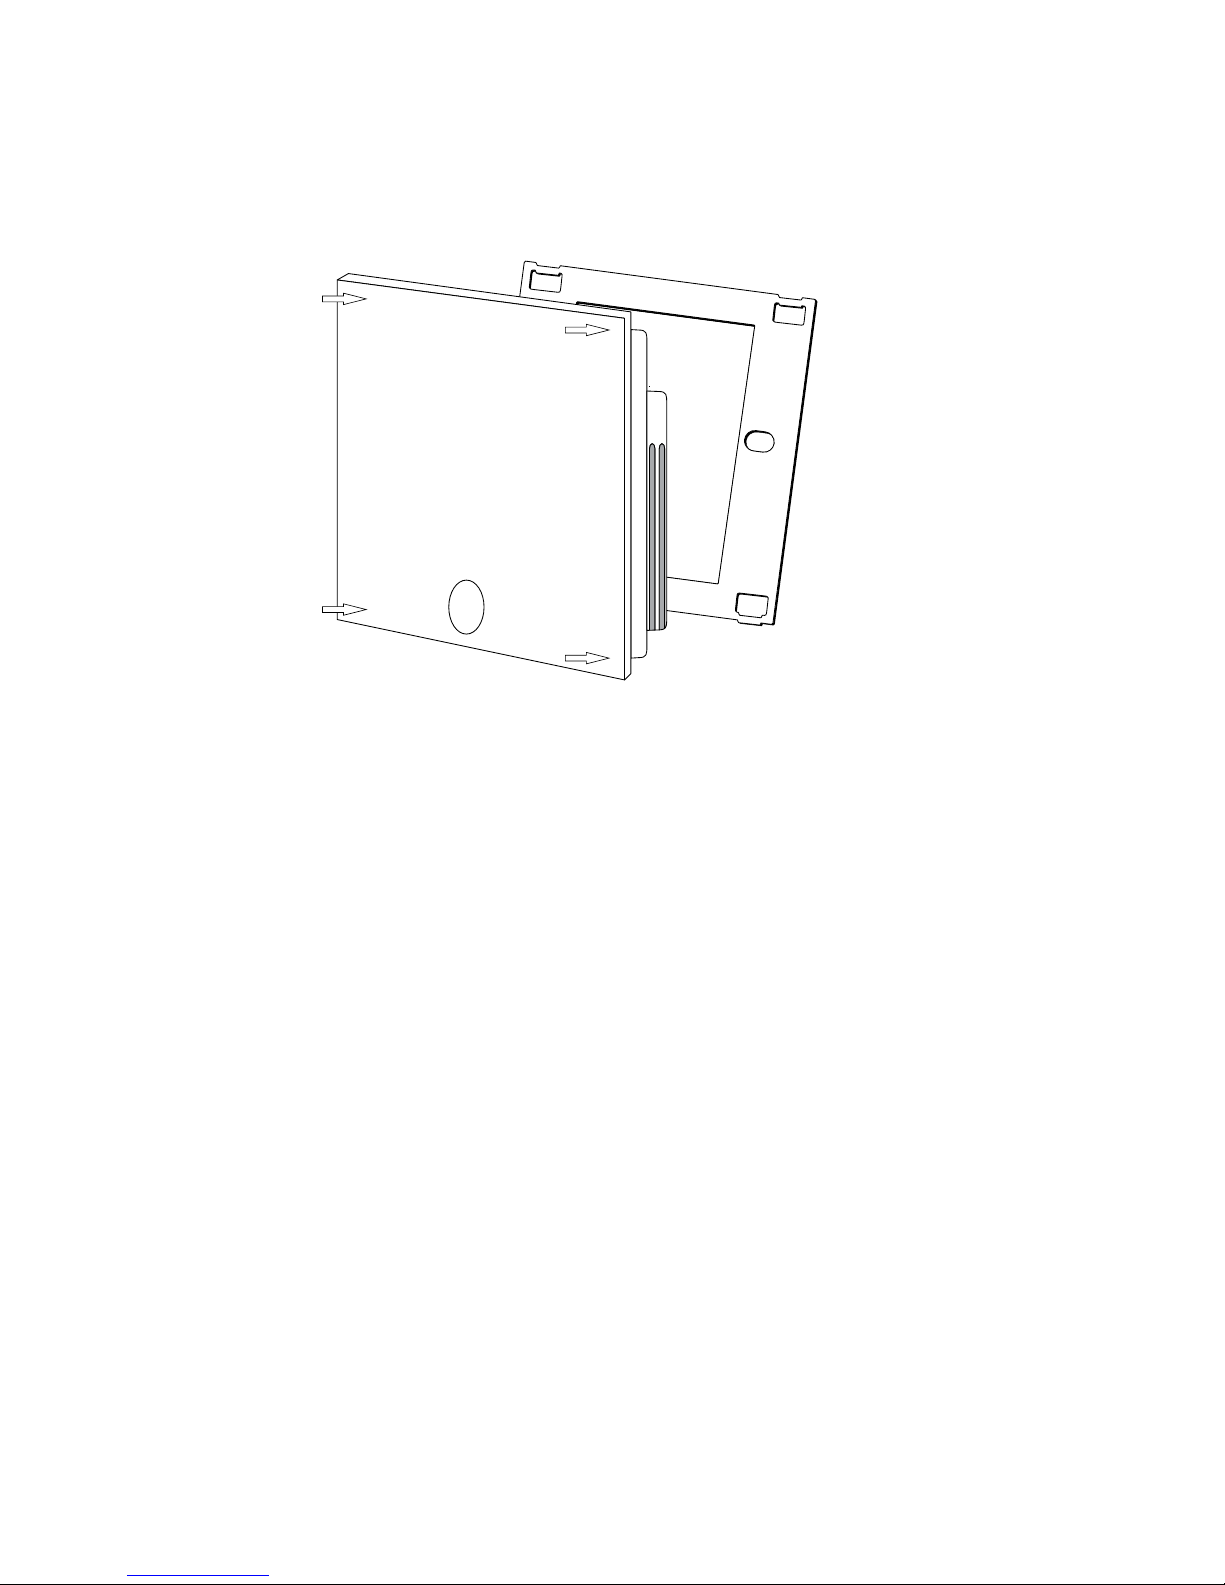
Step 6: Click the Green Leaf into the metallic support
frame.
Step 7: Switch on the power again
Product specific information
The thermostat is compatible with CeraPro,
T2QuickNet, T2Blue, T2Red heating solutions.
T2QuickNet
T2QuickNet heating mats are approved with the Green
Leaf thermostat working in floor sensor mode. Be
aware that the floor sensor must be installed and
activated for any installation with T2QuickNet.
T2Red
Self-regulating heating cables have an inrush current
when the floor is cold. In order to guarantee the life time of
the thermostat, the maximum load of the self-regulating
application in nominal conditions is limited to 10A.
A 13A self-regulating load will reduce the life time of
the relay contacts.
 Loading...