

IMPORTANT SAFETY INSTRUCTIONS
READ AND FOLLOW ALL INSTRUCTIONS
SAVE THESE INSTRUCTIONS
INSTALLATION AND
USER’S GUIDE
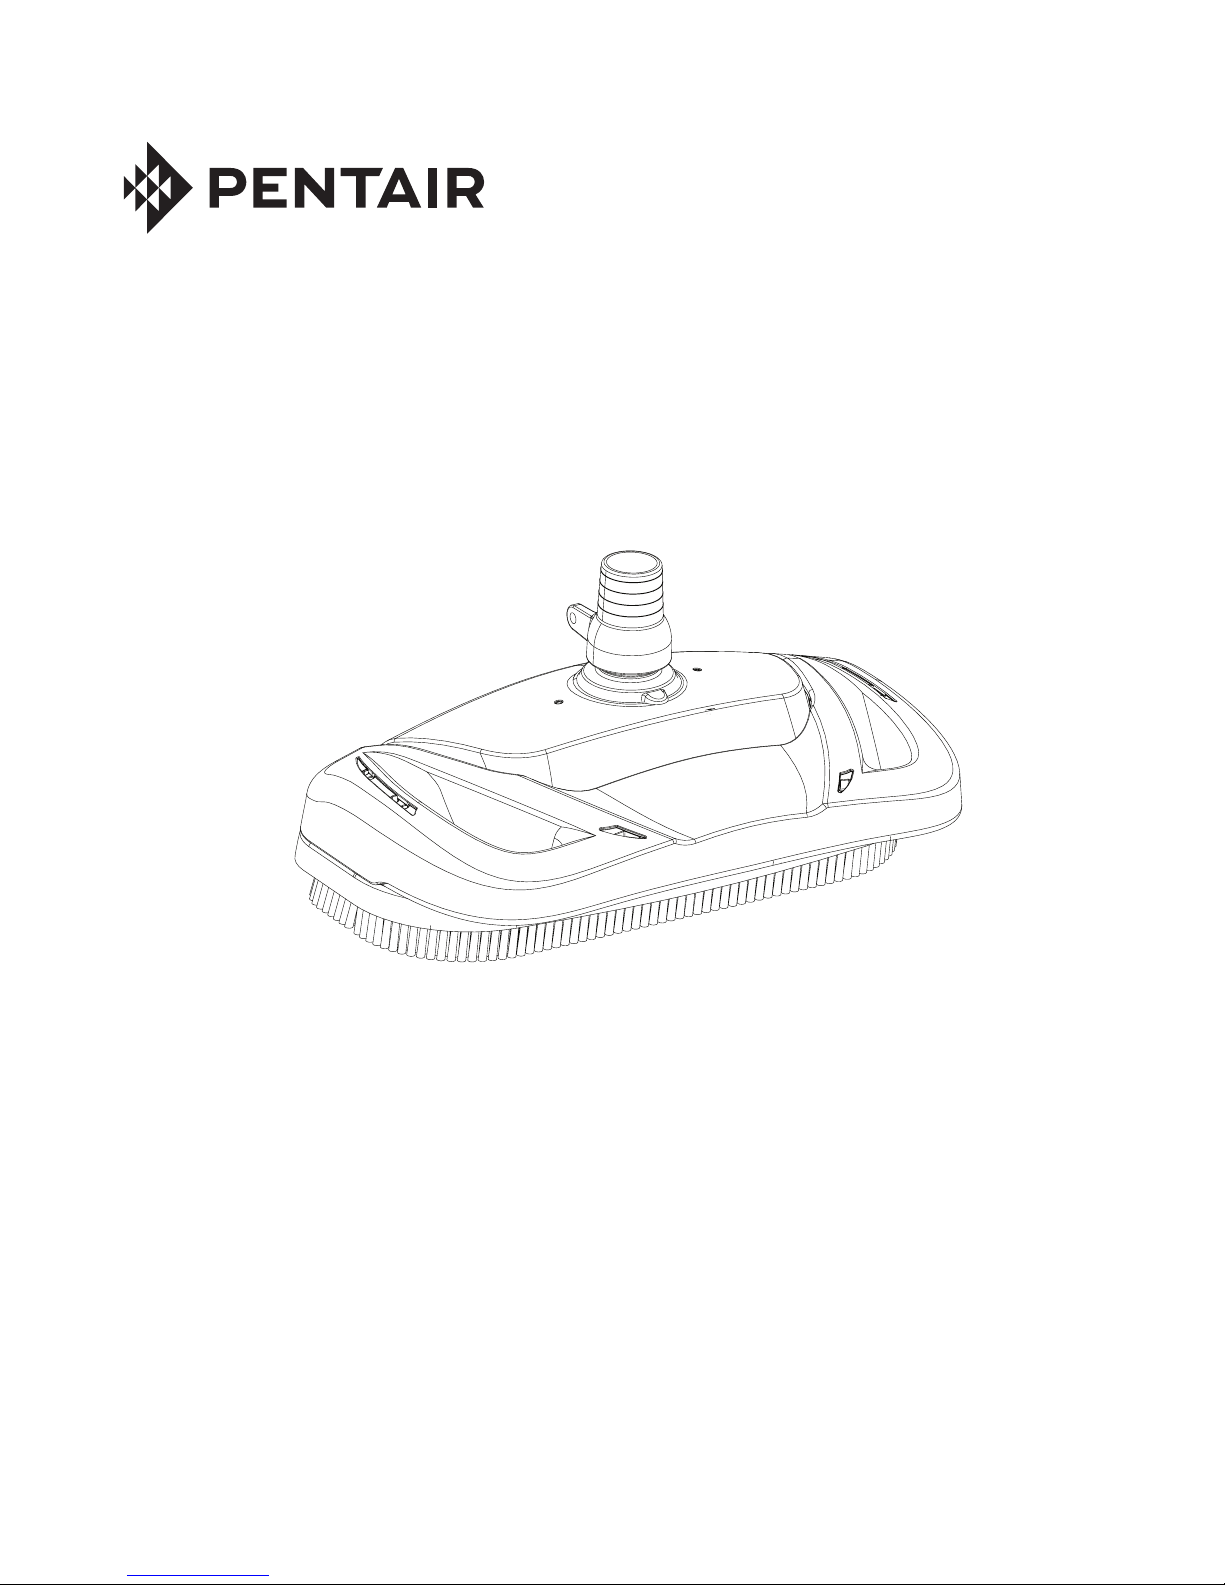
GREAT WHITE® II
AUTOMATIC POOL CLEANER

GREAT WHITE® II Automatic Pool Cleaner Installation and User’s Guide
i
L300288
TABLE OF CONTENTS
Maintenance ..........................................................
Hose Storage
Disassembly
Reassembly
Illustrated Parts List
Troubleshooting ...................................................
Manual Mode with Telescopic Pole .....................
Important Warning and
Safety Instructions ...............................................
Pool Preparation ...................................................
Preparation the Pool
Cleaner Components
Assembling the Cleaner .......................................
Attaching Swivel Assembly to Cleaner Head
Assembling the Hose
Installation .............................................................
Standard Installation
Optional Installation
Operation ...............................................................
Fine-tuning Valves and Connections
Valves and Vacuum Adjustments
Too Much Vacuum?
Not Enough Vacuum?
In-line Leaf Caniters
Skimmer Connection
Skimmer Vac Plates
Skimmer Vac Plate Vacuum Control
Adjusters
ii
1
1
1
2
2
2
3
4
5
6
6
6
6
6
7
7
7
7
8
8
9
10
11
12
13
If you have questions about ordering Pentair Aquatic Systems replacement parts, and pool products, please use
the following contact information:
CUSTOMER SERVICE / TECHNICAL SUPPORT
Customer Service (8:30 A.M. to 5:00 P.M. Australia
wide)
Phone: 1300 137 344
Fax: 1800 006 688
Web site
visit www.pentairpool.com.au to find more information
about Pentair products.
Technical Support
Dandenong South (8:30 A.M. to 5:00 P.M. EST)
Phone: 1300 137 344
Fax: 1800 006 688
GREAT WHITE® II Automatic Pool Cleaner Installation and User’s Guide
ii
IMPORTANT WARNING AND SAFETY INSTRUCTIONS
Attention Installer: This guide contains important information about the
installation, operation and safe use of this product. This information should
be given to the owner and/or operator of this equipment after installation
of the pool cleaner.
Attention User: This manual contains important information that will help
you in operating and maintaining this pool cleaner. Please retain it for future
reference. Consult Pentair with any questions regarding this equipment.
Important Notice:
Before installing this product, read and follow all
warning notices and instructions which are included.
Failure to follow safety warnings and instructions can result in severe
injury, death, or property damage. Call 1300 137 344 for additional free
copies of these instructions.
Stop pump before attempting to clean unit. Do
not allow swimmers in pool while pool cleaner is
operating.
To reduce the risk of injury, do not let children use
or play with pool cleaner.
Do not allow swimmers in the pool while pool cleaner
is operating. Hose can trip or entangle swimmers
which could result in drowning.
Consumer Information and Safety
This pool cleaner is designed and manufactured to provide many years
of safe and reliable service when installed, operated and maintained
according to the information in this manual. Throughout the manual, safety
warnings and cautions are identified by the “ ” symbol. Be sure to read
and comply with all of the warnings and cautions.
HAZARDOUS SUCTION.
Do not play with cleaner or hose or apply to body.
Can trap and tear hair or body parts. Hose can trip or
entangle swimmers which could result in drowning.
SUCTION ENTRAPMENT, INJURY, AND
DROWNING HAZARD. If your pool has a dedicated
suction port (“vac port”) for vacuuming or for an
automatic pool cleaner, it must be covered when
not in use. A spring loaded safety cover (a “vac port
fitting”) is included with your cleaner. Install it on the
suction port to prevent entrapment and injury. If the
cover provided does not fit, purchase one that does
from your local pool store and install it instead. The
cover should conform to AS 1926.3.
General Installation Information
Pre-Installation Check List
Before installing your cleaner, review and understand all warnings and
safety information in this guide. Failure to follow these instructions or
improper installation of the cleaner can result in damage to the pool finish
or the vinyl liner, Most cleaners are not designed to traverse from floor to
wall when the pool cove is 90%. There may be other structures installed
in the pool that the cleaner cannot navigate, BE AWARE and supervise
the cleaner during unique conditions. Pentair disclaims any liability for
repairs or replacement to any of these structures or components of the
customer’s pool.
Before installing the cleaner in a vinyl liner pool:
Check liner closely for signs of deterioration or damage from age,
chemicals, pool wall damage, etc. If any damage is found, have a qualified
pool professional make all the necessary repairs. Also, if there are stones,
roots, etc., under the liner, remove them before installing the cleaner.
Before installing the cleaner in a gunite pool or a pool that is partially
or completely tiled:
Make sure pool finish is in proper condition as staining, etching, cracking
or delaminating may worsen.
Repair loose tiles and tighten any loose light rings.
Before installing the cleaner, clean your filter system:
Make sure you have cleaned the filter, including backwashing, rinsing,
and emptying all baskets. A clean system is necessary for proper cleaner
operation and coverage.
Before installing the cleaner, understand cleaner coverage:
The cleaner is designed to rid your pool of debris in approximately 4-6
hours. Less time could be needed, depending on the pool size. The cleaner
was not designed to automatically clean steps or swimouts, or to work
under a solar cover. The cleaner may get stuck in these areas which can
result in damage to the pool finish or vinyl liner. Pentair disclaims any
liability for repairs or replacement to any of these structures or components
of the consumer’s pool. It was also not designed to do initial cleanup for
a new pool or when opening your pool for the season.
AFTER installing the cleaner, make sure the cleaner is operating
correctly:
The cleaner may need some minor adjustments to make sure it is
operating properly so there is no damage to the pool finish. Certain
vinyl liner patterns are particularly susceptible to surface wear, pattern
removal, ink rubbing off of, or serious scratches to the pattern caused by
objects coming into contact with the vinyl surface, including automatic pool
cleaners. Pentair is not responsible for any pattern removal, abrasions or
markings on vinyl liners. Periodically inspect the cleaner components and
the cleaner performance to ensure it is operating as designed. Replace
and/or repair any worn or damages components. Failure to follow
instructions or improper installation of the cleaner may result in damage
to the cleaner, pool finish or the vinyl liner.
Moving parts may injure hands or fingers. Stop pump
before attempting to clean out pool cleaner head.

GREAT WHITE® II Automatic Pool Cleaner Installation and User’s Guide
Before the cleaner is installed, please take a moment to record the
serial number. This number is located on your warranty card and
on the back of the cleaner near the rear jets. You will be asked for
this number when you contact our Technical Support Department.
SERIAL #__________________________________
iii
Disclaimer of Liability
About your Pool and Cleaner
There are a multitude of factors that contribute to the life of your pool. The
pool cleaner is a very passive product that will have no impact on pool life.
Please be aware that over time, deterioration, discoloration and brittleness
of any pool finish can be caused separately by, or in combination with,
age, an imbalance in pool water chemistry, improper installation and other
factors. Pressure side pool cleaners will not remove or cause wear on
“good” pool plaster. In fact, the opposite is true–pool plaster will eventually
cause wear on the cleaner.
The same situation holds true for vinyl-lined in-ground swimming pools,
because vinyl liners are also affected by the environment and factors such
as pool water chemistry, sunlight and the pool’s surroundings. Therefore
over time, vinyl can become brittle and weak. In addition, vinyl-lined pools
are affected by the workmanship, composition and installation of the
liner and the workmanship and quality of construction of the supporting
walls and pool base. These are all factors which can contribute to liner
failure. The existence of any of these type of conditions in your pool is
not caused by the use or operation of the pool cleaner. The manufacturer
disclaims any liability for repairs or replacement to any of these structures
or components of the customer’s pool.
The pool owner must assume all responsibility for the condition and
maintenance of the pool’s surface, water and deck.
SAVE THESE INSTRUCTIONS
IMPORTANT WARNING AND SAFETY INSTRUCTIONS
GREAT WHITE® II Automatic Pool Cleaner Installation and User’s Guide
1
Congratulations on your purchase of the Great White® II Automatic Pool Cleaner! Nothing quite compares to the Great
White II’s ability to make dirt disappear. With its 38cm cleaning path and unique bristle drive, your Great White® II
automatic pool cleaner will deliver fast, complete coverage of your pool. First, however you’ll have to install the cleaner
and perhaps make some minor adjustments.
This manual covers the steps needed to install, adjust and maintain your new cleaner.
POOL PREPARATION
Preparing Your Pool
Before you assemble and install your cleaner, you should make
sure that your pool is clean and free of algae. If necessary, make
the following preparations before proceeding.
• Chemically balance the pool water
• Brush the pool and let the debris settle
• Hand vacuum the pool thoroughly
• Clean the filter and pump strainer basket (Figure 1)
Cleaner Components
Remove the cleaner and all of its parts
from the box and check to make sure that
all components were included (Figure 2).
• Cleaner
• Swivel Assembly
• Handle Adapter
• Elbow
• Leader Hose: One 40” (1.02 m) length
• Hose: Eleven 40” (1.02 m) lengths
• Vacuum Regulator
• Threaded Adaptor
• Reducer Cone
• Flow Gauge
Figure 1
Skimmer
Basket
Pump
Strainer
Vacuum
Regulator
Threaded
Adaptor
Swivel
Ass'y
Elbow
Reducer
Cone
Flow
Gauge
Handle Adapter
M
A
X
I
M
U
M
F
L
O
W
M
I
N
I
M
U
M
F
L
O
W
Hose
Eleven
1m
Cleaner
Leader Hose
One
1m
Figure 2
2
GREAT WHITE® II Automatic Pool Cleaner Installation and User’s Guide
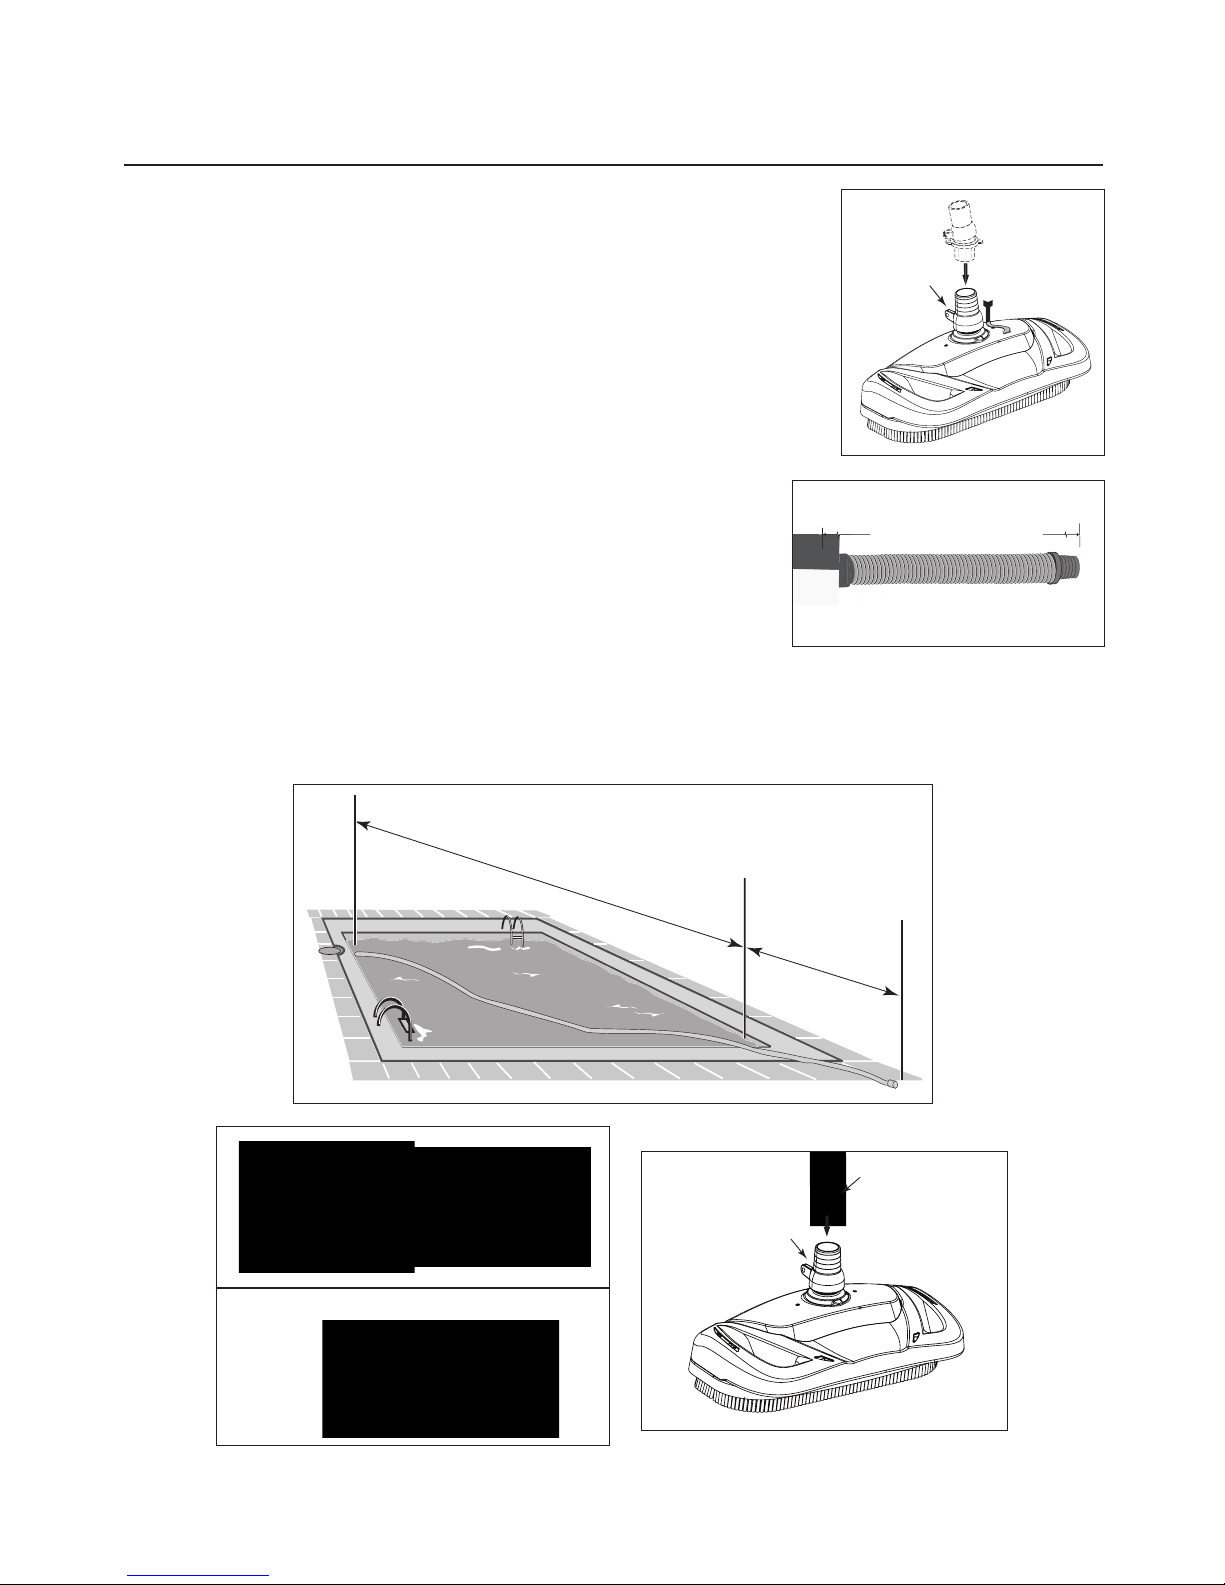
Attaching Swivel Assembly to Cleaner Head
Installing the swivel assembly is a snap. Just insert it into the Great White® II
Automatic Pool Cleaner body and give it a quarter turn (Figure 3).
If you attach a unidapt handle to the swivel for manual vacuuming, be sure it is the
special, floating unidapt handle provided with the cleaner (Replacement Part No.
GW9019). Use of a different unidapt handle will hinder the cleaner’s performance.
Assembling the Hose
The cleaner includes twelve sections of hose, each 1m in length (Figure 4).
Do not cut the hose lengths. You will need to connect these 1m sections
of hose to create a combined hose length that is at least 1m longer than the
distance from your suction source (whether skimmer or dedicated suction line)
to the farthest point in the pool (Figure 5).
Connect the hoses by twisting and pushing the female ends onto the male
ends after wetting the ends in the pool (Figure 6).
A special “leader” hose section is designed to connect to the cleaner’s swivel assembly and therefore has a
larger hose cuff than the other hose lengths (Figures 7 and 8). Failure to use this leader hose section to attach
the hose to the cleaner’s swivel assembly will hinder your cleaner’s performance. If additional hose is needed, use
only hoses from your Pentair dealer (order replacement part No. 41200-0131). Use of another manufacturer’s hose will
hinder cleaner coverage.
Hose must equal longest stretch — —
plus 1 hose length.
Figure 5
Swivel
Assembly
Leader Hose
Figure 8
Figure 6
Figure 7
Female hose end Male hose end
Leader Hose
Connect to Swivel Assembly
ASSEMBLING THE CLEANER
Swivel
Assembly
Figure 3
Figure 4
Hose + Leader Hose (Not Shown)
Twelve, 1m lengths
Tw
 Loading...