

Pentair 560003, 560002 Installation Instructions Manual
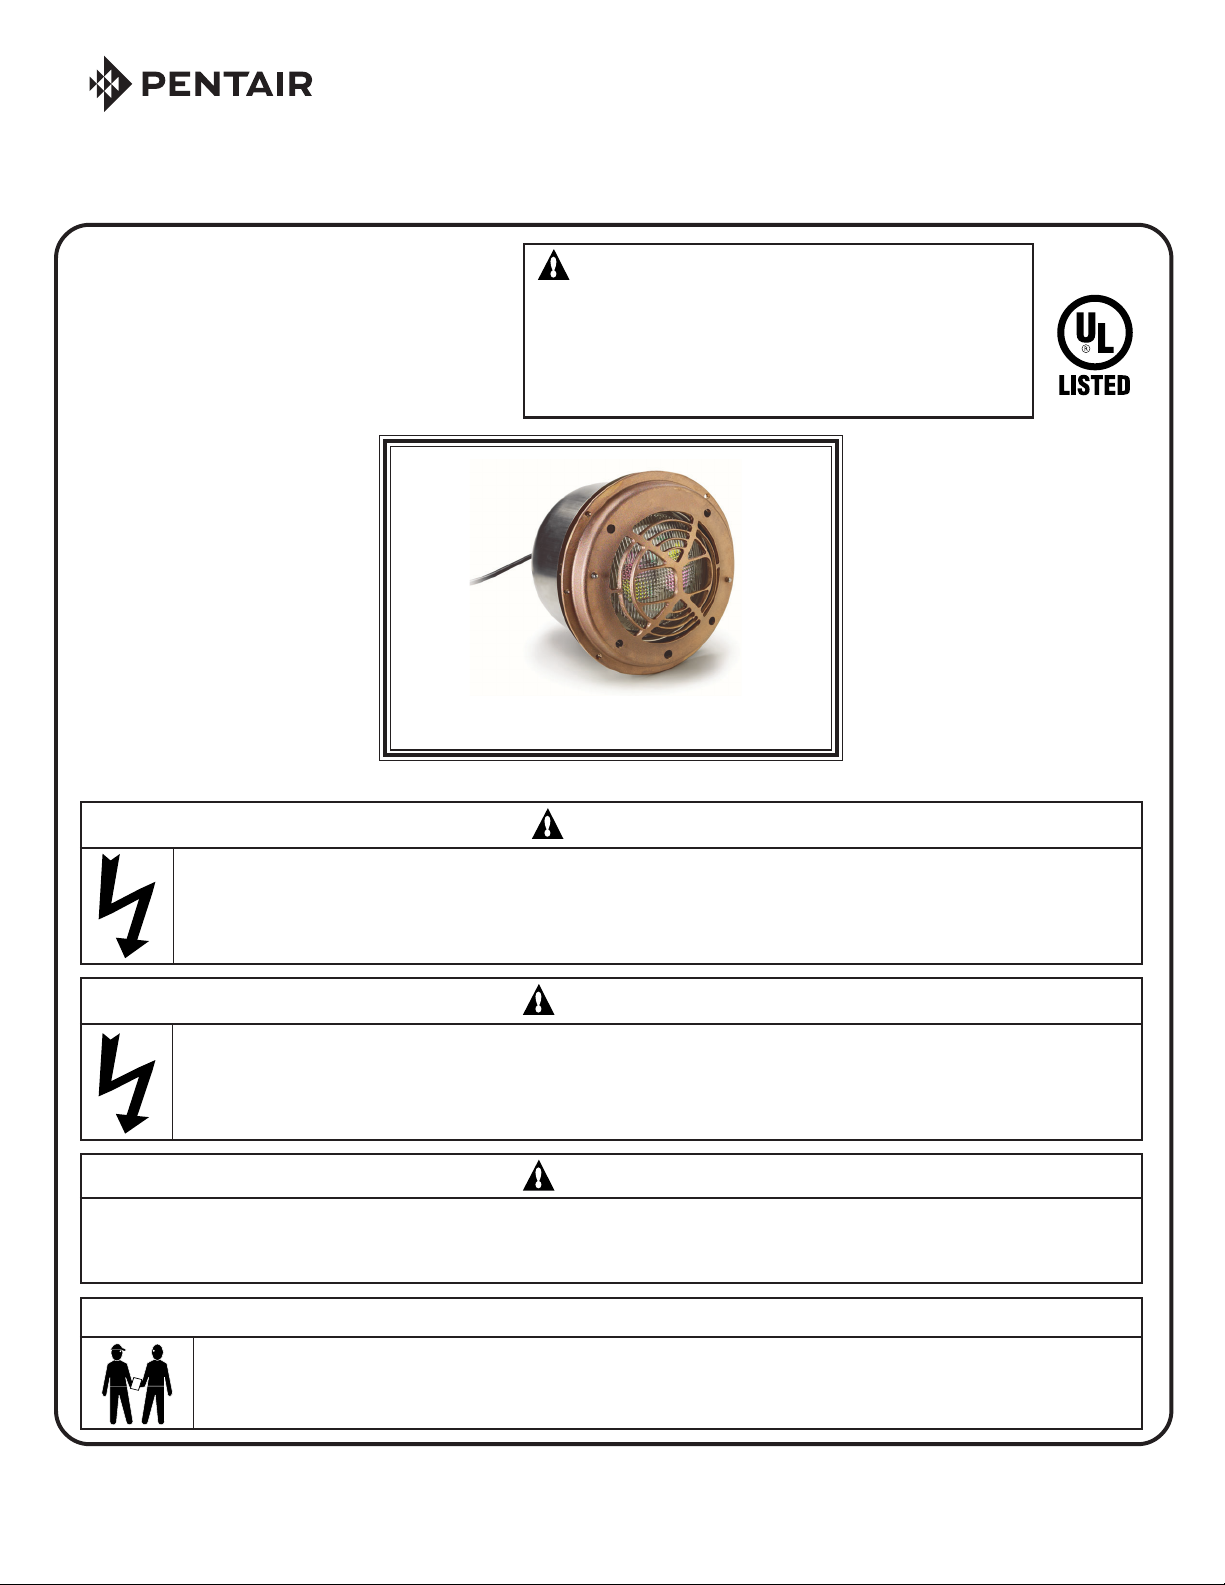
FOUNTAIN LIGHT FIXTURE
NICHE MOUNT KIT FOR FOUNTAIN USE ONLY
INSTALLATION INSTRUCTIONS
IMPORTANT SAFETY INSTRUCTIONS
READ AND FOLLOW ALL INSTRUCTIONS
SAVE THESE INSTRUCTIONS
WARNING: Do not use this lighting
fixture in any body of water containing
plants, animals or other life-forms that
may be potentially harmed by brass/
copper or other metals.
Fountain Niche Kit for Small Lights
(P/N 560003)
is to be used ONLY with
Pentair Aquatic Systems
Luminaires with the following P/N's:
77181100, 77188100, 77182500,
77111100, 77114100, 77118100,
77313100, 77310100, 77161100,
77164100, 77168100, 77375100,
77360300, 77365000, 77362000,
640000, 640001, 640002, 640003, 640004,
78101200, 78104200, 78108200,
78107000, 78107500, 78104100,
78108100, 78107200, 78109100,
78105500, 78108500, 78566500.
Fountain Niche Kit for Small Lights (P/N 560003)
Fountain Niche Kit for Large Lights (P/N 560002),
DANGER
shown
Fountain Niche Kit for Large Lights
(P/N 560002)
is to be used ONLY with
Pentair Aquatic Systems
Luminaires with the following P/N's:
78354200, 78354400, 78356200,
78356008, 78356108, 78356400,
78356401, 600061, 600062, 78421100,
78424100, 78428100, 78928400,
78928500, 78927000, 78927900,
78441100, 78444100, 78448100,
78948900, 78949100, 78447100,
78449100, 78451100, 78454100,
78458100, 78958300, 78456300,
78457100, 78459100, 78444200,
78448200, 78941500, 78950100,
78454200, 78458200, 78958500,
78458300, 78858100, 78856900,
60100X.
RISK OF ELECTRICAL SHOCK OR ELECTROCUTION
This product must be installed by a licensed or certified electrician in accordance with the National Electrical Code and
all applicable local codes and ordinances. Improper installation will create an electrical hazard which could result in
death or serious injury to installer, or others due to electrical shock, and may also cause damage to property.
WARNING
RISK OF ELECTRICAL SHOCK OR ELECTROCUTION
Do NOT use in a swimming pool, spa or other body of water involving immersed person use. USE ONLY with a
luminaire marked as a "submersible luminaire". A luminaire marked as a swimming pool or spa luminaire must
also be marked 'submersible luminaire' to be used with this fountain fixture.
WARNING
Before installing this product, read and follow all warning notices and instructions accompanying this product. Failure to follow
safety warnings and instructions can result in severe injury, death, or property damage. Call (800) 831-7133 for additional free
copies of these instructions.
Important Notice
Attention Installer.
This manual contains important information about the installation, operation and safe use of this product.
This information should be given to the owner/operator of this equipment.
Pentair Water Pool and Spa, Inc.
1620 Hawinkins Ave. Sanford, NC 27330 • (919) 566-8000
10951 West Los angeles Ave., Moorpark, CA 93021 • (805) 553-5000
1
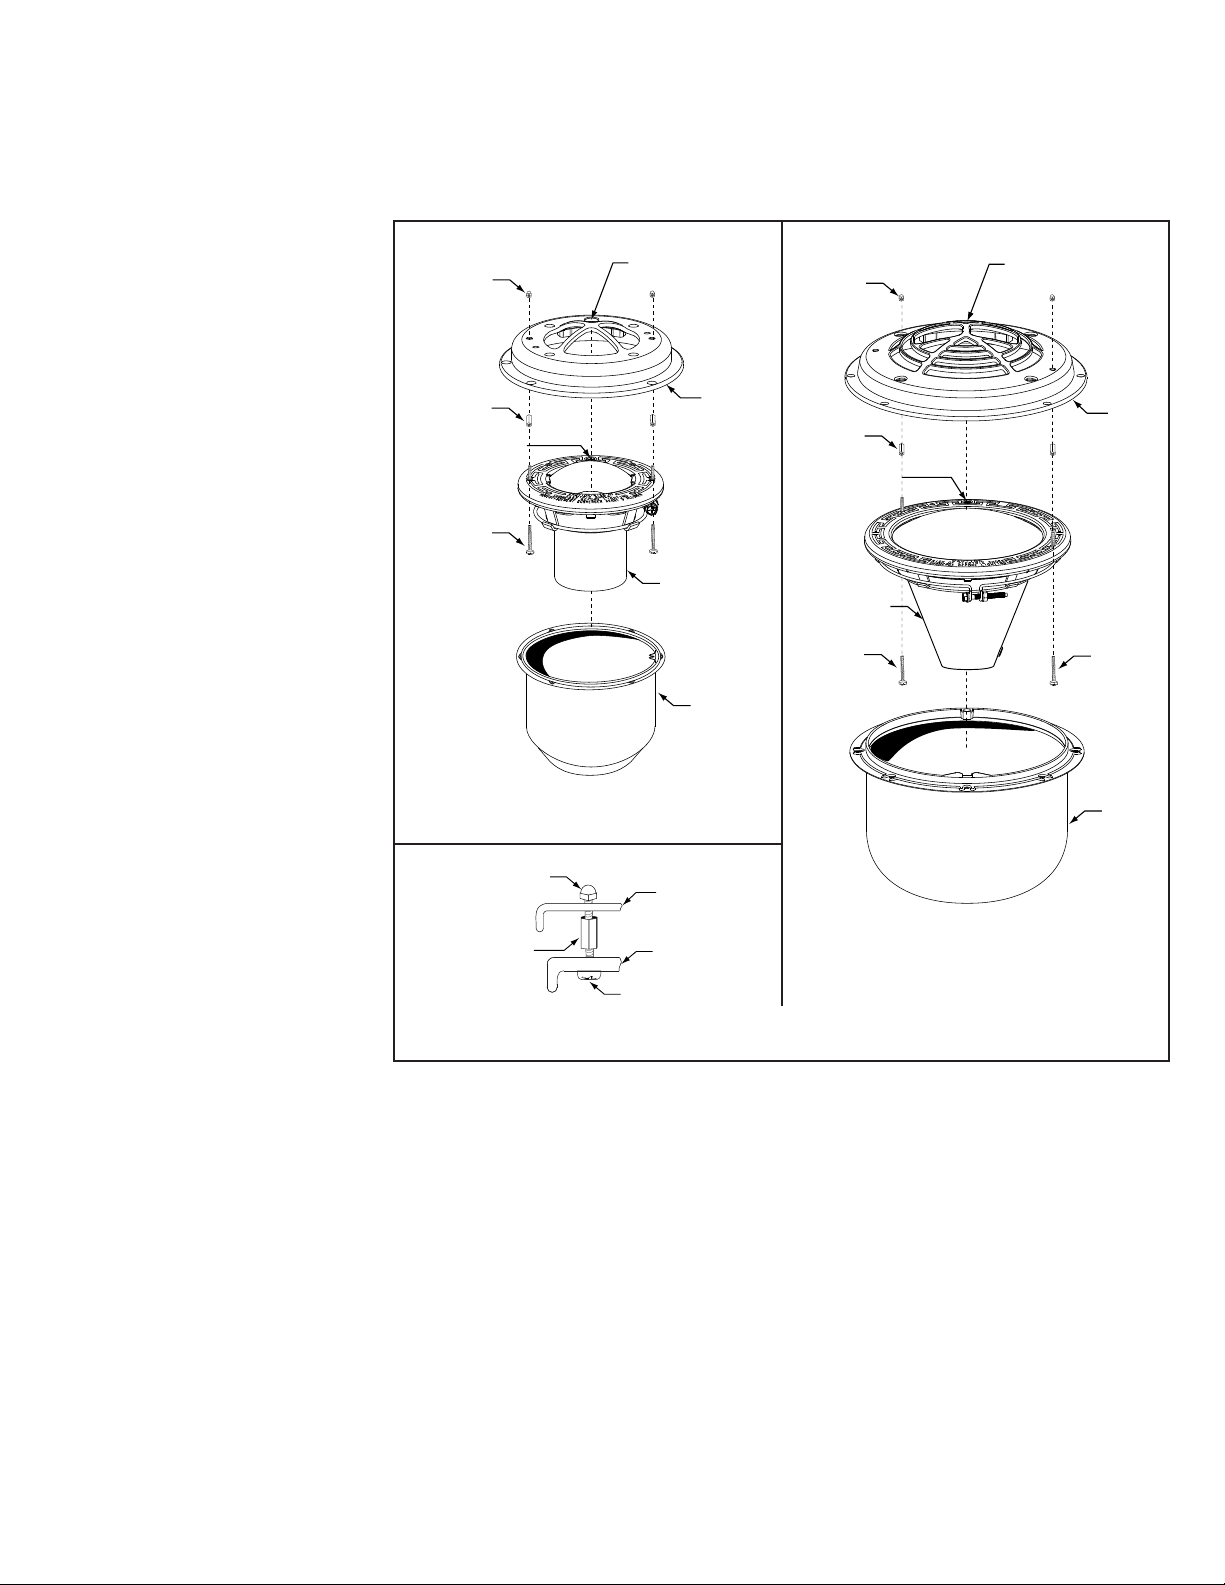
Section I. Installing Fountain Light Fixture — Niche Mount
Rock
Guard
Pilot Screw
Light
Rock
Guard
Screws
Retaining
Nut
Rock
Guard
Screws
Acorn
Nut
Niche
Pilot Screw Hole
A. Preparatory steps which must be completed by the electrician before the light fixture is installed:
1. Verify that the fountain meets the requirements of the current National Electrical Code and all local codes and ordinances.
A licensed or certified electrician must install the electrical system to meet or exceed those requirements before the
underwater light is installed.
2. Verify that the lighting circuit
has a Ground Fault Circuit
Interrupter (GFCI) for line
voltage models and has an
appropriately rated circuit
breaker.
3. The wet niche must be properly
installed so that the top of the
underwater light's lens is at
least 2 inches below the
surface of the water.
4. The wet niche must be properly
electrically bonded and
grounded via the #8 AWG
ground connector located at
the rear of the niche.
Acorn
Nut
Retaining
Nut
Pilot Screw
Rock
Guard
Screws
Pilot Screw Hole
Rock
Guard
Light
B. Steps to perform after the
electrical system requirements
are met:
1. Assemble the screws and nuts
to the stainless steel face ring
of the light being used. See
Figure 1.
2. Feed the cord through conduit
to the Junction Box, leaving
some length of cord at the
light fixture to coil around the
light. This length of cord around
the light allows the light to be
pulled out of the water and
serviced conveniently without having to disconnect the light from the J-Box.
3. Ensure that the length of exposed cord in the fountain is no more than 10 ft. (3 m).
4. Cut the cord at the Junction Box, leaving at least 6 inches of cord to make connections.
5. Strip 6 inches of the outer cord jacket to expose the three insulated wires – be careful not to damage the insulation
on the three inner wires.
6. Connect all three wires to the corresponding circuit wires in the Junction Box and secure the Junction Box cover
in place.
7. Place the light assembly into the niche and tighten special pilot screw.
Niche
Fountain Niche Kit for Small Lights
Acorn
Retaining
Nut
Nut
Face Ring
Rock
Guard
Screw
Rock
Guard
Light
Assembly View
Fountain Niche Kit for Large Lights
Figure 1.
8. Position and secure the rock guard with the acorn nuts provided. To ensure proper positioning, align the pilot screw
of the light with the pilot screw hole of the rock guard. Refer to Figure 1.
2
 Loading...