

Page 1
1 2
DP-110
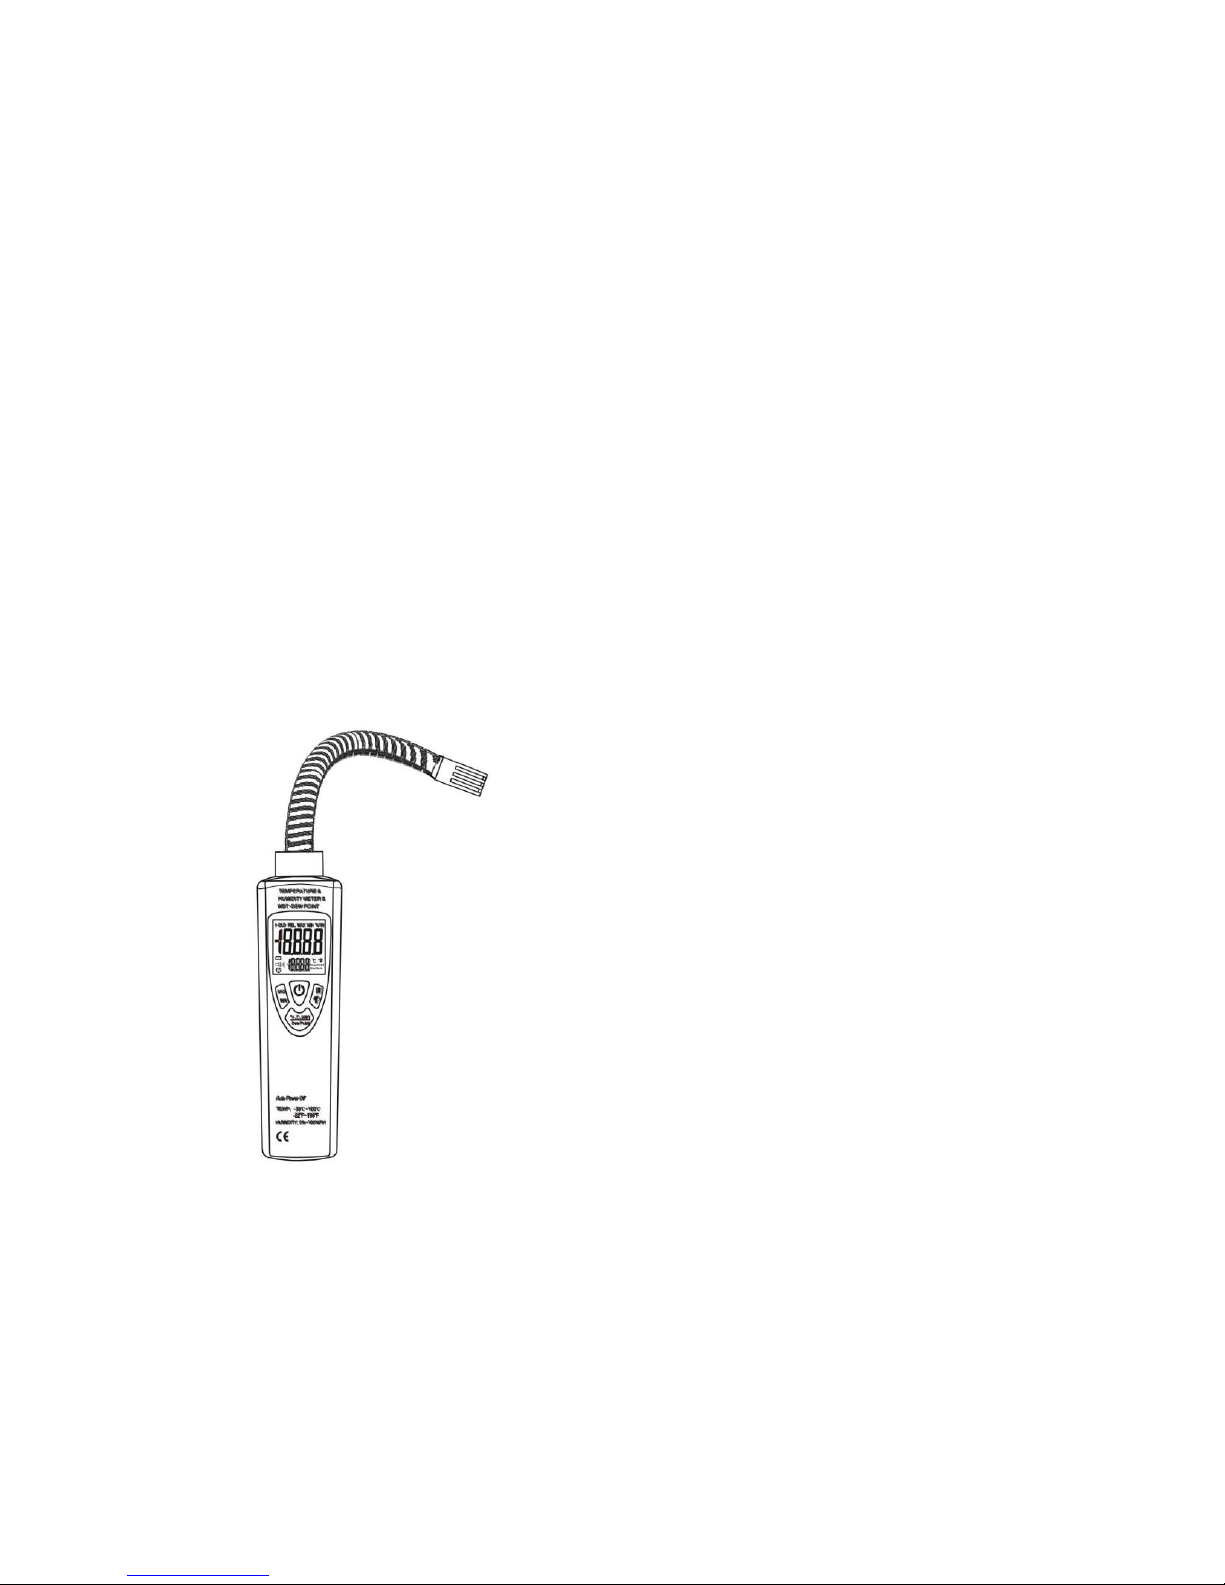
IN-DUCT DIGITAL PSYCHROMETER
OPERATIONS MANUAL
Humidity & Temperature Meter with
Wet Bulb Temperature and
Dew Point Temperature
TABLE OF CONTENTS
TITLE PAGE
INTRODUCTION 3
FEATURES 3
SPECIFICATIONS 4
METER DESCRIPTION 6
HUMIDITY AND TEMPERATURE 8
MEASUREMENTS
BATTERY REPLACEMENT 8
WARRANTY 9
Page 2

3 4
1. INTRODUCTION
The In-Duct Digital Psychrometer has been designed to
combine the functions of a Humidity Meter, Temperature Meter,
Wet Bulb Temperature Meter and Dew Point Temperature
Meter; all in one easy to use, compact instrument.
The DP-110 is an ideal Humidity & Temperature Meter with
nearly unlimited practical applications for HVAC/R, industrial
maintenance, and professional engineering.
2. FEATURES
Fast Response Time %RH: 10 Sec. (90% at 25℃ still air)
6” Flex-neck probe for in-duct measurements
High Accuracy
Dew Point Temperature (-30℃~100℃/-22°F~212°F)
Wet Bulb Temperature ( 0℃~80℃/32°F~176°F)
Resolution 0.01%RH, 0.01℃/0.01°F
Max/Min and Hold functions
Dual Display, Temperature & Humidity
Auto Power Off, with disable Auto Power Off mode
Backlight
Compact Design
Size (H*W*D): 225*45*34mm (not including flex probe)
Weight: 200g
3. SPECIFICATIONS
Display: 4 ½ digit, dual LCD display with backlight
Sensor Type: A single chip relative humidity and
temperature sensor module
Response Time: %RH: 10 seconds (90% at +25℃ still air)
Accuracy Note: Accuracy is specified for the following
ambient temperature range: 64 to 82°F (18 to 28°C)
Sampling Rate: 2.5 samples per second
Polarity: Automatic, (-) negative polarity indication.
Out of Range: “Hi” for over-range, “Lo” for under-range
Low Battery Indication: The “ ” is displayed when
the battery voltage drops below the operating level.
Operating Conditions:
-22 to 212oF (-30 to 100oC); < 80% RH, non-condensing
Storage Conditions: 14 to 140oF (-10 to 60oC); <80% RH
non-condensing
Auto Power Off: Meter automatically shuts down after
approximately 15 minutes of inactivity
Disable Auto Power Off: While meter is off, press and hold
Hold/Backlight button then power on meter. After the full
display appears, release both buttons. Auto Power Off icon
“ ” will not appear on the LCD. The unit will not auto
power off now.
Power: One standard 9V, NEDA1604 or 6F22 battery.
Dimensions/Wt.: 225 (H) x 45 (W) x 34 (D) mm/200g
Humidity / Temperature Measurement Range:
Humidity: 0%~100%RH
Page 3
5 6
Temperature: –30℃~ 100℃, -22℉~ 212℉
Resolution: 0.01% RH, 0.01 ⁰F, ⁰C.
Humidity Accuracy: + 2%RH (at 25℃, 20%~80% RH).
+ 2.5%RH (at other ranges)
Note: The measuring range is from 0% to 100%, but above
80% and below 20% the accuracy is not specified.
Air Temperature Accuracy: + 0.5℃/+ 0.9℉ (at 25℃)
+ 0.8℃/+ 1.5℉ (all other ranges)
4. METER DESCRIPTION
Page 4

7 8
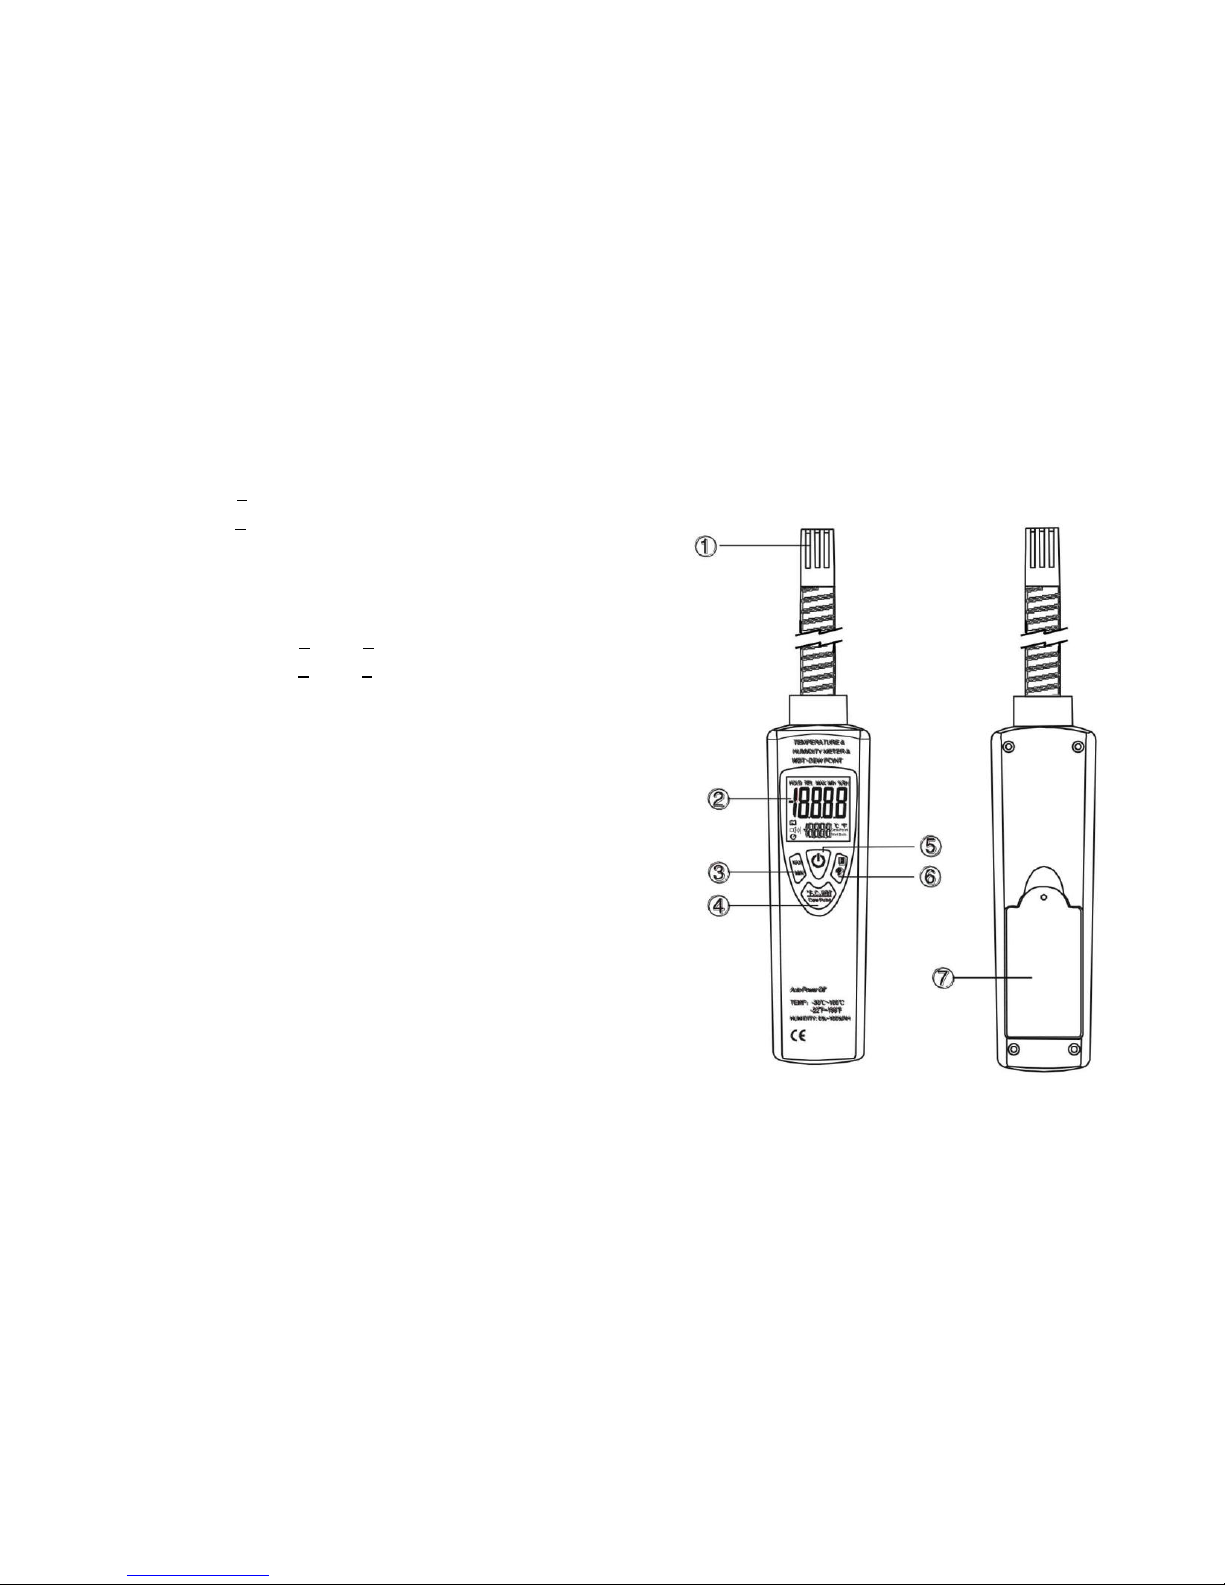
1 Humidity/Temperature Probe: Humidity and
Temperature Sensor inside.
2 LCD Display: 4 ½ digit, LCD, dual display. Displays ⁰F,
⁰C, %RH, dew point, wet bulb, low battery (BAT),
MAX/MIN and HOLD.
3 MAX/MIN Button: Press MAX/MIN button to enter
MAX/MIN recording mode. Select desired range before
entering MAX/MIN mode to ensure that the reading will
not exceed the testing range. Press once to select MIN.
Press again to select MAX. Press and hold the Button
for 3 seconds to turn off MAX, MIN recording.
4 ⁰F, ⁰C, Dew Point,Wbt Select Button: Press button to
toggle between measurement displays: ⁰F, ⁰C, Dew
Point and Wet Bulb measurements.
5 Power ON/OFF Button: Turn the meter power ON/OFF.
6 HOLD /Backlight Button: Press Hold/Backlight button
to enter Hold function. The displayed reading will be
held when Data Hold button is pressed.
Press Hold/Backlight button for 3 seconds to turn on or
off backlight.
7 Battery Compartment: Battery location.
5. HUMIDITY AND AIR TEMPERATURE
MEASUREMENTS
1. Hold the probe in the area to be tested & allow
adequate time for readings to stabilize (< 1 minute).
2. Press ⁰F, ⁰C, dew point, WBT select Button to select ⁰F,
⁰C, dew point Wet Bulb Measurement.
3. Read the Relative Humidity and Air Temperature, dew
point temperature wet bulb temperature.
NOTE:
Do not immerse the probe in liquid; it is intended for use in air
only.
6. BATTERY REPLACEMENT
If the “ ” symbol appears on the LCD display, it indicates
that the battery should be replaced. Open the battery case
and replace the exhausted battery with new battery. (1 x 9V
battery NEDA 1604, 6F22 or equivalent).
Warning:
Do not leave sensor exposed to direct sunlight. Direct,
prolonged exposure to solar radiation can damage sensor
Page 5

9 10
and will shorten sensor lifespan.
Keep sensor covered with included sensor guard whenever
not in use.
Do not touch or manipulate the sensor.
Warranty
This PDI product is warrantied to be free from defects in
materials and workmanship for a period of two (2) years
from the verified date of purchase. During this warranty
period, PDI will either repair or replace the defective unit,
at PDI’s discretion. A purchase receipt or other
acceptable form of proof of original purchase date will be
required before any warranty processes begin. PDI
warrants all authorized repairs with a six (6) month
limited warranty. View full warranty details and register
your PDI product at www.PDImeters.com.
NOTE: Online product registration is required for all
warranty claims. All warranty claims must have a
Return Goods Authorization assigned from PDI, in
order to begin processing. Contact PDI for more
details.
Copyright 2012 – PDI – All Rights Reserved
 Loading...