

PCIe Card PCIe SATA 6G Card SI-PEX40064 User Manual
SI-PEX40064 1
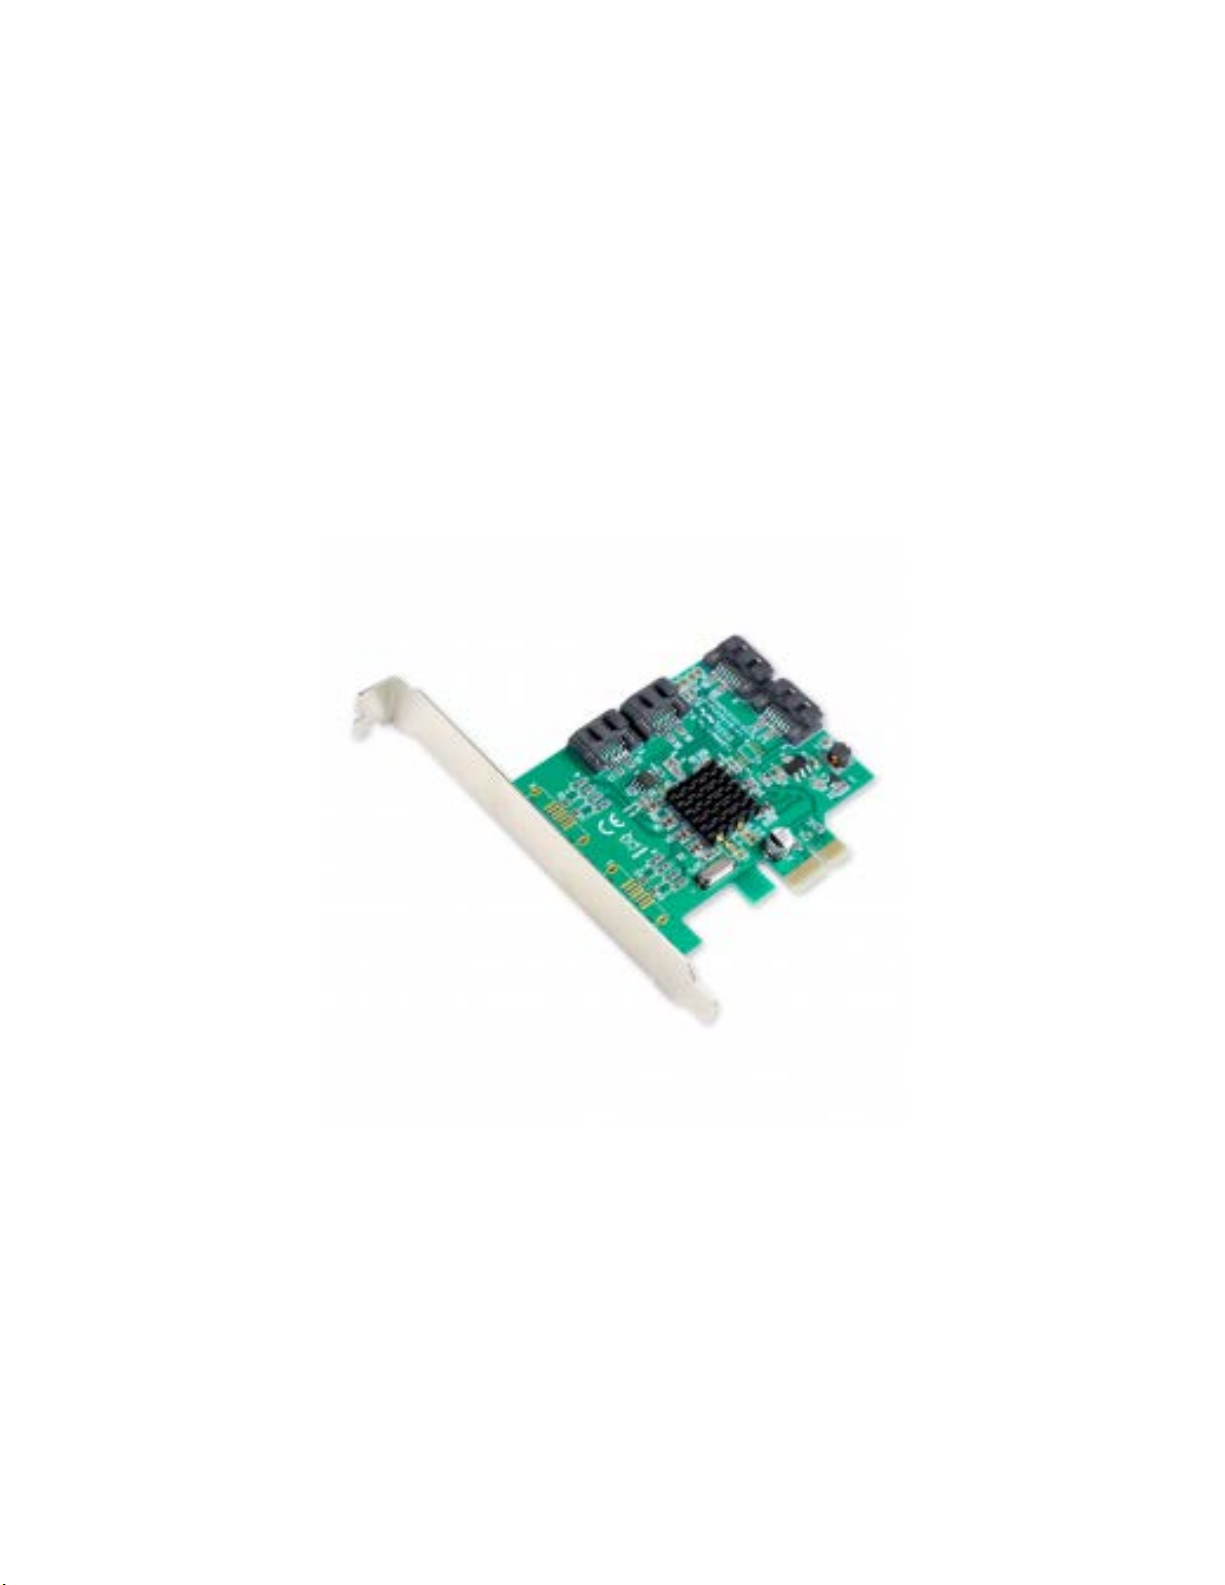
PCIe SATA
6G Card
Model: SI-PEX40064
User Manual
Ver. 2.01
Chipset: Mar ve ll 88S E9 21 5

SI-PEX40064 2
Product Introduction
This board i s a single-ch ip, PCI Express to four SAT A Gen III 6Gb/s channels host
controller t hat br in gs ser ver -c lass features to the desktop. This b oard enables the
use of the industry ’ s newes t and f as te st ha rd drives at 6GB/s while pro vid in g
backward compatibility to legacy SATA 1.5Gb/s or 3Gb/s drives. It uses the same
cables and connectors a s previous SATA generations to ease integration. PCI
Express 2.0 doubles the bandwidth of the existi ng PCI Expres s bus for faster data
throughput. It will enhance system performance for every type of computer user.
Each PCI Express 2.0 lane provides up to 500MB/s of throughput. It’s also
backwards compatible with previous generations of PCI Express 1.0 technology.
Using the onboar d RAID firmware, the SATA drives attached to this c ontroller can
be easily c onfigured as 4 individual ports with no RAID or with RAID 0, Rai d 1,
RAID 10, and HyperDuo.
Features
- Compliant with PCI Express Specif ication v2.0 and backwards compatible with
PCI Express 1.x
- Compliant with Serial ATA Specification 3.0
- PCI Express x2 Interface and, compatible with PCI Express x4, x8, and x16 slots.
- Supports communication speeds of 6.0Gb/s, 3.0Gb/s, and 1. 5Gb/s
- Hot Plug and Hot Swap
- Support Native Command Queue (NCQ)
- Supports P ort Multiplie r FIS based switching or command based switching
- Compatible with SATA 6G, 3G, and 1.5G Hard Drives

Package Contents
- 1 x SATAIII (6Gbps) 4-port PCI Express Controller Card
- 1 x User Manual
- 2 x SATA Cable
- 1 x Driver CD
- 1 x Low Profile Bracket
System Requirements
SI-PEX40064 3
- Supports Windows® XP/Vista/7/8/Server 2003/2008 R2/ 8, Linux 2.6.x and
above
Hardware Installation
1. Turn off the power to your computer
2. Unplug th e power cord and remove your computers cover
3. Locate an e mpty PCI Express x4, x8, or x1 6 slot on th e m otherboard
4. To install, carefully align the ca rds bus connector with the selected PCIe slot on
the motherb oard. Push t he board down f irmly.
5. Attach your internal device to the SATAIII (6Gbps) PCIe C ontroller Ca rd
6. Replace the slot brac kets holdin g screw to secure the card
7. Replace the computer cover and reconnect the power cord
 Loading...