

Page 1
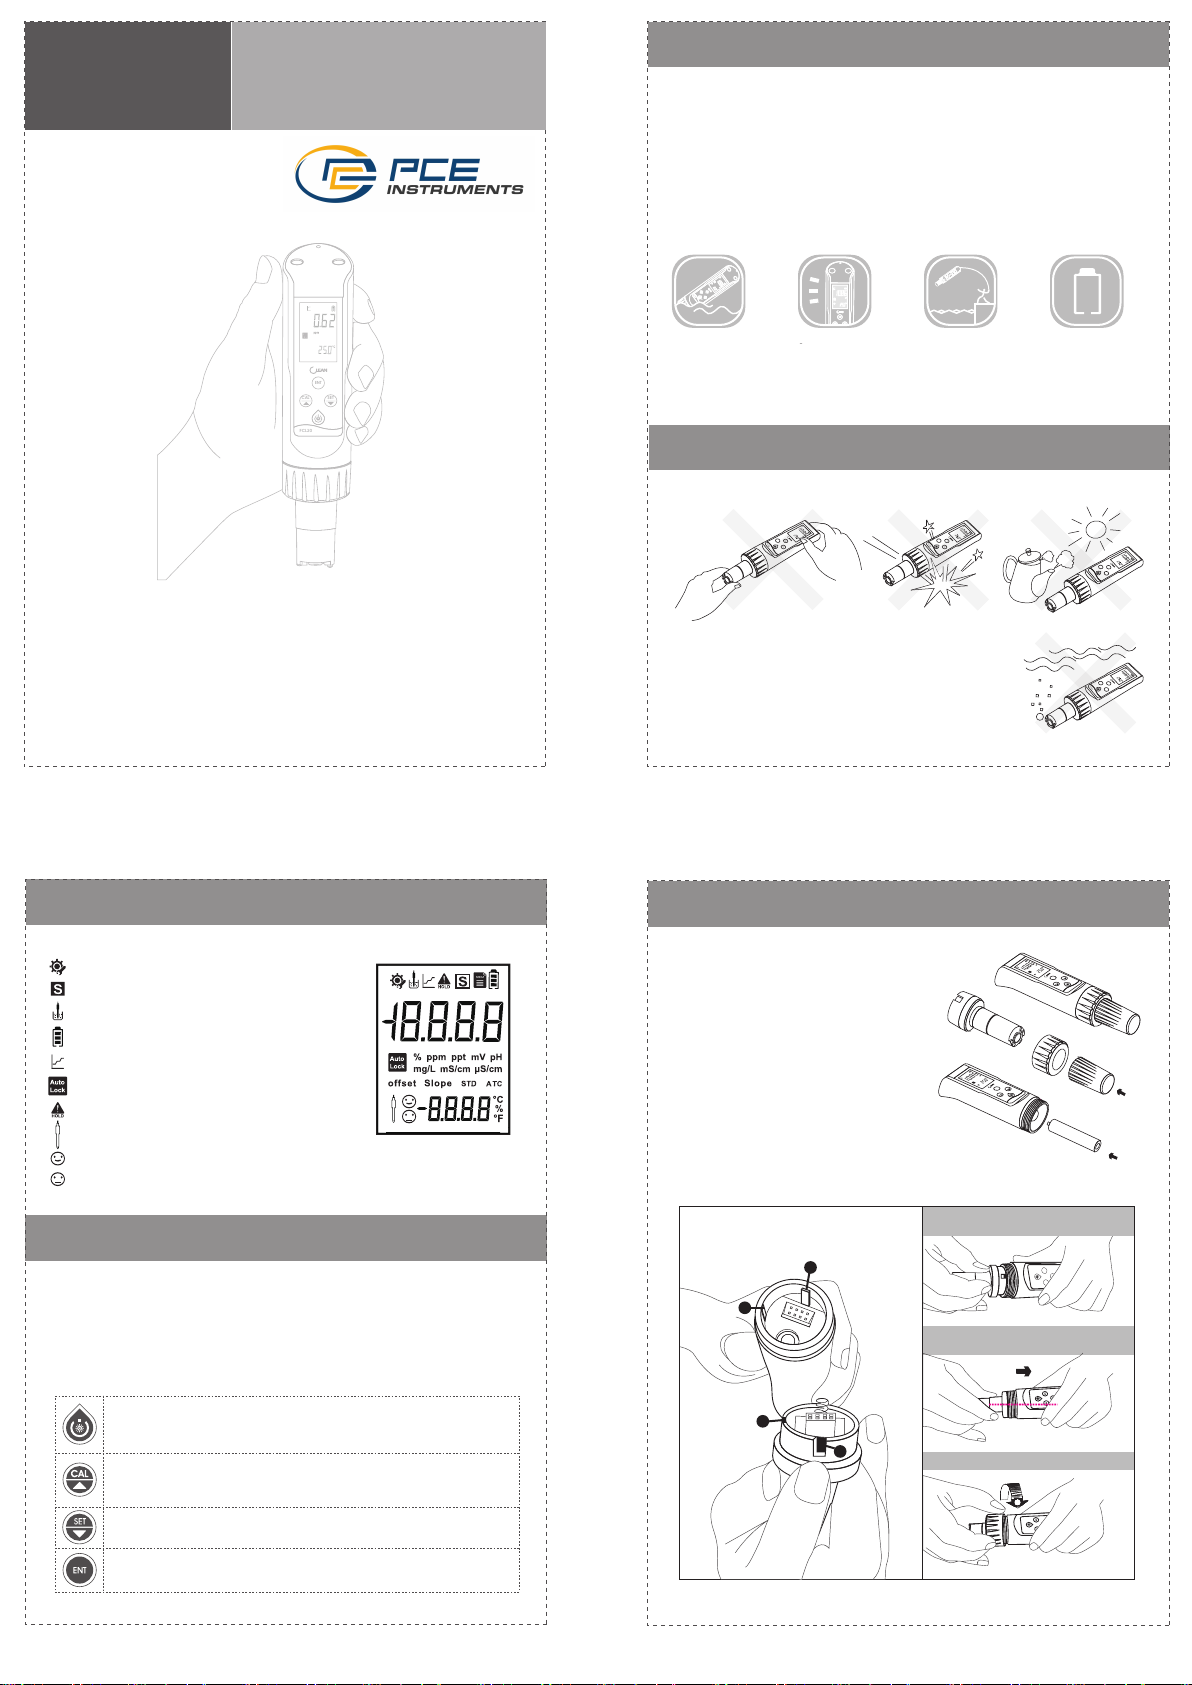
FCL30
ENT
SETCAL
Operation
PH30
ENT
SET
CAL
ENT
SET
CAL
Manual
TABLE OF CONTENTS
Free Chlorine tester
PCE
-CHT 10
1. Product Overview
Precise and easy operation, Comfortable holding, all functions operated in one hand.
●
Large LCD with backlight, Multi-line display for easy reading, Auto-Power Off saves battery after
●
5 mins non-use
1*1.5V AAA long battery life, User replaceable battery and high-impedance plane electrode.
●
Floats on water, IP67 rated
●
Field throw measurement( Auto Lock Function)
●
Use tri-electroded method measuring: faster and accurate, matching up to DPD results.
●
2 points calibrate
●
CAL
ENT
PH30
SET
+
AAA
-
1.
Product Overview
2.
Precautions
3
CONFIGURATION and LCD INTRODUCTION
4.
Key Panel
5.
Battery and electrode installation
6.
Measurement Mode
7.
Calibration Mode
8.
Set up
9.
Parameters
10.
Package
11.
GENERAL INFORMATION
··············································································
··········································································
····························································
····································································
······················
········································································
··································
·······················································
····························································
····································································
···················································
3. CONFIGURATION and LCD INTRODUCTION
2
2
3
Floats on water
IP67 rated
Large LCD with
backlight
Multi-line display
for easy reading
Field throw
measurement
( Auto Lock Function)
1*1.5V AAA
long battery life
3
4
5
2. Precautions
5
6
7
7
CAL
ENT
PH30
SET
8
Please wipe up the electorde with clean tissue or cloth before using.
Do not throw or beat ,squash or twist the tester deliberately.
Do not expose to the direct sunlight or put in high humidity or high
temperature environment .
Do not use for long time under water.
CAL
ENT
PH30
SET
CAL
ENT
PH30
SET
CAL
ENT
PH30
SET
-2-
5. Battery and Electrode installation
Set up
Data stabilized
Calibration Mode
Low battery indicator
Measurement mode
Auto Lock function
Auto Lock after data stabilized
In calibration
Sensor slope is between 50%-200%
Sensor slope is between 33.3%-50% or 200%-300%
4. Key panel
Key instruction
Short press: Short press means release the key once after pressing.
Long press: Long press means press the key for 3 seconds and then release it
Hold: Hold means not release the key and accelerate after a certain time. Not release the key
until the value is set as needed.
(If there is no mark out below, default it as Short press)
Long press to Power ON/OFF
Short press to ON/OFF backlight
Escape key when in calibration mode and setting up
Calibration key when in measurement mode
Long press to enter into parameter browsing
Increment values or scroll through the next options available
Data setting
Decrement values or scroll through the next options available
Confirm key
Press to unlock in Auto lock mode
Unscrew the screw cap by following the
arrow direction, slightly unplug the
electrode, install the battery(pay attention
to the anode and cathode of the
electrode).
Then install back the electrode and the
screw cap.
Low battery prompt is at the top of the
screen when battery power is low.( You can
refer to the LCD INTRODUCTION). Please
change the same model battery.
Pay attention to the corresponding
bayonet position
2
1
1
2
SET
ENT
CAL
PH30
SET
ENT
CAL
PH30
+
AAA
1.Align the bayonet according
to the corresponding position
CAL
ENT
SET
2.After aligning the bayonet,
gently push it along the axis
Axis
3. Screw the fixing cap tightly
+
-3- -4-
Page 2
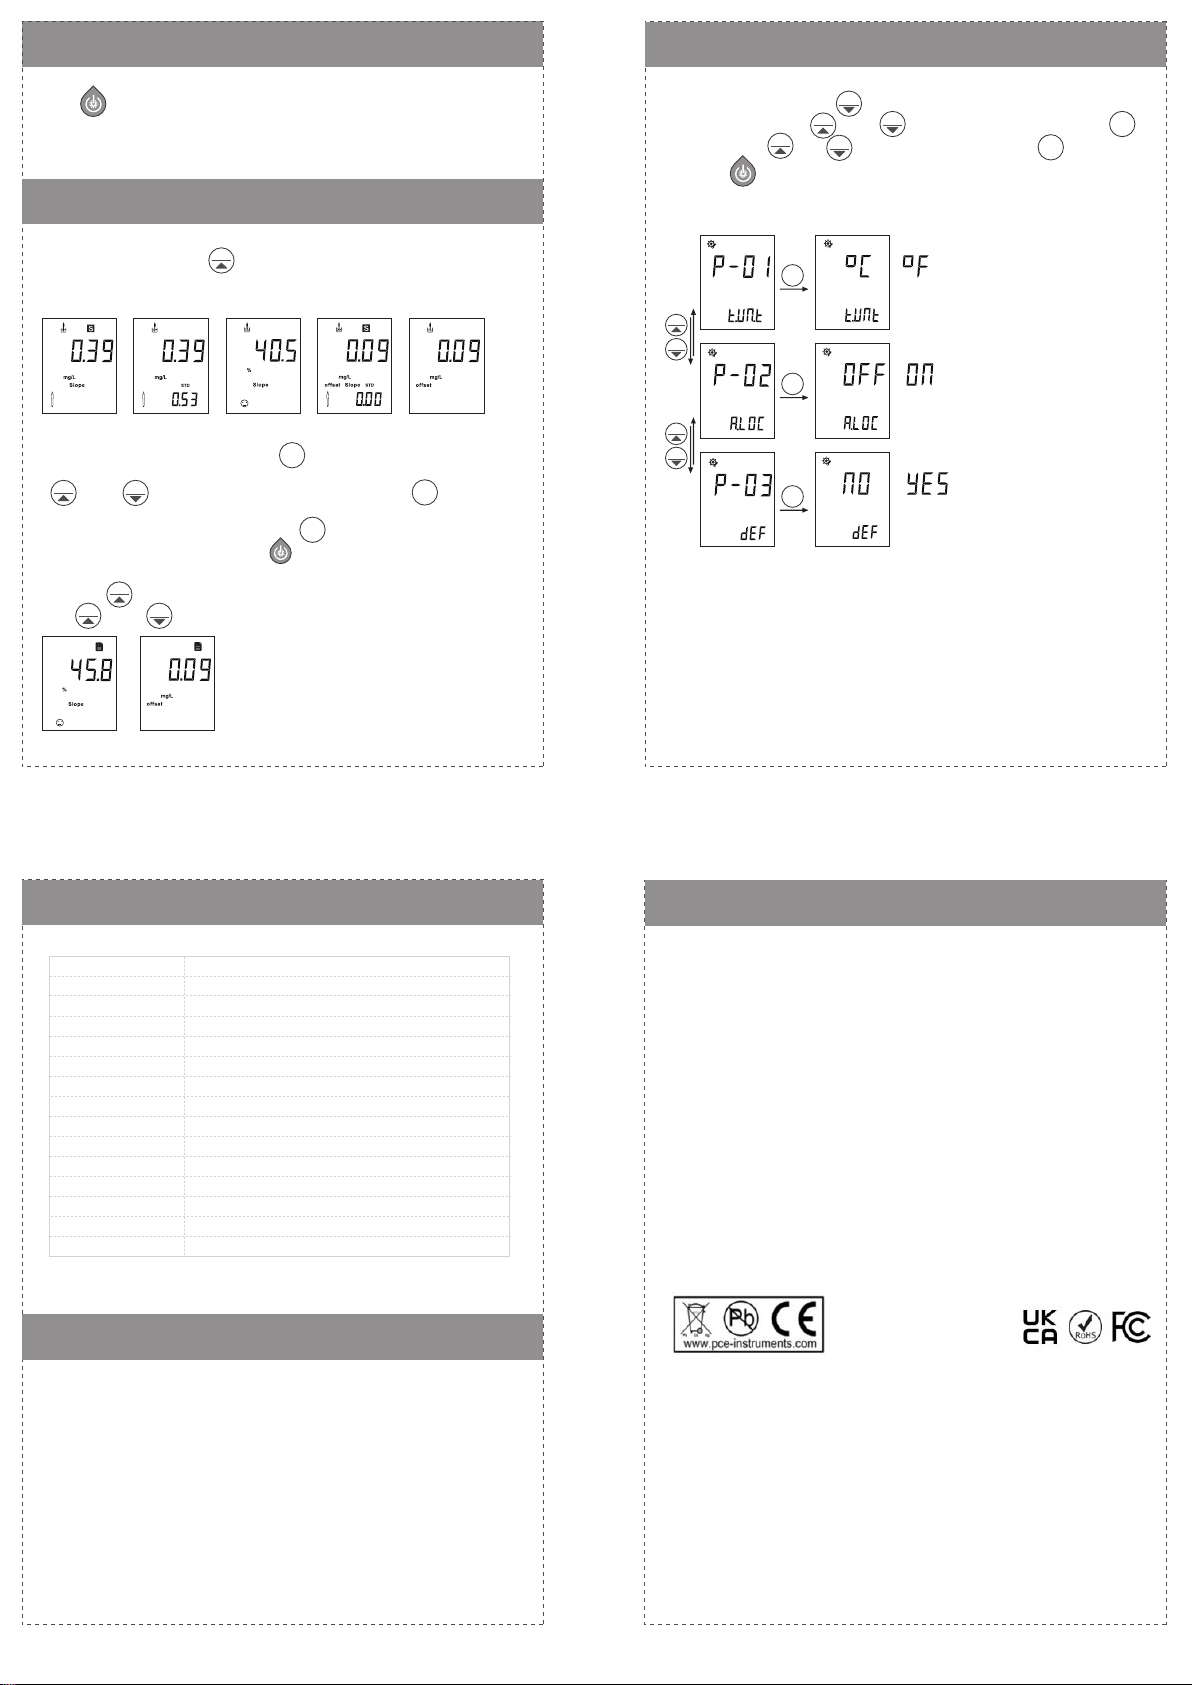
6. Measurement Mode
8. Set up
Press ” ” to power up. The tester will then enter into measurement mode.
The measurement icon will twinkle if the data is unstabilized. Once stabilized, the top
stabilized icon will be displayed then.
7. Calibration Mode
In measurement mode, press“ ” to enter calibration mode. Prompting icons will be
displayed on the screen. The PCE-CHT 10 adopts DPD comparative way to calibrate,
which also requires constant flow rate.
Dip the electrode into the test solution, the stabilized icon will be displayed at the top of
the screen once the data stabilized. Press ” ” to confirm.
In Pic2, the screen will show STD. The standard value for calibration is at the below. Press
CAL
“ ” and “ ” to adjust the value as the standard and press ” ” to confirm.
The offset value will be shown after calibration (in Pic3). If wrong, the “ERR” will be
displayed. In Pic4, zero point calibration. Press ” ” to confirm and view the offset
value. In Pic5, you can also directly press” ” to skip calibration and go back to
measurement mode..
Long press“ ” to browse the calibrated parameters in measurement mode.
Press“ ” and “ ” to check the zero offset and the actual measurement value.
CAL
SET
CAL
SET
CAL
ENT
ENT
ENT
In measurement mode, press “ ” to enter SET UP. Corresponding icons will be
displayed. You can press ” ” and “ ” to select the menu and then press ” ”
to confirm. Press ” ” or “ ” to set up and confirm by press ” ”. You can
also press “ ” to back to measurement mode.
The Set up menu as follow:
CAL
SET
CAL
SET
P01: Unit of the temperature. You can select between °C and °F.
P02: Auto Lock. You can select “ON” or “OFF” to auto lock the data once stabilized.
P03: Factory defaults. You can select to revert to factory defaults.
CAL
SET
CAL
ENT
ENT
ENT
SET
SET
ENT
ENT
Range
Resolution
Accuracy
Temp. Range
Working Temperature
Calibration Point
LCD
Lock
Electrode
Auto backlight off
Auto power off
Power
Dimensions
Weight
Protection
-5- -6-
9. Specification
0 -10.00 mg/L
0.01 mg/L
±2% F.S.
0 - 100.0 °C / 32 - 212 °F
0 - 60.0 °C / 32 - 140 °F
2 points
20* 30 mm multi-line crystal display
Auto / Manual
CS5930
1 minutes
20 minutes without key be pressed
1x1.5V AAA battery
(H×W×D) 185×40×48 mm
95g
IP67
10. Package
11. GENERAL INFORMATION
Contact
If you have any questions, suggestions or technical problems, please do not hesitate to contact us.
You will find the relevant contact information at the end of this user manual.
Disposal
For the disposal of batteries in the EU, the 2006/66/EC directive of the European Parliament
applies. Due to the contained pollutants, batteries must not be disposed of as household waste.
They must be given to collection points designed for that purpose.
In order to comply with the EU directive 2012/19/EU we take our devices back. We either re-use
them or give them to a recycling company which disposes of the devices in line with law.
For countries outside the EU, batteries and devices should be disposed of in accordance with your
local waste regulations.
If you have any questions, please contact PCE Instruments.
1 x PCE-CHT 10 chlorine Tester
1 x 1.5V AAA battery
1 x instruction manual
-7- -8-
Page 3
-9-
 Loading...