

Page 1
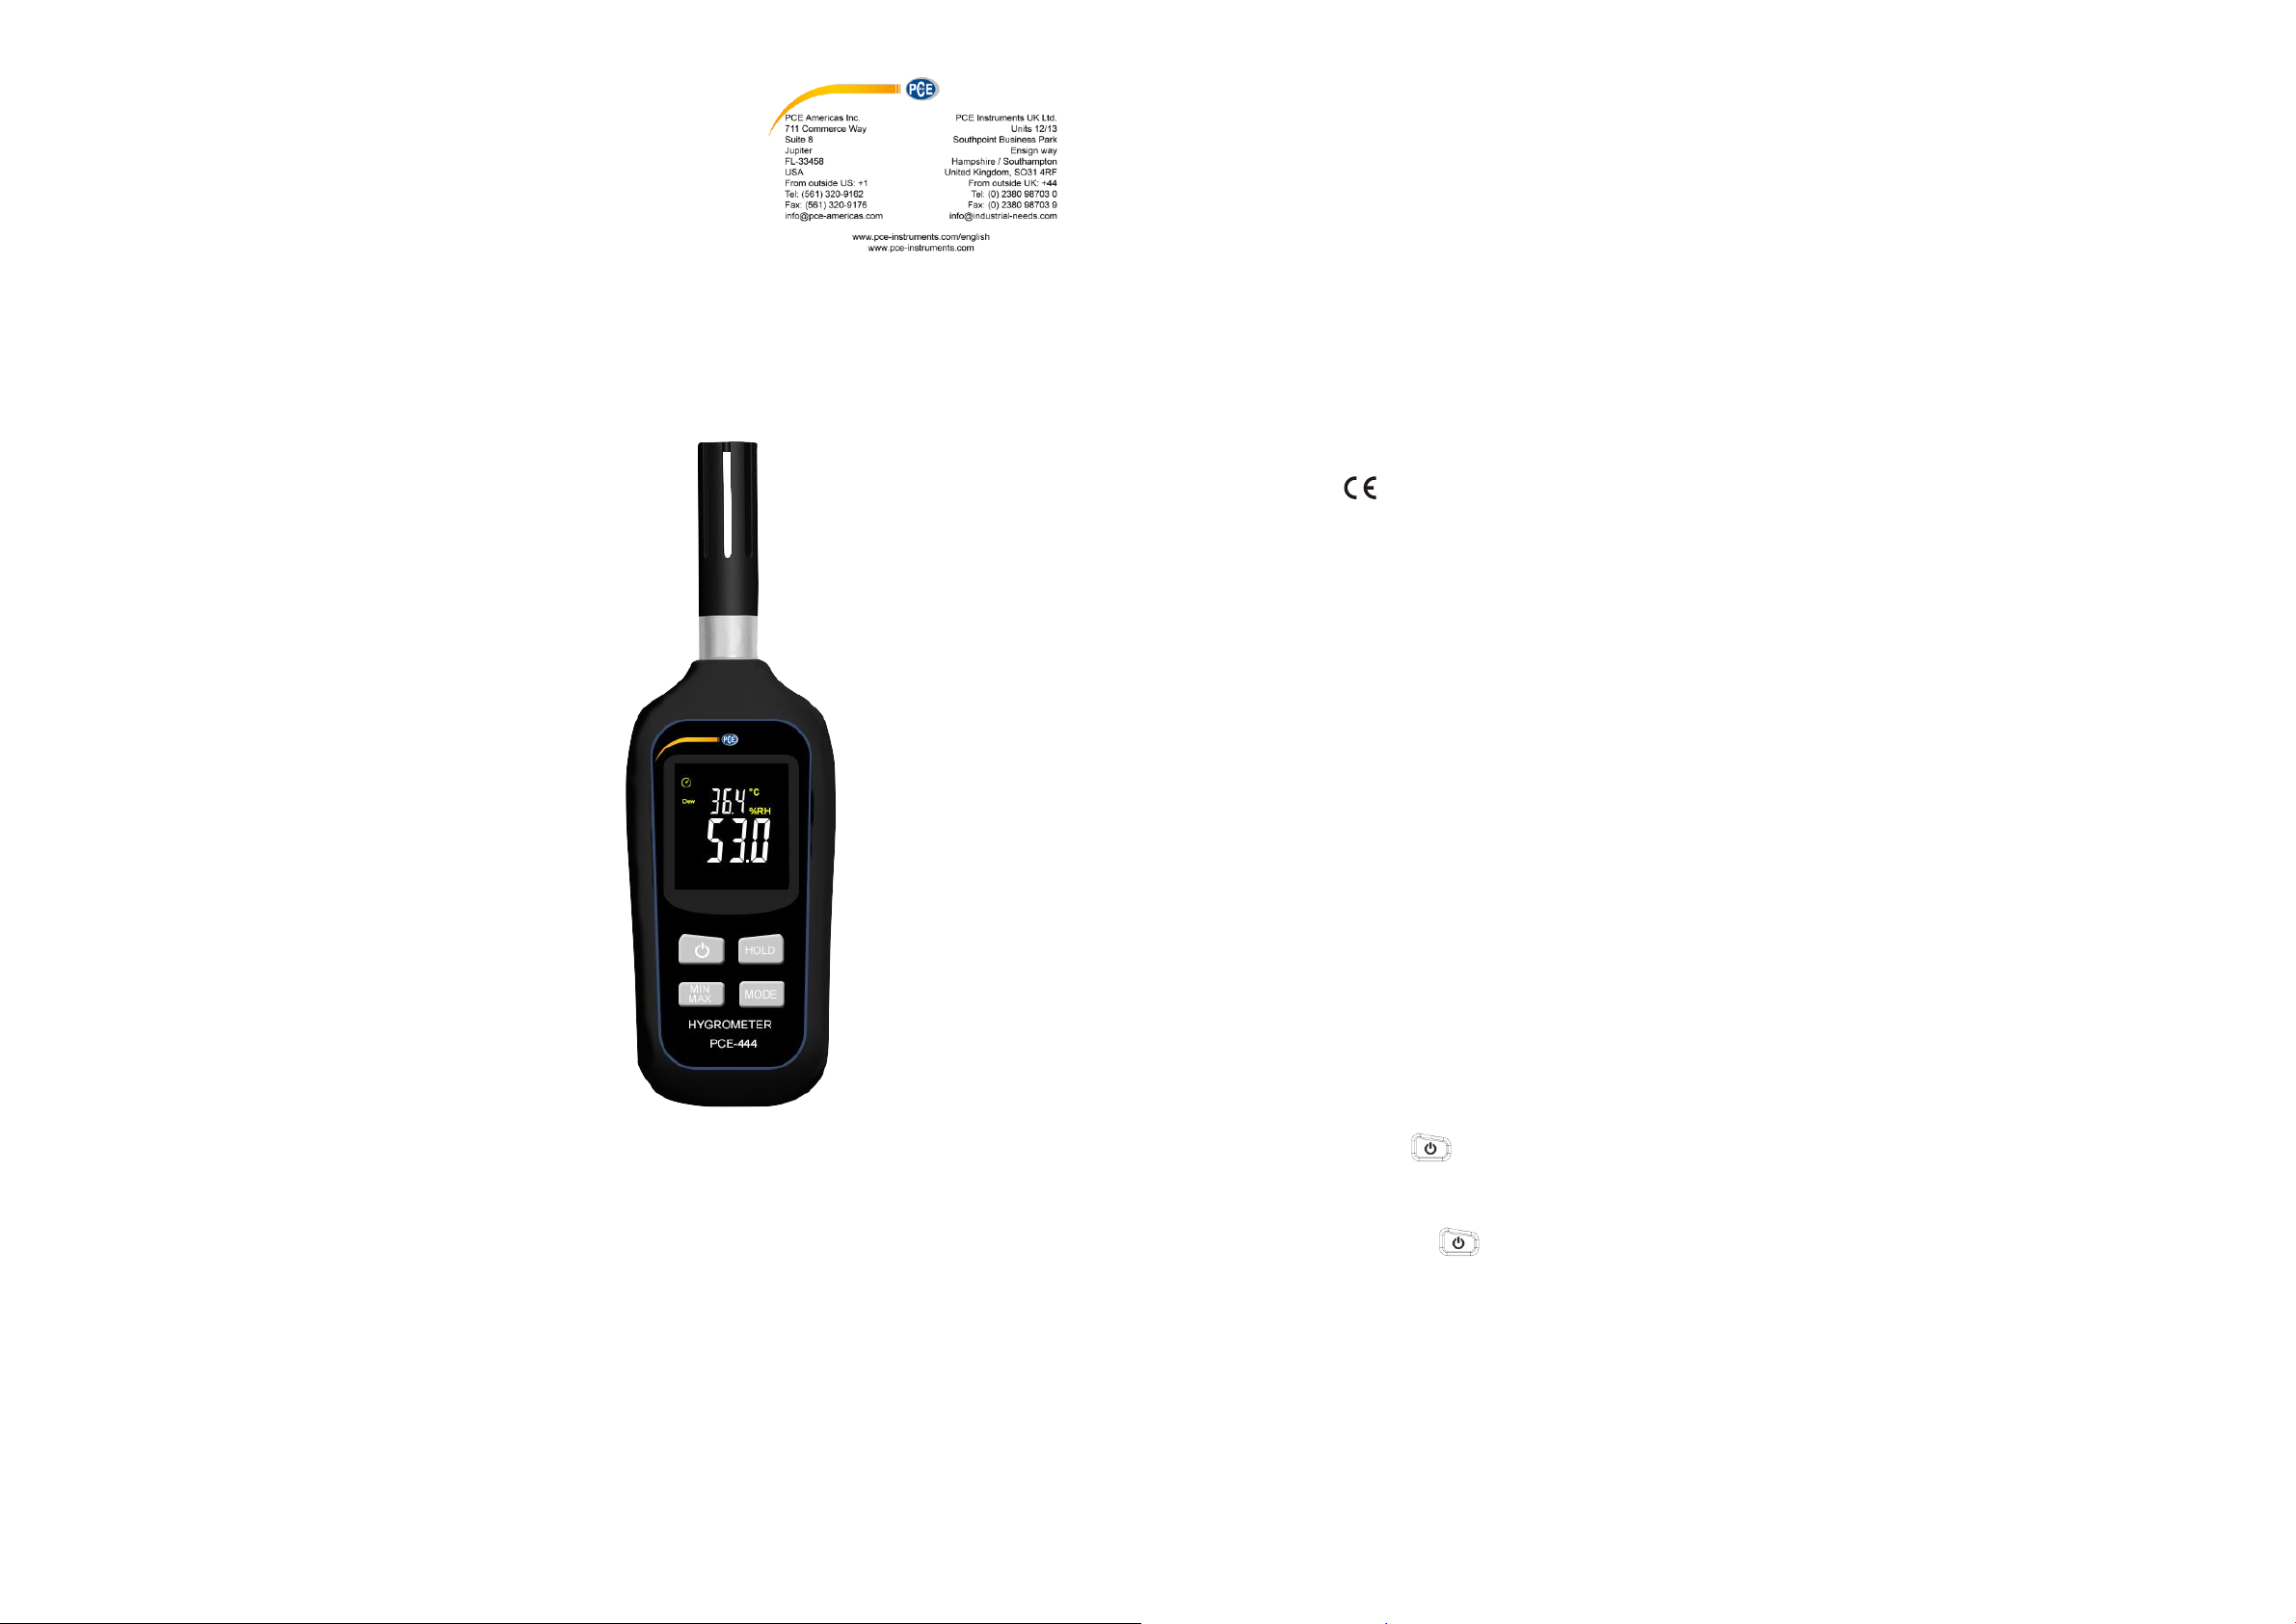
Manual
Climate Meter
PCE-444
1. Safety
Read the following safety information carefully before attempting to operate or service the meter.
Use the meter only as specified in this manual; otherwise, the protection provided by the meter
may be impaired.
▲ Environment conditions:
1. RH ≤ 90RH%(Non-condensation)
2. Operating temperature:-20℃~60 ℃/-4℉~140℉
▲ Maintenance
1. Repairs or servicing not covered in this manual should only be performed by
qualified personnel.
2. Wipe the unit with a dry soft cloth periodically. Do not use abrasives or solvents
on this instrument.
▲ Safety symbol:
Comply with EMC
2. Introduction
The Humidity & Temperature Meter is designed with a high accuracy humidity &
temperature sensor, providing high accuracy, fast response and stable readings. It is widely used
for monitoring and collecting data of environment temperature and humidity. This meter is widely
used for measurement of temperature and humidity of room, metro, library, commercial center,
communication center room, etc.
3. Features
➢ Imported high accuracy humidity &temperature sensor ,high accuracy, fast response
➢ Color LCD display with backlight
➢ Temperature unit selection:℃/℉
➢ MAX/MIN
➢ HOLD
➢ Dew point temperature
➢ Wet bulb temperature
➢ Enable/Disable auto power off
➢ Over range indication
➢ Low battery indication
4. Basic Operation
1. Open battery cover and install 3*1.5V AAA batteries in the battery compartment.
2.Power on: press“ ”to power on,the meter conducts self-inspection, after LCD displays, it
measures temperature and humidity automatically.
3.After testing,press“ ”to turn off the meter.
Note: Remove the battery when the meter is to be stored for long periods of time to avoid battery
leakage.
Page 2
5. Specification
Humidity
Range:0~ 100%RH
Range
Accuracy
Resolution
45~75RH%
±3.0 RH%
0.1
Others
±4.5 RH%
Temperature
Range
Accuracy
Resolution
-20℃~70℃/-4℉~158℉
±1.0℃/±1.8℉
0.1
Dew point temp.
20℃~70℃ /-4℉~158℉
±1.5℃/±2.7℉
0.1
Remark: Accuracy is based on environment condition of 25℃;
40 RH%~100 RH%
Wet bulb temp.
20℃~70℃/ -4℉~158℉
±1.5℃/±2.7℉
0.1
Data update
0.5S
Enable/disable
auto power off
The meter shuts off automatically after 15 minutes inactivity under auto
power off mode, disable auto power off is available
Operating conditions
-20℃~60℃/-4℉~140℉,10 RH%~90 RH%
Storage conditions
-20℃~60℃/-4℉~140℉,10 RH%~75 RH%
Power supply
3*1.5V “AAA” batteries
Battery life
at least 50 hours
Dimensions
168*56*30.5mm
Weight
75g
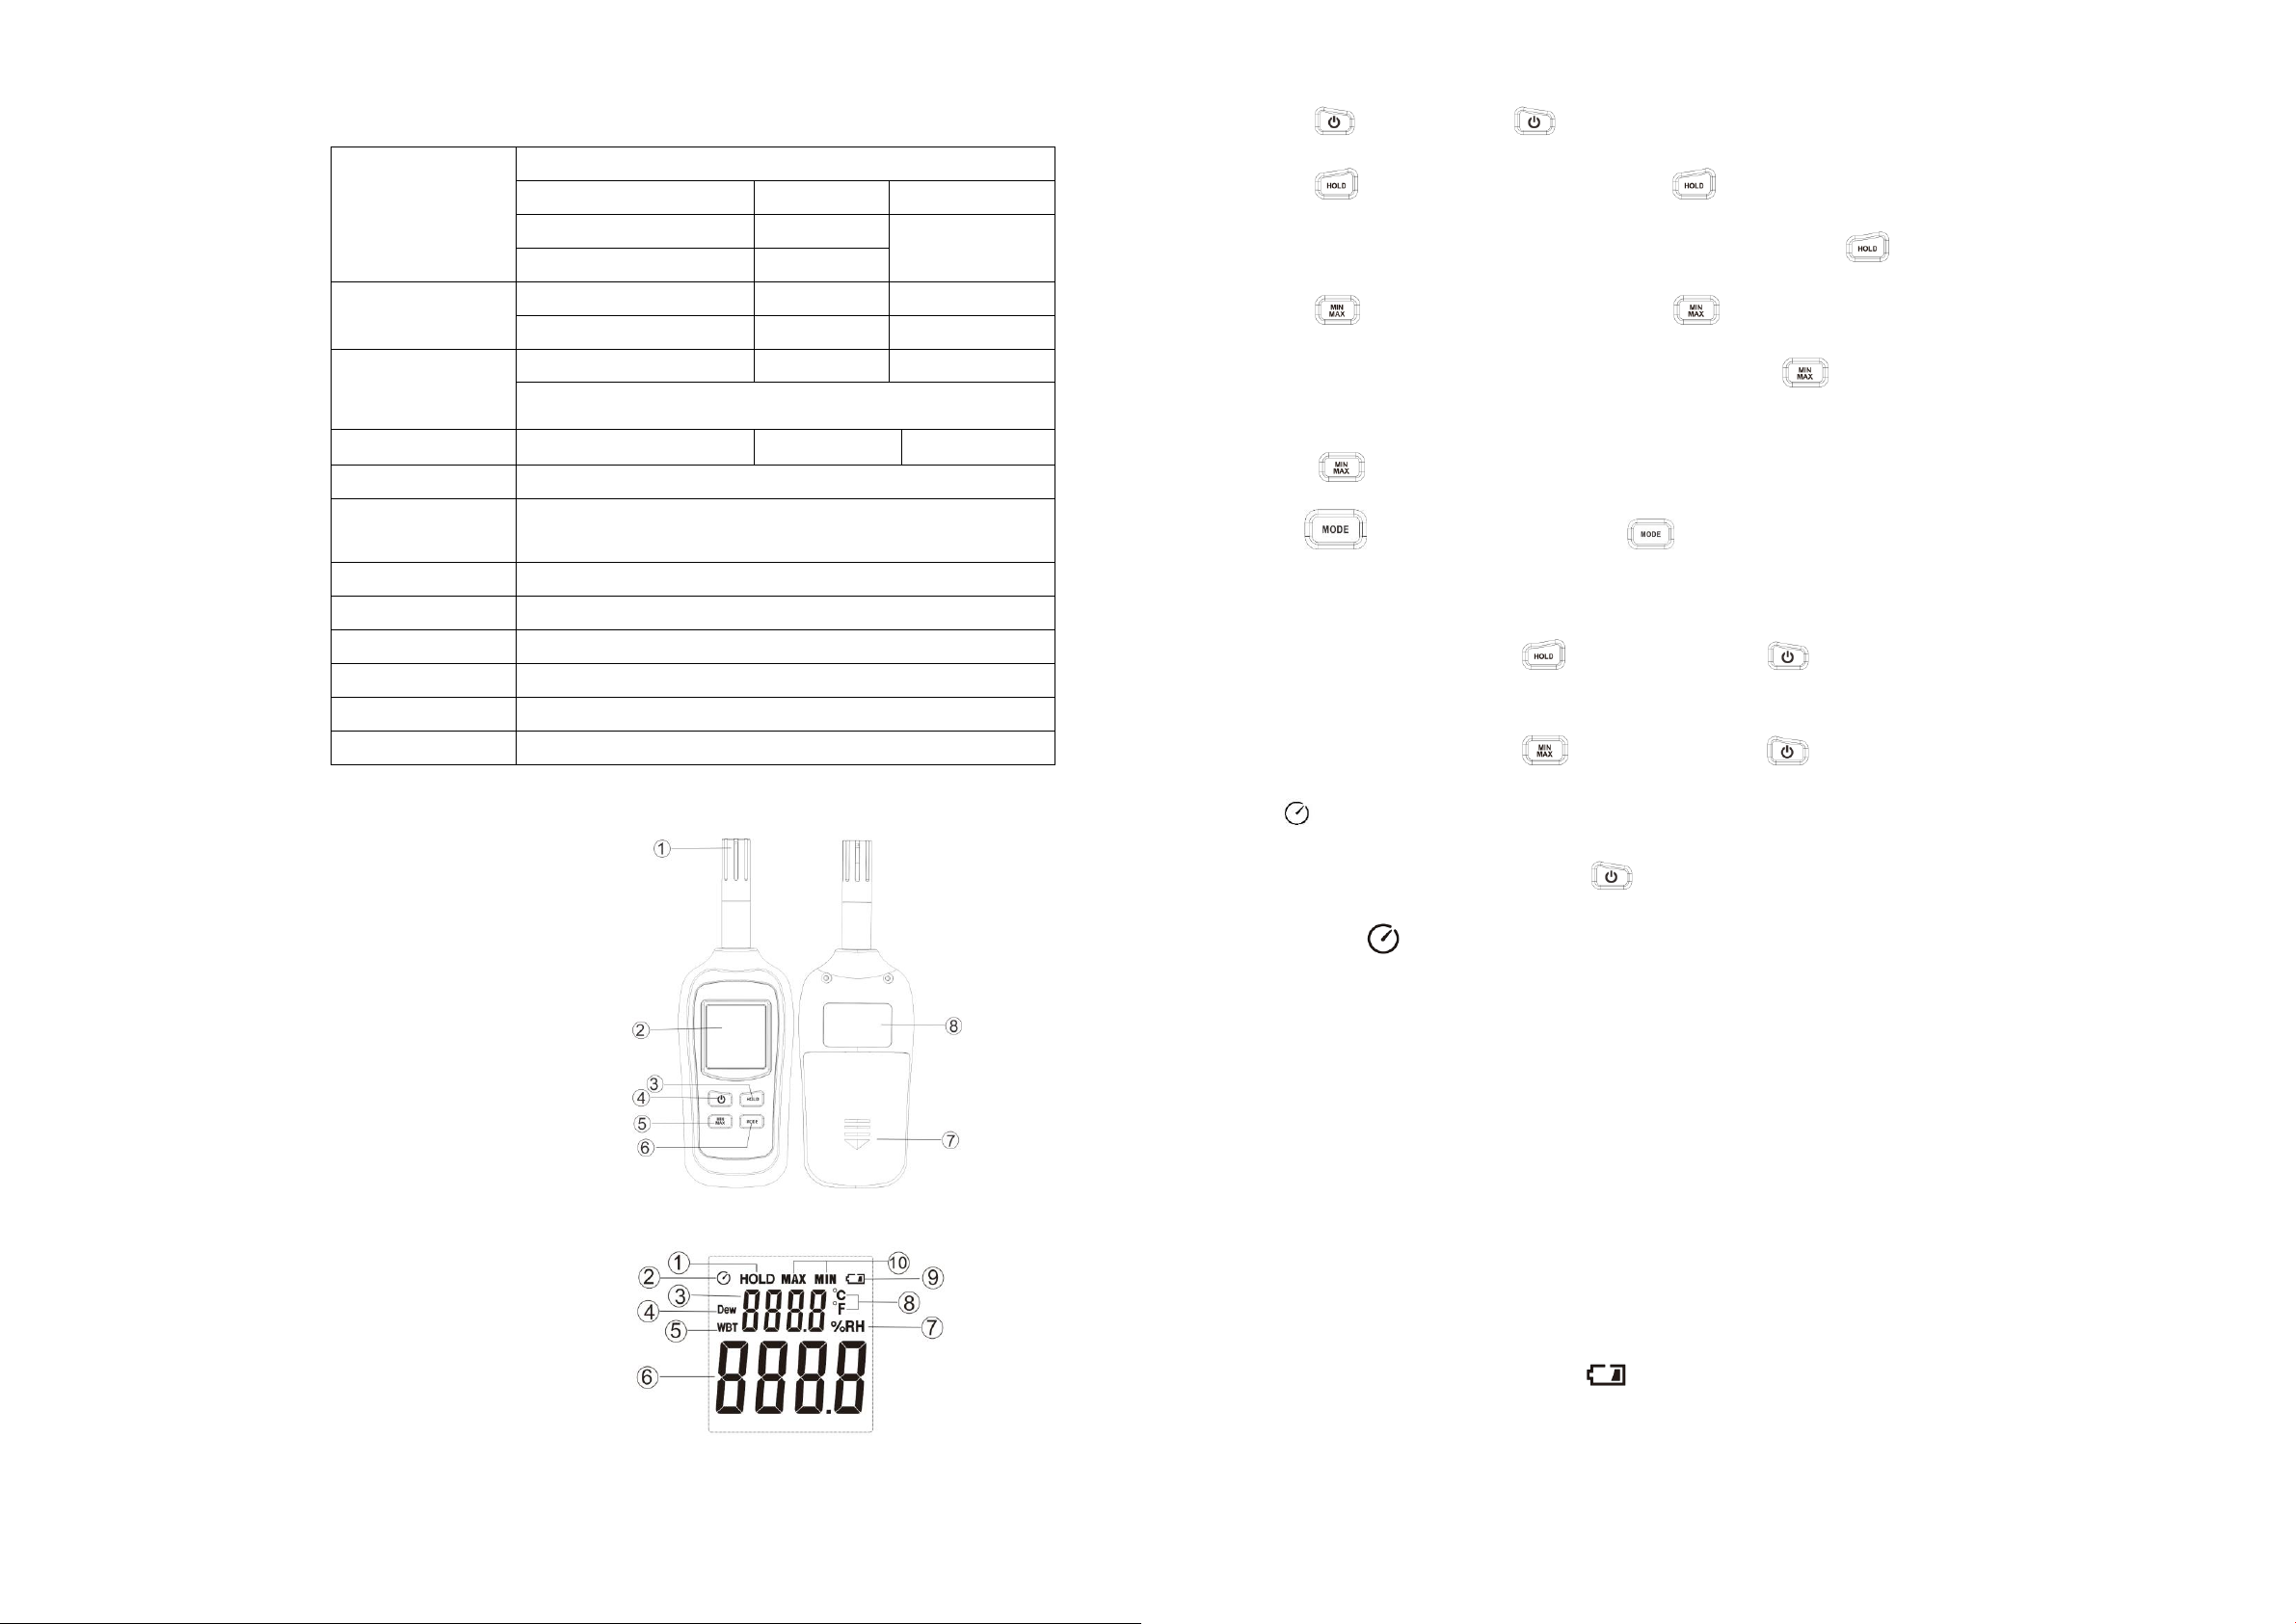
6. Meter description
①. Temperature and humidity sensor
②. Color LCD display
③. Hold button
④. Power on/off button
⑤. MAX/MIN button
⑥. Mode selection button
⑦. Battery cover
⑧. Nameplate
7. LCD display description
①. Data hold Icon
②. Auto power off Icon
③. Temperature reading
④. Dew point temperature units icon
⑤. Wet bulb temperature units icon
⑥. Humidity reading
⑦. Humidity unit icon
⑧. Temperature unit icon
⑨. low battery Icon
⑩. MAX/MIN
8. Operation instruction
8.1 power on/off;press“ ”to turn on/off the meter.
8.2 Data hold; In the measuring mode,press“ ”, “HOLD”Icon will appear on the
LCD, which indicates the data is freezed. To release the held reading,press“ ”again.
8.3 MAX/MIN; In the measuring mode,press“ ”, “MAX”will appear on the LCD,
the captured maximum readings will be displayed on the LCD, press“ ”again, “MIN”will
appear on the LCD and the captured minimum readings will be displayed on the LCD. Long
press“ ”,the meter exit MAX/MIN measurement mode and back to normal measuring mode.
8.4 key; with the meter on, press“ ”, it can select temperature, dew point
temperature and wet bulb temperature in turn.
8.5 Use of compound key;
8.5.1 With the meter off,press“ ”first and hold,then press“ ”to power on the meter,
it can change temperature unit(°C/°F),℃ is preset.
8.5.2 With the meter off,press “ ”first and hold,then press“ ”to power on the meter,
“ ”icon on the LCD display disappear, which indicates the power off functions is disabled. You
need to turn off the meter through pressing “ ”by manual.
Note: When“ ” icon displayed on the screen, it indicates that the meter will automatically turn
off after approx. 15 minutes of inactivity.
9. Notes
1. This meter has already been calibrated before delivery. Do not revise the calibration parameters
without professional personnel and device.
【Note】The unit has been calibrated before delivery. The recommended calibration period is
one year.
2. Repairs or servicing not covered in this manual should only be performed by qualified
personnel.
3. Wipe the unit with a dry soft cloth periodically. Do not use abrasives or solvent on this
instrument.
4. Remove the battery when the meter is to be stored for long periods of time to avoid battery
leakage.
5. When the battery is low.LCD display “ ”, a new battery is needed.
10. Accessories
1.User’s manual
2.1.5V AAA Battery
 Loading...