

Page 1

Net2 Entry
Demo case - Quick start guide
Page 2
Net2 Entry Demo Case
Quick Start Guide
Net2 Entry is the simplest door entry system on the market. A true plug and play
solution, Net2 Entry requires only three components, making it perfect for quick
and easy installation.
The Net2 Entry demo case is the ideal sales tool to show your customers all that
Net2 Entry has to oer:
• Simple security solution
• Intuitive touchscreen monitor
• Elegant and stylish design
• High quality audio and colour video
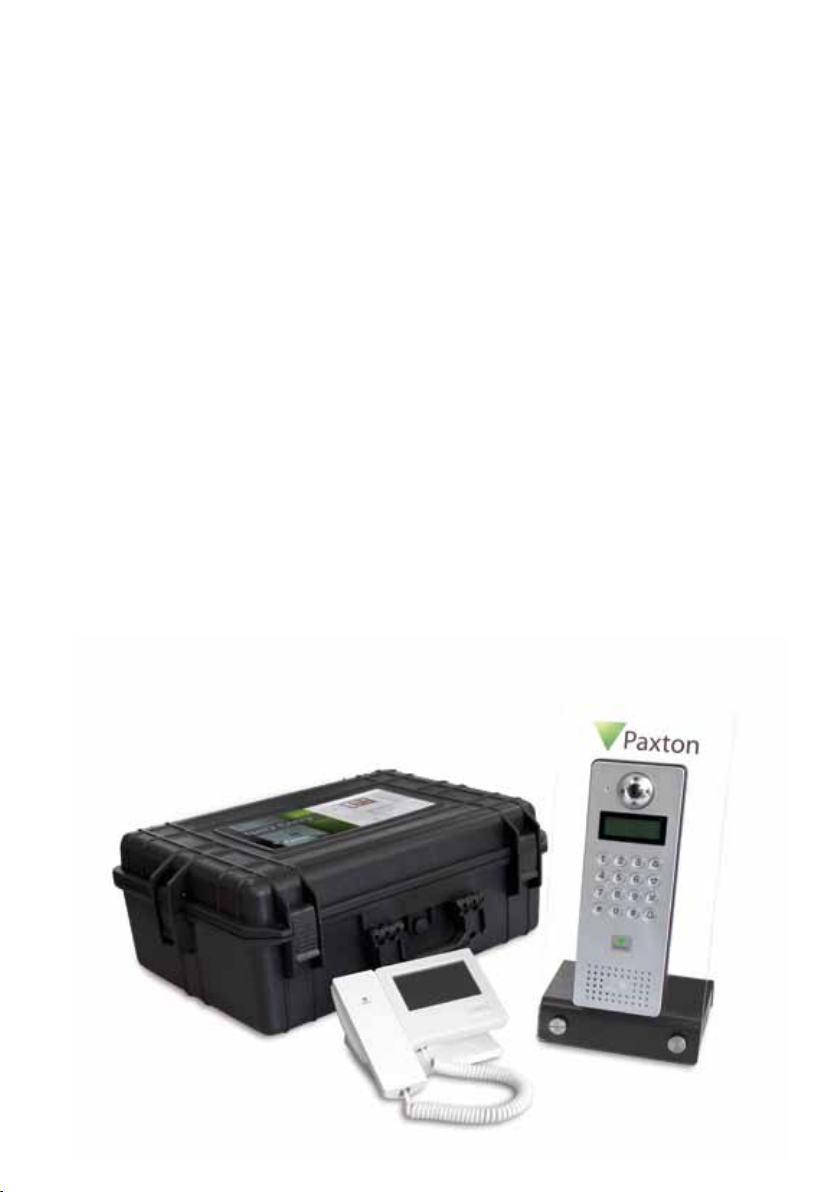
What’s in the box?
• Net2 Entry monitor on desk-mount stand
• Net2 Entry panel on display stand, with
integrated PoE switch
• Net2 token selection
• Power supply
• 2 x Cat5 cables
• Hands free option
• Robust and high security exterior panel
• Infrared camera for low light use
Page 3

1
2
Monitor
Panel
Step 1
Plug in Cat5 cable from
the panel into the base
unit PoE switch
PoE switch
Step 2
Plug in Cat5 cable from
the monitor into the base
unit PoE
3
Power cable
Step 3
Connect mains power
cable from base unit PoE
switch to wall socket
Page 4

Now you have wired up the Net2 Entry demo case,
what’s next?
• To make a call press on the panel
• Pick up the monitor handset to answer the call
• To answer the call hands free, press on the touchscreen
Answer
• To grant access simply press the button below the touchscreen
• When the button is pressed, the panel will run through a demo sequence,
imitating a real life installation. The following messages will appear on the
panel display:
- Door unlocked
- Door open
- Door closed
- Door locked
• For additional help, press on the touchscreen monitor, or follow the
?
Help
links to instructions below
Full instructions and specications can be found on our website. Please visit the following links:
http://paxton.info/1872 - Net2 Entry control unit
http://paxton.info/1873 - Net2 Entry panel
http://paxton.info/1874 - Net2 Entry monitor
ins-30205
www.paxton.co.uk 01273 811011
support@paxton.co.uk
 Loading...