

Page 1
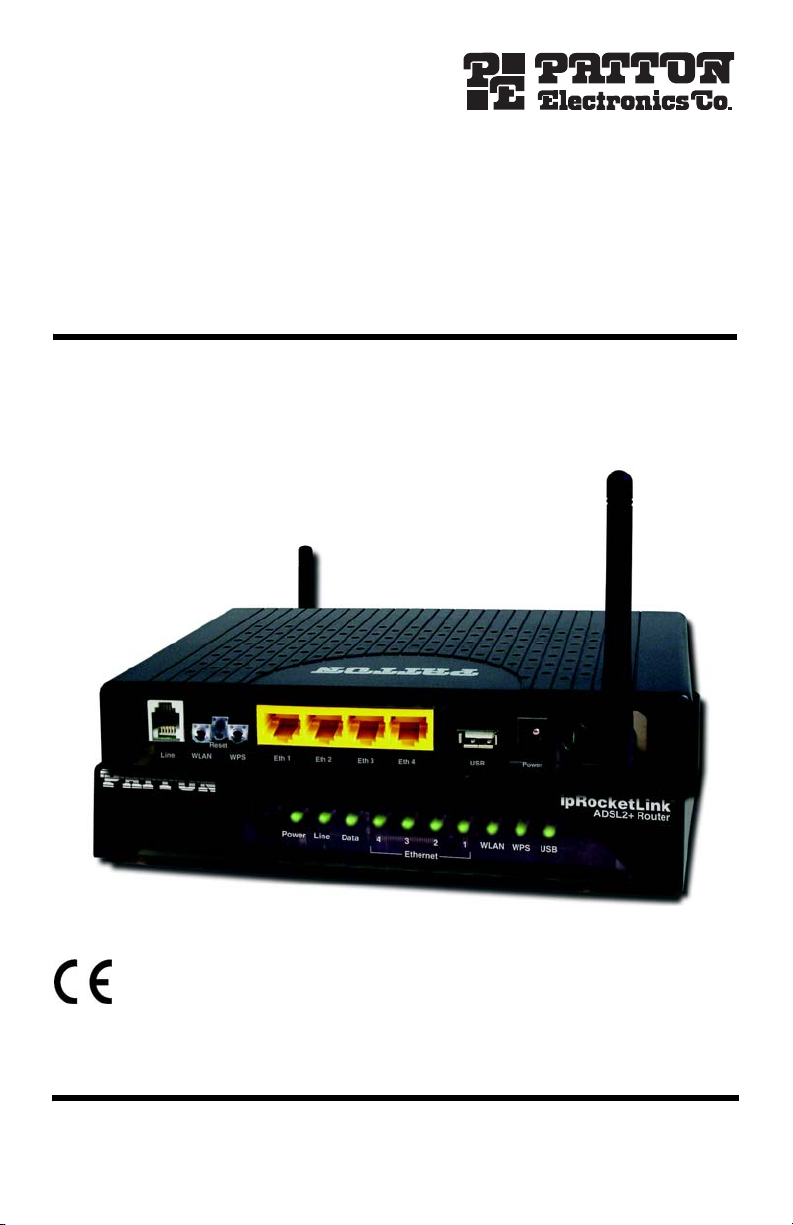
ipRocketLink™ Model 3101 Series
ADSL2/2+ Router
Quick Start Guide
Important
dential environment. It is not intended for use in a heavy industrial environment.
Part Number: 07M3101-QS, Rev. B
Revised: September 23, 2011
—This is a Class B device and is intended for use in a light industrial (commercial) or resi-
Sales Office: +1 (301) 975-1000
Technical Support: +1 (301) 975-1007
E-mail: support@patton.com
WWW: www.patton.com
Page 2
WARNING
• Do not open the device when the power cord is connected. For systems without a power switch and without an external power
adapter, line voltages are present within the device when the power
cord is connected.
• For devices with an external power adapter, the power adapter shall
be a listed Limited Power Source The mains outlet that is utilized to
power the device shall be within 10 feet (3 meters) of the device,
shall be easily accessible, and protected by a circuit breaker in compliance with local regulatory requirements.
• For AC powered devices, ensure that the power cable used meets all
applicable standards for the country in which it is to be installed.
• For AC powered devices which have 3 conductor power plugs (L1, L2
& GND or Hot, Neutral & Safety/Protective Ground), the wall outlet
(or socket) must have an earth ground.
• For DC powered devices, ensure that the interconnecting cables are
rated for proper voltage, current, anticipated temperature, flammability, and mechanical serviceability.
• WAN, LAN & PSTN ports (connections) may have hazardous voltages
present regardless of whether the device is powered ON or OFF.
PSTN relates to interfaces such as telephone lines, FXS, FXO, DSL,
xDSL, T1, E1, ISDN, Voice, etc. These are known as “hazardous network voltages” and to avoid electric shock use caution when working
near these ports. When disconnecting cables for these ports, detach
the far end connection first.
• Do not work on the device or connect or disconnect cables during periods of lightning activity.
This device contains no user serviceable parts. This device can only be
repaired by qualified service personnel.
WARNING
This device is NOT intended nor approved for connection to the PSTN. It
is intended only for connection to customer premise equipment.
WARNING
In accordance with the requirements of council directive 2002/96/EC on Waste of
Electrical and Electronic Equipment (WEEE), ensure that at end-of-life you separate
this product from other waste and scrap and deliver to the WEEE collection system in
your country for recycling.
2 Model 3101 Series Quick Start Guide
Page 3

Electrostatic Discharge (ESD) can damage equipment and impair electrical
circuitry. It occurs when electronic printed circuit cards are improperly
handled and can result in complete or intermittent failures. Do the follow-
CAUTION
ing to prevent ESD:
• Always follow ESD prevention procedures when removing and replacing cards.
• Wear an ESD-preventive wrist strap, ensuring that it makes good
skin contact. Connect the clip to an unpainted surface of the chassis
frame to safely channel unwanted ESD voltages to ground.
• To properly guard against ESD damage and shocks, the wrist strap
and cord must operate effectively. If no wrist strap is available,
ground yourself by touching the metal part of the chassis.
1.0 Power up the router
1.1 Connect the AC adaptor
1. Connect the barrel-type connector of the AC adaptor to the Power connector on the ipRocketLink router.
2. Insert the male plug of the AC power cord into an AC power outlet (100–240 VAC).
1.2 Power up the 3101
1. Depress the On/Off switch on the rear panel of the 3101 if it is not already on.
2. The Power LED will glow when the unit is on. Wait 10 seconds before attempting to access the unit.
2.0 Configure the IP address
The ipRocketLink is shipped with a factory-configured IP address assigned to the Ethernet/LAN port. The address
is 192.168.1.1/24. The next section describes how to change the default LAN IP address.
2.1 Connect a PC and log in
1. Set your computer for DHCP.
2. Using an Ethernet cable, connect the PC’s Ethernet port to a LAN or Ethernet port on the 3101. The LAN/
Ethernet port is auto-MDIX (see figure 1).
Model 3101 Series Quick Start Guide 3
Page 4

PC
Power
Eth 1 Eth 2 Eth 3 Eth 4
Reset
Line
Ethernet port
Connect to LAN
or Ethernet port
Figure 1. Connecting the ipRocketLink to the PC’s serial port
2.2 Log in via web browser
1. Launch a Web browser on your computer.
2. Browse to “http://192.168.1.1” (the 3101’s default IP address).The login page displays.
3. Enter a username and password. The default superuser username and password are both admin. The
default operator/common username and password are both user. It is recommended to change these
default values after logging into the 3101 for the first time.
4. Click OK to login, or click Cancel to exit the login interface.
5. Click Advanced Setup > WAN to configure, modify, and remove WAN interfaces. Contact your ISP for
WAN configuration requirements.
4 Model 3101 Series Quick Start Guide
Page 5

3.0 Connect the ADSL port
1. Obtain a single-twisted-pair cable with an RJ-11 plug connector at each end.
2. Plug one end of the cable into the RJ-11socket labeled Line on the ipRocketLink Router.
3. Plug the other end of the cable into the RJ-11 wall socket that provides your DSL service.
4. When a DSL link is established, the front panel Line LED will turn on.
4.0 Additional Information
Refer to the Model 3101 Series Getting Started Guide located on the CD that shipped with the 3101 or online
at www.patton.com/manuals for detailed information about:
•
Installing, configuring, operating, and troubleshooting,
•
Warranty, trademark, & compliance
A.0 Customer and Technical Support
Toll-Free VoIP support: call sip:support@patton.com with a VoIP SIP phone
Online support: www.patton.com
E-mail support: support@patton.com—answered within 1 business day
Telephone support:
•
Standard: +1 (301) 975-1007 (USA), Monday–Friday: 8:00 am to 5:00 pm EST (1300 to
2200 UTC/GMT)
•
Alternate: +41 (0)31 985 25 55 (Switzerland), Monday–Friday: 8:00 am to 5:00 pm CET (0900 to 1800
UTC/GMT)
Fax: +1 (253) 663-5693 (USA) or +41 (0)31 985 25 26 (Switzerland)
Model 3101 Series Quick Start Guide 5
Page 6

B.0 Compliance Information
B.1 Compliance
EMC:
•
EN55022, Class A
•
EN55024
Safety:
•
IEC/EN60950-1, 2nd Edition
PSTN:
•
IEC/EN60950-1, 2nd Edition
B.2 CE Declaration of Conformity
Patton Electronics, Inc declares that this device is in compliance with the essential requirements and other relevant provisions of Directive 2004/108/EC relating to electromagnetic compatibility and Directive 2006/95/EC
relating to electrical equipment designed for use within certain voltage limits. The Declaration of Conformity
may be obtained from Patton Electronics, Inc at www.patton.com/certifications
The safety advice in the documentation accompanying this device shall be obeyed. The conformity to the above
directive is indicated by CE mark on the device.
B.3 Authorized European Representative
.
D R M Green
European Compliance Services Limited.
Avalon House, Marcham Road
Abingdon,
Oxon OX14 1UD, UK
6 Model 3101 Series Quick Start Guide
Page 7

Copyright statement
Copyright © 2011, Patton Electronics Company. All rights reserved.
The information in this document is subject to change without notice. Patton Electronics assumes no
liability for errors that may appear in this document.
Trademarks statement
The term ipRocketLink is a trademark of Patton Electronics Company. All other trademarks presented in this document are the property of their respective owners.
Warranty, Trademark, & Compliance Information
For warranty, trademark and compliance information, refer to the Model 3101 Series Getting Started Guide
located on the CD-ROM that came with your router or available online at www.patton.com.
Model 3101 Series Quick Start Guide 7
Page 8

NOTES
____________________________________________________________________
____________________________________________________________________
____________________________________________________________________
____________________________________________________________________
____________________________________________________________________
____________________________________________________________________
____________________________________________________________________
____________________________________________________________________
____________________________________________________________________
____________________________________________________________________
____________________________________________________________________
____________________________________________________________________
____________________________________________________________________
____________________________________________________________________
____________________________________________________________________
____________________________________________________________________
8 Model 3101 Series Quick Start Guide
 Loading...