

Paso Sound Products T3030DMA Operating Instructions And Service Manual
Series DMS
TT33003300DDMMAA
T3030DMA
Digital Music Amplifiers
© copyright Paso Sound Products, Inc.1999 Specifications are subject to change without notice
Innovation through technology since 1931
Manual
OOMM 115566
Operating Instructions
and Service Manual
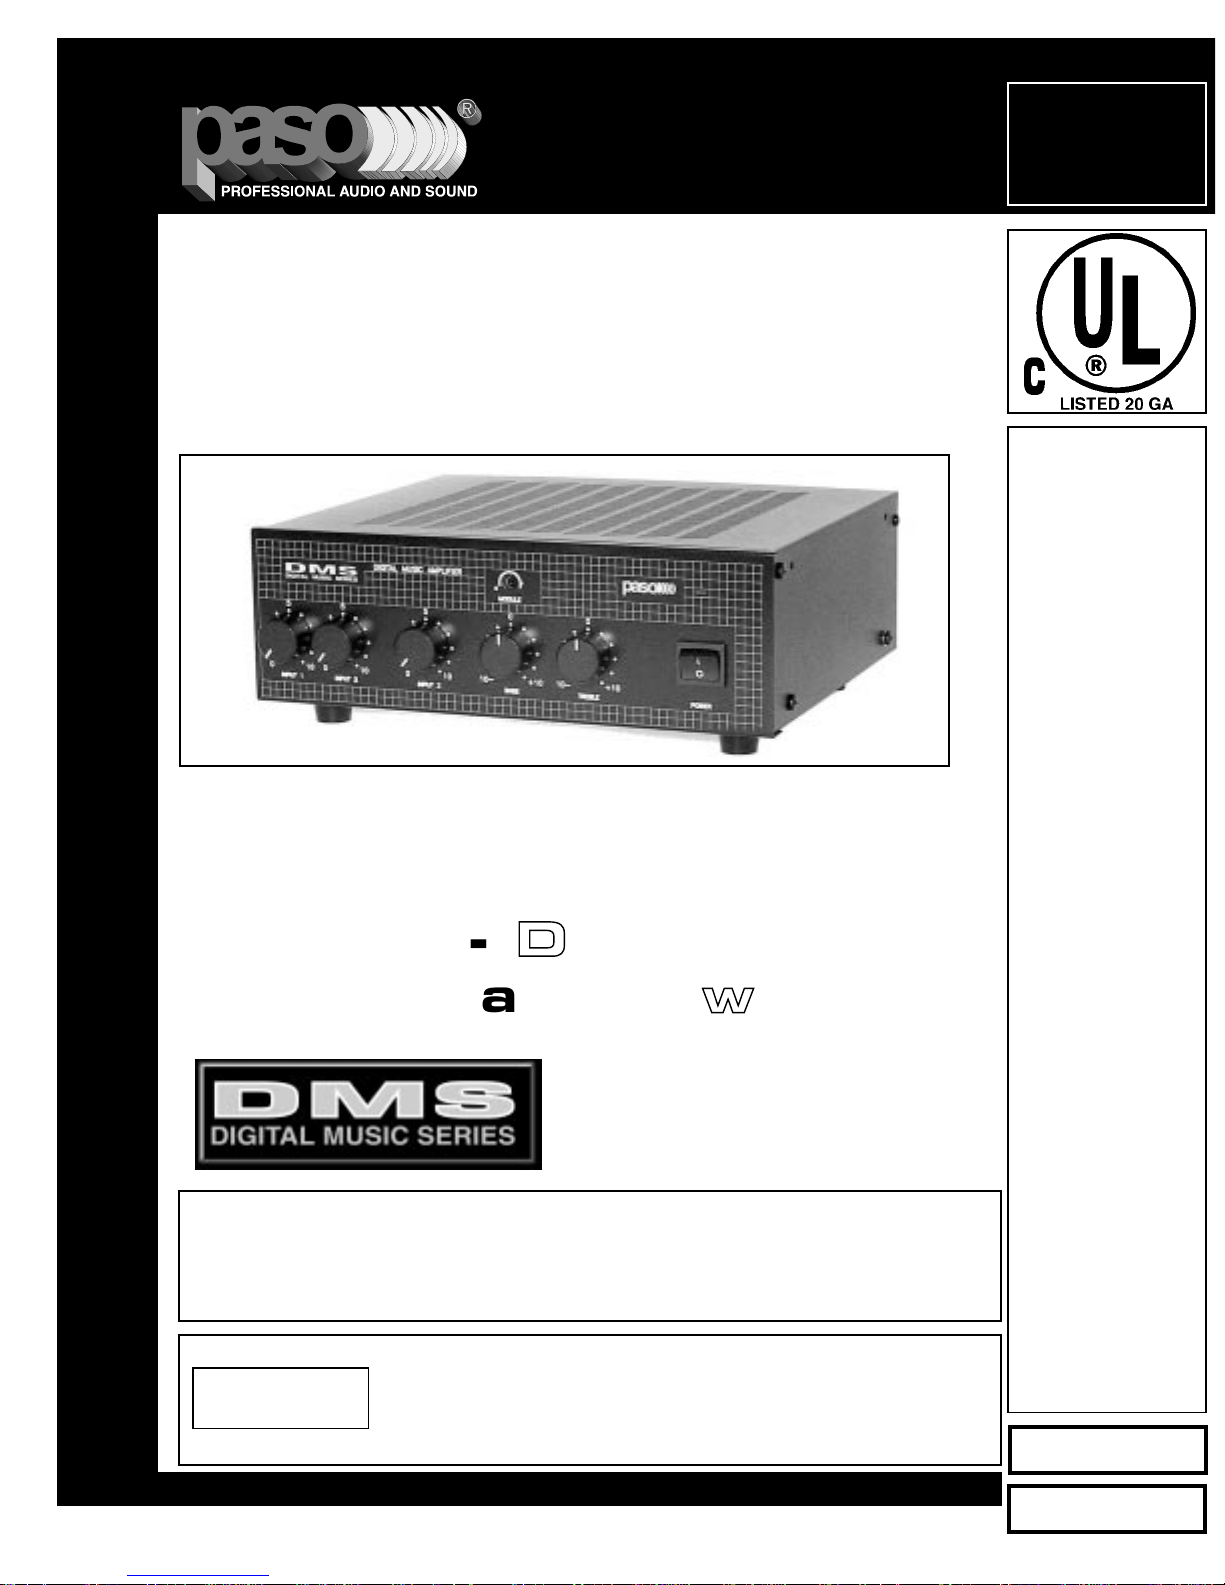
30 Watt - 3 Channel - 3 Zone
Digital Music Amplifier
TO REDUCE THE RISK OF FIRE OR ELECTRIC SHOCK DO NOT
EXPOSE THIS APPLIANCE TO RAIN OR MOISTURE
CAUTION !
MMOOHH -- DDUUAALL VVOOXX
AAccttiivvee MMaattrriixx SSwwiittcchhiinngg
REV. 1.0
IMPORTANT NOTE:
THIS OPERATING MANUAL IS PR OVIDED AS AN INSTALLATION AND
AS AN OPERATING AID. PASO SOUND PRODUCTS, INC. DOES NOT ASSUME ANY
RESPONSIBILITY AS TO ITS ACCURACY AND SHALL NOT BE LIABLE IN TORT OR CONTRACT FOR ANY DIRECT CONSEQUENTIAL OR INCIDENTAL LOSS OR DAMAGE ARISING FROM THE INSTALLATION, USE OR INABILITY TO USE THIS PRODUCT.
DESCRIPTION AND APPLICATIONS SPECIFICATIONS
PAGE 2
© copyright Paso Sound Products, Inc.1999 Specifications are subject to change without notice T3030DMA
Power Output:
Distortion:
Frequency Response:
Inputs:
Input 1
Input 2
Input 3
Sensitivity:
Input 1
Input 2
Input 3
Hum & Noise:
Telephone Input:
Input Impedance:
Music on Hold Output:
Zone 1 Output:
Zone 2 Output:
Output Impedance:
Controls:
VOX Relay:
Utility Power Supply:
Accessory Port:
EQ Link/Mix Buss:
Tone Control Action:
Muting/Precedence:
Power Requirement:
Power Consumption:
Terminations:
Housing Finish:
Dimensions:
Net Weight:
ACCESSORIES
Immediately upon receipt of the amplifier, inspect the unit
and shipping container for indications of improper handling
or in transit damage.The equipment was carefully inspected and tested before leaving the factory. Notify the
Transportation Company immediately if any damage is
found. ONLY THE CONSIGNEE CAN FILE A CLAIM WITH
THE CARRIER FOR DAMAGE DURING SHIPMENT. Be
sure to save the carton and packing material as evidence of
damage for the shipper inspection. DO NOT SHIP the unit
back to the factory unless authorized by the factory.
IN TRANSIT DAMAGES ARE NOT COVERED BY THE
PASO W ARRANTY.
30 Watt RMS
Less than 0.5% THD
20 - 20,000 Hz ± 1 db
Microphone/Telephone
Microphone/Program
Auxiliary/CD
Mic
=1 Mv,
Tel
=100 Mv
Mic
=1 Mv,
Program
=1 Volt
Aux
=200 Mv,CD=360 Mv
Mic
-65 db,
Aux
-75 db
600 ohm Transformer Balanced
Mic
= 250 ohm Bal.,
Tel
= 600 ohm Xfmer
Bal.,
Aux/CD
= 47 K ohm,
Program
= 10K
ohm Bal.,
1 Volt-600 ohm Balanced, 1 Watt-8 ohm
600 ohm-1 Volt, 8 ohm-1 Watt
8 ohm-1Watt
8 ohm, 25 Volt and 70 Volt line
Input 1 Volume, Input 2 Volume, Input 3
Volume, Module Level, Bass, Treble, Input 2
Attenuator, Zone 1 and Zone 2 Level
Controls
Normally Open and Normally Closed
Contact Terminals
24 Volt DC - 100 MA Regulated
Accepts Standard Module
Preamp out, Power Amp in
+/-10 db at 100 Hz and 10 K hz
Dual Vox (Voice Activated) System Direct
Muting with Selector, Inputs Priority Selector
117 Volt, 50-60 Hz
AC=100 VA
Screw Terminals, RCA Jacks
Black
10.5"W., 9.5"D., 3.5"H.
(267X242X89 mm)
11 Lbs
(5.0 Kg)
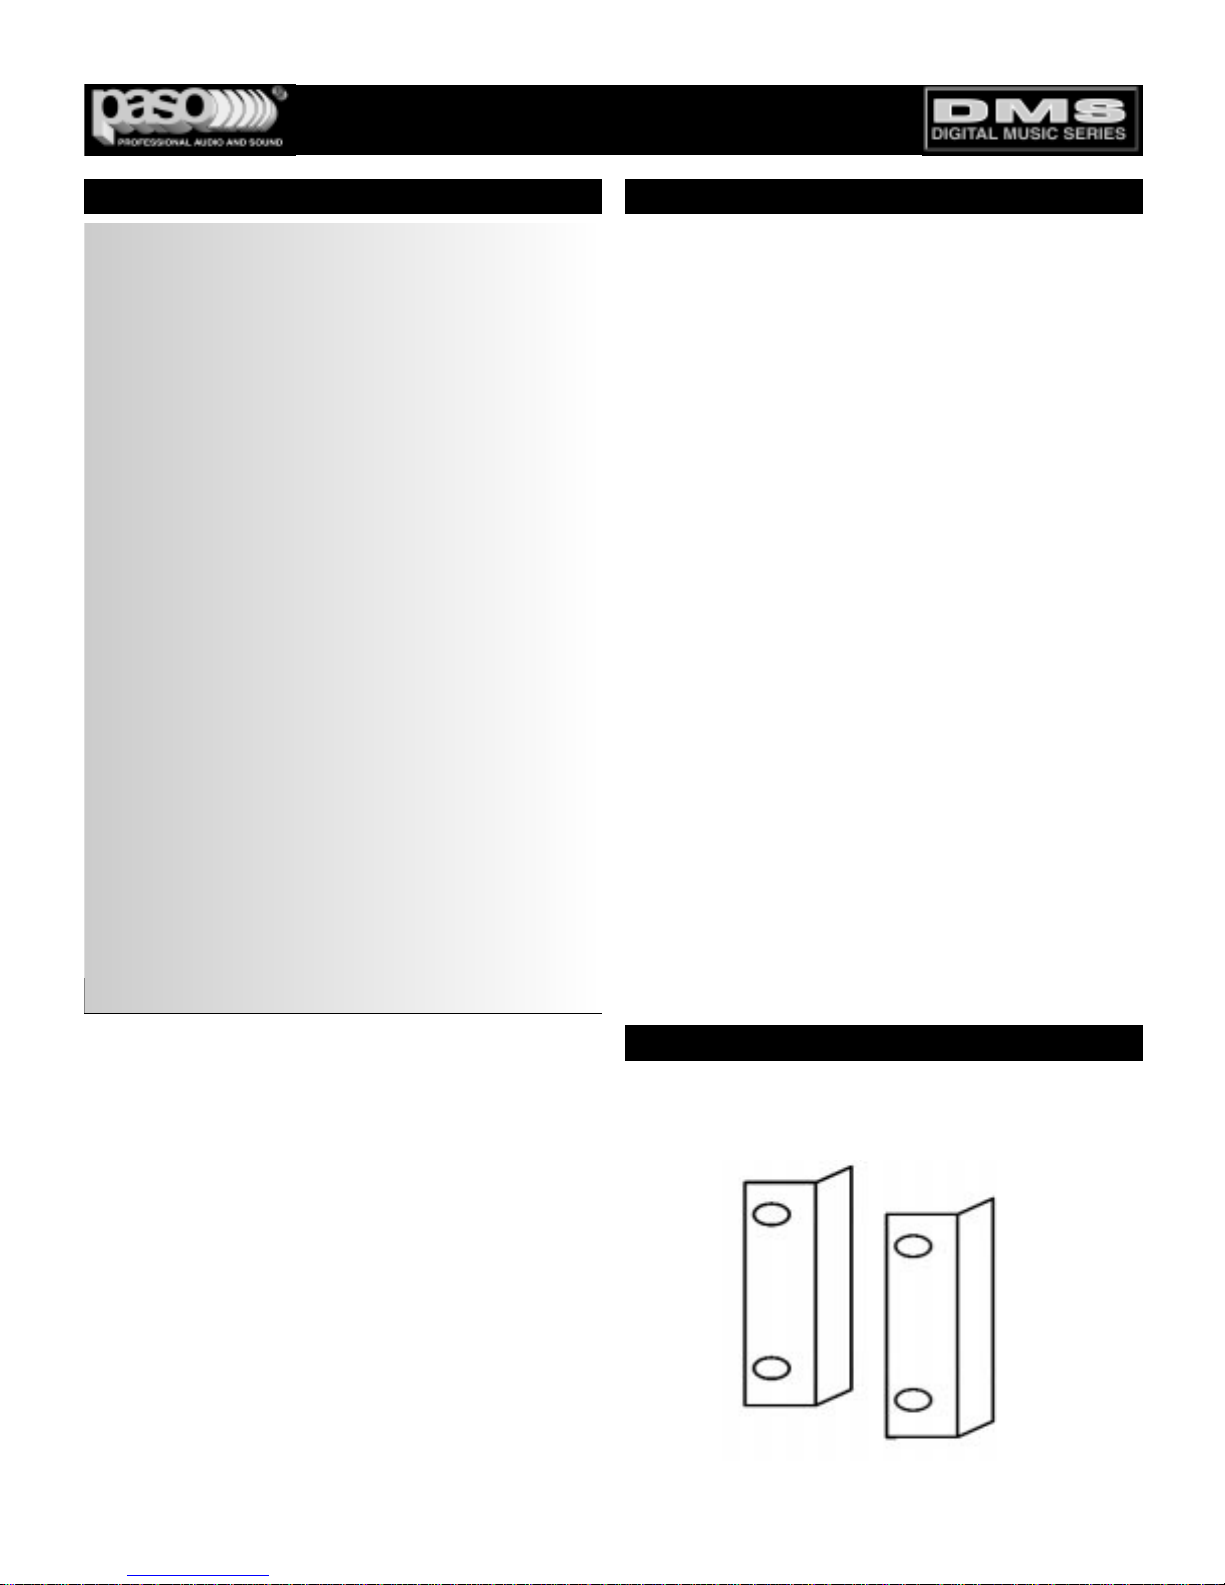
27/3500 - Standard 19” Rack Mounting Kit. Black finish.
Complete with hardware
qq
3 Channel Inputs - 3 Zone Outputs
qq
Wide Frequency Response
Very Low Distortion
qq
Microphone/Program Input
qq
Microphone/Telephone Input
qq
Transformer Balanced Phone Paging Input
qq
Satellite Receiver Input
With Variab le Attenuator
qq
Rear Panel Port Accepts Standard Module
qq
Auxiliary or CD Input with Stereo Summing
qq
Independent Input Controls
Bass and Treble Controls
qq
Input/Output EQ Link/Mix Buss
qq
Remote Master Volume
qq
Addressable Dual Vox System
qq
Separate Dual Vox Selector
qq
Direct Muting with Selector
qq
600 ohm and 8 ohm 1 Watt
Music on Hold Amplifier
qq
Zone 1 Amplifier, 1 Watt with Control
qq
Zone 2 Amplifier, 1 Watt with Control
qq
NO/NC VO X Relay T erminals
qq
24 V DC Regulated Utility
Power Supply Output
qq
Optional Pre-Paging Chime
qq
AC Accessory Outlet
qq
8 ohm, 25 Volt & 70 Volt Outputs
qq
Rack Mounting with Optional Kit
DIGITAL MUSIC AMPLIFIERS
OPERATING PRECAUTIONS SAFETY NOTES
PAGE 3
SPECIFICATIONS ARE SUBJECT TO CHANGE WITHOUT NOTICET3015/3030DMA
BEFORE OPERATING THE AMPLIFIER, BE SURE
YOU FULLY UNDERSTAND ALL INSTRUCTIONS
AND FEATURES OF THE UNIT.
DO NOT assume anything, read all instructions carefully.
DO NOT connect the amplifier to any power source
other than 120 volts 60 hz. (unless otherwise specified).
DO NOT tur n on the amplifier until all input and output connections have been made.
MOUNTING
ALWAYS PROVIDE GOOD VENTILATION FOR THE
AMPLIFIER.
Good ventilation allows air to flow under, around and
through the amplifier.
DO NOT mount amplifier into a container or a closed
unventilated closet while operating.
DO NOT place any object or accessor y equipment
such as Tuners, Mixers, Cassette Decks, etc.on top
of the amplifier.Obstructing or closing the cabinet
ventilation openings may cause overheating.
POWER AND GROUNDING
The amplifier is furnished with a three-prong plug as
a standard equipment. Connect the line cord to a
three-wire grounded outlet supplying 120 volts 60
Hz.. If a three-wire grounded outlet is not available,
use a standard two wire adapter.Be sure that the
adapter grounding pigtail is connected to the screw
securing the outlet wall plate.
NEVER defeat the grounding feature of the AC line
cord.
NEVER replace fuses unless power cord is removed
from the AC wall outlet.
NEVER install accessories unless the power cord is
removed from the AC wall outlet.
TO REDUCE THE RISK OF FIRE OR
ELECTRIC SHOCK DO NOT EXPOSE
THIS APPLIANCE TO RAIN OR MOISTURE
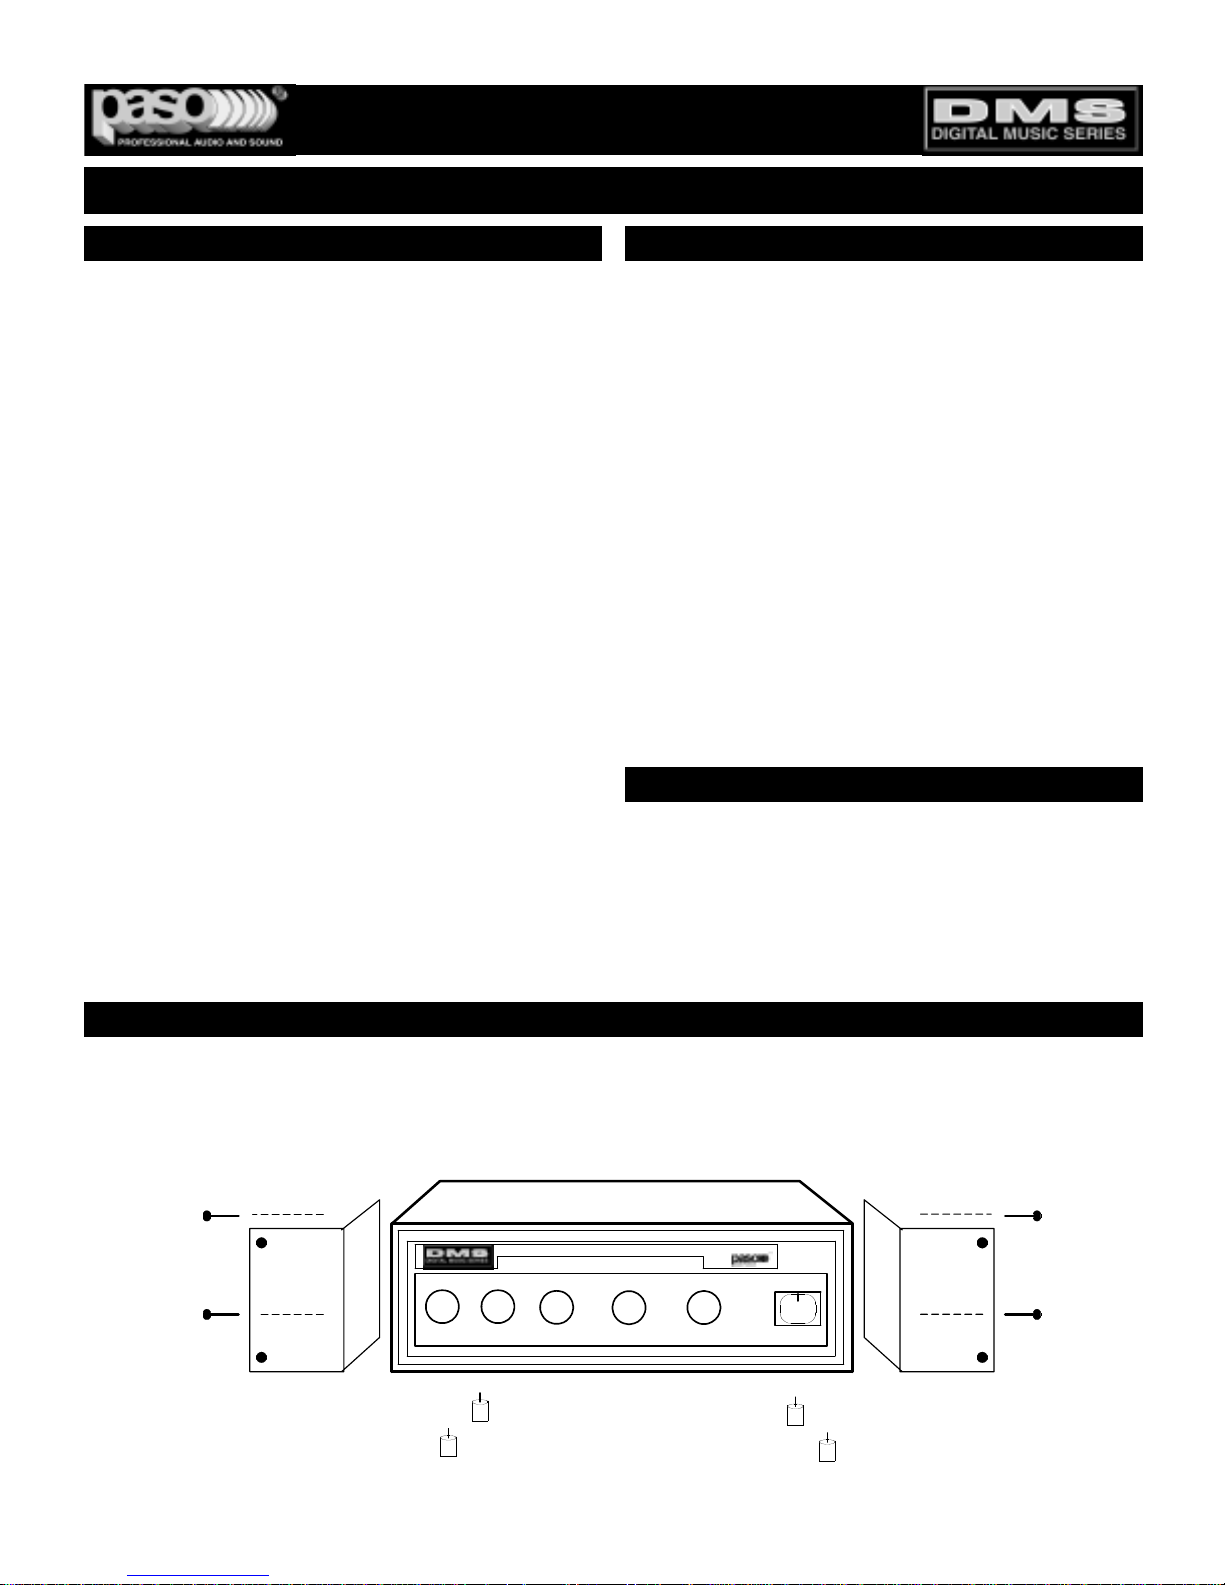
RACK MOUNTING
CAUTION
INSTALLATION AND OPERATION
A) Procure the optional accessory Rack Mount Kit.
B) Turn amplifier up side down and remove the four rubber feet by unscrewing the four holding screws.
C) Remove three screws on each side of the amplifier holding the amplifier cover.
D) Install the rack kit brackets by using the self-tapping screws provided and the screws removed as per C.
O
DIGITAL MUSIC AMPLIFIER
POWER
3015rack
5
6
7
8
2
1
0
1
0
9
3
4
.
.
.
.
.
.
..
.
.
.
INPUT 2
5
6
7
8
2
1
0
1
0
9
3
4
.
.
.
.
.
.
..
.
.
.
INPUT 1
5
6
7
8
2
1
0
1
0
9
3
4
.
.
.
.
.
.
..
.
.
.
INPUT 3
2
1
3
44
1
0
5
5
+
3
2
.
.
.
.
.
.
.
.
.
.
.
TREBLE
BASS
2
1
3
44
1
0
-
5
5
+
3
2
.
.
.
.
.
.
.
.
.
.
.
Fig. 3 - Rack Kit Mounting
DIGITAL MUSIC AMPLIFIERS
 Loading...