

Page 1
®
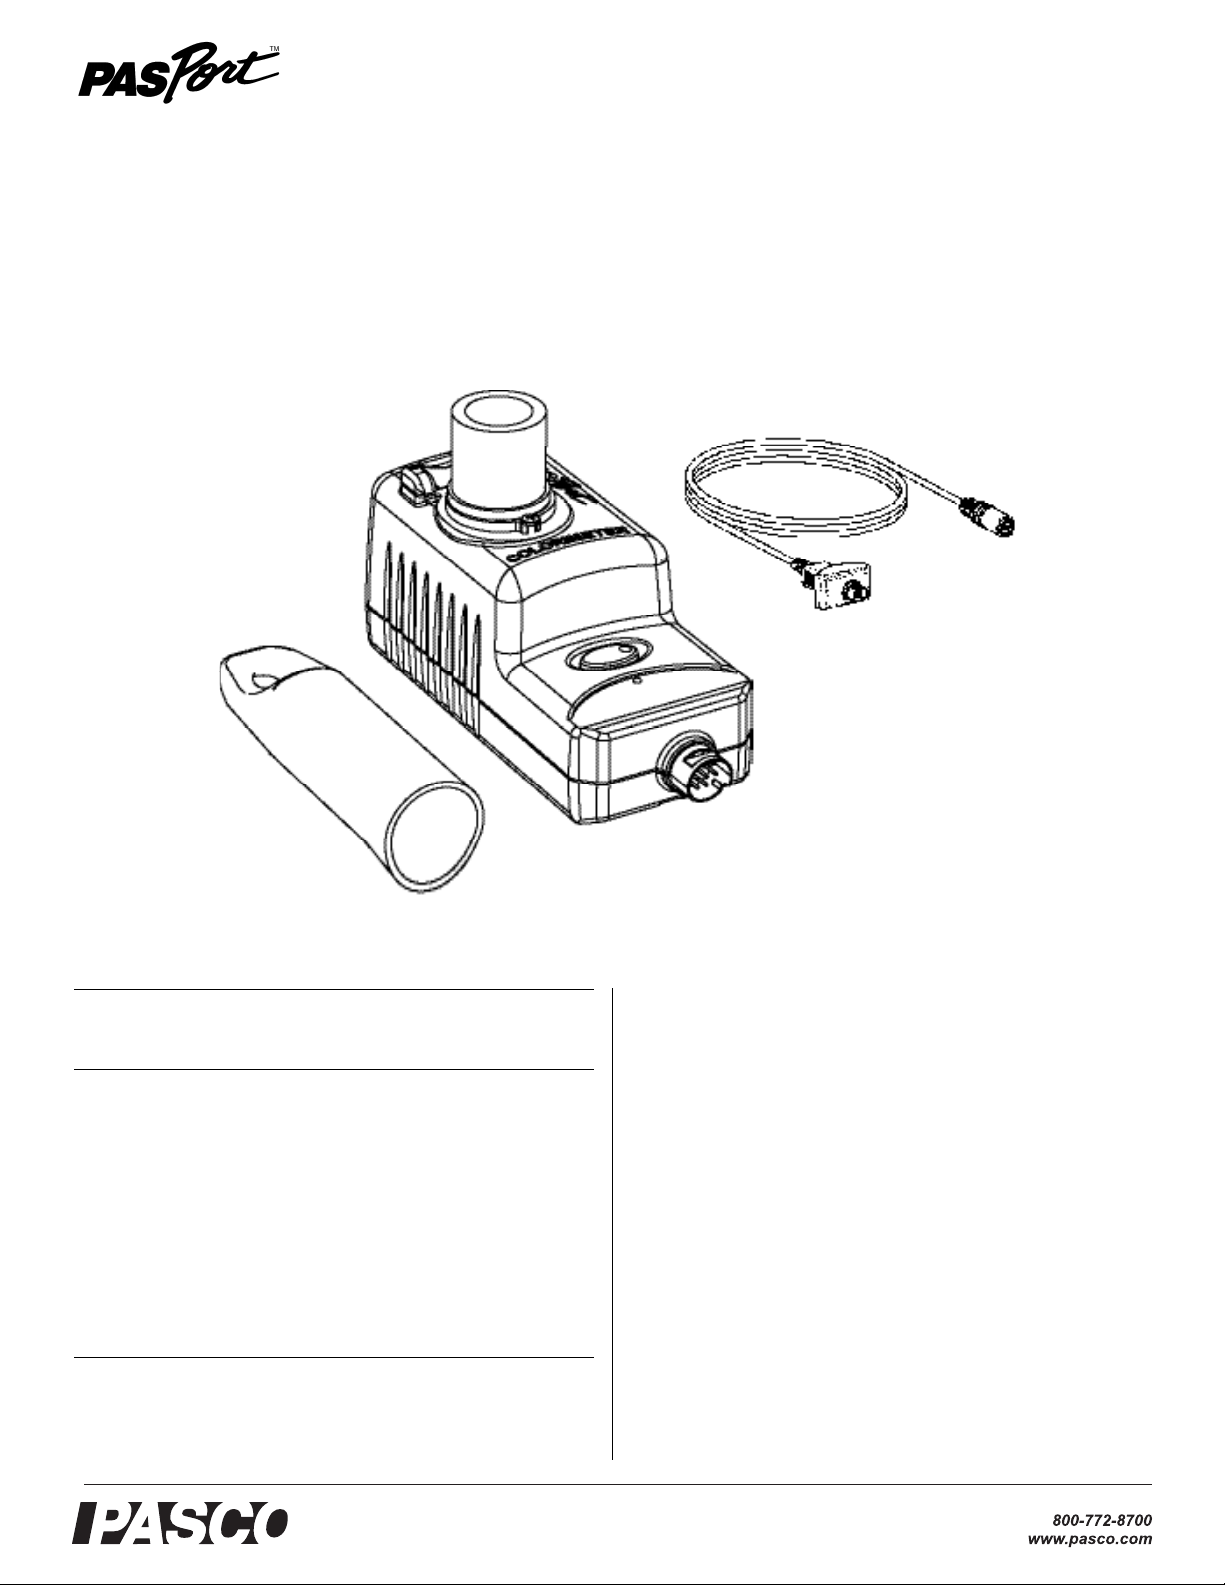
Water Quality Colorimeter
Included Equipment Part Number
Water Quality Colorimeter PS-2179
Additional Required Equipment
ezSample Snap Vial Test Kit Various, see
www.pasco.com or
PASCO catalog
Xplorer GLX PS-2002
or
other PASPORT interface
PASport Extension Cable 514-07281
Recommended Equipment
Water Quality Field Guide PS-2829
PASPORT Extension Cable PS-2500
Water Quality Colorimeter
PS-2179
PS-2179
Instruction Sheet
012-09873C
Introduction
The PASPORT Water Quality Colorimeter is designed for chemical analysis of water samples using PASCO's ezSample Snap Vial
water quality test kits.
ezSample Snap Vials contain a reagent (specific to a particular
ion) in a vacuum-sealed ampoule. When the scored tip of the
ampoule is snapped off in the water sample, the sample is drawn
into the ampoule and mixes with the color-forming reagent. The
absorbance of the resulting solution depends on the ion concentration.
The colorimeter accurately measures the absorbance by projecting light through the ampoule and measuring the intensity of
transmitted light. It uses Beer's Law and built-in calibration
curves to calculate the ion concentration.
The colorimeter’s measurements are sent to your PASPORT
interface for display, recording, and analysis.
Page 2
®
Water Quality Colorimeter PS-2179
Measurement Procedure
With the Xplorer GLX (Standalone Mode)
Follow these steps to use the colorimeter connected to a GLX
without a computer. The colorimeter should be horizontal when it
makes a measurement. If you connect it directly to the GLX without a cable, keep the GLX horizontal.
1. Connect the colorimeter to the GLX (may require Extension
Cable 514-07281). The GLX detects the colorimeter and
opens the Digits screen.
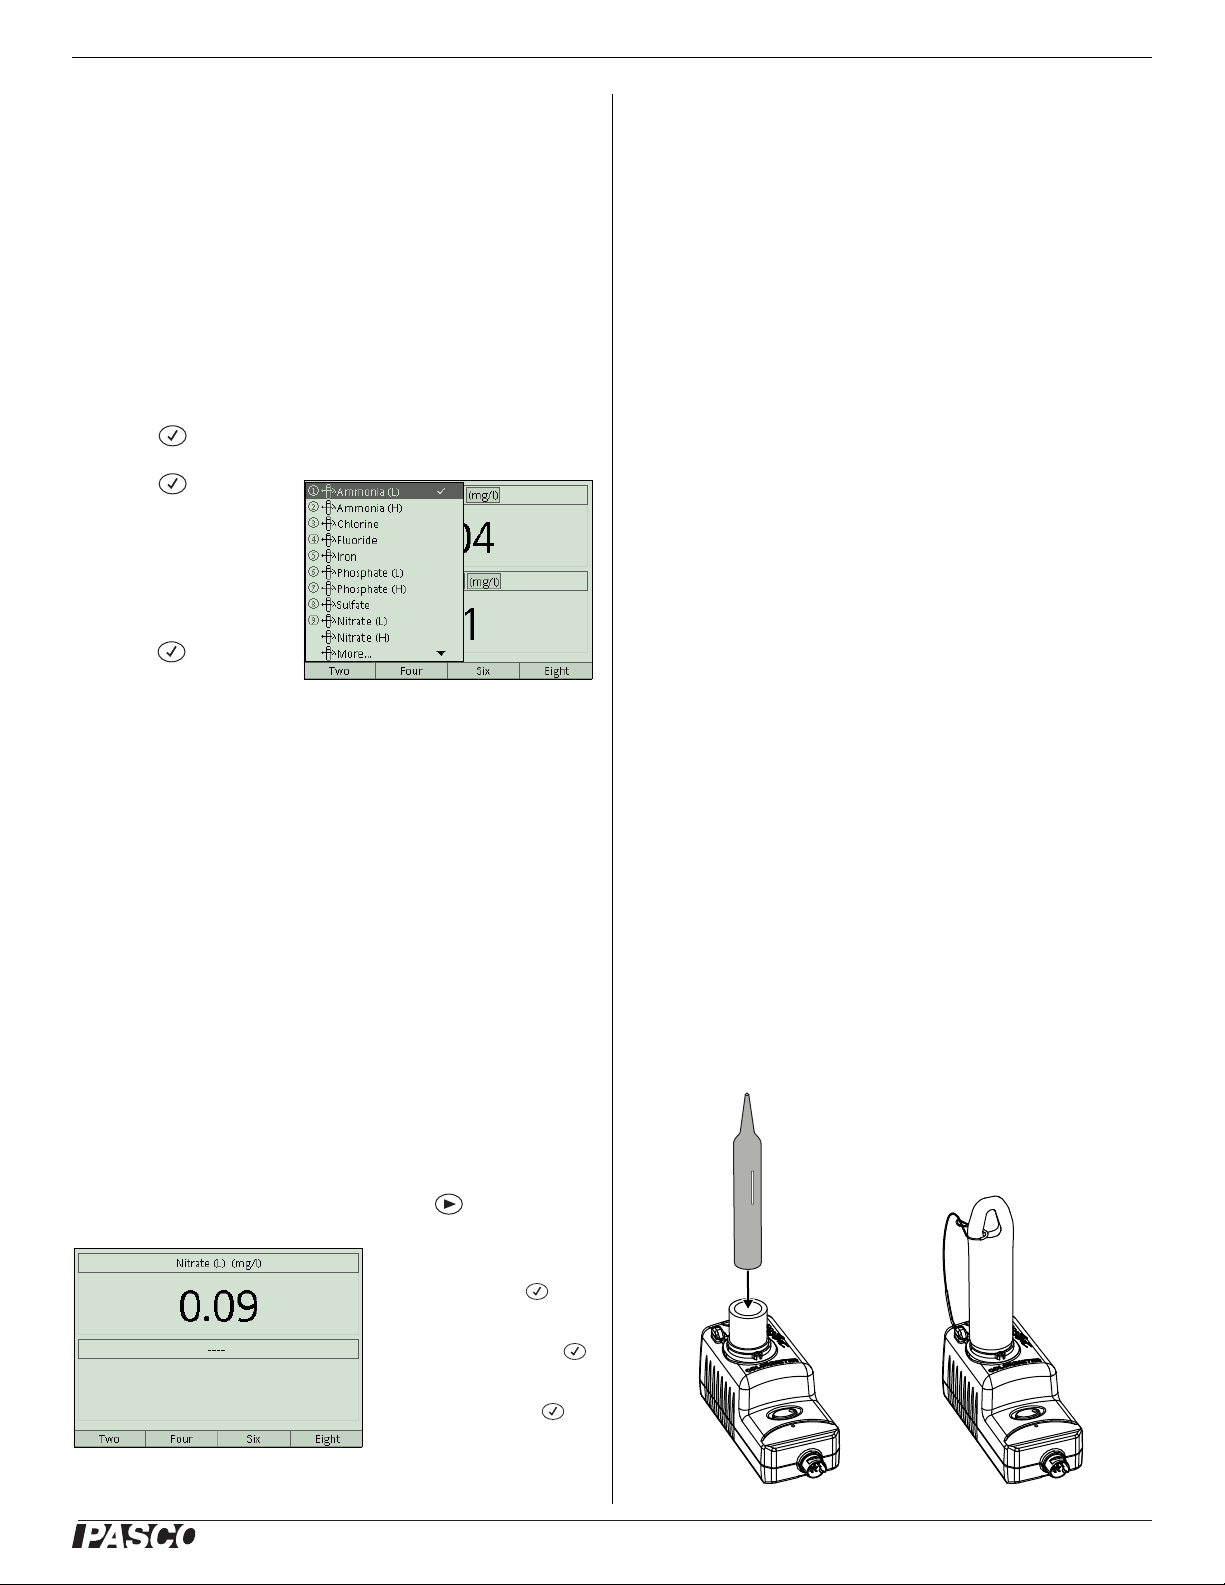
2. Press to highlight the data source field.
3. Press again to
open the data source
menu (right).
4. Use the arrow keys to
highlight the desired
measurement and
press . (Select the
measurement corresponding to the test kit that you will use.)
5. (Optional) Perform the calibration procedure (see “Calibration” on page 3).
6. Follow the instructions provided with your ezSample Snap
Vial kit to mix your water sample with the reagent in the
ampoule.
7. Handling the ampoule by the tip, wipe the glass clean using a
non-abrasive cleaning tissue. Avoid touching the glass after
it is clean.
8. Align the mark on the ampoule as illustrated and insert the
ampoule into the colorimeter.
9. Place the cap over the ampoule.
With a Computer
Follow these steps to use the colorimeter with any PASPORT
interface connected to a computer.
1. Connect your PASPORT interface to the computer and start
DataStudio.
2. Connect the colorimeter to the PASPORT interface.
DataStudio detects the colorimeter and creates a digits display showing all available measurement.
3. (Optional) Perform the calibration procedure (see “Calibration” on page 3).
4. Follow the instructions provided with your ezSample Snap
Vial kit to mix your water sample with the reagent in the
ampoule.
5. Handling the ampoule by the tip, wipe the glass clean using a
non-abrasive cleaning tissue. Avoid touching the glass after
it is clean.
6. Align the mark on the ampoule as illustrated and insert the
ampoule into the colorimeter.
7. Place the cap over the ampoule.
8. Click Start to start recording and displaying data. (Or open
the Experiment menu and select Monitor to display measurements without recording them.)
DataStudio displays all available measurements. Read the one
corresponding to the test kit that you used. (The other live measurements are not meaningful and should be ignored.)
To remove unneeded measurements from the digits display, click each
measurement and press delete.
The GLX automatically monitors and displays live
measurements in the Digits screen.
10. (Optional) To start recording data, press .
To remove the measurement
from the lower segment of the
Digits screen: Press .
Press the down arrow to highlight the data source field of
the lower segment. Press
again to open the menu. Use
the arrow keys to highlight
Clear Input and press
2
Page 3

®
Water Quality Colorimeter PS-2179
For Best Results
• Place the cap fully over the ampoule. A blinking red light on
the calibration button indicates that the colorimeter is not
ready to make a valid measurement: either stray light is
entering the colorimeter or the measurement is out of range.
Ensure that the cap is properly in place to make the light stop
blinking.
• Keep the colorimeter horizontal.
• The ambient temperature and the temperature of the test
solution should be about equal and between 5° C and 40° C.
A cold ampoule may develop condensation, which would
affect the reading.
• Ensure that the outside of the ampoule is clean and dry.
• Do not test turbid water samples.
• Shield the colorimeter from direct sunlight.
Calibration
Specifications
Each type of ezSample test kit has its own accuracy and range
specifications. For that information, refer to the instruction sheet
included with the kit.
These specifications apply to the colorimeter itself, independent
of the reagent used.
Range 0 to 100% transmittance
Wavelengths 660 nm (red), 610 nm (orange), 565 nm
(green), 468 nm (blue)
Accuracy ±0.5% transmittance
Resolution 0.1% transmittance
Default sample rate 1 sample/s
Maximum sample rate 5 samples/s
Temperature range 5° C to 40° C
Technical Support
Calibration is not required but is recommended for better accuracy. Calibration information is stored in the colorimeter; when
you unplug the sensor and reconnect it, the sensor retains the last
calibration.
To calibrate the colorimeter you will need a calibration ampoule,
which is included in each ezSample Snap Vial kit.
1. Handling the calibration ampoule by the tip, wipe the glass
clean using a non-abrasive cleaning tissue. Avoid touching
the glass after it is clean.
2. Align the mark on the calibration ampoule as illustrated on
page 2 and insert the ampoule into the colorimeter
3. Place the cap over the ampoule.
4. Press the green button on the sensor. The button illuminates
(in green) to indicate calibration is in progress.
5. Wait for the light to turn off.
6. Remove the calibration ampoule.
If the red light on the button blinks, ensure that the cap is properly in place
and repeat the calibration procedure.
For assistance with any PASCO product, contact PASCO at:
Address: PASCO scientific
10101 Foothills Blvd.
Roseville, CA 95747-7100
Phone: 916-786-3800 (worldwide)
800-772-8700 (U.S.)
Fax: (916) 786-7565
Web: www.pasco.com
Email: support@pasco.com
Limited Warranty For a description of the product warranty, see the
PASCO catalog.
Copyright The PASCO scientific 012-09873C Water Quality Colorimeter
Instruction Sheet is copyrighted with all rights reserved. Permission is
granted to non-profit educational institutions for reproduction of any part of
this manual, providing the reproductions are used only in their laboratories
and classrooms, and are not sold for profit. Reproduction under any other
circumstances, without the written consent of PASCO scientific, is prohibited.
Trademarks PASCO, PASCO scientific, DataStudio, ezSample,
PASPORT, and Xplorer GLX are trademarks or registered trademarks of
PASCO scientific, in the United States and/or in other countries. All other
brands, products, or service names are or may be trademarks or service
marks of, and are used to identify, products or services of, their respective
owners. For more information visit www.pasco.com/legal.
The interface cannot collect data from the colorimeter during calibration.
Wait until the green light turns off before recording or monitoring data.
After calibration, the colorimeter should register the concentration of the
calibration ampoule as close to zero (within the specified accuracy of the
test kit).
3
 Loading...