

Page 1

Instruction Manual
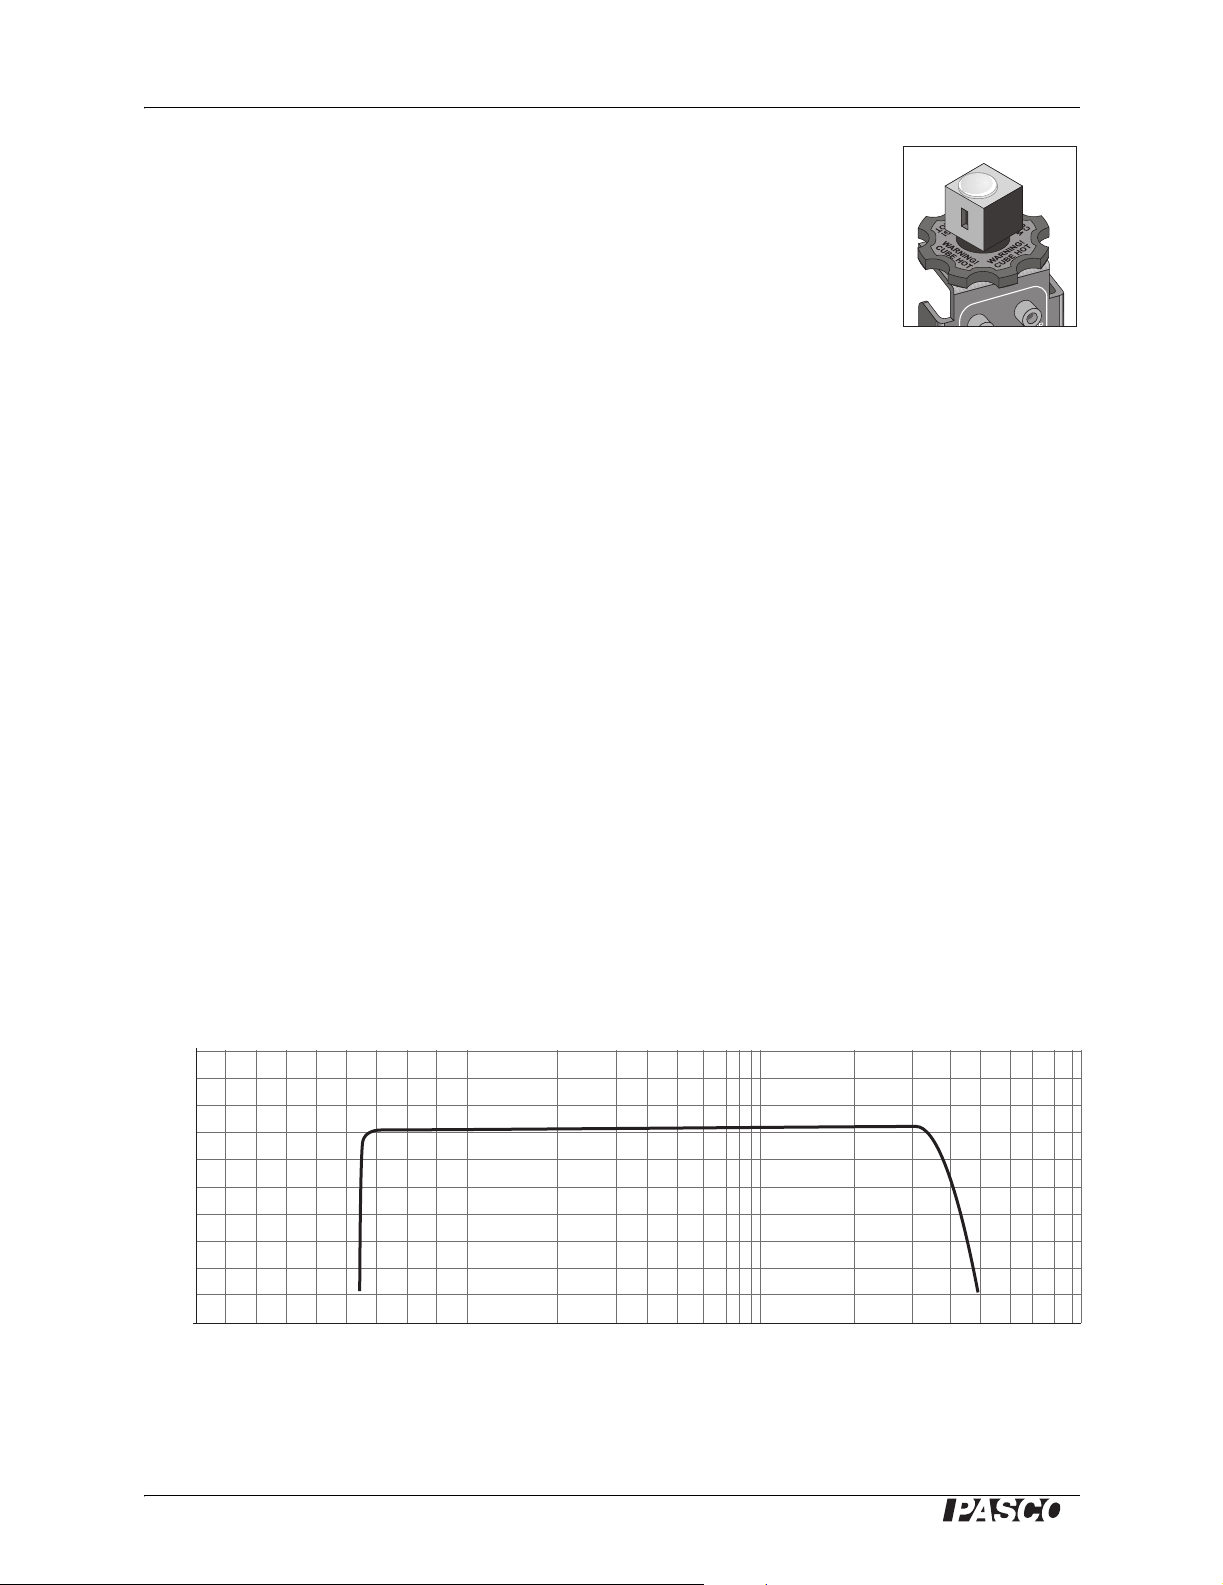
IR Sensor
PS-2148
T
H
G
I
L
R
I
No. 012-08852A
PS-2148
IR Sensor
Shutter
Thumbscrew
& Washer
Included Equipment Part Number
IR Sensor
Shutter with thumbscrew and washer
Sensor Handle
PS-2148
003-08860
CI-9874 (4-pack)
Additional Equipment Required
PASPORT interfa c e
DataStudio or DataStudio Lite
(required for computer-based data collection)
See PASCO catalog or www.pasco.com
See PASCO catalog or www.pasco.com
DS Lite available for free download
Additional Equipment Recommended
PASPORT Extension Cord
Aperture Bracket
PS-2500
OS-8534
Sensor Handle
Thermal Cavity
TD-8580
Introduction
The PASPORT IR Sensor measures infrared radiation intensity over a broad spectrum,
allowing students to study a variety of phenomena including blackbody radiation, the
Stefan-Boltzmann law, heat flow by radiation, solar radiance and non-contact temperature
measurement.
Page 2

IR Sensor Sensor Setup
The sensor's silicon-based thermopile encapsulated in nitrogen with a
thallium bromide-iodide (KRS-5) window has a flat spectral response
from 0.7 to 30 µm. It measures radiation intensity up to 4500 W/m
2
. An
integrated thermistor measures the temperature of the detector allowing
the user to calculate detector-emitted radiation. In conjunction with a
PASPORT interface, the IR Sensor measures and records thermopile
voltage, radiation intensity and detector temperature at up to 100
samples per second.
Sensor Setup
Connect the IR sensor to a PASPORT interface either directly, or via a
PASPORT extension cord. If you are using a computer, connect the
interface to the USB port and start DataStudio.
By default the sampling rate of the sensor is 100 Hz. To change it, go to
the Experiment Setup window in DataStudio, or the Sensors screen of
the Xplorer GLX. To set up the sensor for estimating the temperature of
objects, see “Non-contact Temperature Sensor Simulation” on page 5.
If desired, connect the sensor handle to the ¼-20 threaded connector on
the sensor. This connector can also be used with any other ¼-20 screw.
It is not always necessary to attach the shutter, but it can be useful to
control the detector temperature. Install the shutter as shown using the
included thumbscrew and washer. Or use the sensor handle in place of
the thumbscrew.
To measure net IR intensity, point the sensor at a surface or object, such
as your hand or the sun, and start data collection in DataStudio or the
PASPORT interface. In DataStudio, intensity is automatically shown in
a digits display. In DataStudio or on the Xplorer GLX the data can also
be displayed in a graph, table, or meter.*
Background
48
-21
PS
T
H
G
I
L
R
I
48
S-21
P
T
H
G
I
L
R
I
Sensor Handle
and Shutter
Attachment
*Refer to the DataStudio
Help menu, or the
Xplorer GLX Users’
Guide for information on
setting up data displays.
IR Radiation
All objects emit IR radiation.The radiated power per unit area of an
object is given by the Stefan-Boltzmann law:
I = εσT
4
Where T is the objects’ absolute surface temperature, and σ is the
Stefan-Boltzmann constant, equal to 5.670 × 10⁻⁸ W⋅m-2⋅K-4. The
emissivity, ε, is a property of the object’s surface and can range from 0
to 1. An object with ε = 1 is described as a blackbody.
2
®
Page 3
Model No. PS-2148 Background
j
j
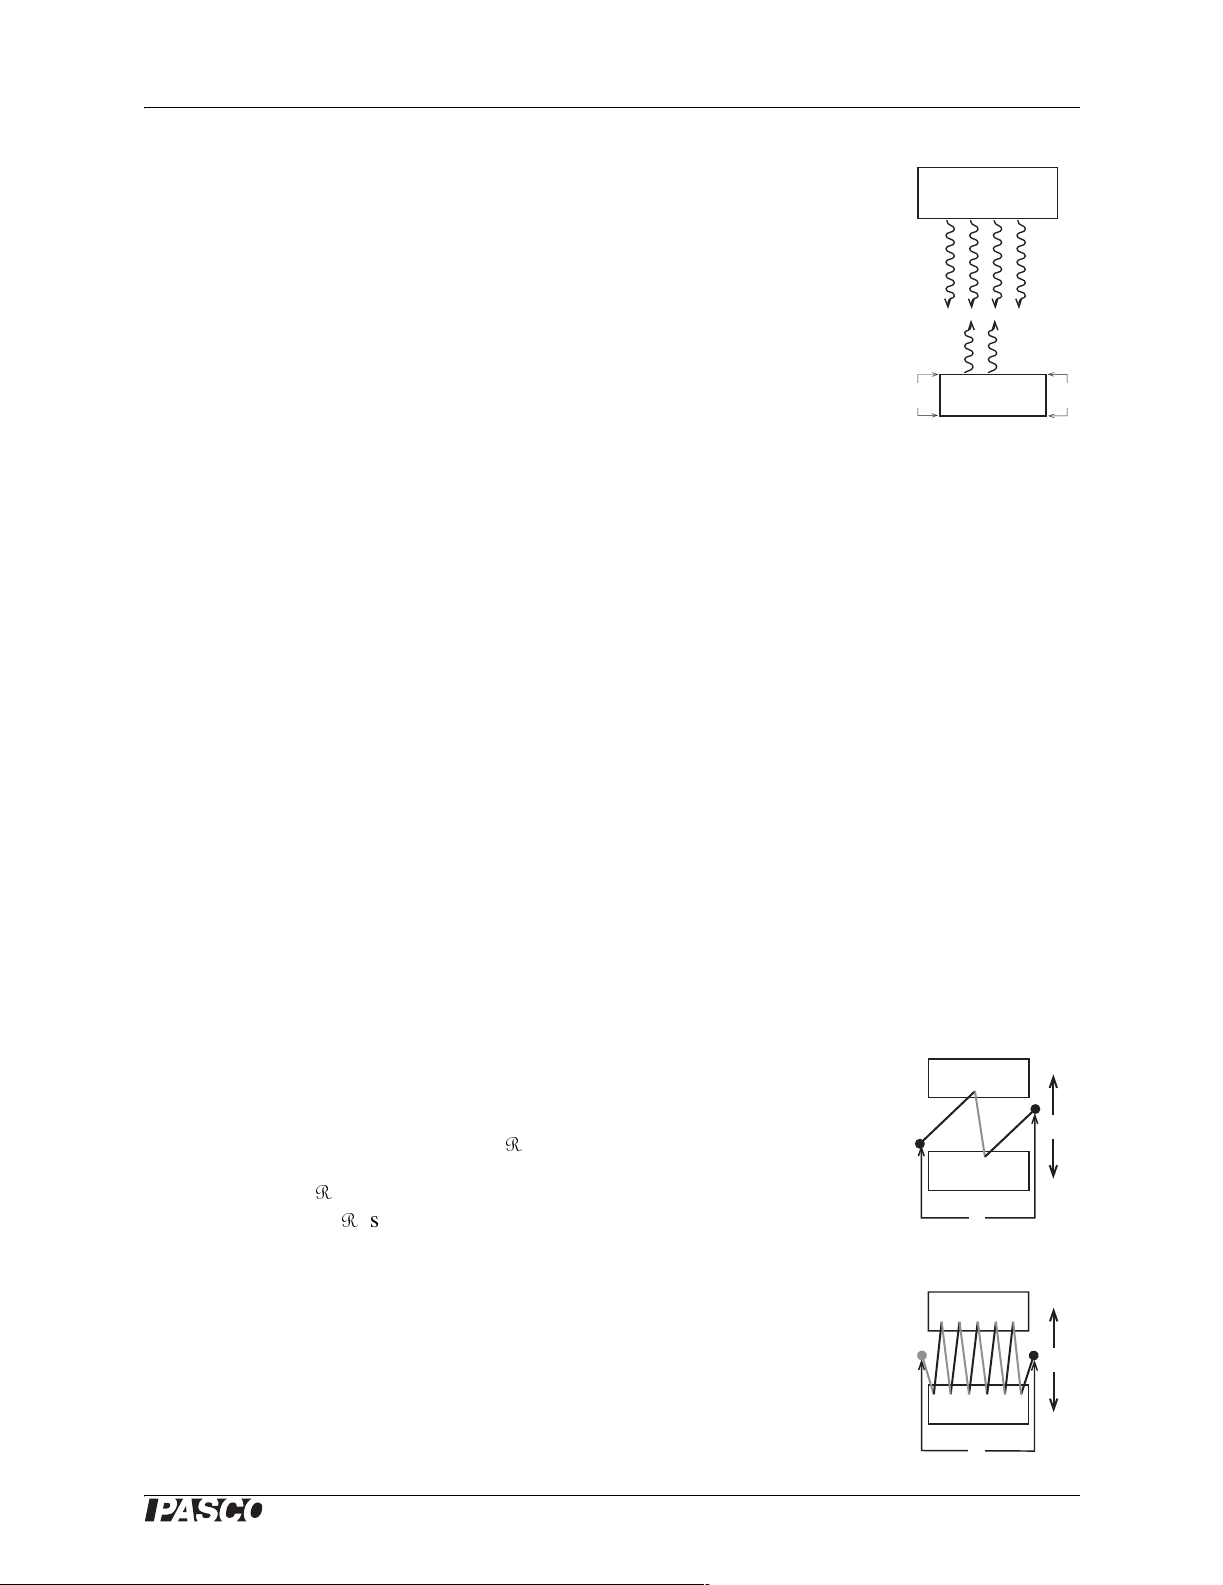
Theory of Operation
Consider a blackbody of temperature Ts, whose shape can be
T
s
Source
approximated as an infinite plane, and a flat detector surface parallel to
source with area Ad.
P
sd
Because radiation from an infinite plane propagates as a plane wave,
the power flow from the source to the detector (Psd) equals the radiation
emitted by a part of the source whose area is equal to the detector’s
P
d
area, regardless of the distance between the source and detector.
DT
Psd = AdσT
Thermopile
4
s
T
d
V
The detector itself also radiates in accordance to the Stefan-Boltzmann
law. If the detector’s temperature is Td, then power radiating out of the
detector is
Pd = AdσT
4
d
Therefore, the net power absorbed by the detector is
4
P = Adσ(T
The net intensity, which is what the sensor measures, is the net power
s
− T
4
)
d
divided by the detector area.
The net power that flows onto the active detector area by radiation
(Psd− Pd) flows out of the detector by conduction to other parts of the
sensor. A proportion of that power is conducted through the thermopile,
which sets up a temperature different (∆T) across the thermopile. The
thermopile produces a voltage (V) that is proportional to ∆T.
If the sensor is warmer than the target source, then net power flows out
of the sensor, and ∆T and V are negative.
The net radiated power (P) is proportional the power flow through the
thermopile, which is proportional to ∆T, which, in turn, is proportional
What is a thermopile?
A thermopile is a series
of thermocouples
A thermocouple is the
unction of two different
metals. When two
thermocouples are
connected in series, and
are at different
temperatures, a voltage
proportional to the
temperature difference
occurs between them.
This voltage is usually
very small. In a
thermopile many
thermocouples are
connected in series (as
shown below) to produce
a larger voltage. The
thermopile in the
PS-2148 consists of 120
unctions etched in
silicon.
Hot
to V; therefore, V is proportional to P:
D
T
V = R P
Cold
The constant, R, is known as the responsivity of the detector. For the
PS-2148 sensor, R is about 31 V/W.
The sensor amplifies the voltage produced by the thermopile and
V
Pair of
Thermocouples
converts it into a digital signal. A microprocessor in the sensor
calculates intensity, which is incident power divided by the area of the
detector (2.25 mm2). The thermopile voltage and intensity data are sent
digitally to the PASPORT interface or computer.
Hot
Cold
D
T
V
Thermopile
®
3
Page 4

IR Sensor Usage Notes
Usage Notes
Field of View
92°
There are two simple arrangements
of source object and sensor.
48°
In the first, the source approximates
an infinite plane. The radiation
propagates from the source as a
plane wave, and the intensity does
not increase with increasing
distance from the source. In this
arrangement the radiated power
incident on the active area of the
sensor is equal to the power emitted
by an equivalent area of the source.
This approximation is most accurate
when the source fills the entire 92°
A plane source should fill the 92° field of view;
A point source should be within the 48° field;
Interfering sources should be outside of the 92° field
field of view of the sensor.
The other simple arrangement is one where the source approximates a
point. In this case, the intensity of radiation emitted by the source obeys
the inverse-square law. The point source should be within the 48° field
of view so that it illuminates the entire active area. Ideally the source
should be directly in front of the sensor so that the radiation is normal
to the window and to the active area. Other sources of radiation that
you wish to ignore should be outside of the 92° field of view.
Window
Active
Area
The Aperture Bracket, OS-8534, can be used to further limit the field of
view.
Power and Intensity
The sensor measures net intensity, which is net power divided by the
active area of the detector. The formula for net power is P = IAd, where
I is the measured net intensity and Ad= 2.25 mm2, is the detector area.
The net power equals the incident power from all external sources (Psd)
minus the power radiated by the detector, P = Psd - AdσT
4
.
d
The temperature of the detector, Td, is measured by in integrated
thermistor.*
Detector Temperature Control
Every time you place the sensor near a hot object, the detector will
begin to heat up, and it will cool when you move it away. If you wish to
make several intensity measurements at a constant detector
*To make the detector
temperature visible in
DataStudio, go the
Experiment Setup
window and select
Temperature with units of
K. On the Xplorer GLX,
go to the Sensors
screen.
4
®
Page 5

Model No. PS-2148 Usage Notes
temperature, allow the detector to cool between each measurement by
moving it away from all hot objects. Then place the sensor near the
object to be measured and monitor the detector temperature as it
increases. Record the intensity when the detector temperature reaches a
certain value.
Alternatively, you can mount the shutter on the sensor and control the
temperature by opening and closing it.
Non-contact Temperature Sensor Simulation
Based on data collected by the IR sensor, and a calibration constant,
you can calculate the temperature of an object.
If the target object approximates a blackbody, then the voltage of the
thermopile is
4
V = k (T
Where k is a constant that you will determined empirically using an
object of known temperature.
s
- T
4
)
d
You must also know the temperature of the active area of the detector,
Td. The embedded thermistor does not measure Td directly; rather it
measures the temperature of the opposite side of the thermopile
(Td- ∆T). However, since ∆T is always much less than Td (measured in
Kelvin), the thermistor temperature is a good approximation of Td.*
The constant k depends on several factors unique to each measurement
setup including the properties of the particular sensor used, deviation of
the target surface from an ideal blackbody, and any intervening
medium such as air. For more accurate results, the value of k should be
empirically determined with an object of known temperature that is
similar to the objects of unknown temperature that you intend to
measure.
For the temperature calibration procedure you will need an object of
variable temperature, of which you can make a direct temperature
measurement. A cup of hot water is a convenient object. Ideally it
should have a matte surface so that its emissivity is close to 1.
You will also need a temperature sensor to measure the temperature
directly. The PASCO Fast-response Probe (PS-2135) works well
because it responds quickly to small changes. Use the probe with a
PS-23125 Temperature sensor or any other PASPORT sensor that
supports external probes; or connect the probe directly to the
temperature port of the Xplorer GLX interface.
*To make the detector
temperature visible in
DataStudio, go the
Experiment Setup
window and select
Temperature with units of
K.
This measurement is the
temperature of the
detector. Do not confuse
it with the temperature of
the target object.
Place the IR sensor close to the cup (but not touching) so that the
surface of the cup fills the sensor’s entire field of view. In this way the
surface is seen as an infinite plane, and the distance between the object
®
5
Page 6

IR Sensor Usage Notes
and the sensor is irrelevant. Place the end of the fast-response
temperature probe in the cup close to the side that the IR sensor is
viewing.
4
Set up your computer or interface to calculate (T
4
4
– T
(T
s
) versus thermopile voltage.*
d
s
Pour hot water (about 70° C) into the cup. Leave some room for ice, but
make sure that the water surface is above the sensor’s field of view.
Start data collection.
After a few seconds, add a piece of ice to the cup and stir gently.
Continue to add ice, one piece at a time, while stirring, until the
temperature has decreased by 20 K or more.
Stop data collection.
4
Apply a linear fit to the graph of (T
s
4
– T
) versus voltage. The slope of
d
4
– T
), and to graph
d
*T
is the temperature
s
measured by the
temperature probe;
the temperature
measured by the IR
sensor’s internal
thermistor.
For information on setting
up graphs, linear fits, and
calculations, refer to the
DataStudio Help menu,
or the Xplorer GLX
Users’ Guide.
T
is
d
the best-fit line equals k.
Using this value of k, create a calculation of the form:
T = (k * V + Td ^ 4) ^ (1/4)
Where V is the thermopile voltage, and Td is the detector temperature.
Take IR data for an object of unknown temperature; T is the calculated
temperature of the object.
Actual source temperature (top), detector temperature (middle) and voltage (bottom) vs. time as ice is
added to hot water
6
®
Page 7

Model No. PS-2148 Suggested Activities
4
(T
4
– T
) versus voltage
s
d
Suggested Activities
Solar Radiation
Measure the radiation intensity from the sun. Compare it to the
intensity from a different part of the sky. (When measuring the
temperature of the sky, make sure that the sun and other objects such as
trees and buildings are not in the field of view.)
How does the presence of clouds, or the angle of the sun in the sky
affect solar radiation intensity?
According to your measurement of intensity, what is the total power
radiated by the sun? What is its surface temperature?
Intensity vs. Distance
Graph intensity as a function of distance. How does a point source such
as the filament of a small light bulb, compare to a larger source such as
a hotplate?
Intensity vs. Temperature
How is the temperature of an object (or the temperature difference
between the object and the sensor) related to the net intensity?
Cooling
Measure the temperature of a hot object as it cools, and measure the
radiation intensity emitted by it. How does the rate of temperature
change compare to the total radiated power? How does the total
temperature change compare to the total radiated energy? Besides
radiation, what are the other mechanisms of heat loss?
®
7
Page 8
IR Sensor Further Reading
Intensity vs. Emissivity
Using the TD-8580 Thermal Cavity, measure the radiation intensity
emitted by different surfaces at the same temperature. How do the color
and texture of surfaces affect the radiated intensity? Compare the
intensity from a surface to the intensity from a cavity of the same
temperature.
TD-8580 Thermal Cavity
Radiated Power vs. Input Power of a Light Bulb
Measure the voltage and current applied to a small light bulb*, and the
radiation intensity emitted by it. Calculate the input electrical power,
and the total radiated power. How do they compare?
Second Law of Thermodynamics
The second law of thermodynamics states that heat tends to flow from a
hotter object to a cooler object. The objects do not have to be in contact
for this to occur because heat can be transferred through radiation.
Measure the net radiation intensity of an object that is cooler than the
sensor. In what direction is energy flowing? Allow the cool object and
*PASCO part EM-8627 is
a pack of 25 light bulbs
that work well for this
experiment. They can be
used with Light Bulb
Sockets (EM-8630,
10-pack), and a power
supply capable of 300
mA at 2 V.
The PASPORT
Voltage/Current Sensor,
PS-2115 can be used to
measure the electrical
power supplied to the
bulb.
the sensor to come to the same temperature. What happens to the
energy flow?
Further Reading
At www.dexterresearch.com follow the “Technical Briefs” link for
further information on thermopile detectors and radiometery.
KRS-5 Window Transmittance
100
90
80
70
60
50
40
30
Transmittance (%)
20
10
0
.1 .2 .3 .4 .5 .6 .7 .8 .9 1.0 2.0 3.0 4.0 5.0 10 20 30 40 50 100
Wavelength (mm)
8
®
Page 9

Model No. PS-2148 IR Sensor
Specifications
Active Area
Size
Element Area
Number of
Thermocouple
Junctions
Field of View 48° or 92° (see “Field of
Intensity
Range
Spectral
response
Window
Material
Encapsulating
Gas
1.5 × 1.5 mm
2.25 mm
120
View” on page 4 for
description)
-500 to 4500 W/m
0 to 1000 W/m
flat from 0.7 to 30 µm
KRS-5 (see transmittance
graph on page 8)
nitrogen
2
2
2
linear
max.
Technical Support
For assistance with any PASCO product,
contact PASCO at:
Address: PASCO scientific
10101 Foothills Blvd.
Roseville, CA 95747-7100
Phone: (916) 786-3800
(800) 772-8700
Fax: (916) 786-3292
Web: www.pasco.com
Email: techsupp@pasco.com
Limited Warranty
For a description of the product warranty,
see the PASCO catalog.
Responsivity 31 ± 7 V/ W
Safety
Read the instructions before using this
product. Students should be supervised
by their instructors. When using this
product, follow the instructions in this
manual and all local safety guidelines
that apply to you.
Copyright Notice
The PASCO scientific 012-08852A IR
Sensor Instruction Manual is copyrighted
with all rights reserved. Permission is
granted to non-profit educational institutions
for reproduction of any part of this manual,
providing the reproductions are used only in
their laboratories and classrooms, and are not
sold for profit. Reproduction under any other
circumstances, without the written consent
of PASCO scientific, is prohibited.
Author: Alec Ogston
Page 10

 Loading...