

Page 1
Instruction Sheet
®
1
2
3
*012-12360*
PASCO Optics
Adjustable Focal Length Lens
OS-8494
012-12360A
Included Equipment Quantity
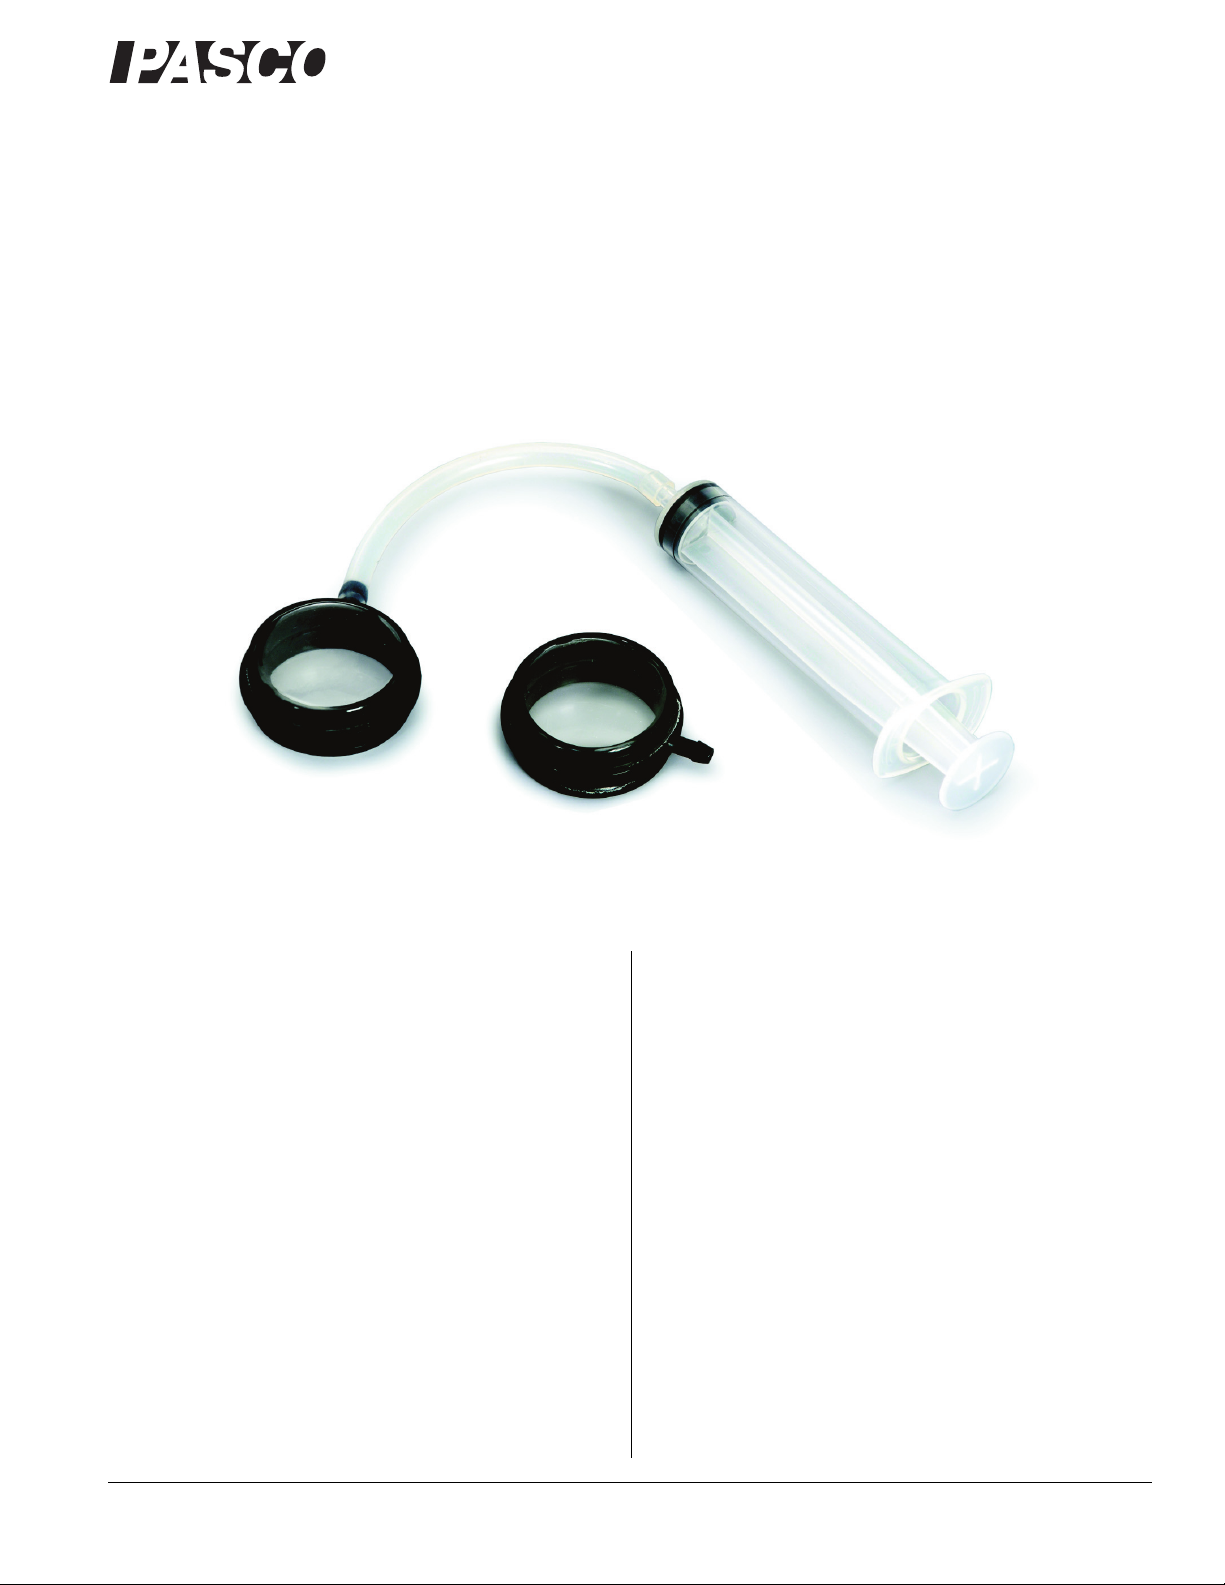
1. Adjustable Focal Length Lens 2
2. Tubing, 5 mm O.D. 30 cm
3. 10 mL Syringe 1
Related Equipment
• Human Eye Model (OS-8477)
• Eye Model Bracket (OS-8469)
• Adjustable Lens Holder* (OS-8474
• Basic Optics Light Source* (OS-8470)
• Basic Optics Bench*, 60 cm (OS-8541)
• Basic Optics Viewing Screen* (OS-8460)
*Part of Basic Optics System, OS-8515A
See www.pasco.com for other PASCO Optics System equipment.
800-772-8700 www.pasco.com
Introduction
The Adjustable Focal Length Lens includes two lenses, a
length of plastic tubing, and a 10 milliliter (mL) syringe. Each
lens consists of a plastic housing with two flexible membranes
held onto the housing with removable rings. Use the syringe to
fill the lens with a fluid such as water and to increase or
decrease the amount of fluid between the two flexible membranes. By adjusting the curvature of the membranes, you can
adjust the focal length of the lens.
The Adjustable Focal Length Lens is designed to be used with
the PASCO Human Eye Model (OS-8477) to demonstrate
accomodation, the ability of the eye’s crystalline lens to change
its focal length. It can also be used with components of the
PASCO Basic Optics System (OS-8515A) such as the Light
Source, Optics Bench, Viewing Screen, and Adjustable Lens
Holder.
Page 2
®
Assembly and Maintenance
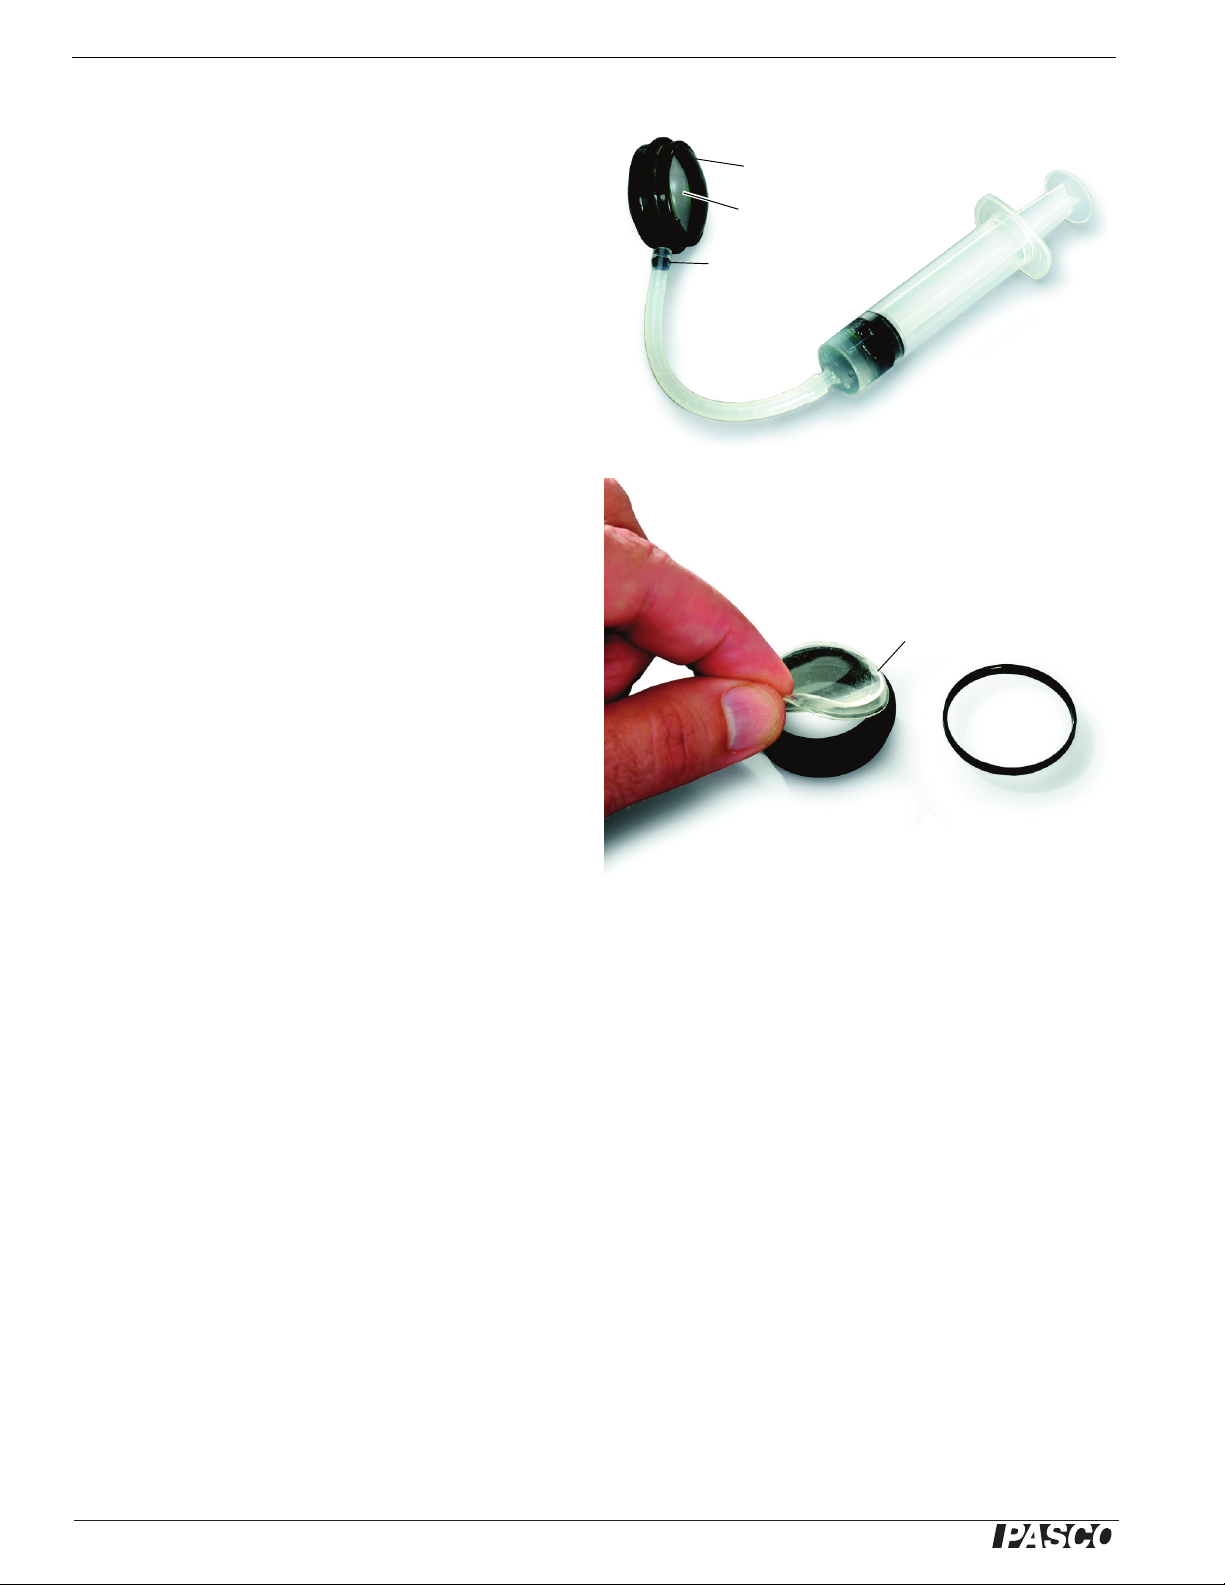
Syringe
Tubing
Lens Housing
Connector
Figure 1
Membrane
Figure 2
Retainer ring
Membrane
Lens Housing
Cut a length of tubing about 15 cm (6 inch) long. Adjust the
syringe so that the piston is beyond the midpoint of the cylinder.
Attach the piece of plastic tubing to the 10 mL syringe and the
connector on the edge of the lens housing (see Figure 1).
NOTE: Avoid touching the surface of the flexible membranes. If
you need to clean the membrane’s surface, use a soft, lint-free
cloth moistened with water.
To remove a membrane for cleaning, carefully remove the
retainer ring that holds the membrane in place and lift the membrane off the lens housing holding just the edges of the membrane (see Figure 2).
Put the clean membrane on the edge of the lens housing so that
some of the membrane material extends over the edge. Be sure
to center the membrane on the lens housing. Carefully press the
retainer ring over the membrane and onto the lens housing
(see Figure 2).
Filling the Lens
Fill the lens housing with a fluid such as water (or corn syrup)
before using it with the Human Eye Model or the Basic Optics
components. To fill the lens housing with a fluid, use differences
in pressure to allow the fluid to fill the lens. Start with the lens
housing and syringe connected to the plastic turing as in
Figure 1.
• Disconnect the syringe from the plastic tubing.
• To fill the syringe, push the piston all the way into the cylinder. Put the end of the syringe into the fluid and slowly pull the piston outward so that the fluid is forced up into the cylinder.
Stop when the fluid level is at the midpoint of the cylinder.
• Re-attach the plastic tubing to the syringe. Hold the syringe vertically so the lens holder hangs down from the end of the tubing.
• DO NOT force the liquid from the syringe into the lens holder. Instead, slowly pull the piston out so that air from inside the
lens holder bubbles up through the liquid in the cylinder. The fluid should begin moving drop-by-drop into the lens.
• When the piston is almost to the end of the cylinder, start pushing it back into the cylinder so that fluid moves from the cylinder into the lens housing.
• Repeat the process until the lens holder is filled with fluid and there are no air bubbles in the lens.
• After the lens holder is filled, make sure that the tubing is also filled with fluid. Refill the syringe until it is about one-quarter
full and reconnect it to the syringe.
2
Page 3

®
Use with the Human Eye Model
Figure 3
Human Eye Model
Basic Optics
Light Source
Adjustable
Focal Length
Lens
Retina Viewing
Screen
Figure 4
Viewing
Screen
Lens
Holder
Light
Source
Optics
Bench
Set the Basic Optics Light Source about 5 to 10 cm in front of
the Human Eye Model with the “crossed-arrow” target
aligned with the opening in the front of the model. Place the
retina viewing screen in the “NORMAL” groove.
Make sure that the lens is filled with a fluid such as water.
Place the Adjustable Focal Length Lens inside the Human
Eye Model in the lens holder groove labeled “SEPTUM” (see
Figure 3).
Push the piston into the syringe to increase the amount of
fluid inside the lens housing and change the curvature of the
flexible membranes.
Observe the image of the crossed-arrow target on the retina
viewing screen.
CAUTION: Do not push the piston too hard because the
membrane may come loose.
Use with Basic Optics Components.
Mount the Basic Optics Viewing Screen near the middle
of the Basic Optics Bench. Adjust the two lower fingers
of the Adjustable Lens Holder to the “35” millimeter
mark. Make sure that the lens is filled with a fluid such
as water. Place the Adjustable Focal Length Lens onto
the grooves at the ends of the two lower fingers and then
adjust the third finger so it holds the lens in place (see
Figure 4).
Mount the Basic Optics Light Source near the end of the
bench. Mount the Adjustable Lens Holder near the light
source
Push the piston into the syringe to increase the pressure
inside the lens housing and change the curvature of the
flexible membranes. Adjust the position of the lens
holder and viewing screen so the image of the target is in
focus on the viewing screen.
Observe the image of the crossed-arrow target on the Basic Optics Viewing Screen. Use the syringe to adjust the curvature of the
lens membranes and observe the change in the image.
Suggestion
Use the Adjustable Focal Length Lens with the Human Eye Model, but fill the lens with air and fill the eye model with water. Make
the level of the water in the eye model high enough to cover the Adjustable Focal Length Lens. Use the setup to explore the behavior of light through a “negative” lens.
3
Page 4

®
Technical Support
For assistance with any PASCO product, contact PASCO at:
Address: PASCO scientific
10101 Foothills Blvd.
Roseville, CA 95747-7100
Phone: 916-786-3800 (worldwide)
800-772-8700 (U.S.)
Fax: (916) 786-7565
Web: www.pasco.com
Email: support@pasco.com
For the latest revision of this Instruction Sheet, visit:
www.pasco.com/go?OS-8494
Limited Warranty For a description of the product warranty, see the PASCO catalog. Copyright The PASCO scientific 012-12360A Adjust-
able Focal Length Lens Instruction Sheet is copyrighted with all rights reserved. Permission is granted to non-profit educational institutions for repro-
duction of any part of this manual, providing the reproductions are used only in their laboratories and classrooms, and are not sold for profit.
Reproduction under any other circumstances, without the written consent of PASCO scientific, is prohibited. Trademarks
scientific are trademarks or registered trademarks of PASCO scientific, in the United States and/or in other countries. All other brands, products, or
service names are or may be trademarks or service marks of, and are used to identify, products or services of, their respective owners. For more
information visit www.pasco.com.
4
 Loading...