

Partex Moca Quick Start Manual
2015-08-20
Quick Start
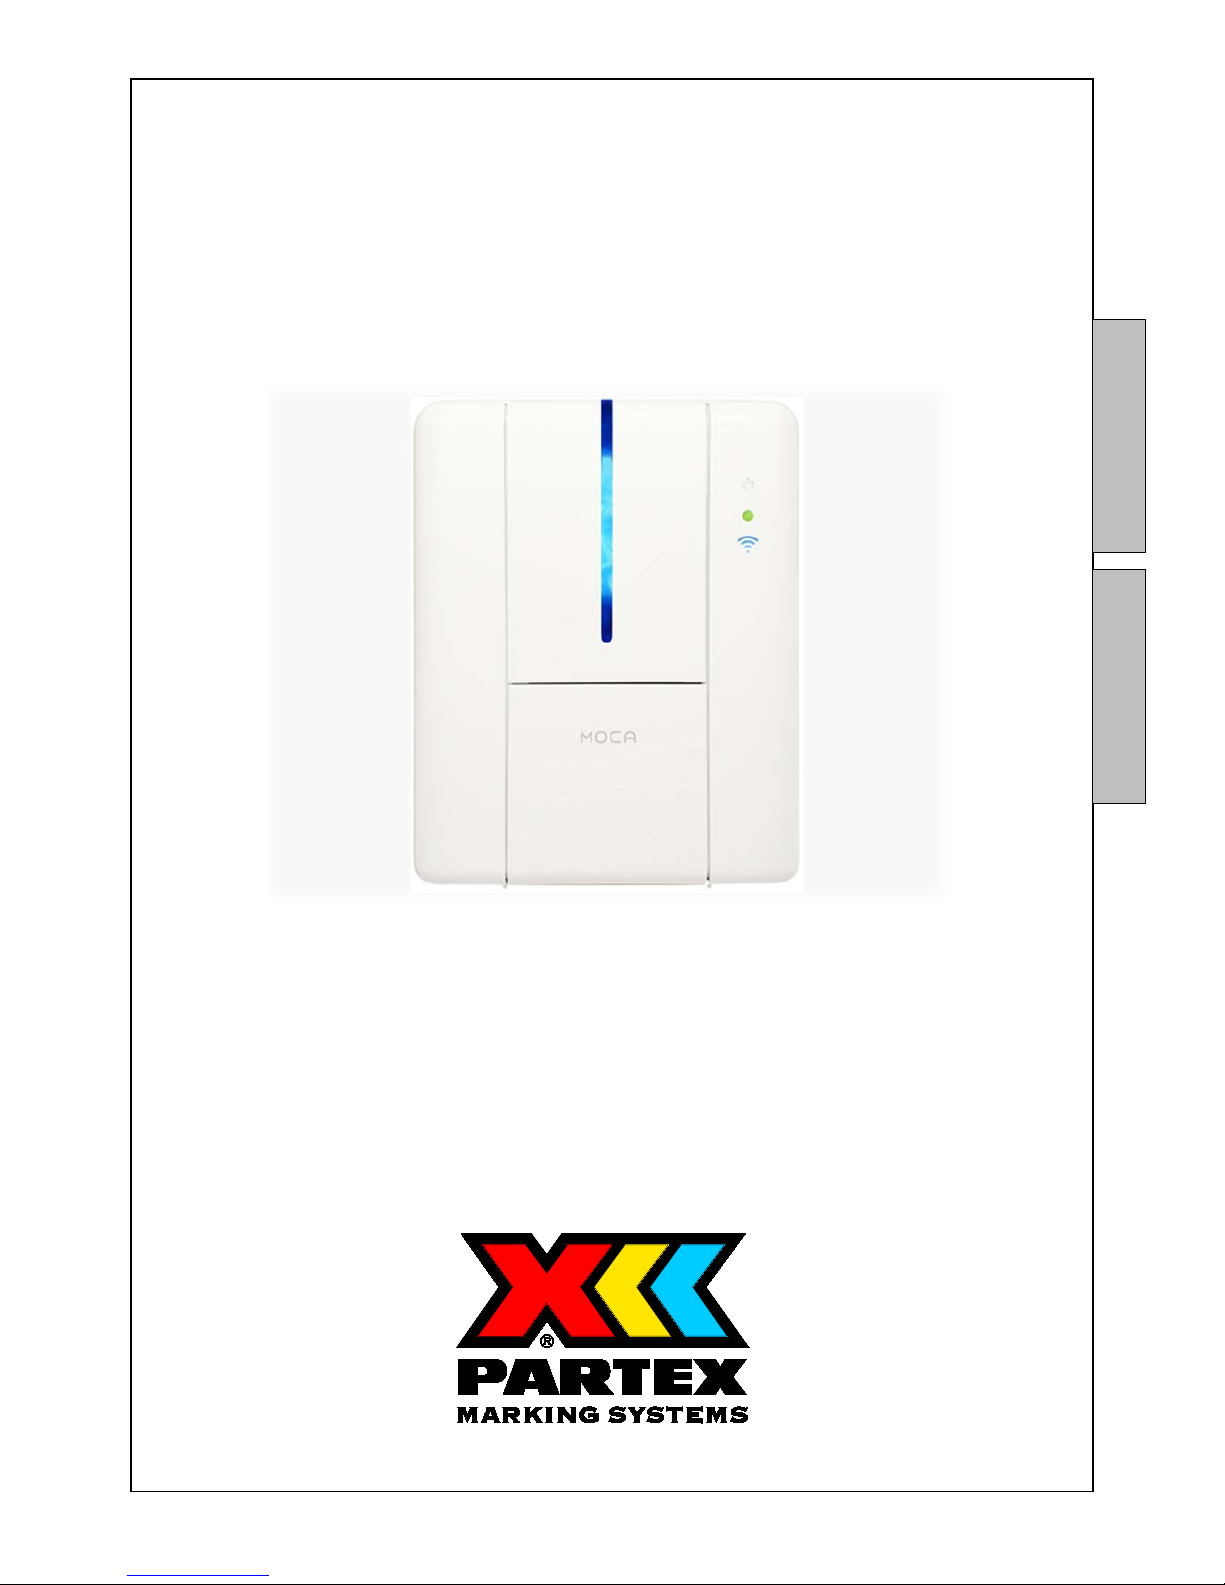
Moca
English
Svenska
Quick Start Moca
Partex Marking System
Before Printing
• Install the printer according to the supplier´s instructions, please see the Moca user
guide (chapter 3-1) at the installatio n CD.
• Choose Moca as a default printer in Windows.
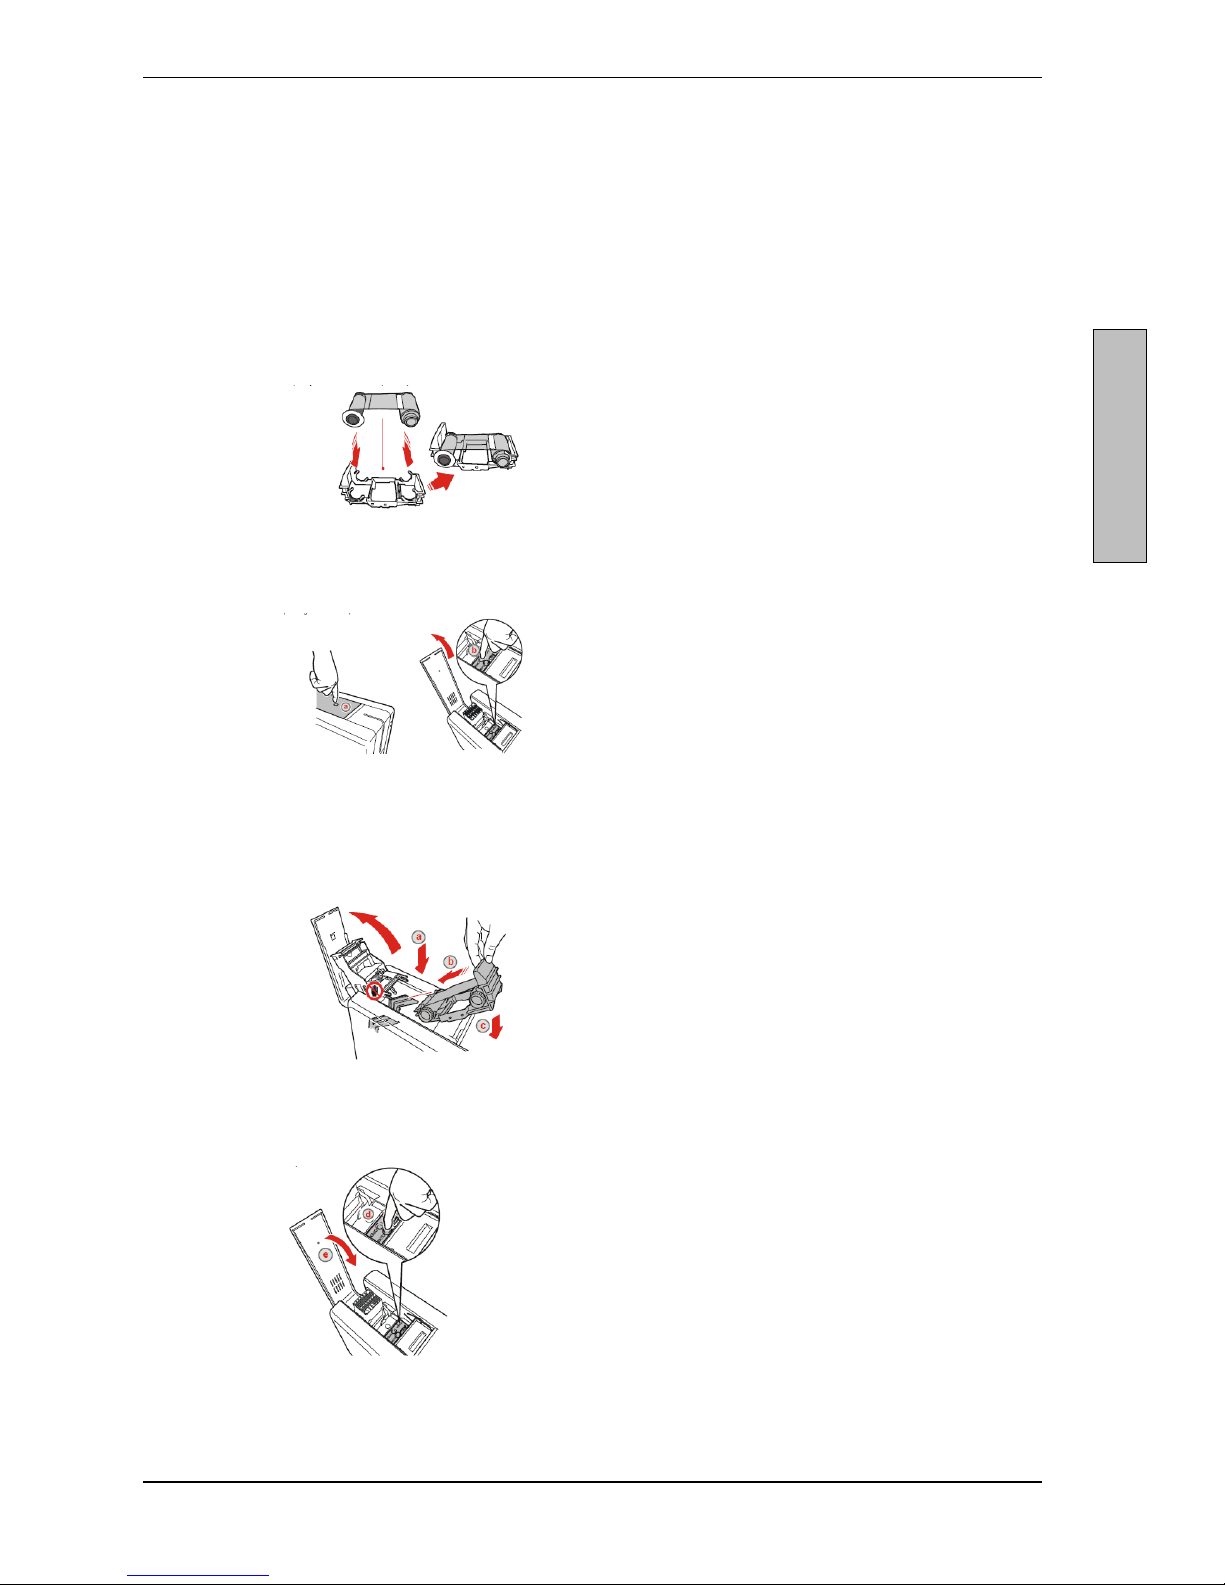
• Load ribbon
Load ribbon according to instructions for the print.
1. Insert the ribbon into the ribbon carrier.
2. Open the printing module compar tment cover.
3. Insert the ribbon c a rrier into the printer,
looking for the yellow guides that ha ve the
same color as the take-up core.
4. Close the printing module compartment cover.
English
Quick Start Moca
Partex Marking System
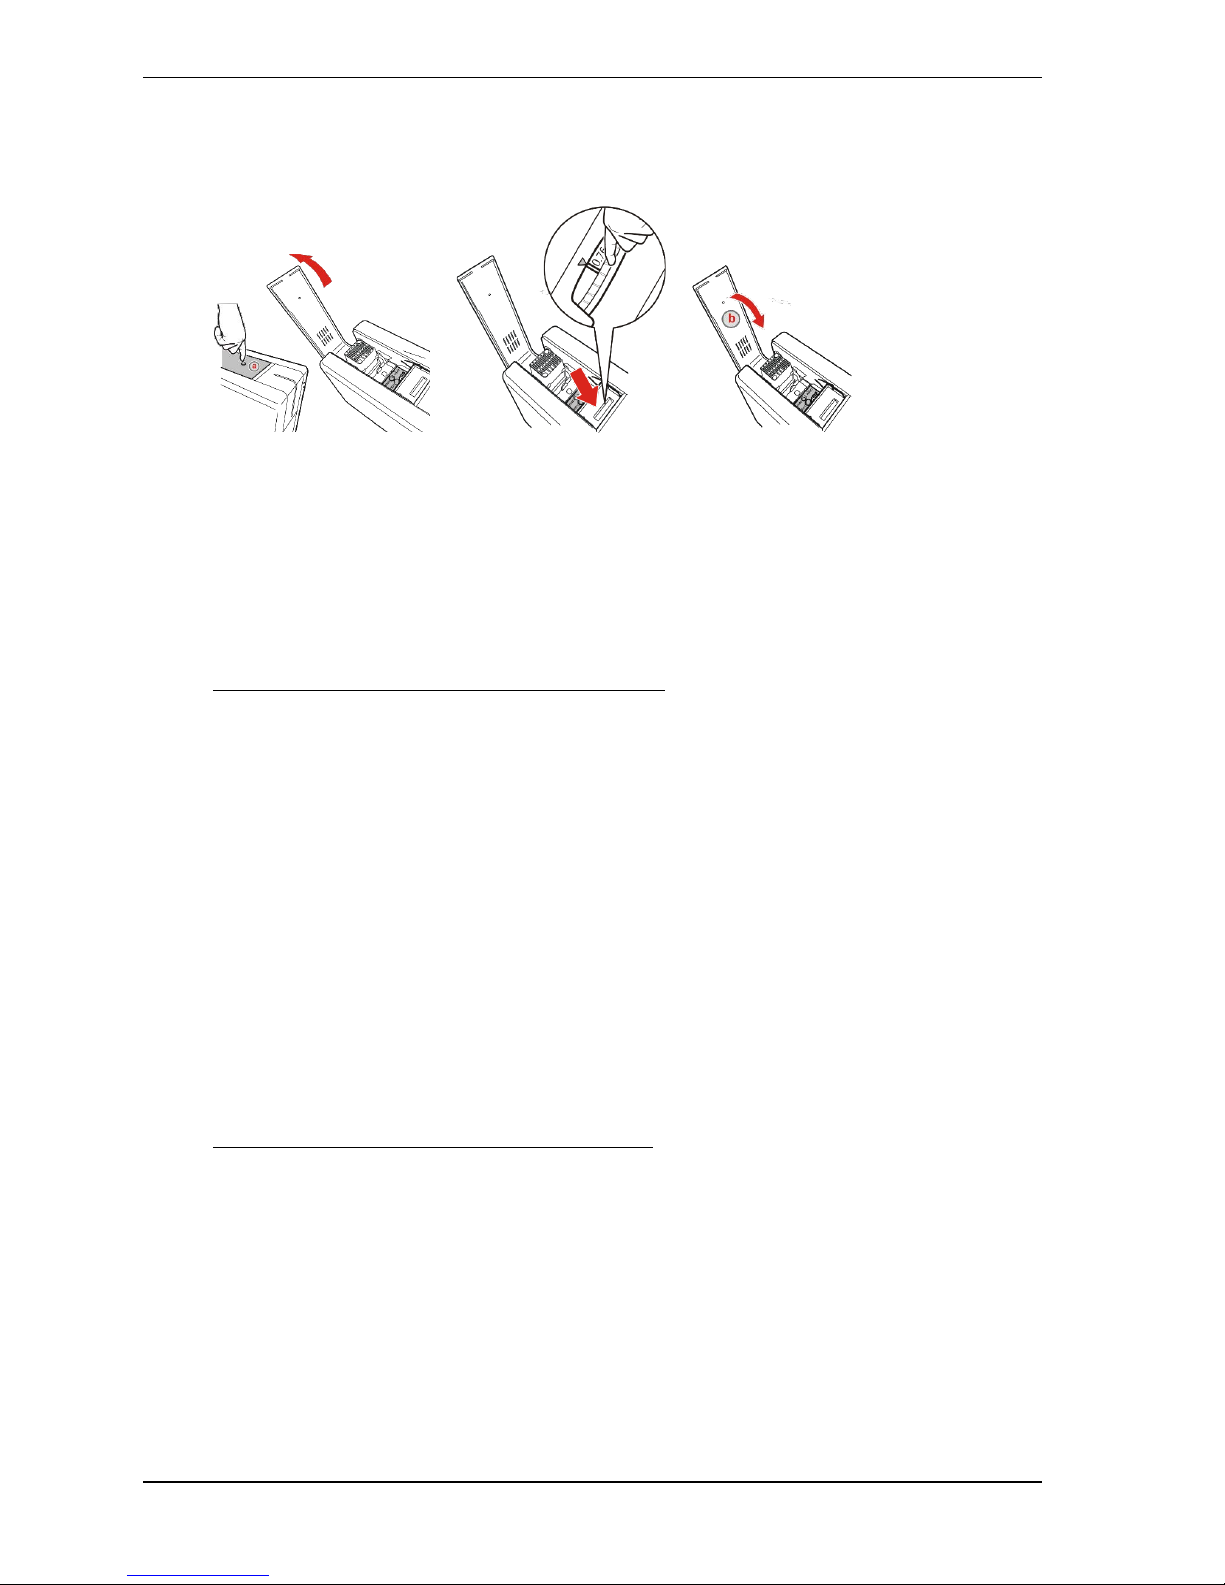
• Adjusting the Card thi ckness
Adjust the card thickne ss using the green wheel inside the input hopper.
1. Open the printing module compartment cover
2. Rotate the green wheel until the arrow points to the thickness of the card to be
printed.
3. Close the printing module compartment cover.
Partex PFC cards, recommended settings
Recommended settings for card thickness, 0.76
PFC 04212
PFC 04215
PFC 04218
PFC 04221
PFC 04230
PFC 09540 Recommendation, see below.
PFC 09580 Recommendation, see below.
PFC 09518 Recommendation, see below.
PFC 07533
Recommended settings for card thickness, 0.5
PFC 45080 Recommendation, see below.
PFC 07014 Recommendation, see below.
PFC 12726 Recommendation, see below.
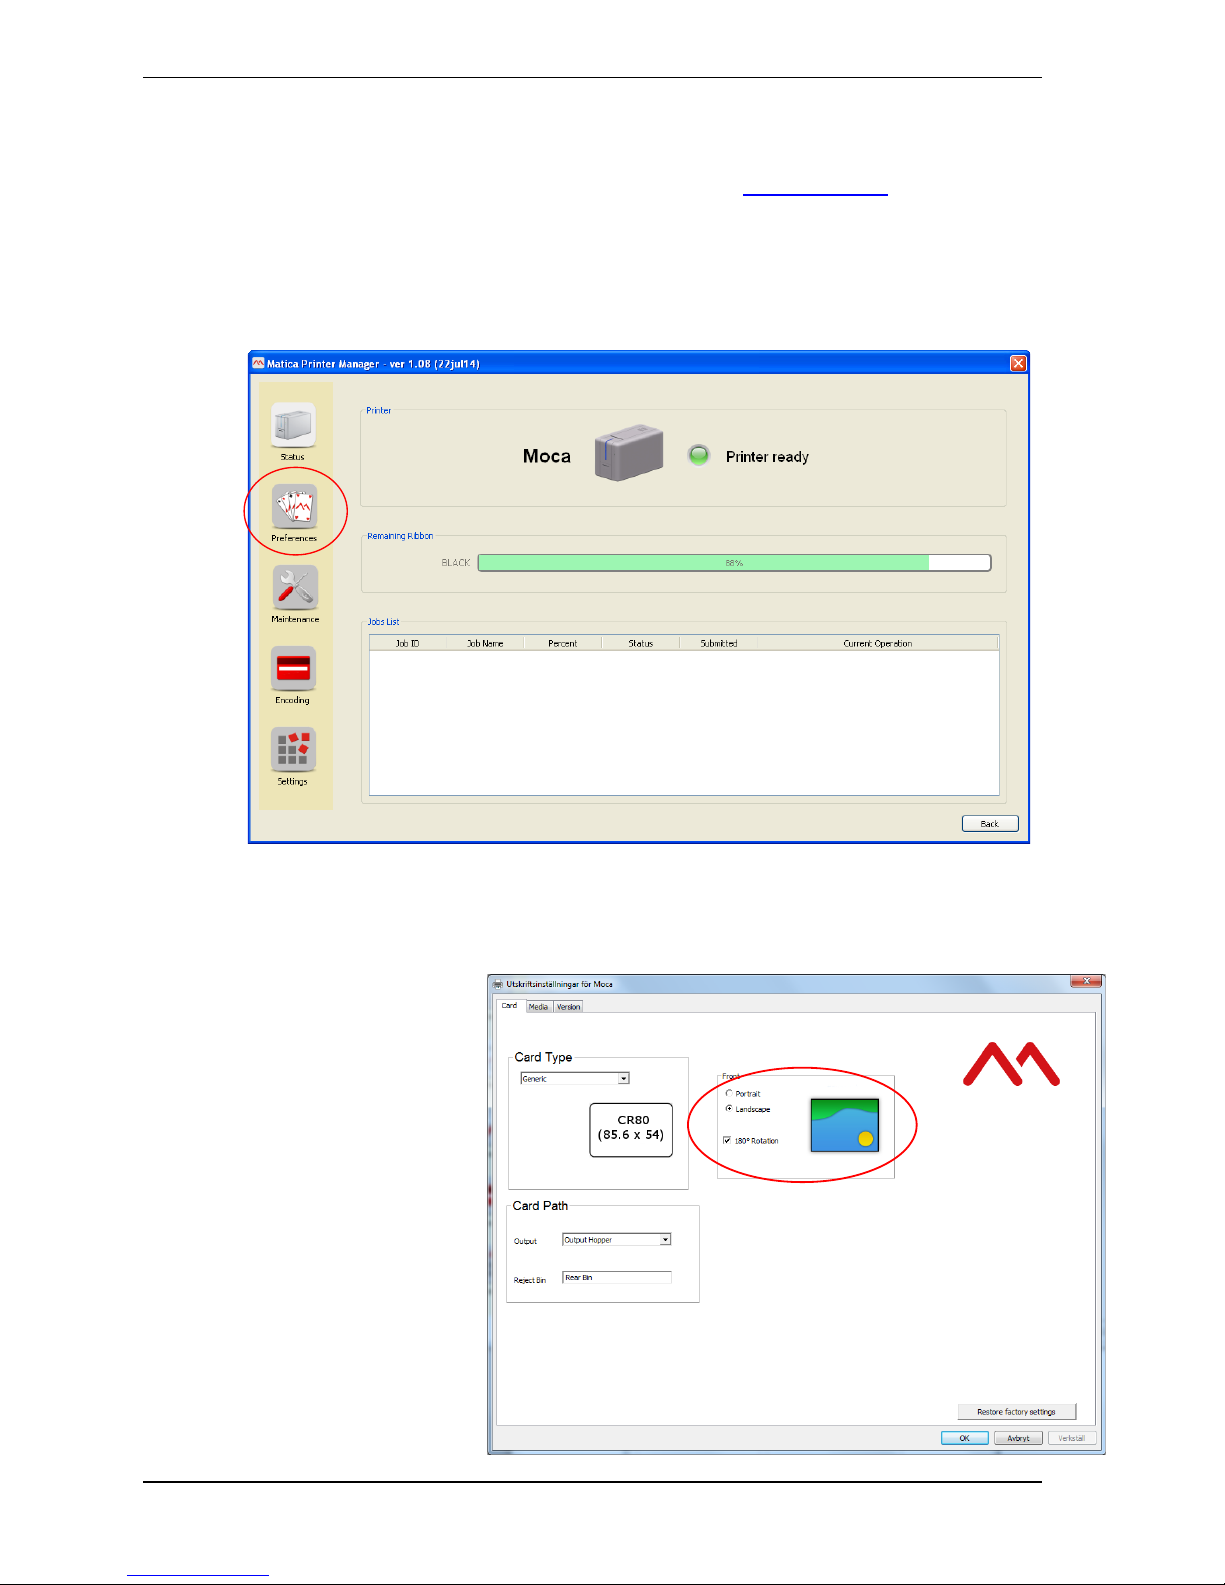
In Matica Printer Manager choose “output hooper” under Preferences -> Card.
See instructions under “Set printing settings” in t his manual.
Quick Start Moca
Partex Marking System
• Install Partex software, WinSign.
WinSign 6.x Latest version is available for download (for registered users)
together with a software manual, on www.partex.nu
. Follow the
software instruction.
• Set printing settings
Choose Matica Printer Manager in the start menu, then click the icon for Matica on the
taskbar. A print setting for your printer opens.
• Click on the button Preferences.
• Under the tab for Card, make following changes.
• Mark landscape.
• Mark 180° rotation.
 Loading...