

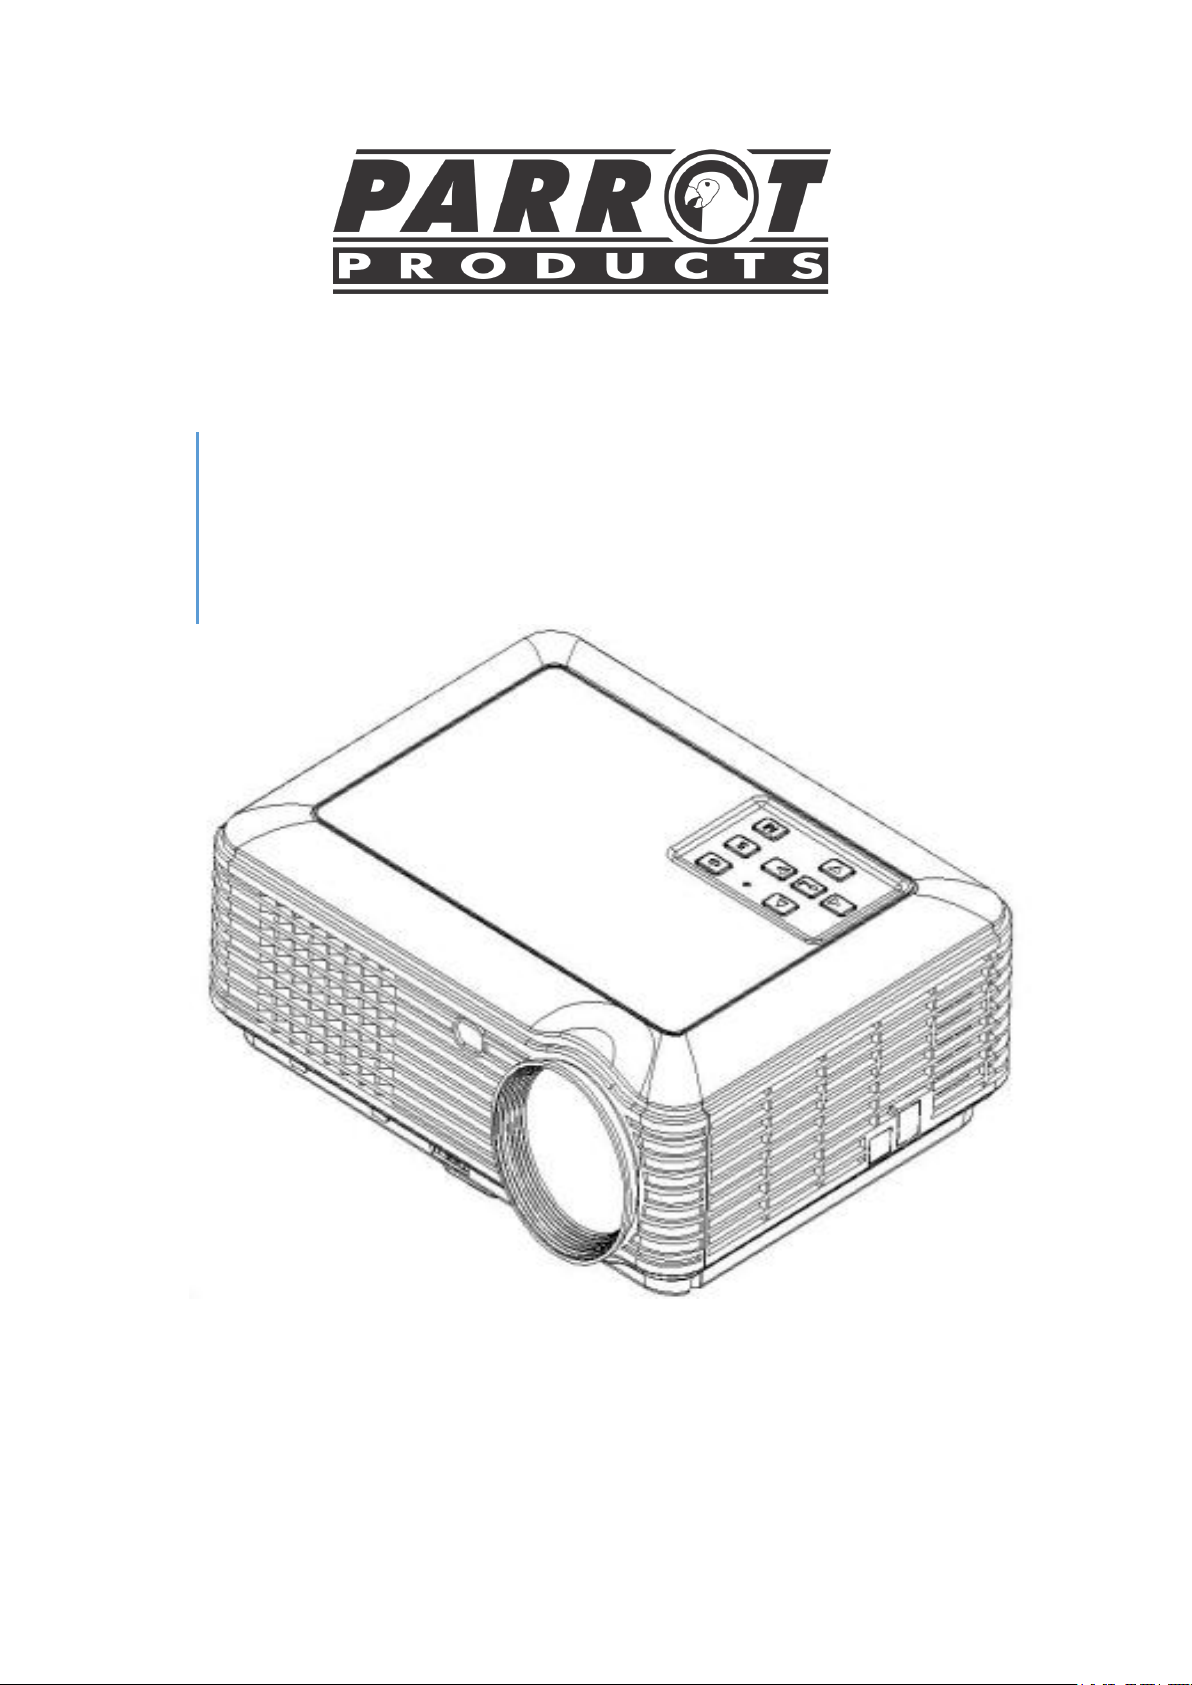
Parrot Products OP0475 User Manual
\
MODEL: OP0475
USER MANUAL
Before using the projector, read this manual carefully

1
Contents
Safety Instructions……………………………………………………… 2
Installation………………………………………………………………. 4
Projector Overview……………………………………………………… 5
Placement…………………………………………………………………7
Connection of external devices………………………………………… 8
Control Panel…………………………………………………………… 9
Remote control Function………………………………………………. 10
Powering On/Off The Projector……………………………………… 11
Image Adjustment…………………………………………………….. 12
Menu Settings…………………………………………………………. 15
Trouble Shooting……………………………………………………… 18
Packing List…………………………………………………………… 19
Specifications……………………………………………………….…. 20

2
Safety Instructions
Read all of these instructions before you operate your projector and save for future
reference. Whilst precautions have been taken to ensure the safety of this projector, misuse or
improper application may result in electrocution or fire.
1. Read instructions
All the safety and operating instructions should be read before the appliance is
operated.
2. Notes and Warnings
All notes and warnings in the operating instructions should be adhered to.
3. Cleaning
Unplug the projector from the wall socket before cleaning. Use a damp cloth for
cleaning the projector housing. Do not use liquid or aerosol cleaners.
4. Accessories
Do not place this product on an unstable surface. The product may fall,
causing serious damage to the product.
Keep plastic packing materials (from the projector, accessories and optional
parts) out of the reach of children.
5. Ventilation
The projector is equipped with ventilation holes (intake) and ventilation holes (exhaust).
Do not block or place anything near these slots, as internal heat build-up may occur,
causing picture degradation or damage to the projector.
6. Power sources
Check that the operating voltage of your unit is identical with the voltage of your local
power supply.
7. Servicing
Do not attempt to service this projector yourself. Refer all servicing to qualified
service personnel.
8. Replacement parts
When replacement parts are required, be sure that the replacement parts are
specified by the manufacture. Unauthorized substitutions may result in fire, electric
shock or other hazards.
9. Moisture Condensation
Never operate this projector immediately after moving it from a cold location to
a warm one. When the projector is exposed to such a change in temperature,
moisture may condense on the lens and the crucial internal parts. To prevent
the unit from possible damage, do not use the projector for at least 2 hours
when there is an extreme or sudden change in temperature.
10. Temperatures
Operating temperature
-5℃~+35℃
Storage temperature

3
-10℃~+45℃
11. Handling
When handling the projector, be sure not to drop or shake the unit. This could cause damage to
the lens. Disconnect all cables and plugs from the unit before moving. Do not hold the lens.
12. Humid Environment
Do not use the unit in a humid environment or near water, this may result in electrocution.

4
Installation
In order to minimize the risk of damages to the projector unit, the projector needs to be placed in a
dust free environment.
1. Direct Sunlight
The projector should not be placed in direct sunlight as this will result in unclear images and
viewing difficulty.
2. Projector Placement
Place the projector at the correct distance in order to obtain the desired picture size determine
this before installing by turning on the projector and walking backwards away from the screen,
image directed at the screen, until the image fills the screen. When ceiling mounting ensure
that the bracket and the projector is securely mounted in order to prevent injuries.
3. Do not block the intake vents
Leave a 20 cm distance between the projector vents and surrounding objects
Ensure the Projector vents are not blocked
If the projector detects that the unit is overheating, the unit will turn itself off. When the unit
has cooled down, it will return to its standard functions.
Use the projector remote control or the power button to turn off the unit. Once the unit has
been switched off, the cooling fan will continue to run in order to reduce the internal
temperature.
5
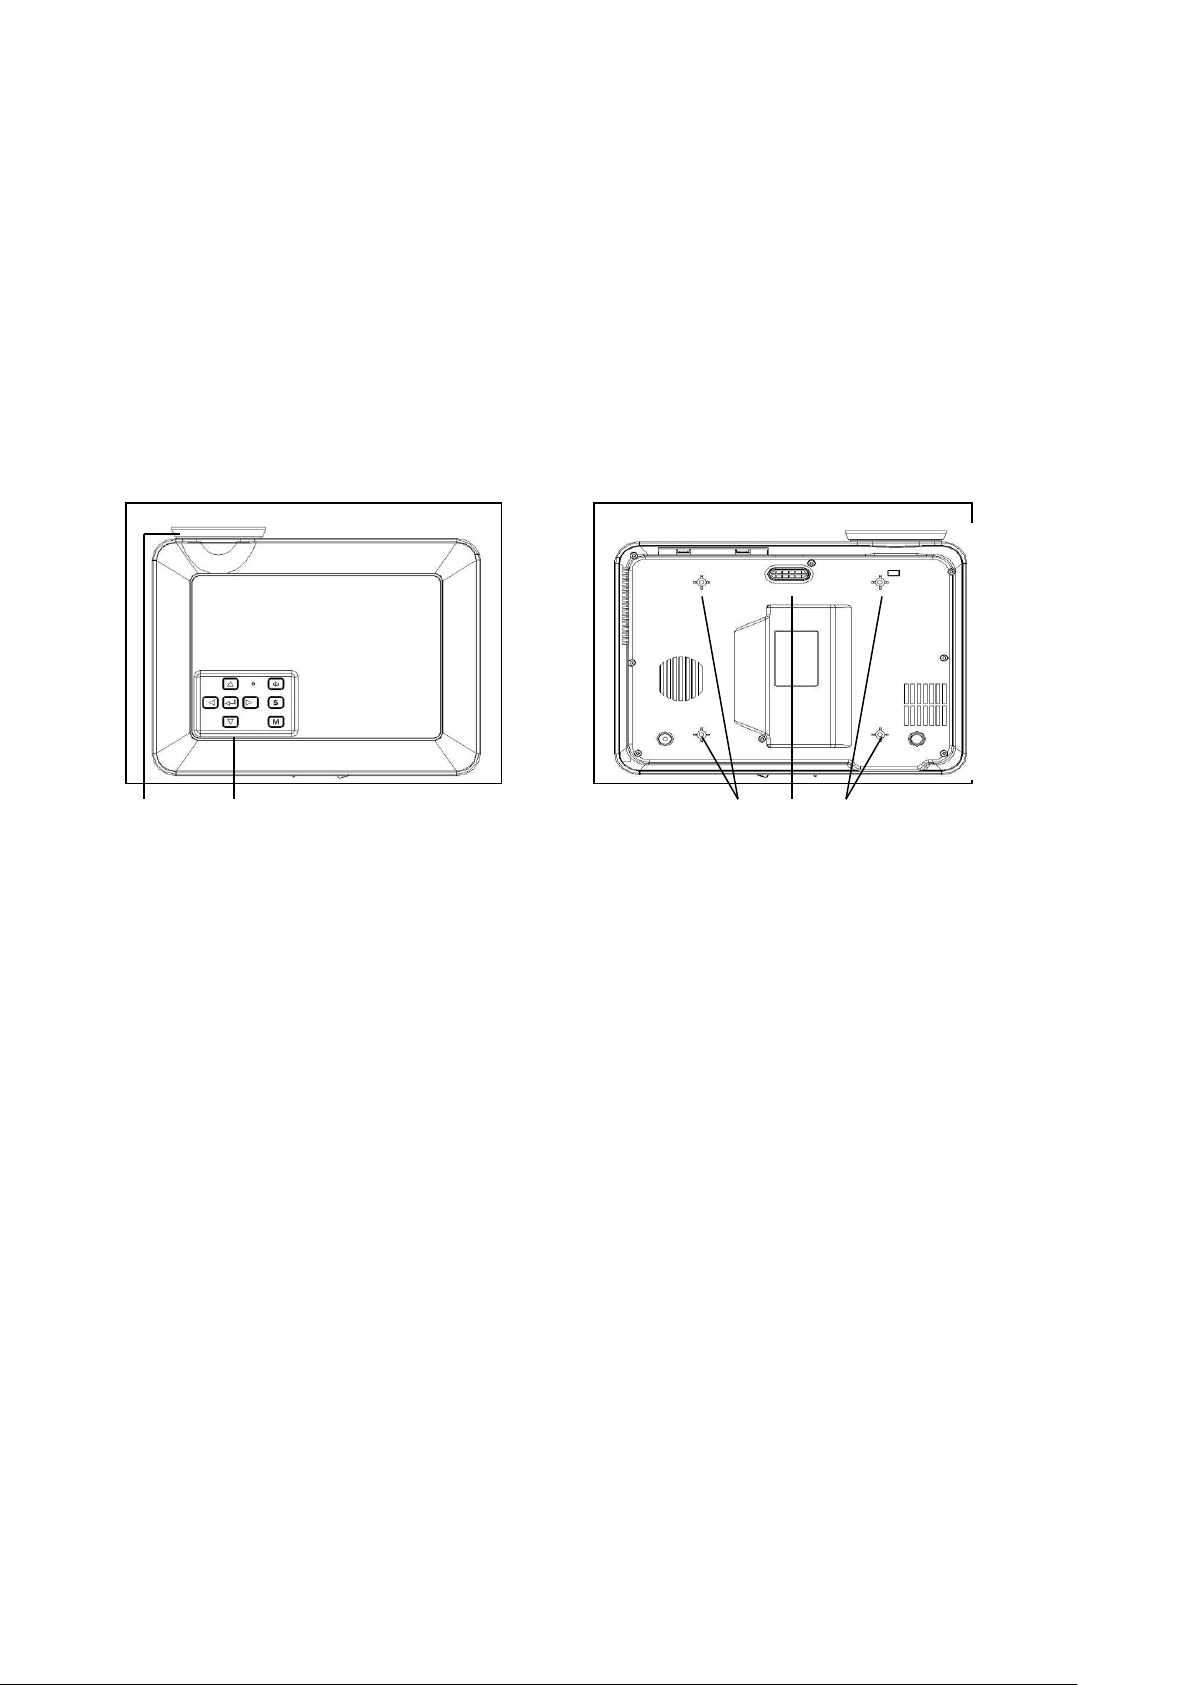
Projector Overview
The appearance and function of the projector
The following inputs can be used: HDMI, Composite Video, VGA and USB.
Videos and documents can be read by the projector unit through USB.
Supports audio signal input and output.
Top View Bottom View
① ② ③ ④
① Projection Lens
② Control Panel
③ Hanger Screw Hole
④ Angle Adjustment Mechanism
Hanger screw holes allow for the unit to be installed on a ceiling bracket. Use M5× 15 screws to fix
the unit.
6
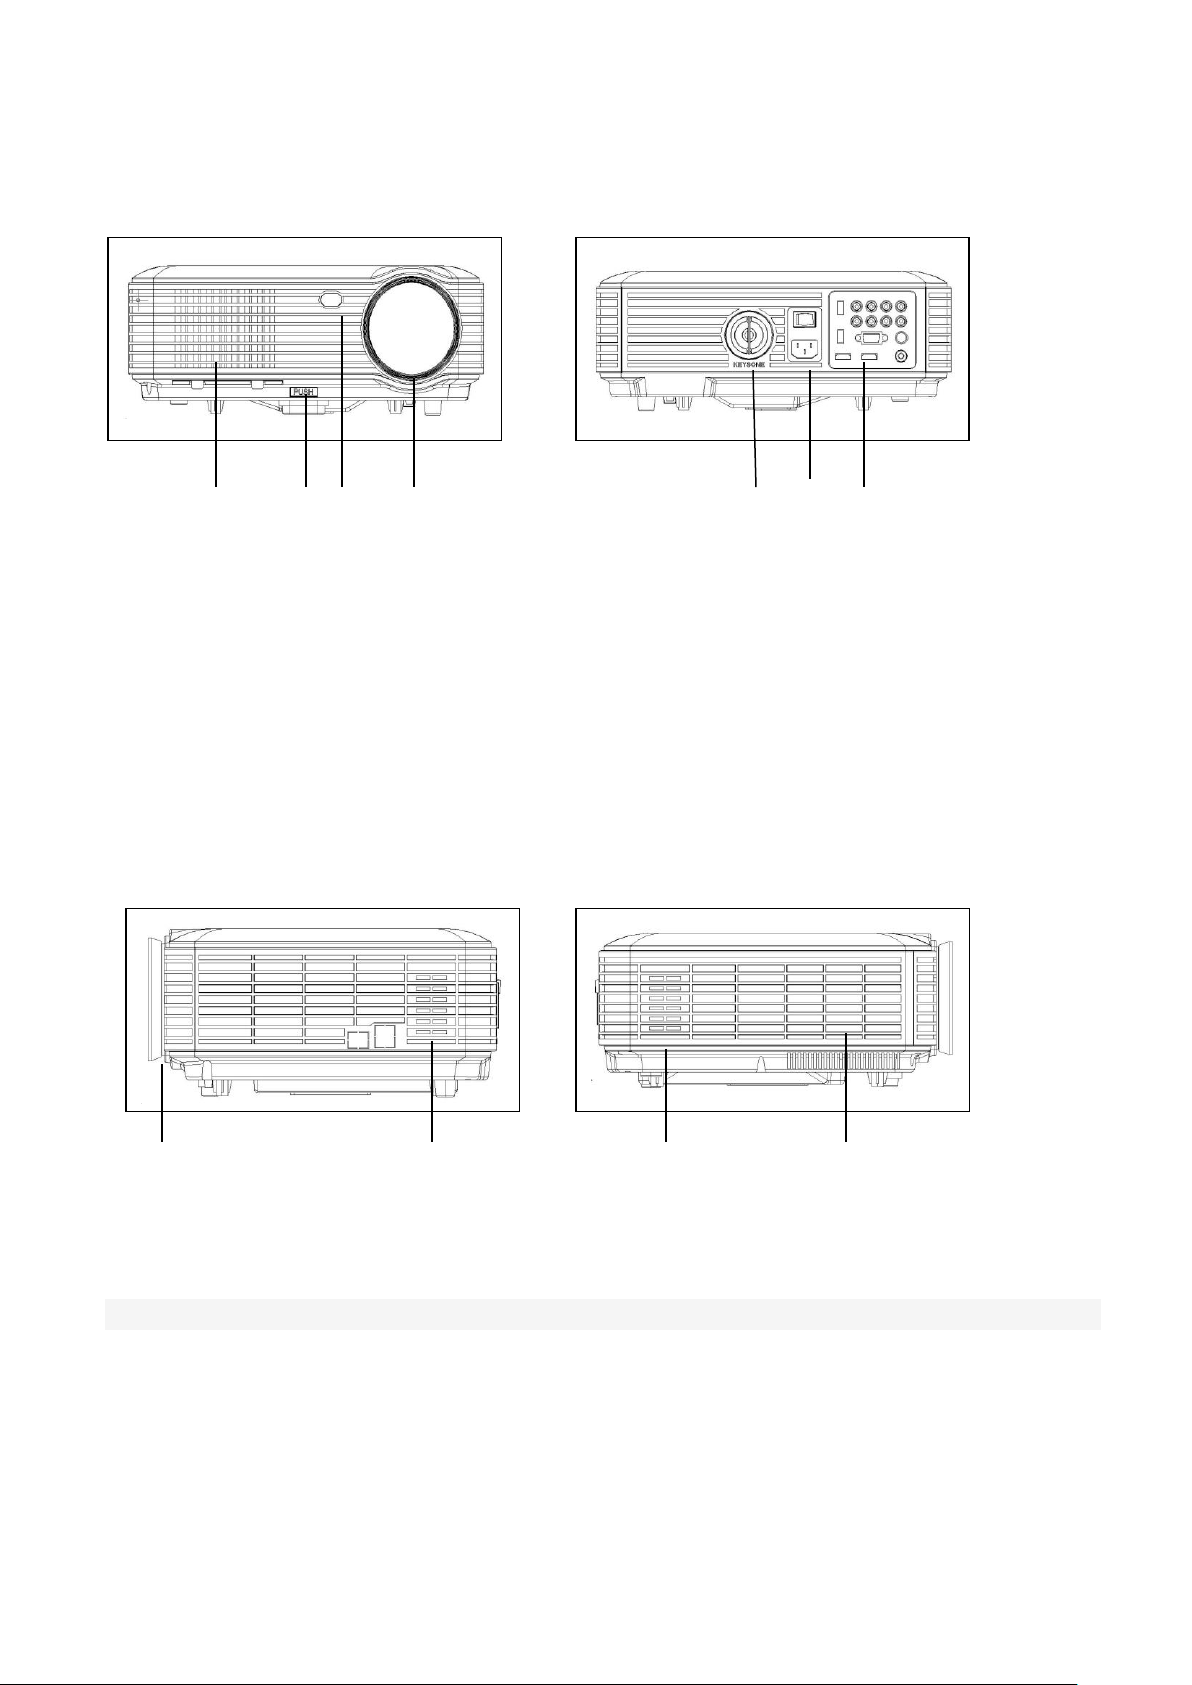
Front view Rear view
① ② ③ ④ ⑤ ⑥ ⑦
① Ventilation Holes
② Angle Adjustment Mechanism
③ Window of remote control
④ Projection Lens
⑤ Keystone Correction
⑥ Power input
⑦ Signal input
Left side view Right side view
① ② ② ③
① Projection Lens
② Speaker Window
③
Ventilation hole
 Loading...