

PARKZONE Ultra Micro DH 98 Mosquito Mk VI Instruction Manual
Ultra Micro
DH 98 Mosquito Mk VI
Instruction Manual
Bedienungsanleitung
Manuel d’utilisation
Manuale di Istruzioni
2
EN
Additional Safety Precautions and Warnings
As the user of this product, you are solely responsible for operating in a manner that does not
endanger yourself and others or result in damage to the product or the property of others.
This model is controlled by a radio signal subject to interference from many sources outside
your control. This interference can cause momentary loss of control so it is advisable to always
keep a safe distance in all directions around your model, as this margin will help avoid collisions
or injury.
Age Recommendation: Not for children under 14 years. This is not a toy.
•
Always keep a safe distance in all directions around your model to avoid collisions or injury.
This model is controlled by a radio signal subject to interference from many sources outside
your control. Interference can cause momentary loss of control
• Always operate your model in open spaces away from full-size vehicles, trac and people.
• Always carefully follow the directions and warnings for this and any optional support
equipment (chargers, rechargeable battery packs, etc.).
• Always keep all chemicals, small parts and anything electrical out of the reach of children.
• Always avoid water exposure to all equipment not specically designed and protected for
this purpose. Moisture causes damage to electronics.
• Never place any portion of the model in your mouth as it could cause serious injury or
even death.
• Never operate your model with low transmitter batteries.
WARNING: Read the ENTIRE instruction manual to become familiar with the features of
the product before operating. Failure to operate the product correctly can result in damage
to the product, personal property and cause serious injury.
This is a sophisticated hobby product. It must be operated with caution and common sense
and requires some basic mechanical ability. Failure to operate this Product in a safe and
responsible manner could result in injury or damage to the product or other property. This
product is not intended for use by children without direct adult supervision. Do not attempt
disassembly, use with incompatible components or augment product in any way without
the approval of Horizon Hobby, Inc. This manual contains instructions for safety, operation
and maintenance. It is essential to read and follow all the instructions and warnings in the
manual, prior to assembly, setup or use, in order to operate correctly and avoid damage or
serious injury.
NOTICE
All instructions, warranties and other collateral documents are subject to change at the sole
discretion of Horizon Hobby, Inc. For up-to-date product literature, visit
www.horizonhobby.com and click on the support tab for this product.
Meaning of Special Language:
The following terms are used throughout the product literature to indicate various levels of
potential harm when operating this product:
NOTICE: Procedures, which if not properly followed, create a possibility of physical
property damage AND little or no possibility of injury.
CAUTION: Procedures, which if not properly followed, create the probability of physical
property damage AND a possibility of serious injury.
WARNING: Procedures, which if not properly followed, create the probability of property
damage, collateral damage, and serious injury OR create a high probability of
supercial injury.
3
EN
Thank you for purchasing the ParkZone Ultra Micro Series DeHavilland DH 98 Mosquito Mk VI.
The speed, range and maneuverability of the Mosquito Mk. VI earned it a variety of combat roles
during World War II. Low-level reconnaissance, anti-shipping and night ghter missions – it did
it all. ParkZone brings the legendary “Mossie” to life in a Bind-N-Fly Ultra Micro Series replica that
features scale details like a camo paint scheme, nose guns, removable landing gear, steerable tail
wheel, exhaust covers and 3-blade propellers. These details combine with the power of its twin
motors and 250mAh Li-Po battery to give you a one-of-a-kind twin-engine ultra micro that looks
fantastic and ies great.
To register your product online, go to www.parkzone.com
Table of Contents
Mosquito Specications
Wingspan 20.5 in (520mm)
Length 15.2 in (387mm)
Weight 2.60 oz (74 g)
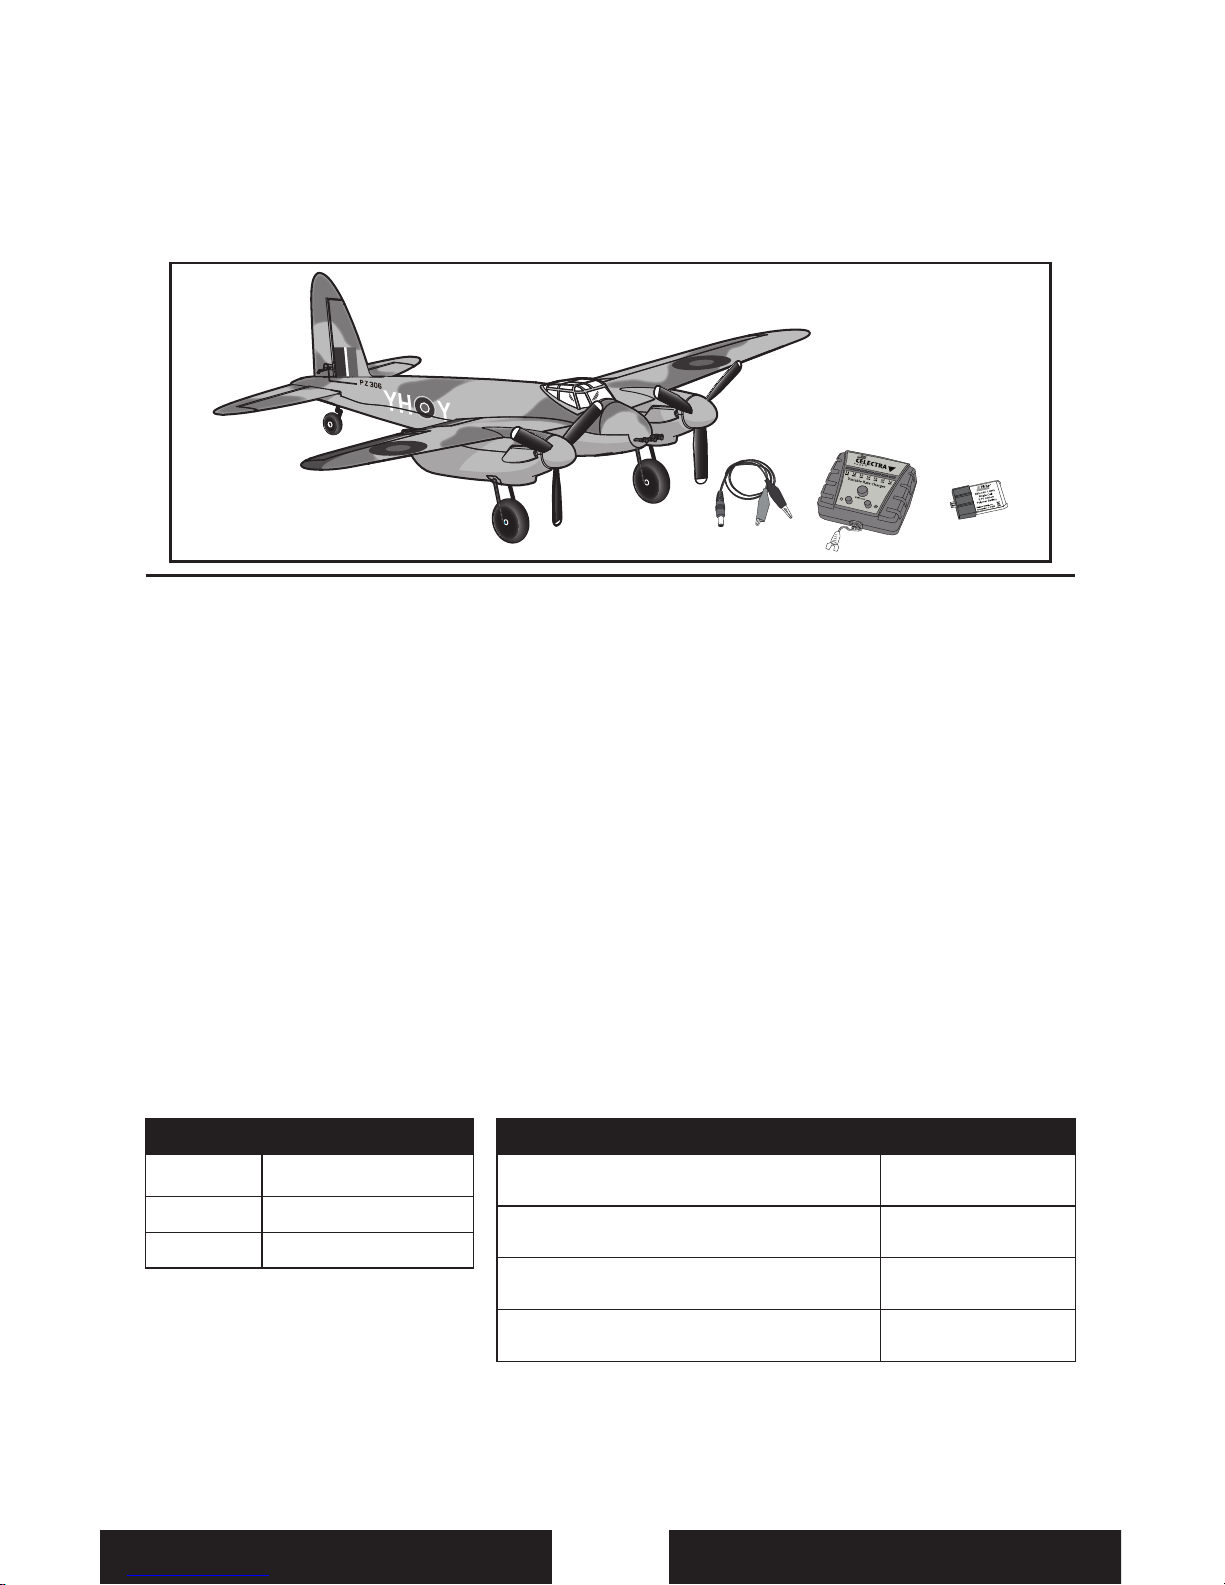
Mosquito Features Bind-N-Fly® Aircraft
Onboard Electronics
Spektrum
TM
AR6400T Receiver/Servos/ESC
Installed
Battery
250mAh 3.7V Li-Po
Included
Charger
1S 3.7V Li-Po Battery Charger
Included
Transmitter
DSM Aircraft Transmitter
Sold Separately
Additional Safety
Precautions and Warnings
.....................................2
Table of Contents
......................................................3
Battery Warnings
.......................................................4
Low Voltage Cuto (LVC)
....................................... 4
Charging the Battery
............................................... 5
Installing Flight Battery
........................................... 6
Transmitter and Receiver Binding
...................... 6
Before Flight
................................................................ 6
First Flight Preparation
............................................ 7
Control Centering
.....................................................7
Settings for Control Horns
.....................................7
Adjusting Center of Gravity (CG)
..........................7
Control Direction Test
............................................. 8
Service of Power Components
............................ 9
Power Component Access
.....................................9
Replacing the Propeller or Gear Shaft................9
Replacing the Motor.................................................9
Removing and Installing Landing Gear
............. 9
Dual Rates
................................................................. 10
Flying Tips and Repairs
......................................... 10
Maintenance After Flying
.................................... 10
Troubleshooting Guide
........................................ 11
Warranty and Repair Policy
................................. 12
Warranty and Service
Contact Information
.............................................. 13
Compliance Information
for the European Union
........................................ 13
Replacement Parts
................................................. 51
Optional Parts
.......................................................... 52
Parts Contact Information
................................... 53
4
EN
The Battery Charger (EFLC1007) included with the Mosquito BNF has been designed to safely
charge the Li-Po battery.
CAUTION: All instructions and warnings must be followed exactly. Mishandling of Li-Po
batteries can result in a re, personal injury, and/or property damage.
• By handling, charging or using the included Li-Po battery you assume all risks associated
with lithium batteries.
• If at any time the battery begins to balloon or swell, discontinue use immediately. If
charging or discharging, discontinue and disconnect. Continuing to use, charge or
discharge a battery that is ballooning or swelling can result in re.
• Always store the battery at room temperature in a dry area for best results.
• Always transport or temporarily store the battery in a temperature range of 40-120º F. Do
not store battery or model in a car or direct sunlight. If stored in a hot car, the battery can
be damaged or even catch re.
• Never exceed the recommended charge rate.
•
NEVER USE A Ni-Cd OR Ni-MH CHARGER. Failure to charge the battery with a compatible
charger may cause re resulting in personal injury and/or property damage.
• Never discharge Li-Po cells to below 3V under load.
• Never cover warning labels with hook and loop strips.
Battery Warnings
Low Voltage Cuto (LVC)
When a Li-Po battery is discharged below 3V, it will not hold a charge. The Mosquito ESC
protects the ight battery from over-discharge using Low Voltage Cuto (LVC). Before the
battery charge decreases too much, LVC removes power supply from the motors. Power to the
motors quickly decreases and increases, showing some battery power is reserved for ight
control and safe landing.
When the motor power decreases then increases, please land the aircraft immediately and
recharge the ight battery.
Disconnect and remove the Li-Po battery from the aircraft after use to prevent trickle discharge.
Before storage, charge the Li-Po battery to full capacity. During storage make sure battery
charge does not go below 3V per cell.
NOTICE: Repeated ying to LVC will damage the battery.
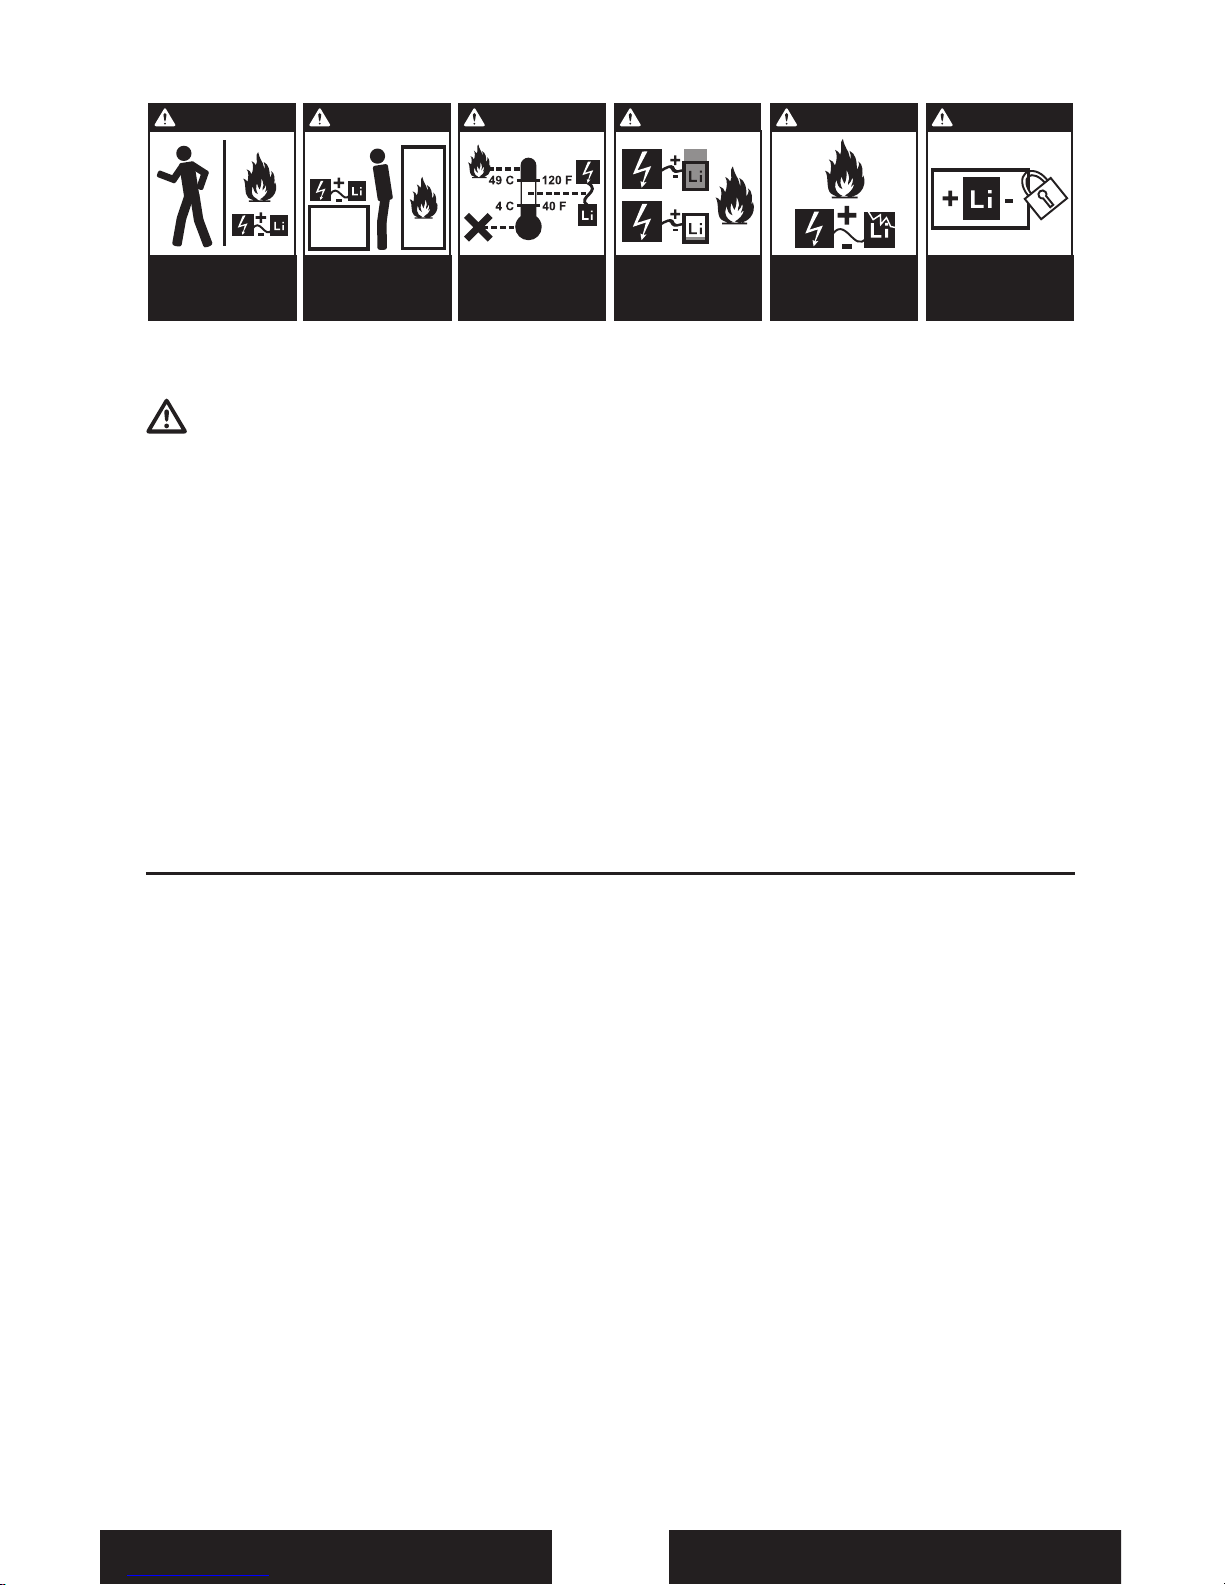
WARNING WARNINGWARNINGWARNINGWARNING WARNING
Never charge
Batteries outside
recommended levels.
Store
Batteries safely.
Never charge
damaged Batteries.
Never leave
charging Batteries
unattended.
Never charge
Batteries outside safe
temperature range.
Always charge
Batteries away from
flammable materials.
5
EN
The Battery Charging Process
1. Charge only batteries that are cool to the touch and are not damaged. Make sure battery is NOT
damaged e.g., swollen, bent, broken or punctured.
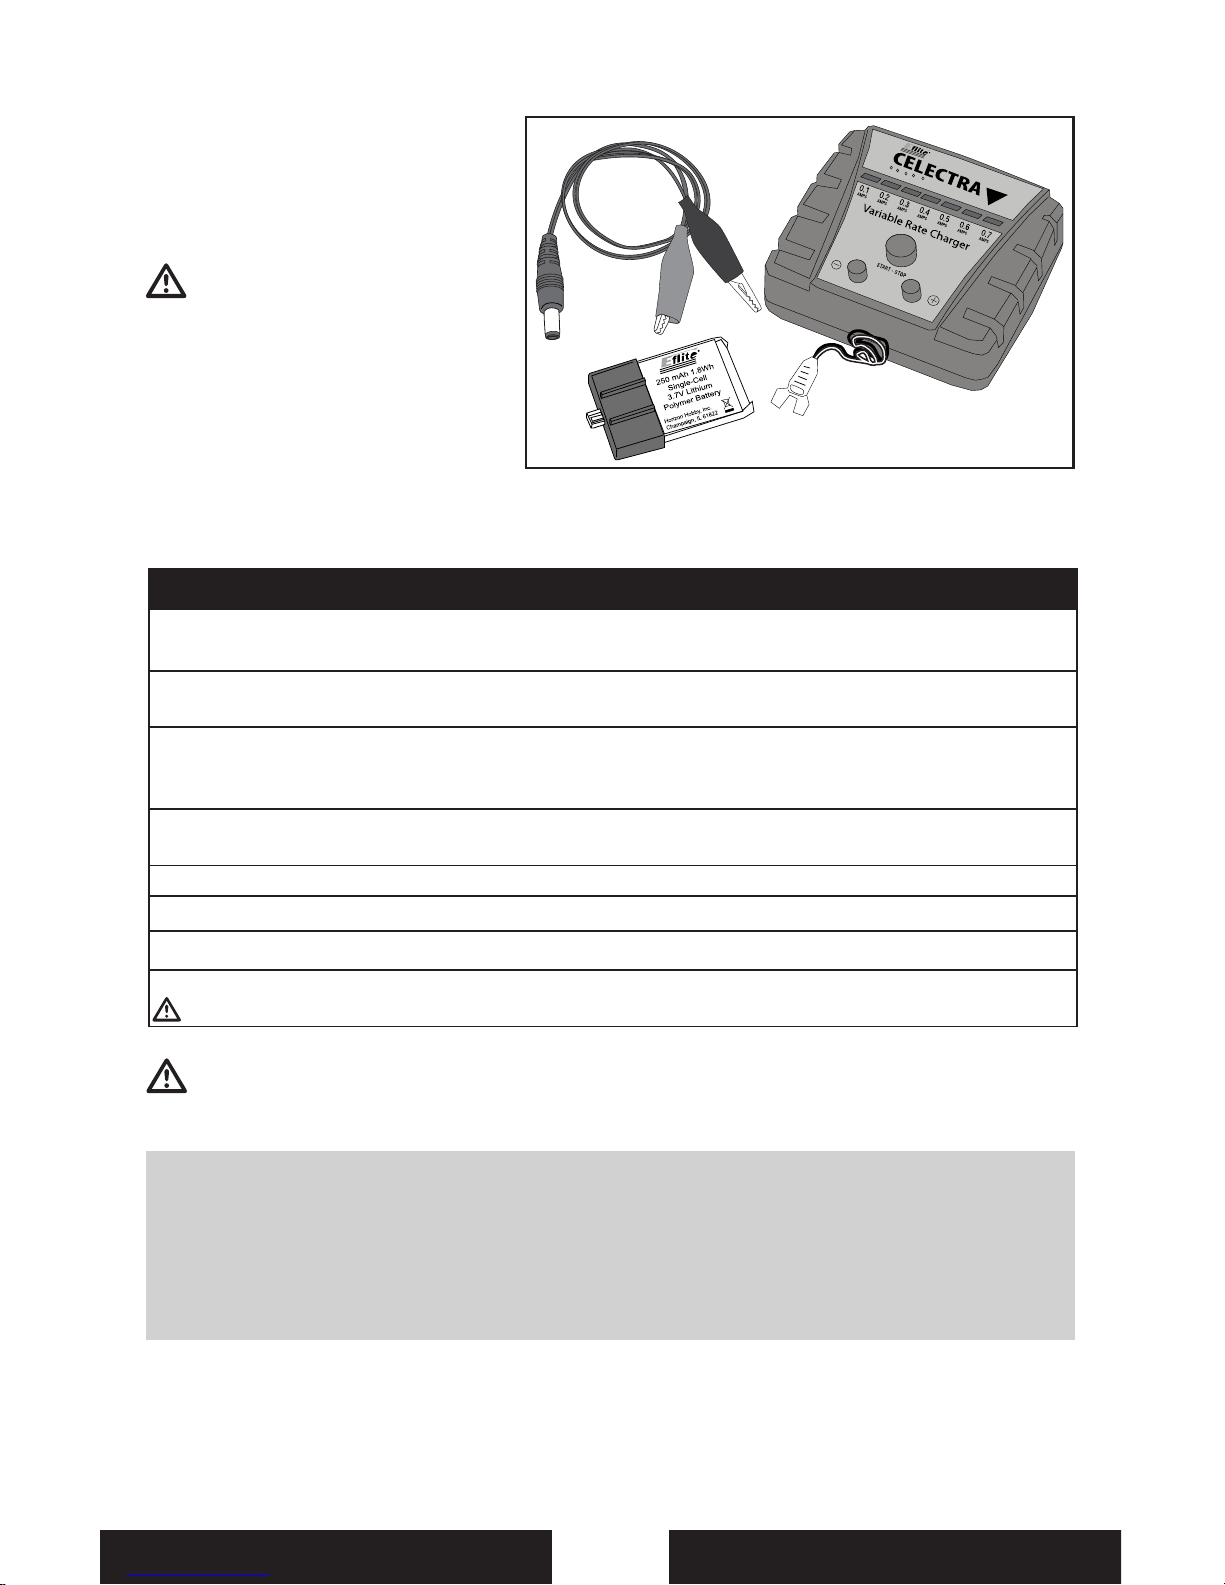
2. Put the included charger cord (EFLUC1008) output plug in power socket of the Variable
Rate Charger.
3. Connect the charger cord (EFLUC1008) clips to correct poles on a fully charged 6-or 12-volt battery
(battery not included). Attach red clip to positive (+) pole and black clip to negative (-) pole. An
LED on the charger will illuminate.
4. Press + or - buttons (buttons to the right (+) and left (-) of the large middle button) to make
charger LEDs show at the 0.7-amp mark (included 250mAh battery requires 0.7 amps).
5. Align red dots on flight battery and charger connector and connect battery to charger connector.
6. Press Start button on the charger (large middle button).
7. When flight battery is fully charged, LEDs will illuminate, sweeping from side to side.
8. Immediately remove fully charged flight battery from the charger.
CAUTION: Overcharging a battery can cause a fire.
WARNING: Failure to use the proper charger for a Li-Po battery can result in serious
damage, and if left charging long enough, will cause a re. ALWAYS use caution when
charging Li-Po batteries.
Charging the Battery
Only charge the battery with the
included Celectra™ 1-Cell 3.7V
Variable Rate DC Li-Po Charger. Please
familiarize yourself thoroughly with
the Battery Warnings and Guidelines
section before continuing.
CAUTION: Never connect Li-Po
batteries to a charger when charger
is not powered. Never leave adapter/
power supply or charger unattended
when power is connected.
A 6-volt battery, a 12-volt battery,
a 12-volt AC/DC power supply or
an E-ite 6V, 1.5-Amp AC/DC Power
Supply may be used with this charger. ALWAYS use a proper AC to DC adapter/power supply
when powering the charger from an AC outlet.
LED Functions under normal operation
•SingleSolidLED ......................................................................................................Shows Charge Current
•SingleLEDFlashing ............................................................................................... Charging
•MultipleLEDSFlashing ........................................................................................Charge Almost Complete
•LEDsSweepingSidetoSide ............................................................................... Charge Complete
6
EN
Transmitter and Receiver Binding
Binding is the process of programming the receiver of the control unit to recognize the GUID
(Globally Unique Identier) code of a single specic transmitter. You need to ‘bind’ your chosen
Spektrum DSM® technology equipped aircraft transmitter to the receiver for proper operation.
Binding Procedure
1. Refer to your transmitter’s unique instructions for binding to a receiver.
2. Make sure the ight battery is disconnected from the aircraft.
3. Power o the transmitter and move the transmitter more than 2 feet (50 cm) from the aircraft.
Keep away from large metal objects (vehicles, etc.) while binding.
4. Connect the ight battery in the aircraft. The receiver LED will begin to ash rapidly. (Typically
after 5 seconds).
Note: Receiver LED is visible in the fuselage when the nose cone is removed.
5. Make sure transmitter controls are neutral and throttle and throttle trim are in low position.
6. Put your transmitter into bind mode. Refer to your transmitter’s manual for binding button or
switch instructions.
7. After 5 to 10 seconds, the receiver status LED will become solid, indicating the receiver is bound
to the transmitter.
Note: If the LED does not go to a solid light, refer to Troubleshooting Guide at back of manual.
Note: For a list of compatible DSM transmitters, please visit www.bindny.com.
Note: When using a Futaba transmitter with a Spektrum DSM module, you will need to reverse
the throttle channel.
Before Flight
Note: Always disconnect the Li-Po from the receiver/ESC of the aircraft when not ying. Failure
to do so will render the battery unusable.
CAUTION: When armed, the motors will turn the propellers in response to any throttle
movement. When the aircraft does not respond, you may need to bind.
1 2
3
Lower throttle and throttle
trim to lowest settings
Connect ight battery and
attach to hook and
loop strip.
Continuous LED
Power on
Transmitter
Wait 5
Seconds
1 32
Note: Always disconnect the Li-Po
from the receiver/ESC of the airplane
when not ying. Failure to do so will
render the battery unusable.
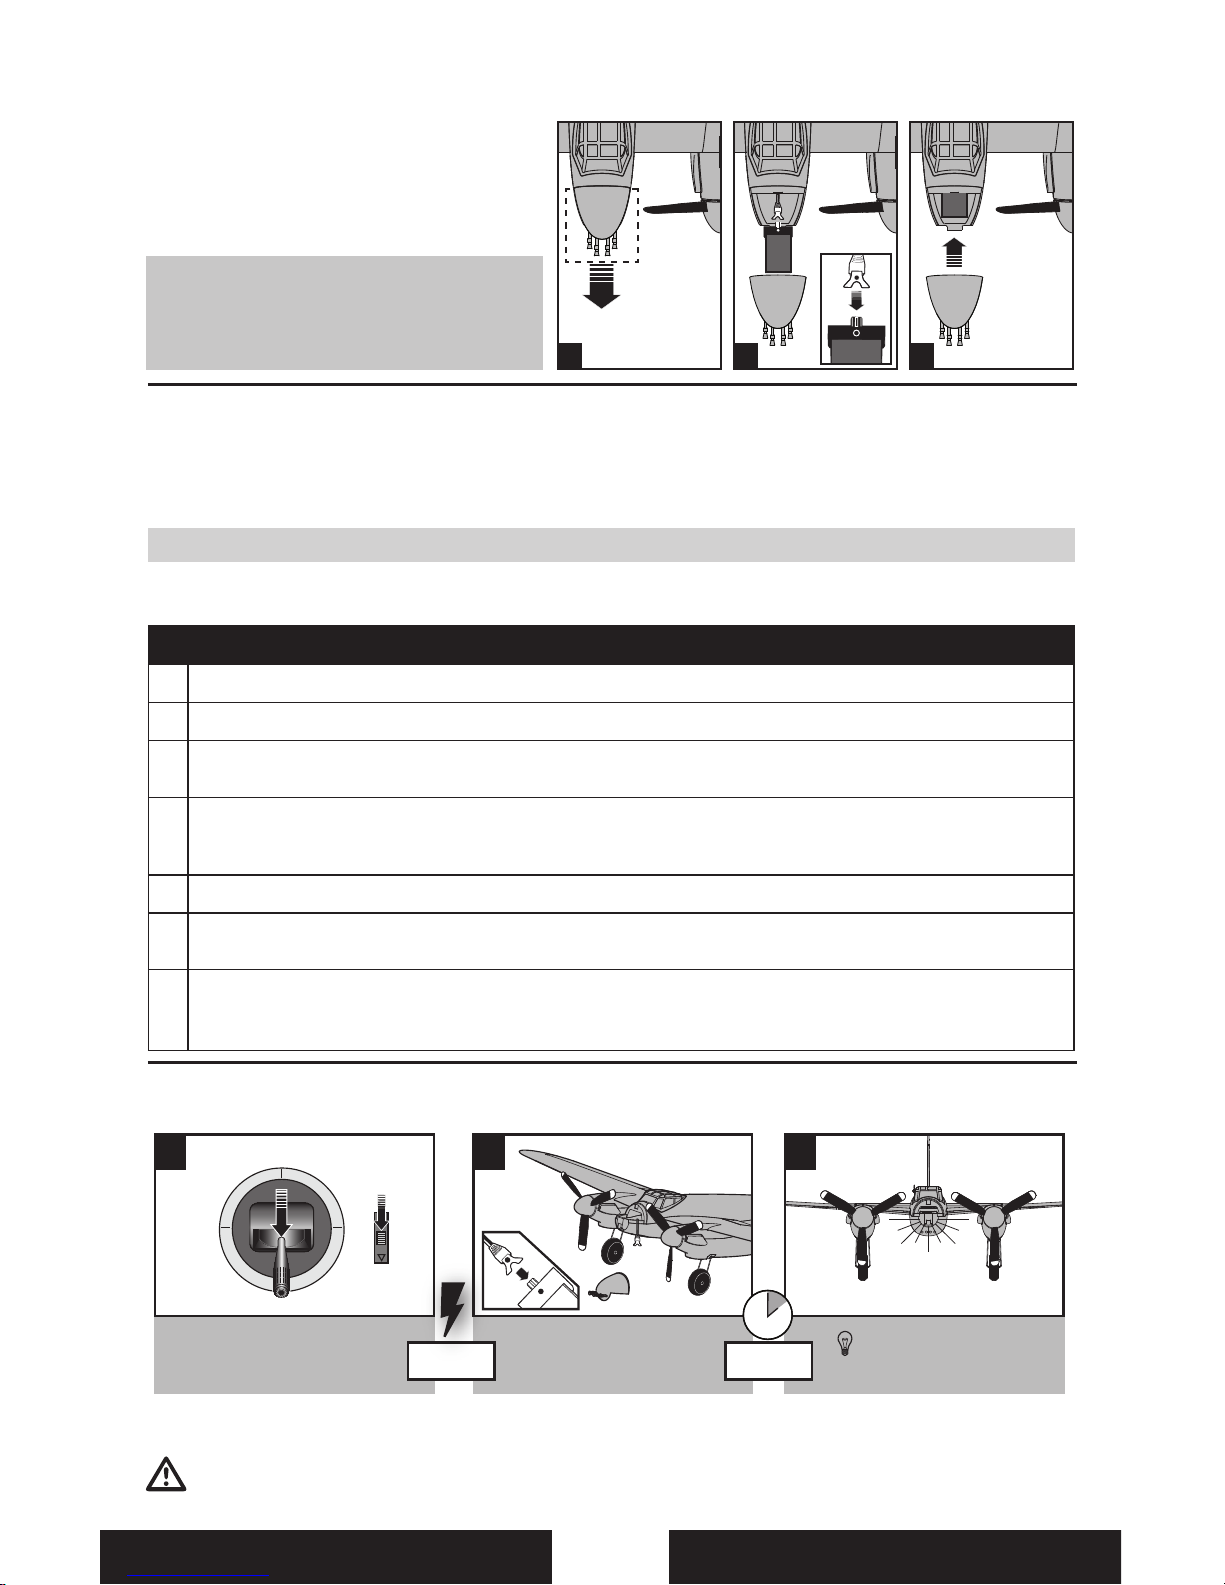
Installing Flight Battery
1. Remove hatch.
2. Correctly align red dots and
attach power connector to battery.
3. Install battery in model using hook and-loop strips then install hatch.
 Loading...