

Page 1
Medical Electronics, Inc.
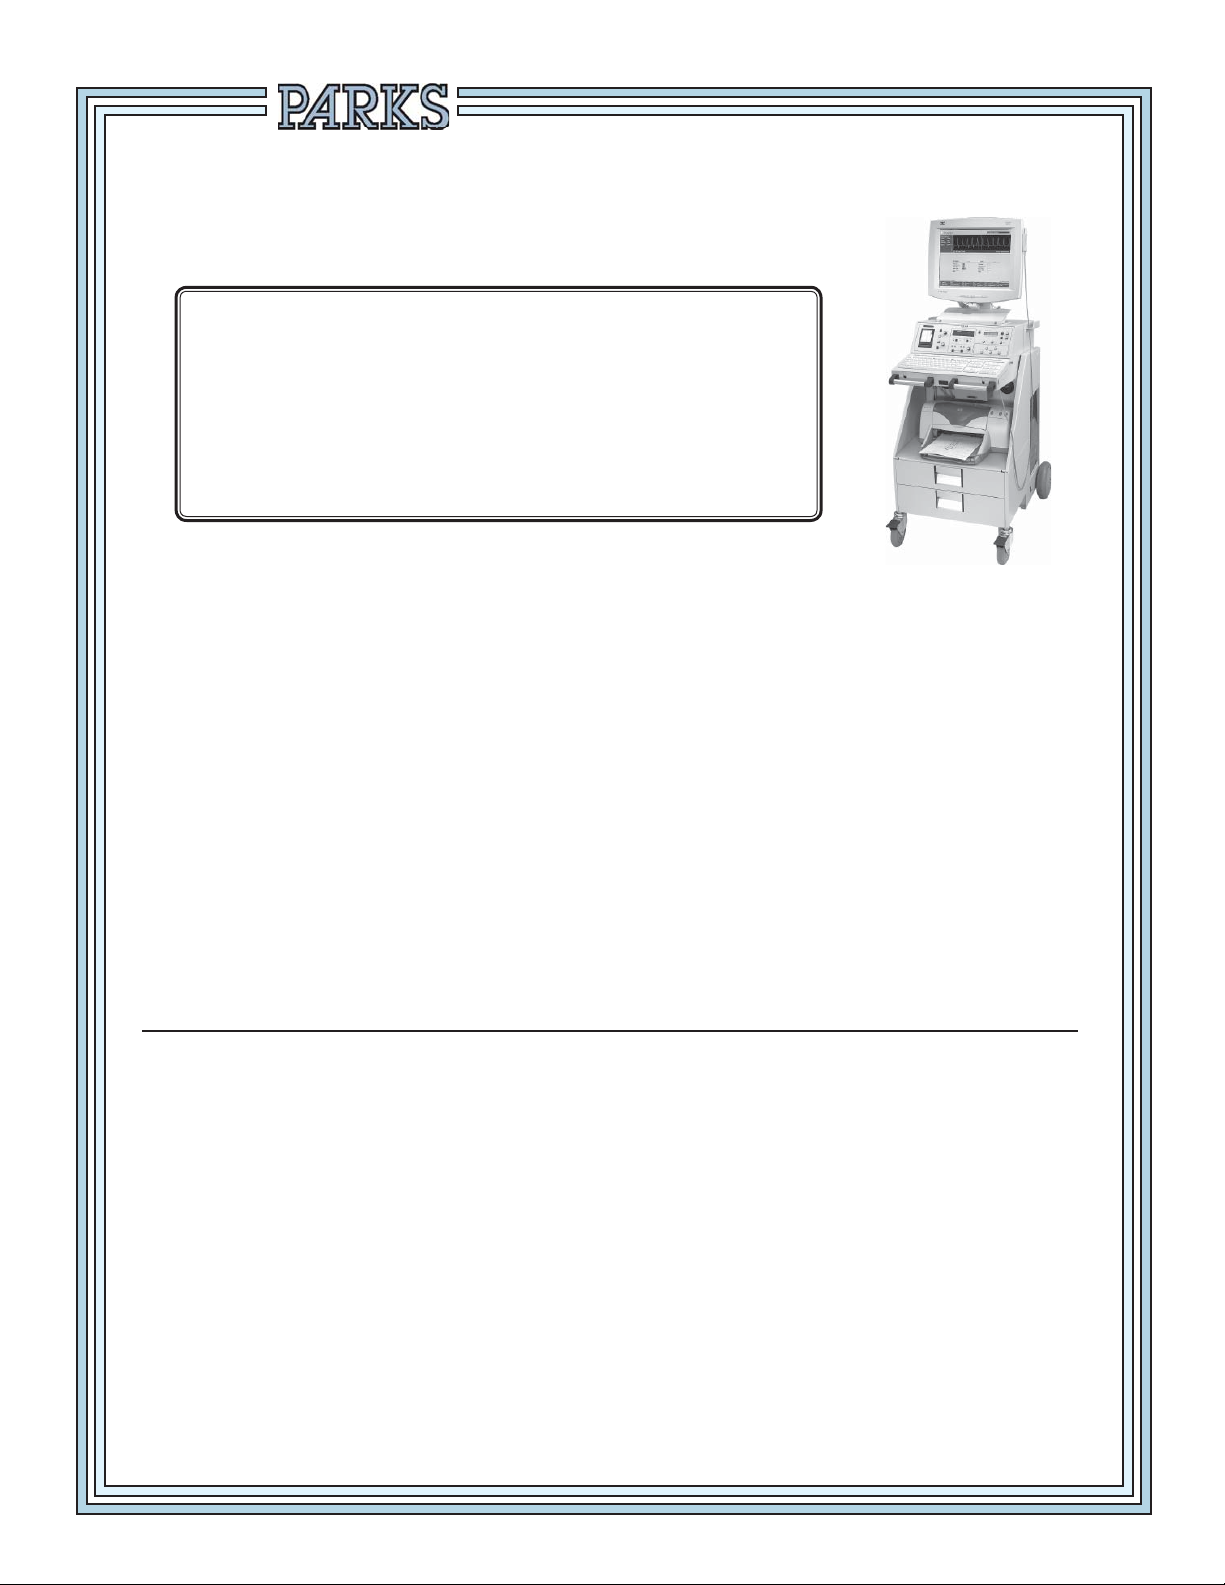
MODEL 2100-SX
CALIBRATION TEST AND
CUFF VOLUME CALIBRATION/VERIFICATION
Notice
This information has been provided to assist you in meeting the accreditation
standards set forth by the Intersocietal Commission for the Accreditation of Vascular
Laboratories.
Parks recommends that you perform the complete fi eld calibration procedure on
your Parks Flo-Lab after every 1000 hours of use or once a year.
To perform both the calibration test and the cuff volume verification/
calibration test, it will be necessary to purchase the calibration test fi xture
(Parks part #80-2100) and─ for units purchased after May 2007─ the 1000 ml
chamber (Parks part #986-3003-25) from the factory.
Please call Parks Medical Electronics, Inc. at 1-888-356-9522, M-F, 7:00-3:30 PM
Pacifi c Time. We will need the model number of your instrument to provide the
correct calibration equipment.
Page 2

PARKS FLO-LAB
FIELD CALIBRATION
1. Position the Flo-Lab and cart with the back next to a sturdy table or workbench.
2. TURN THE MAIN POWER SWITCH OFF ( ) Located on the lower, right-hand side of the
cart). Set the monitor on the bench, with its cables and connections intact, and remove the six
screws holding the Flo-Lab top cover. Set the cover aside.
3. In the right front corner of the Flo-Lab you will see a grey colored metal box enclosure. Remove
the four screws and take off the box cover. Inside the enclosure there are a set of fi ve plug-in
circuit boards, and one other board mounted behind and at right angles to the others.
4. Carefully remove the left most plug-in circuit card and replace it with the Model 80 calibration
fi xture card. The card to be removed should be marked 8.X near the front. Insert the Model
80 calibration fi xture with the component side of the board facing to the left. Connect the
cable that was furnished with the Model 80 to the jack in the top of the fi xture and to the
EXTERNAL INPUT jack on the back of the Flo-Lab.
(
)
I
5. Turn ON
load the Sonova software. From the opening menu choose NEW STUDY. At the next menu
choose LOWER ARTERIAL. Enter a fi rst and last name and press enter. This will put you into
a PATIENT & STUDY SCREEN. Press escape. Now Choose TEST SELECT, then choose
DOPPLER. On the Model 80 calibration fi xture, turn the POWER switch ON and the CAL.
switch to either CAL A or CAL B position.
the Flo-Lab and computer. The computer will boot into Windows and automatically
6. On the Flo-Lab front panel, press the DOPPLER / ON button. The 8 MHz LED should light up.
Also verify that the OUTPUT FILTER - Hz “28” LED is illuminated. If needed, press the button
below the “28” LED until it illuminates. Next press the MENU button (directly to left of front panel
display) to advance to “5 - EXTERNAL SIGNAL OFF”. Press the UP button (directly to right of
the front panel display) to turn the signal on.
7. Use the POSITION knob on the front panel of the Flo-Lab to move the red cursor position to
the 1st division from the bottom of the display. Turn the SIZE control clockwise until the signal
is maximized. Both channels should display an 8 division signal, plus or minus 10%.
8. Press the 5mm / S button to run the chart recorder. The signal on the chart should be 32 mm
plus or minus 3 mm in amplitude.
9. Press STOP to stop the chart recorder. Press the MENU button to advance to “5 - EXTERNAL
ON”. Press the UP button to turn the signal off. Press DOPPLER / ON. Remove the cable
between the Model 80 calibration fi xture and the EXTERNAL INPUT jack. Switch the Model
80 calibration fi xture power OFF.
10. On the left side of the Flo-Lab front panel, use the POSITION control to center the trace in the
grid on the computer monitor. Turn the Flo-Lab SIZE control counter-clockwise to set SIZE A
and SIZE B both to 85.
11. Start the chart recorder at 5mm / S, then set the switches on the Model 80 calibration fi xture
to “A” and “ON”. After 2 or 3 seconds, set the Model 80 to “B”. Verify that, with the switch on
the Model 80 in position “A”, 5 green LEDs under TOWARD are on; and that in position “B”,
5 red LEDs under AWAY are on. Switch back and forth from “A” to “B” several times, then
STOP the chart recorder to examine it. Press The ( key to “freeze” the trace on the computer
monitor.
12. The upper trace on the monitor will look like a square wave, 8 divisions in amplitude, the lower
trace will be 4 divisions.
PARKS Medical Electronics, Inc. Aloha, Oregon U.S.A.
1 of 3
Page 3

PARKS FLO-LAB
FIELD CALIBRATION
13. The chart recorder trace will be like a square wave, 30 mm ± 3 mm in amplitude.
14. Press the ( key to re-start the trace on the computer monitor, and start the chart recorder at
5mm / S. Set the switch on the Model 80 calibration fi xture to OSC.
15. After a few seconds, press the button below the MEAN LED on the Flo-Lab front panel. The
14 Hz fi lter LED should illuminate, and the signals should drop in amplitude. Repeat pressing
the button below the MEAN LED to test the other fi lter settings, then STOP the chart recorder.
The signal should be very small at 3.5, and a smooth line in the MEAN setting.
16. Exit all the way out of the Sonova software until you are at your Windows Desktop. Now exit
Windows by clicking on the Start button in the lower left-hand portion of your screen. Choose
SHUT DOWN. Wait until the computer shuts down, then turn OFF (
power switch. Remove the Model 80 calibration fi xture card and replace the 8.X MHz RF
card. Check the polarity and install the card with the components facing the left. Replace the
enclosure cover.
17. Connect a mercury column and manometer to the RED hose that is connected to the channel
(
)
“A” VPR input. Turn ON
I
the Flo-Lab, then pump the manometer to 40 mm mercury as read
on the mercury column. DO NOT USE THE INTERNAL INFLATOR FOR THIS PROCEDURE
as the mercury column may be damaged. USE ONLY A HAND BULB TYPE MANOMETER.
) the Flo-Lab main
18. Take note of the reading under “CUFF A” on the front panel display of the Flo-Lab and also the
reading in the upper left corner of the computer monitor. The readings must be within 5mm of
the mercury column reading.
19. Pump the system pressure to 200 mm on the mercury column. Again compare the readings on
the computer monitor and the front panel of the Flo-Lab to the mercury column. The pressure
readings must be within 5mm of the mercury column.
20. Move the connections to the YELLOW hose and repeat the tests for “B” as done in steps 17,
18 and 19 above. The “B” numbers are in the upper right corner of the computer monitor.
21. Move the connections to the BLUE hose. On the front panel of the Flo-Lab press VPR, VENOUS,
then C, in that order, to add “C” to the display. The numbers for cuff C will be in front of the
“A” reading on the Flo-Lab LCD display, and in the upper right corner of the computer monitor
in place of “B”. Repeat the tests in steps 17, 18 and 19 above.
22. Disconnect the mercury column from the Flo-Lab and then TURN OFF (
) THE MAIN POWER
SWITCH on the cart. Replace the Flo-Lab top cover and its six screws. Then replace the
computer monitor.
23. The calibration tests are now complete. For cuff volume calibration procedure, proceed to next
page.
NOTE: For optimum performance of your Flo-Lab system, use only the hoses furnished with the
system. The calibration of cuff volume and volume change is based on using the nine-foot hoses and
adapters as furnished. Any other length or size of tubing or the addition of an in-line air chamber will
cause the reported cuff volume to be increased or decreased by the increase/decrease in volume.
2 of 3
2100-SX, USBM 120V-2.2 Cal Proc Sonova 10/1/07
PARKS Flo-Lab Calibration Procedure
Page 4

PARKS FLO-LAB
CUFF VOLUME VERIFICATION/CALIBRATION
The Flo-Lab is totally automated and requires no additional action by the technologist above and
beyond what is normally required to acquire good pulse volume waveforms. Your Flo-Lab has been
calibrated at the factory to accurately determine the cuff volume. However, since the goal of calibrated
pulse volume waveforms is to provide accurate and repeatable results, the technologist should initially
and occasionally verify that the system is performing properly and should also be aware of several
factors which can affect the results. The following information is provided to help you obtain the most
accurate and meaningful pulse volume amplitude information.
1. On the Flo-Lab front panel, press the MENU button and advance to menu # -8-. If needed,
press the UP button to turn the VPR CAL sequence on. Connect the 1000 ml chamber to the
RED hose that is connected to the channel “A” VPR input.
(
)
2. Turn ON
load the Sonova software. From the opening menu choose NEW STUDY. At the next menu
choose LOWER ARTERIAL. Enter a fi rst and last name and press enter. This will put you into
a PATIENT & STUDY SCREEN. Press escape. Now Choose TEST SELECT, then choose
VPR.
3. On the Flo-Lab front panel, press “B”, to turn B off, then press “INFLATE”. The Flo-Lab will
infl ate, defl ate, then re-infl ate the 1000 ml chamber. As the second infl ation starts, the calculated
volume of the chamber will appear under the top graph on the computer monitor. The calculated
volume should be within 3% of the value marked on the chamber. If not, press the “MENU”
button to advance to menu # -9-, which will display the “A CAL FACTOR”. If the calculated
volume was high, press the “UP” button to increase the constant. If the volume was low, press
“DOWN” to decrease the constant. Press “DEFLATE” , then “INFLATE” to repeat the test. Note
that an exact match may not occur, since the calculated volume changes by about 10 ml for
each digit that the CAL factor is changed. Record the A CAL factor for future reference.
I
the Flo-Lab and computer. The computer will boot into Windows and automatically
4. Connect the YELLOW hose to the 1000 ml volume chamber, press “A”, to turn A off, and press
“B”, to turn B on. B CAL factor is verifi ed in the same way that A was, except that menu # -10-
will display the B CAL factor, and the B volume numbers will be under the lower graph on the
computer monitor.
5. The cuff volume calibration test is now complete. Exit all the way out of the Sonova software
until you are at your Windows Desktop. Now exit Windows by clicking on the Start button in
the lower left-hand portion of your screen. Choose SHUT DOWN, wait for the computer to shut
down, then turn OFF (
) the Flo-Lab main power switch on the cart.
PARKS Medical Electronics, Inc. Aloha, Oregon U.S.A.
3 of 3
 Loading...