

Parasound HCA-1200II Owner's Manual
O W N E R ‘ S M A N U A L
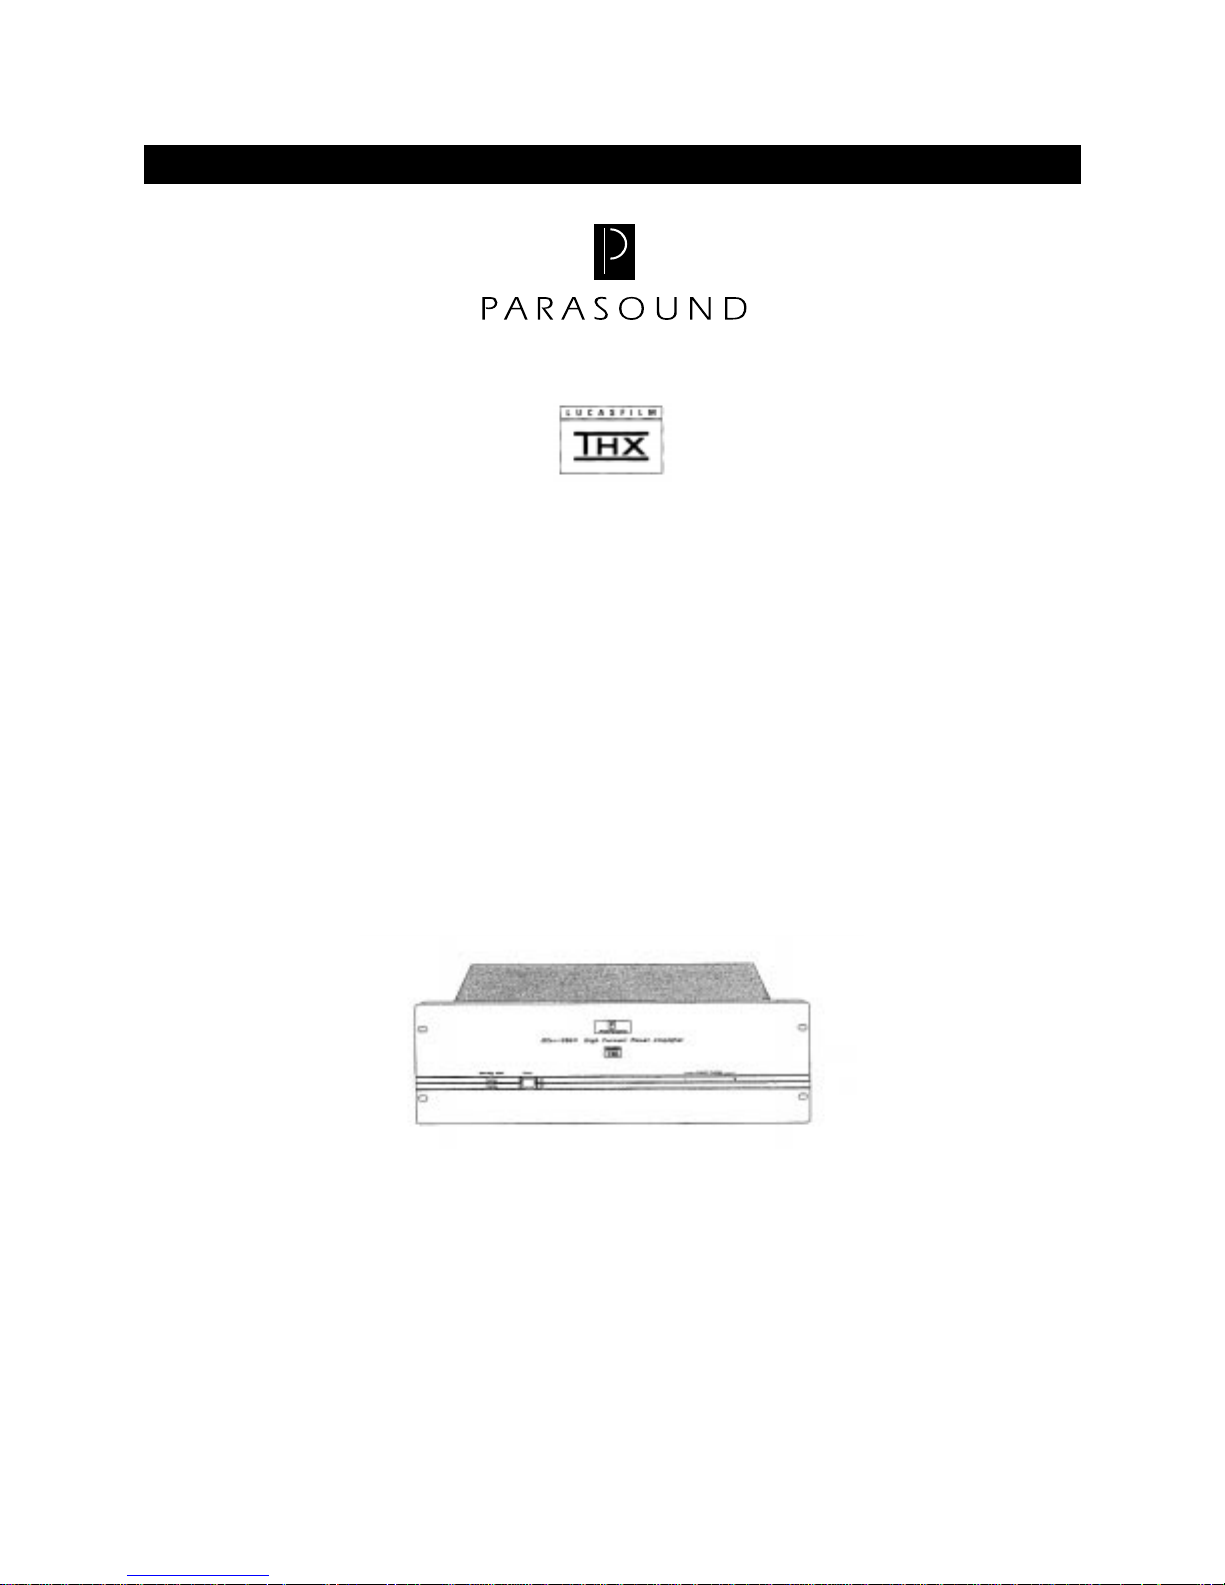
H C A - 1 2 0 0 II H i g h C u r r e n t P o w e r A m p l i f i e r
Congratulations on your purchase of this precision audio component and thank you for your selection of
Parasound. Your HCA-1200II is designed by John Curl, one of the world's most renowned circuit designers.
It is among the elite of the finest power amplifiers ever made. You have made an outstanding investment in
your musical and home theater pleasure for years to come.
Every part, every direct-coupled circuit, has been painstakingly selected for optimum musical quality on the
finest and most challenging music and loudspeaker loads. Take a look at the special features found near the
end of this manual to fully appreciate its considerable prowess.
THX Certification assures you of total compatibility with Lucasfilm THX® Home Cinema standards. Convenient switching permits two operating modes: as a two channel stereo amplifier or a single channel
monoblock amplifier.
The HCA1200II has greater operational flexibility and power than most other power amplifiers you may
have encountered, so please take a few moment to read these instructions thoroughly so you may fully
understand the sophisticated capabilities of your new Parasound power amplifier.
Unpacking
Your HCA-1200II packed in two strong cardboard cartons. Save your cartons and the styrofoam inserts for
future safe transport in case you move or your unit ever requires shipping for repair. Note, the inner white
printed carton is not itself strong enough for safe shipping, so you absolutely must place it into the additional
brown outer "overcarton" before shipment.
The AC cord is packed separately in the carton. This is a specially selected audiophile grade cord and is the
only cord we recommend for use with your HCA-1200II. Please don't lose it.
Before you proceed, find the serial number which is located on the rear panel of your unit and record it here
for future reference or in case of casualty loss or theft:_____________________________.

Rear Panel
1. Input jacks
2. Input level controls
3. Mono bridge mode selector switch
4. Channels 1, 2 4 Ω - 8 Ω speaker terminals
5. Main Fuse
6. AC cord connector
Front Panel
1. Power Switch
2. Standby-Operation LEDs
3. Current Overload LEDs
- 2 -

Placement of your HCA-1200II
Keep your Parasound HCA -1200II out of direct sunlight and away from windows which could ever be left
open to let in rain. It should be placed away from heat sources such as hot air ducts or radiators. Make sure
your cabinet or shelf can support its substantial weight!
Always place your unit horizontally. Do not place your unit directly on a carpet whose pile could interfere
with air flow into its bottom vent openings. If you place your HCA-1200II on the floor near your speakers,
put its feet on a piece of wood to elevate it above the pile of the carpet. If you stack your components, it's
better to place your HCA-1200ll alongside your other components.
Your HCA-1200II operates with high idling, or bias, current to reduce higher-order harmonic distortions.
This results in noticeably warm operation which could disturb components stacked on top of it. If is inside a
cabinet, allow ample ventilation. You may require a small external fan to ensure adequate ventilation within
a cabinet. Very sensitive low-level sources placed too close to your HCA-1200II might pick up some hum
radiated from its enormous power supply.
Rack Mounting your HCA-1200II
Your HCA-1200II can be mounted in a space slightly higher than a 3 unit 19" rack. Make sure you select
heavy duty mounting bolts and nuts and use washers under the heads of the bolts to avoid scratching your
amplifier's anodized front panel. It's safest if you don't attempt to hold your unit in place yourself while you
attach the bolts and nuts. Have a strong helper support the unit while you attach it to the rack.
The heat generated by your HCA-1200II may require an external fan to assist air flow if you have another
component mounted directly above it in the rack.
Making Connections
•Before making any signal or speaker connections, make sure your power amplifier is turned off.
When making connections, make sure there is no strain or tension on input leads or speaker wires that could
cause them to pull loose later on. You have several input connection options, so please take care and do not
rush.
lnput connections
Use the right and left channel RCA jacks for stereo operation.
For mono operation, use only the right channel input jack and leave the left channel jack disconnected.
- 3 -

Speaker connections - General recommendations
You may use bare solid or standard wire up to AWG12, certain spade lugs, banana or 3/4" (l9mm) dualbanana plugs with the HCA- 1200II speaker terminals. lf you use bare wire without plugs, make sure you
strip off only enough insulation so the bared wire fits through the hole that runs sideways through the
terminal's metal shaft. Before inserting the wir e, twist all its strands tightly to prevent strays that could cause
a short circuit between + and - terminals.
•
Note
The speaker terminal shafts may be slightly too thick to accomodate standard 1/4" spade lugs. If you prefer
to use spade lugs instead of banana plugs, you can insert one half of each "spade" into the hole across each
terminal shaft. But if you do this, make sure you don't permit the lug to rotate as the terminal is tightened
down. It can easily cause the terminal shaft to shear off, as it is relatively weak in this one area due to the
large diameter of the opening for accomodating heavier gauge wires. We recommmd banana plugs for convenience. The HCA-1200II Limited Warranty does not cover terminals which have been sheared after twisting by spade lugs.
Polarity
It is important to observe correct polarity. One side of the speaker wire will have some sort of mark: either
printing, a raised ridge on the insulation or a different color of conductor. This permits you to know which
wire you had connected to the + and which to the - speaker terminals so you can do exactly the same at the
power amplifier terminals. Polarity is marked separately for both stereo and bridged connections.
Mono Speaker Connection
When you bridge the left and right channels, you connect your speakers to the combined bridged channels
differently. You bridge by using only the two red + terminals. Also will note the red + terminals have alternate markings for bridging. The right channel's red terminal becomes -, and the left channel's red terminal
becomes +.
Unbridged stereo speaker connections can be made with two standard 3/4" (19mm) "dual banana" plugs.
You may also use a single standard 3/4" (19mm) "dual banana" plug for the mono bridge connection to the
two inner red + terminals.
Mono Bridge Switch
Simply select Mono (up) or Stereo (down) as marked on the rear panel. We recommend that the power is
switched off before moving this switch. If you accidentally leave the Mono Bridge switch in the Mono (up)
position, you will find stereo output will be very weak and distorted. Tum the unit of f before switching back
to Stereo (down).
•
Safe Operation Note
You may use 4 Ω - 8 Ω rated speakers for stereo operation. Lower impedance loads are not recommonded,
as they may cause overheating and trigger one of the many protection circuits.
You may use only 4 Ω rated speakers for mono bridged operation only if you don't intend to run your HCA1200II at high levels for extended periods.
This 8 Ω restriction results from the mathematics of the bridging circuitry . In the bridge mode each channel
of the amplifier functions for only the + or - half of the musical waveform. Thus, each channel "sees " only
half of the speaker's impedance. Use of an 8Ω speaker means that the load for each channel is 4 Ω. And for
a 4 Ω speaker, it would result in only 2 Ω.
- 4 -
 Loading...