

Paramount Fitness YBT-VH01 Instruction Manual

OUTDOOR PATIO HEATER
INSTRUCTION MANUAL
WARNING: For outdoor use only.
FOR YOUR SAFETY
If you smell gas:
1. Shut off gas to the appliance.
2. Extinguish any open flame.
3. If odour continues, immediately
call gas supplier.
Item#:PH-S-129-SS
Model#:YBT-VH01
FOR YOUR SAFETY
Do not store or use gasoline or
other flammable vapours or liquids
in the vicinity of this or any other
appliance.
For cus tomer service, parts
or warranty issues:
Call 1-800-561-5550
or e-mail customercare@jrhome.com
Establishing a burner ignition for
the FIRST time or after changing
the cylinder tank may take up to
2-3 minutes in order for the gas
to purge through the feeder lines.
FOR OUTDOOR USE ONLY
PLEASE READ INSTRUCTIONS CAREFULLY BEFORE ASSEMBLY
RETAIN THIS MANUAL FOR REFERENCE
e-mail: customercare@jrhome.com
1
TABLE OF CONTENTS
** WARNING **
Improper operation, installation, adjustment,
alteration, servicing or maintenance cause severe
property damage and /or serious damage and /or
serious injury or death. Please read the installation,
operating and maintenance instructions thoroughly
before installing, operating or servicing this
appliance.
** For Your Safety **
If you smell gas :
1. Shut off gas to appliance
2. Extinguish any open flame
** For Your Safety **
Do NOT store or use gasoline or other flammable
vapors in the vicinity of this or any other appliance.
Contents
Before You Begin
General Description
Security and Caution
Tools and accessories
Hardware Contents
Assembly
Operating Instructions
Care and Maintenance
Troubleshooting
Replacement Parts List
Warranty Information
Page 2
Page 2
Page 3
Page 4
Page 5
Page 6
Page 6-10
Page 10-13
Page 13
Page 14
Page 15
Page 16
Establishing a burner ignition for the FIRST time or after
changing the cylinder tank may take up to 2-3 minutes
in order for the gas to purge through the feeder lines.
If stored indoors, detach and leave cylinder outdoors.
Keep this manual in your files for future refernce.
NOTE : 20 lb., 5 Gallon LPG tank is not included
** IMPORTANT NOTICE***
Do NOT return to place of purchase!!!
Please contact our Toll Free Hotline: 1-800-561-5550
for customer service and warranty issues
e-mail: customercare@jrhome.com
Hotline hours: Mon. to Fri. 7:00am - 4:00pm ( P.S.T.)
2
GENERAL DESCRIPTION
This appliance is a propane portable heater.
The burner is controlled and adjusted by the gas control knob.
Gas supply is controlled by the valve on the gas cylinder.
The burner is made of stainless steel. Heat diffusion is assisted by the
reflector.
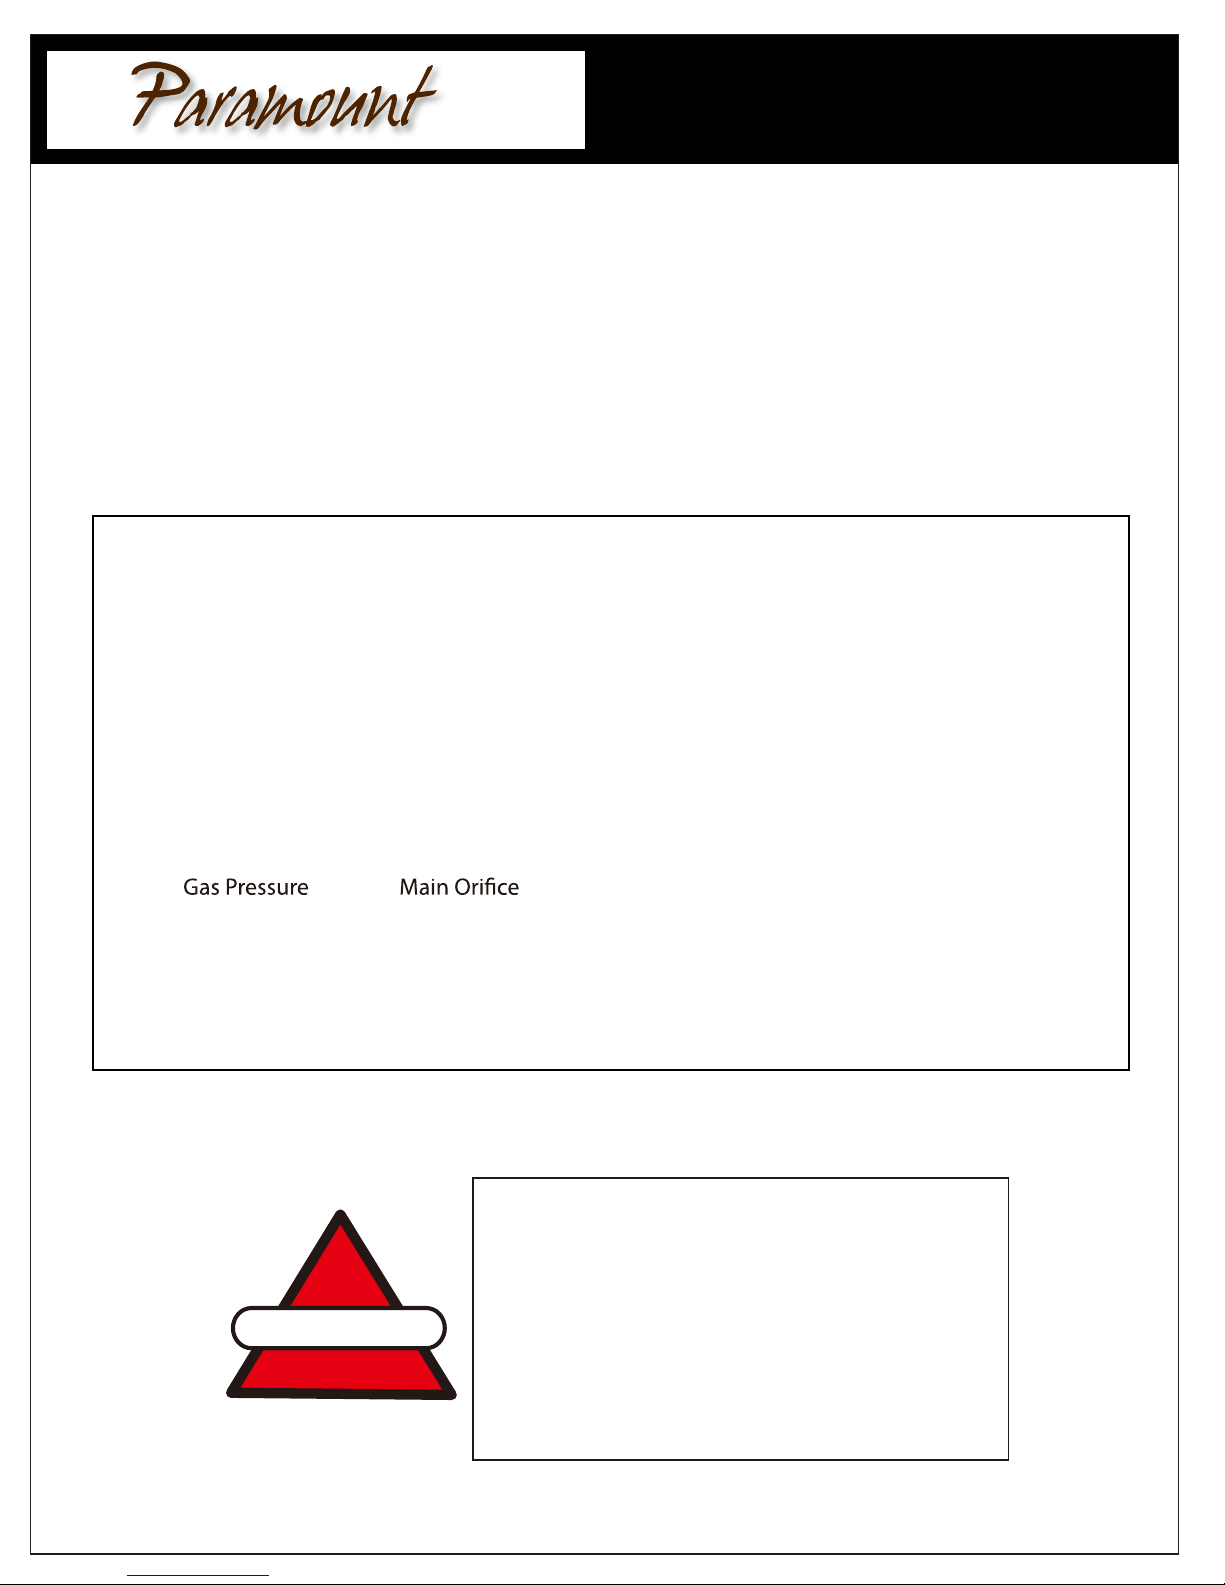
Technical specification:
• Operating pressure : 11” W.C.
• Maximum output : 45,000 btu/h
• Minimum output : 25,000 btu/h
• Gas consumption at HIGH : 1 kg/h
• Approx. weight : 27 kg
• Burner orifice size : 1.9 mm
Water Column Diameter in mm
11’’ (2.75 Kpa) 1.9
MADE IN TAIWAN
** WARNING **
Improper operation, installation, adjustment,
alteration, servicing or maintenance can cause
severe property damage and/or serious damage
WARNING !
and/or serious injury or death. Please read the installation, operating and maintenance instructions
thoroughly before installing, operating or servicing this appliance.
3
SECURITY AND CAUTION
FOR YO UR SAFETY
1. If you smell gas :
a Close gas supply at cylinder valve
b. Extinguish all open flames
c. Proceed to perform a leak test with a soapy water solution (50% soap/
50% water)
d If bubbles are detected, retighten connections. If no leaks are detected,
open gas valve at cylinder and verify if you smell gas.
e. If you still smell gas, shut-off heater completely and gas valve at cylinder
or contact a gas appliance service center
2. Never st
ore or handle gas, or any other flammable vapors or liquids in the
vicinity of your Patio Heater or any gas appliance.
CAU TIO N
Faulty installation, modifications, repairs or maintenance to the appliance may
cause injury or damage to property, and will void the warranty.
Carefully read this User Guide before assembling and setting up the heater.
Keep this guide for future reference.
4
TOOLS AND ACCESSORIES
CAUTION
• DO NOT operate the heater in an explosive environment Keep this appliance away from areas where you
have stored gas or other vapors and flammable liquids.
• Before use verify that no parts are damaged, inspect gas hose.
• Never modify, this appliance in any way or it will void the warranty.
• Never use the heater without the reflector shield .
• Respect minimum clearance from combustibles top 36", sides 24".
• Always place heater on a leveled, stable and h
ard surface.
• Only use this heater outdoors.
• Never clean with abrasive, corrosive or flammable cleaners.
• Do not paint the heater or any of its parts.
• When fully assembled please perform a leak test, and every time you disconnect the hose, before lighting
up the heater.
• A leak test must be performed before operating the appliance. To perform a leak test, use a 50/50 mix of each
water and soap in a spray bottle.
• NEVER LEAK TEST with an open flame or while smo
• The gas cylinder must be closed at all times when not using the heater.
• Children and adults should be made aware of hot surfaces on the heater.
• Clothing and other accessories or objects are not to be hung or laid on the heater or near it to dry.
• Do not obstruct the ventilation opening on cylinder cover.
• Installation, maintenance and repair of this heater should always be performed by a qualified qas technician.
king.
1
4
2
3
5
6
14
9
13
12
10
11
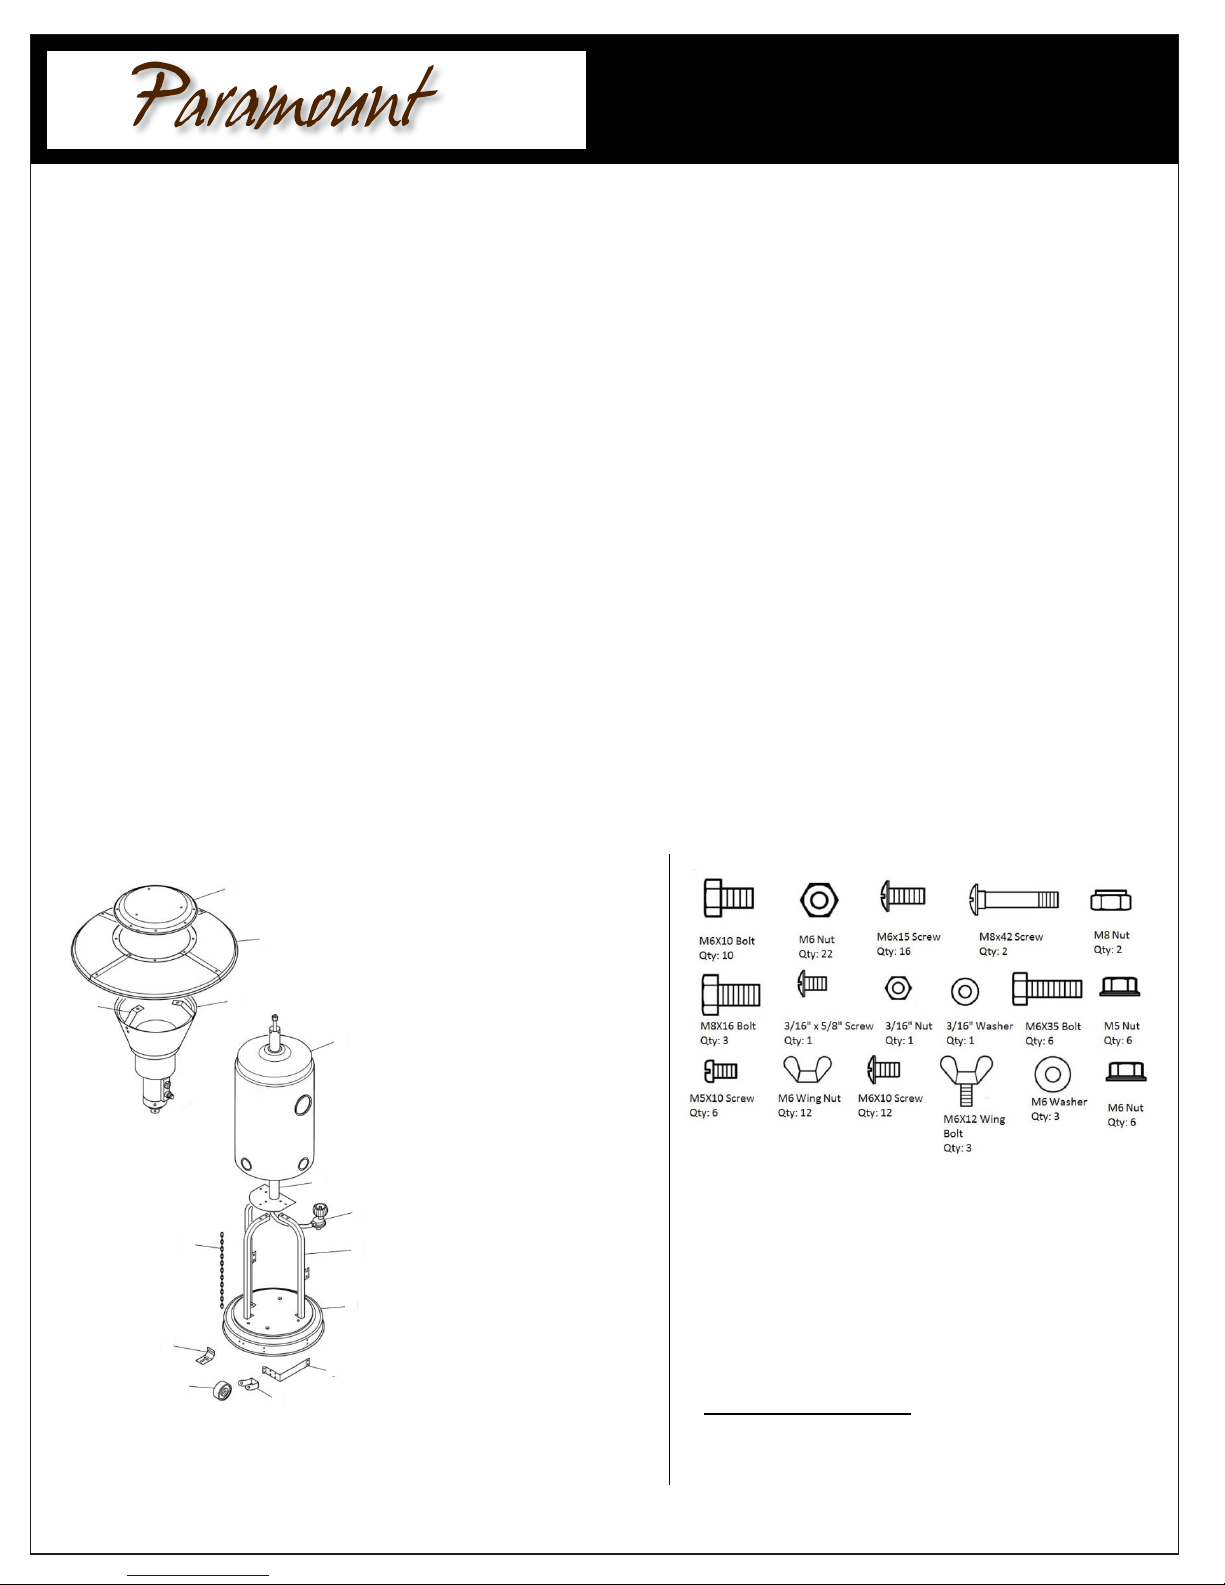
PARTS LIST
1. reflector Center Cap
2. reflector Panels
3. Head Assembly
4. Burner Support
5. Tank Housing
6. Post/Post Support plate
7. Hose/Regulator
8. Post Supports
9. Base
7
10. Wheel Bracket
8
11. Wheel axle
12. Wheel
13. Grounding Brackets
14. Tank Chain
TOOLS AND EQUIPMENT REQUIRED
10 and 13mm wrench,
Philips screwdriver, medium blade
Leak test solution: MIX 50/50 water and soap
1 Propane cylinder (not supplied), with QCC 1 valve
*BEFORE ASSEMBLY : Remove the Reflector
Center Cap which comes packaged underneath
the heater Base and is protected by a styrofoam
insert.
5
 Loading...