

Paramount Fitness XFW 6800, PERFORMANCE XL XFW 6800 Assembly Manual
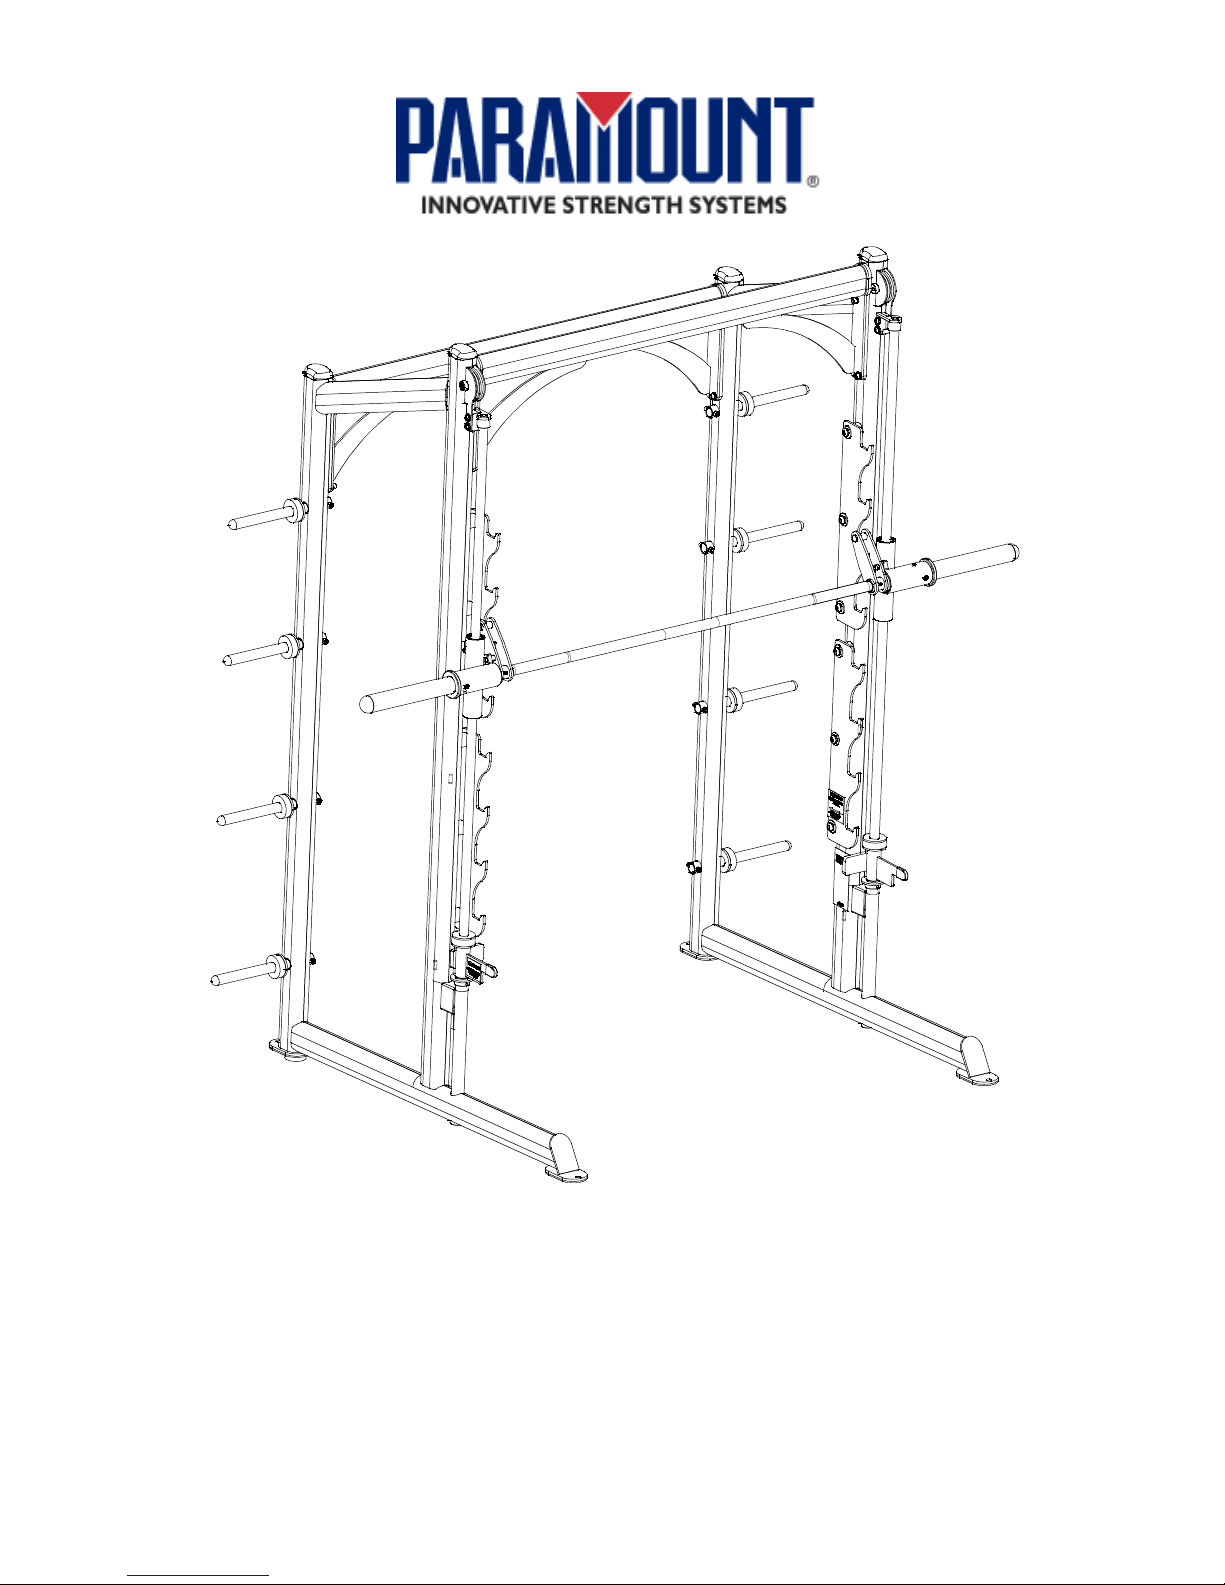
PERFORMANCE XL FREE WEIGHTS
XFW 6800
SMITH PRESS
ASSEMBLY MANUAL
AM-XFW6800
Rev 07-05

1
SAFETY
1. Cables: Check the entire length of the cable weekly. Pay close attention to the area
going over pulleys and to the end connections. Inspect the cable end fittings daily.
Replace all cables at first signs of wear . Use only Paramount supplied replacement
cables.
2. Nuts, Bolts, and Fasteners: Check tightness weekly. If any hardware has become
loose, retighten and/or use Loctite™ Threadlocker 242.
3. Frames, Lifting Arms, and Catch Hooks: Inspect weekly for integrity and function.
Replace any component at first signs of wear.
4. DO NOT attempt to free any jammed assemb lie s by yoursel f as this m ay cause inju ry.
5. Review and understand all of the warning labels affixed to the machines and the
facility safety sign. Replace any warning label at first sign of wear. Labels and the Facility
Safety Sign may be obtained from Paramount free of charge. Stay clear of moving components and do not wear loose or dangling clothing while exercising. Keep headset
cords close to the body and away from moving components.
6. Be certain that machine operation is understood before machine is used. Refer to
the instruction label or wall chart prov ided with the machine.
7. Check regularly the functionality of your machine by verifying the following:
• Cables and end fittings are intact and tensioned properly
• All adjustments are possible and carried out with ease
• The exercise is performed smoothly, free of noise and/or binding
• The guide rods and linear bearings are properly lubricated
8. Keep children away from this equipment.
9. Follow the installation guidelines provided with the products.
10. Retain these instructions for future reference.
If you have any questions, do not hesitate to contact your Paramount dealer or Para-
mount Fitness Corp. at (800)721-2121 or www.paramountfitness.com.
See Maintenance Schedule label on machine for component schedule.
MAINTENANCE
1. Frames: Wipe all machines down with a damp clo th and dry complete ly each day.
This includes painted, chrome parts and upholstered pads.
2. Painted/chrome part s : Use Si mple Green or similar cleaner for light dirt and grime.
Use TurtleWax® Polishing Compound or a good car polish to remove heavier dirt and
grease as well as for polishing. DO NOT use solvents, lacquer thi nner, acetone or finger
nail polish remover. For scuffs and marks that are not removed by the above methods
use a soft scrub cleanser.
3. Exercise instruction labels: Clean with soap and water as needed.
4. Linear bearing shafts: Wipe down linear rails using a light application of Magnalube® lubricant or a similar teflon grease on a weekly basis to remov e dust, hair, and
dirt.
5. Bronze bushings: Check monthly for signs of wear and replace as ne eded. Lubricate monthly with Tri-FlowTM.
We recommend that you pu rchase the Param oun t Perfor manc e Kit (P/N K IT-01) to maintain your Paramount products. This will insure that the proper maintenance materials
required will be used. Please refer to the General Maintenance Manual (p/n AM-GMM)
for other important safety and maintenance information.
2
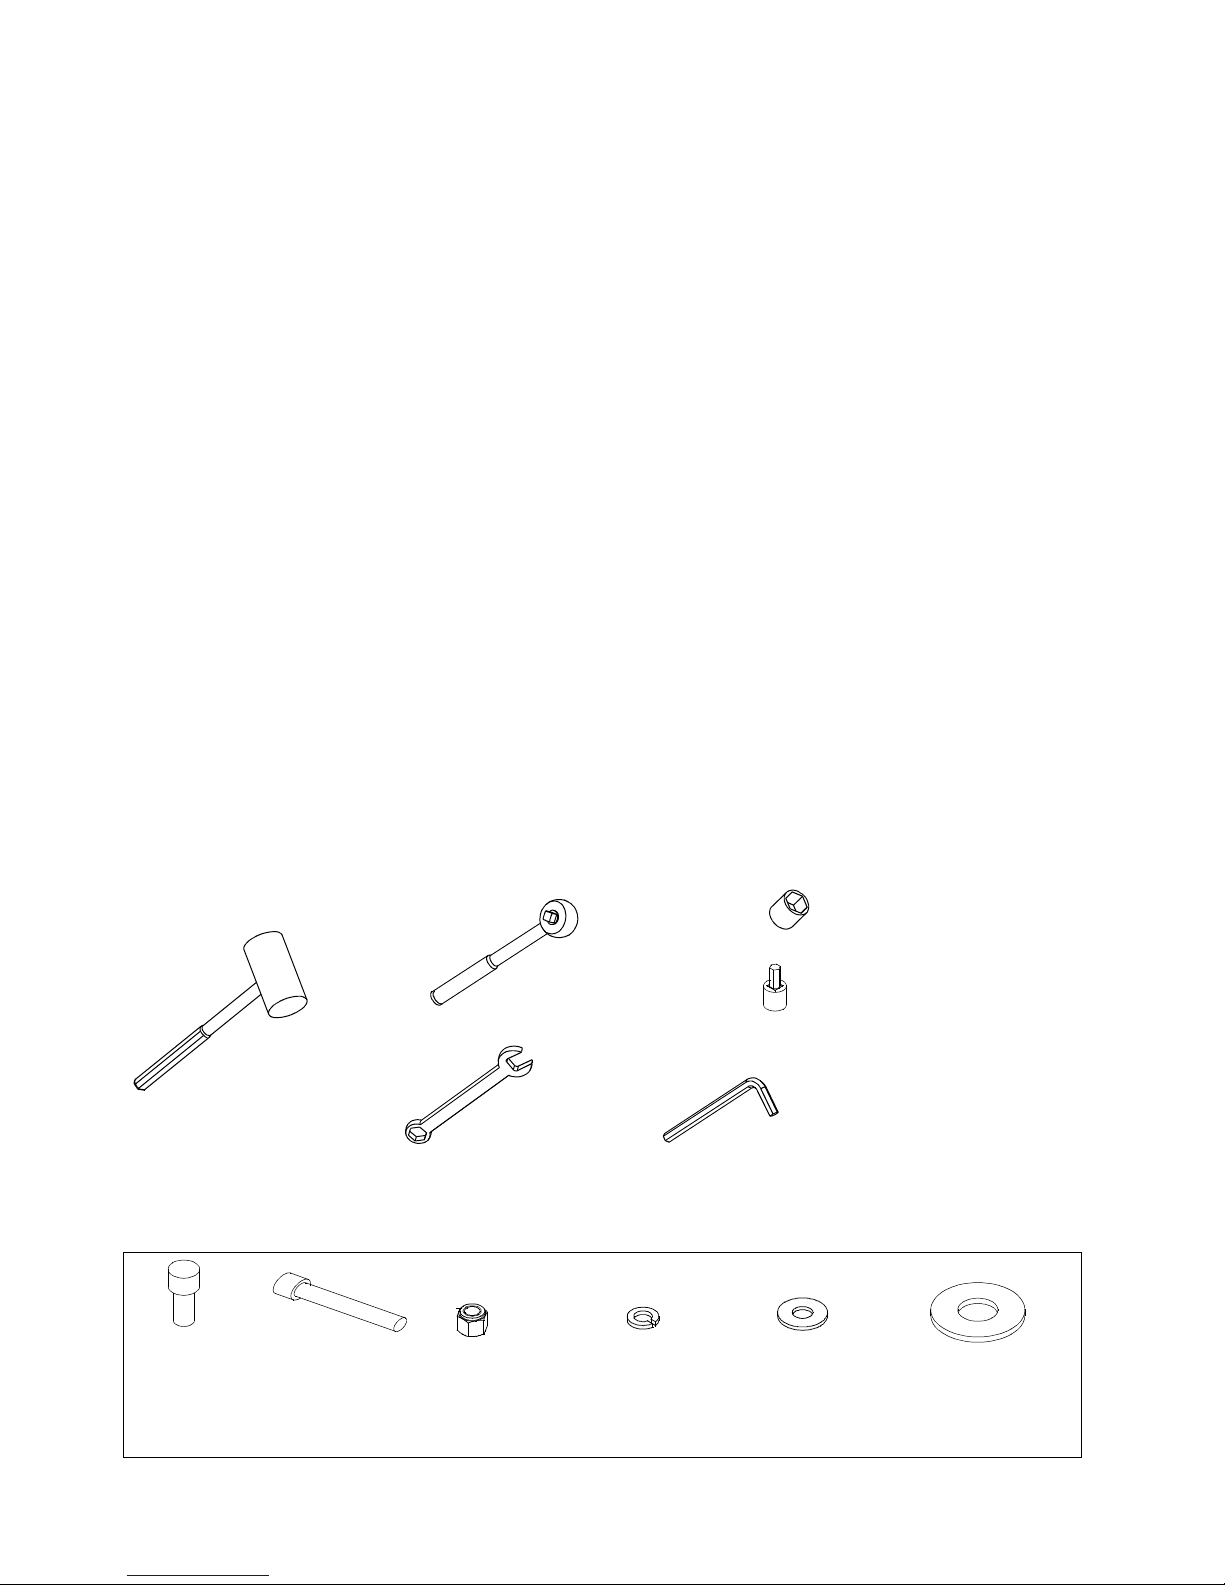
RUBBER MALLET
SOCKET WRENCH
1/2” WRENCH
1/2” SOCKET
Tools Required:
5/16” ALLEN WRENCH
1/4” ALLEN WRENCH
1/4” ALLEN BIT
5/16” ALLEN BIT
1/8” ALLEN WRENCH
AND /OR
7/32” ALLEN BIT
7/32” ALLEN WRENCH
Hardware Bag 1:
C 623
3/8-16 x 1’’
SHCS
(8)
C 619
5/16-18x1 3/4
SHCS (8)
C 731A
5/16-18
Locknut (8)
C 749
3/8” Split
Lockwasher
(8)
C 754C
3/8” Flat
Washer (8)
C 757
1’’ Flat
Washer (6)
3
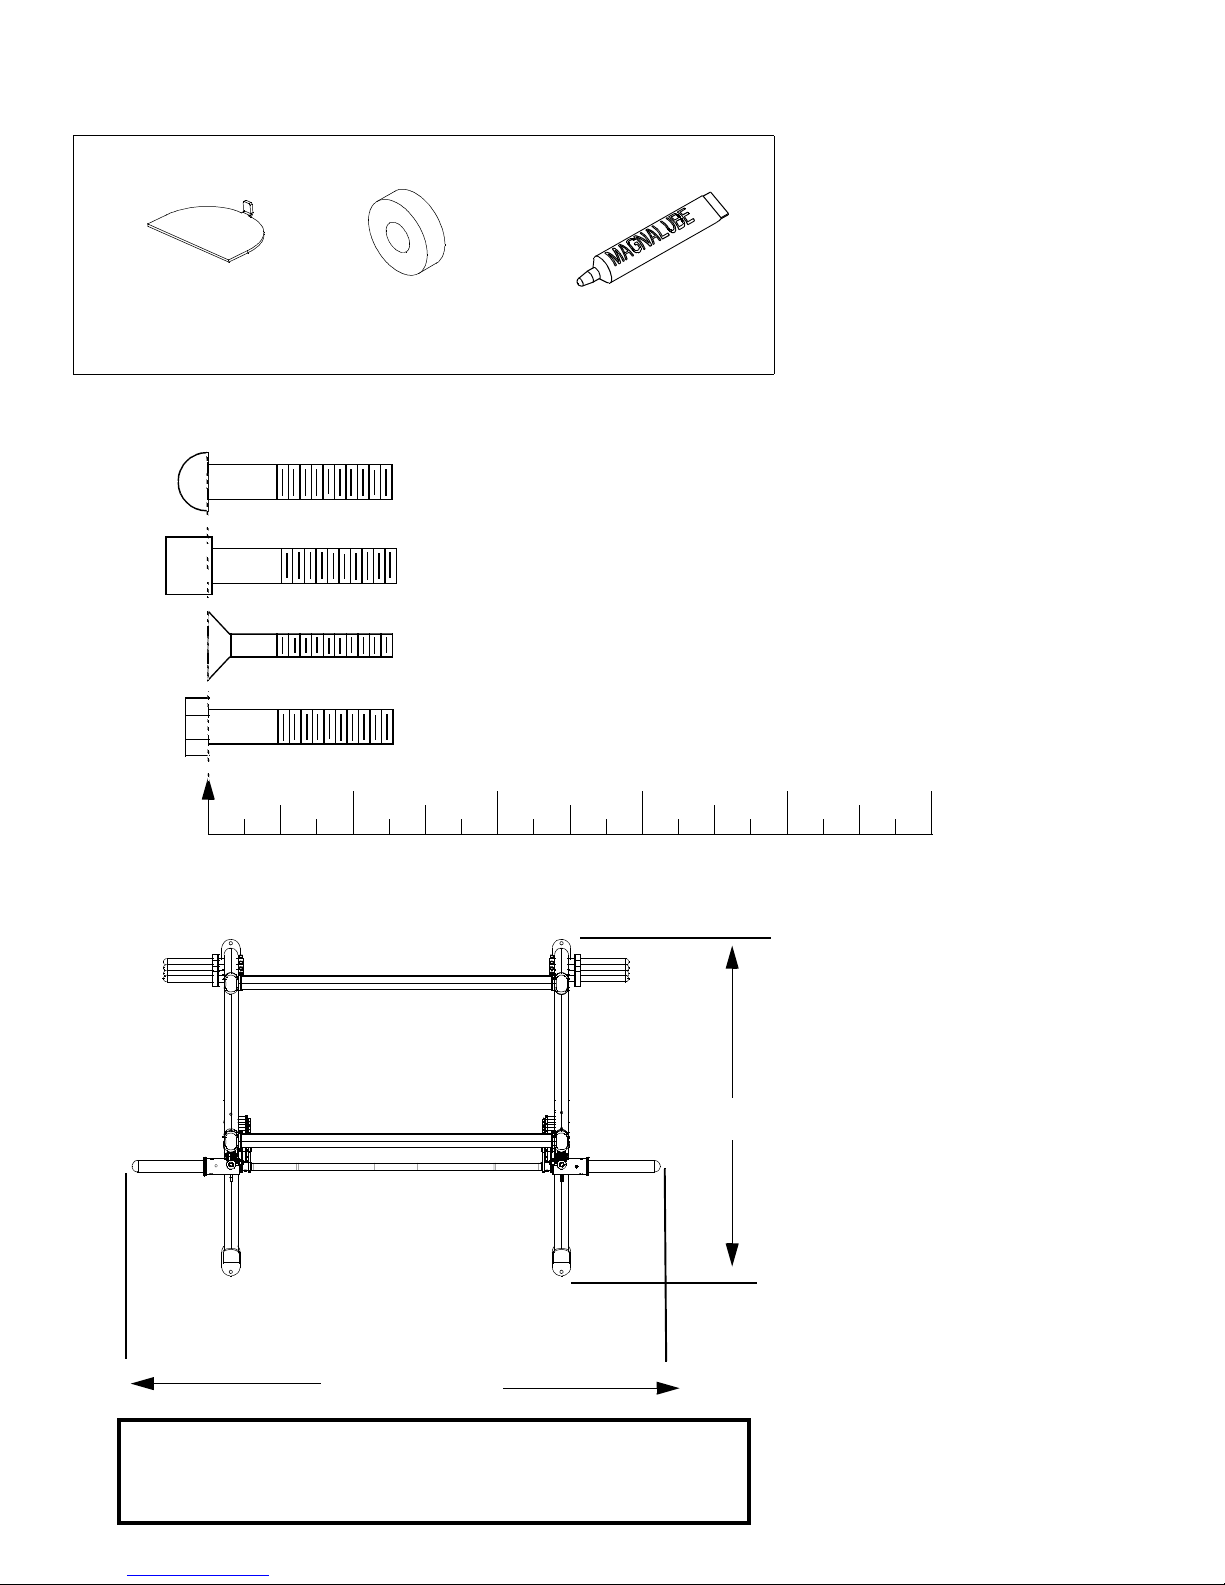
HARDWARE MEASUREMENT GUIDE:
FHCS - FLA T HE AD CAP S CREW
HHCS - HEX HEAD CAP SCREW
BHCS - BUTTON HEAD CAP SCREW
MEASURE BOLT
FROM HERE
12345
SHCS - SOCKET HEAD CAP SCREW
B 683 (10)
L 101
6805SHM001 (4)
Hardware Bag 2:
MINIMUM FLOOR AREA REQUIRED:
55” (140 cm)
86” (218.5 cm)
Height= 88” (223.5 cm)
Weight= 370lbs. (174 kg)
max number of 45lb (20.45kg) weights(per side) = 6
DO NOT USE 10 0 LB PLATES ON THIS MACHINE!
 Loading...