

Page 1
Web Site: www.parallax.com
Forums: forums.parallax.com
Sales: sales@parallax.com
Technical: support@parallax.com
Office: (916) 624-8333
Fax: (916) 624-8003
Sales: (888) 512-1024
Tech Support: (888) 997-8267
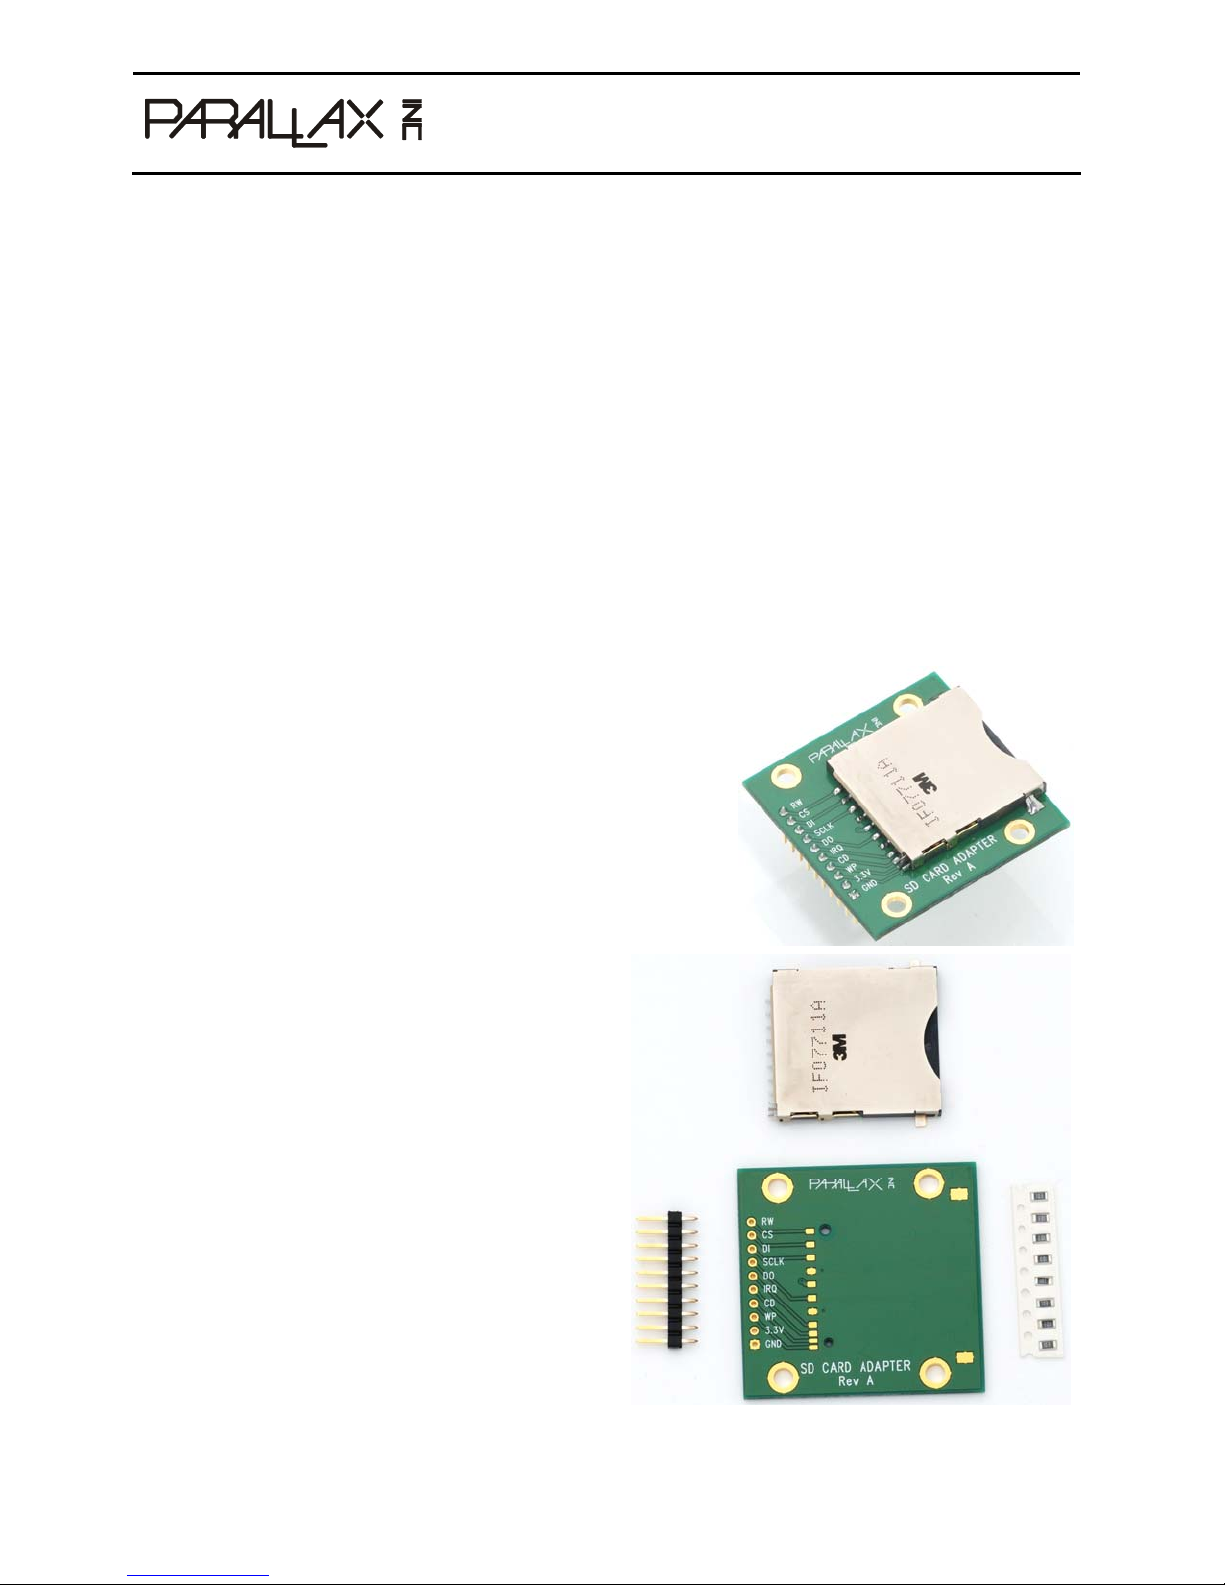
SD Card Adapter Kit (#32313)
The SD Card Adapter Kit allows you to easily connect an SD Flash Memory Card to your PropellerTM chip
or other microcontroller. This adapter contains the components required for an SPI interface between
the host microcontroller and the SD memory card. The SD Card Adapter Kit includes a card detect switch
which allows you to detect when a memory card is physically present in the socket. It also includes a
switch to determine the read/write status of the inserted card, preventing accidental loss of data.
Mounting holes are available so you can install the adapter in your application.
Features
Contains all support components necessary for interfacing with a microcontroller
y
y Includes mounting holes for end use in application
y Card detect switch allows detection of memory card insertion
y SIP header makes breadboard use easy
Key Specifications
Power requirements: 3.3V (current determined by card
y
used; plus 0.5 mA when card is inserted)
y Communication: SPI / SDIO
y Operating temperature: 32 to 158 °F (0 to 70 °C)
y Dimensions (assembled): 1.70" L x 1.74" W x 0.52" H
(43.2 mm x 44.2 mm x 13.2 mm)
Application Ideas
Add mass storage to an existing project
y
y Datalogger
Kit Contents
SD Card Adapter PCB
y
y SD Card Socket
y (8) 10K resistors (1206 SMD package)
y 10-pin SIP header
Copyright © Parallax Inc. SD Card Adapter Kit (#32313) v1.0 10/8/2009 Page 1 of 4
Page 2
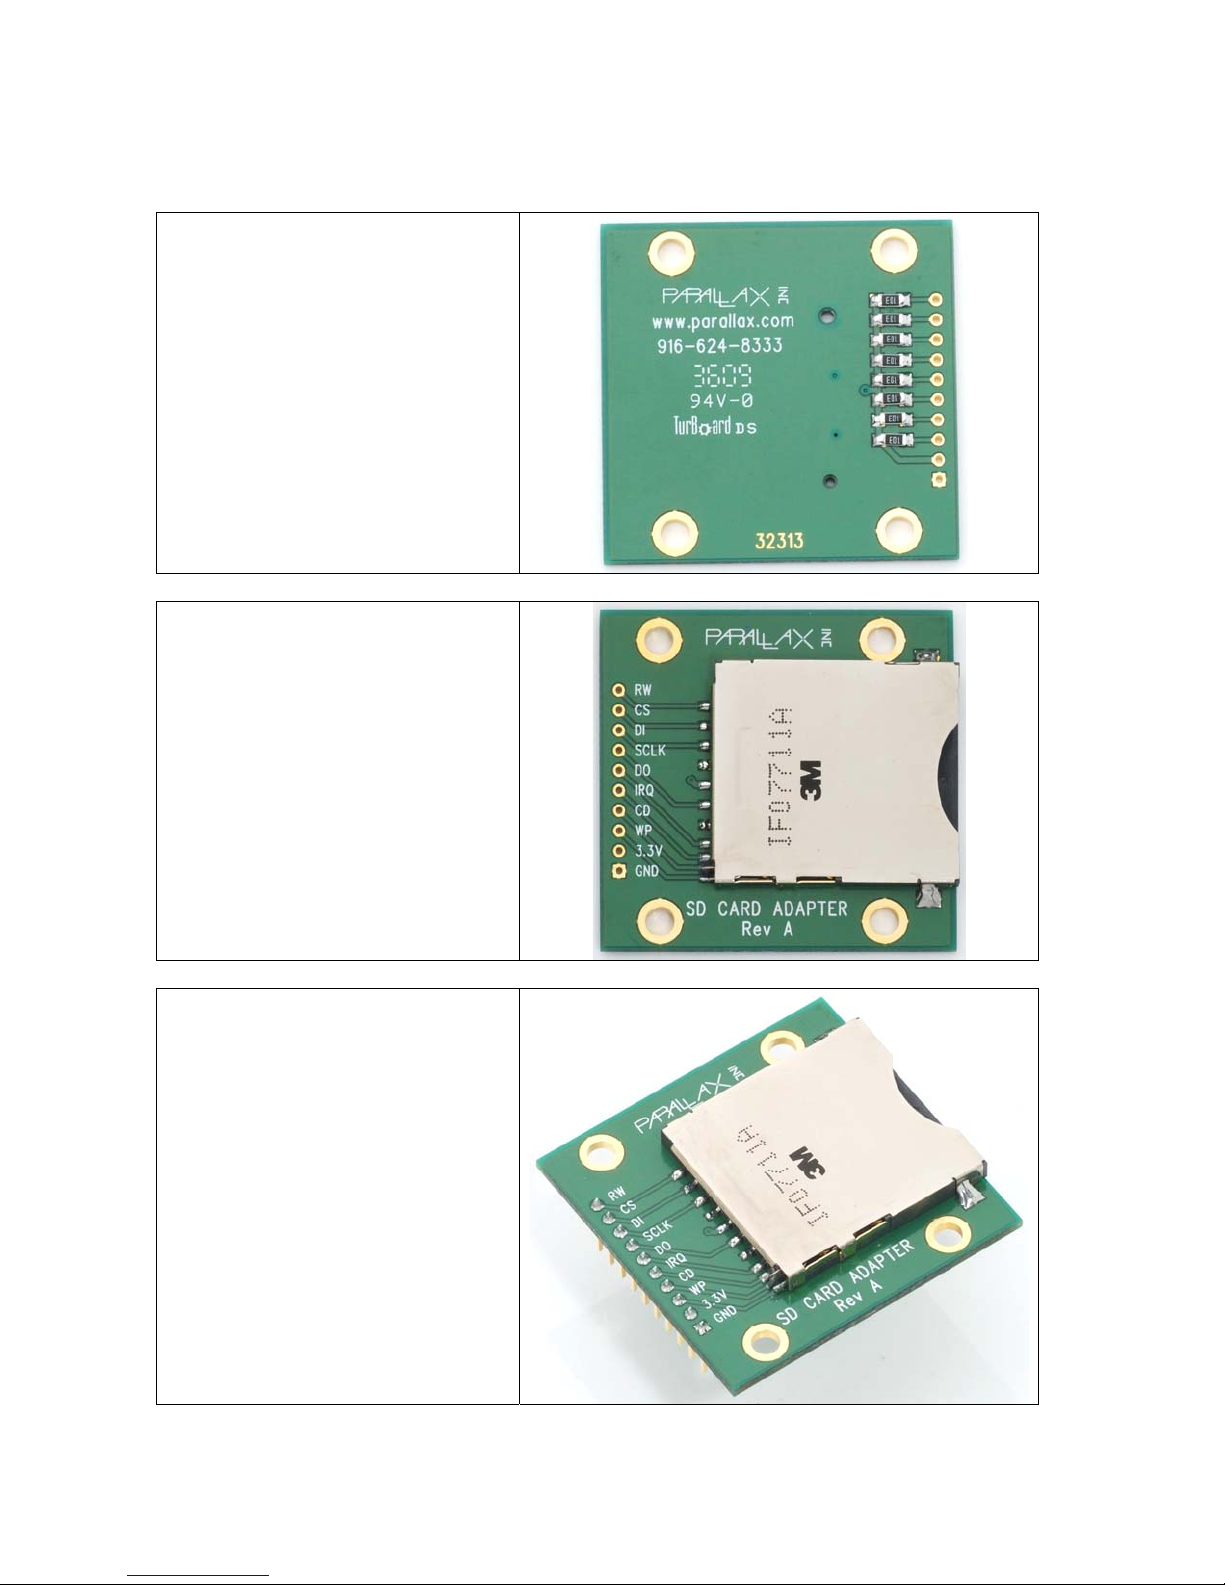
Assembly Instructions
Step 1:
Locate the SD Card Adapter PCB and
the eight (8) 10 kΩ SMD resistors.
Solder the resistors to the bottom side
of the PCB as shown.
Step 2:
Locate the SD Card Socket and place
it on top of the PCB so that the
registration holes line up and solder it
in place as shown. Be very careful
when soldering the bottom pins on the
socket, which are very close together.
Avoid bridging these by using flux
when soldering.
Step 3 (optional):
If you plan on being able to plug your
SD Card Adapter into a breadboard
you will want to install the 10-pin SIP
header.
Locate the 10-pin SIP header in the kit
and solder it in place as shown.
You could also have soldered in a
ribbon cable or some other
cable/connection.
Copyright © Parallax Inc. SD Card Adapter Kit (#32313) v1.0 10/8/2009 Page 2 of 4
Page 3
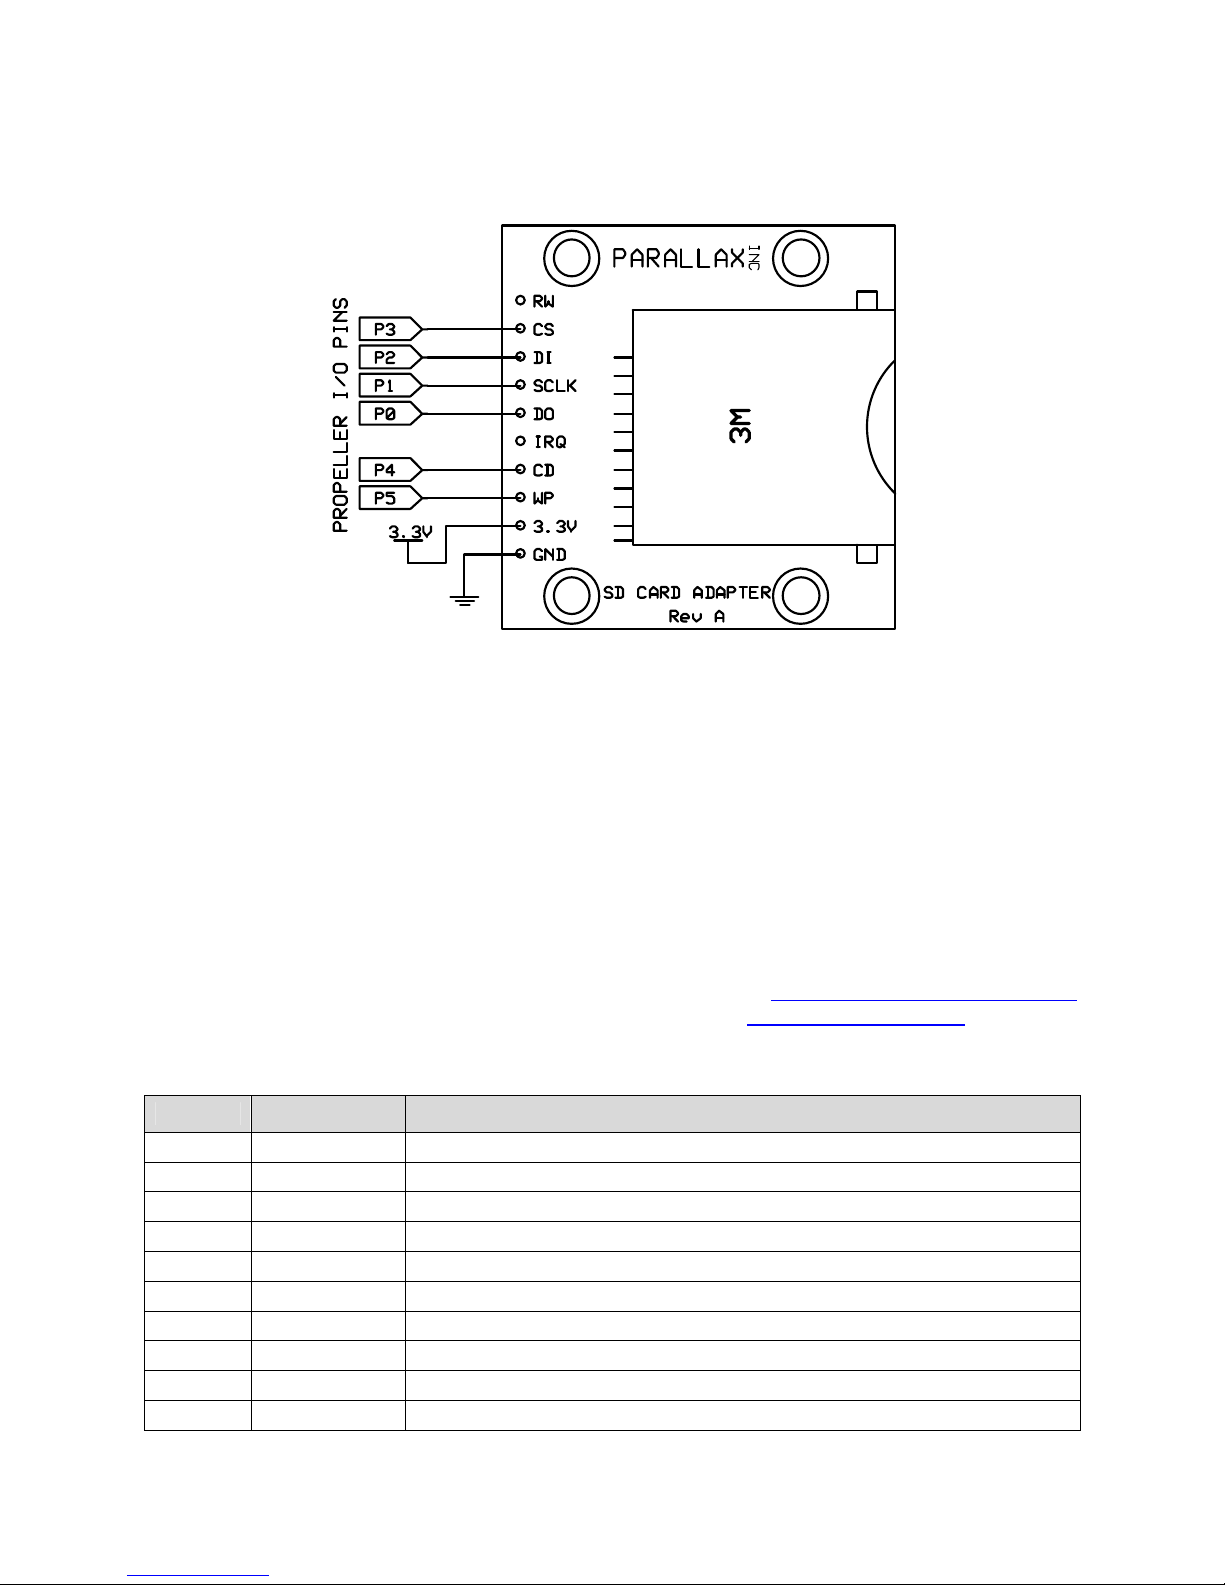
Quick Start Circuit
Connecting and Testing
Connect the pins above to the specified I/O pins on your Propeller Demo Board (#32100), Propeller
Education Kit (#32305 or #32306), Propeller Proto Board (#32212 or #32812), Professional
Development Board (#32111), PropRPM Board (#32202) or any other Propeller system or microcontroller
capable of accessing the SD card. By using the I/O pins (P0-P3) listed above you can use the FSRW
object available on the Propeller Object Exchange to test access to FAT formatted micro-SD cards with
this adapter. P4 and P5 are optional connections for detecting a card (CD) and determining if the write
protect switch (WP) is set or not.
Downloads and Resources
You can obtain the Propeller Tool software from the Downloads link at http://www.parallax.com/propeller
You can obtain additional objects by visiting the object exchange at http://obex.parallax.com
Pin Definitions and Ratings
Pin Name Function
1 GND Ground Æ 0V
2 3.3V Power Supply Æ 3.3V
3 WP Write Protect Switch (Low = Write Protect Switch Off)
4 CD Card Detect Switch (Low = Card Present)
5 DAT1 / IRQ Used in SDIO mode
6 DAT0 / DO Serial Data Output
7 CLK / SCLK Synchronous Clock Input
8 CMD / DI Serial Data Input
9 DAT3 / CS Chip Select
10 DAT2 / RW Used in SDIO mode
Copyright © Parallax Inc. SD Card Adapter Kit (#32313) v1.0 10/8/2009 Page 3 of 4
Page 4

Communication Protocol
This adapter is designed to support SPI mode, however all I/O lines from the SD card are brought out to
support SD Bus Mode if you should want to use that connection method instead.
Module Dimensions
Figure 2: Module Dimensions
Module Schematic
Copyright © Parallax Inc. SD Card Adapter Kit (#32313) v1.0 10/8/2009 Page 4 of 4
 Loading...