

Paraclipse terminator Owner's Manual
Paraclipse ® Phone: (402)563-3625
Automated Insect Control Division Fax: (402) 564-2109
Paraclipse, Inc. Email: paraclps@megavision.com
2271 29th Ave. East Web site: www.paraclipse.com
PO Box 686 www.insectinn.com
Columbus, NE 68602-0686 USA
Cartridge Maintenance:
The tacky surface of the Cartridge advances
slowly, but regularly and can remain effective
up to 60 days, depending on the volume of
insect catch.
1. When surface is no longer available or
you hear the audible beep (see page 7,
fig. 9) then you need to replace the cartridge (see page 6, fig. 8).
2. If the surface is filled with a heavy catch of
insects, manually advance the cartridge so
fresh surface is available (see page 6, fig.
8).
Ultraviolet light bulb replacement:
1. Disconnect unit from electrical outlet.
2. Remove old bulbs.
3. Insert new bulbs and twist bulbs 90° (see
page 5, fig. 7).
Ultraviolet Reflector:
The specialized UV light reflector may become
dirty or dusty, clean with non-abrasive glass
cleaner and soft cloth.
DEAD INSECTS ARE
UNSANITARY
Maintenance Instructions
Care and Cleaning of Unit:
For the best results your Terminator™ should be
cleaned regularly when you change the cartridge.
When cleaning do the following:
1. Disconnect unit from electrical
outlet.
2. Use glass cleaner to clean the
body of the trap and bulbs. Make sure
you remove excess insect droppings and dead
carcasses.
3. Dry trap thoroughly with soft cloth.
4. Reconnect to electrical outlet.
All other services:
Any other servicing other than cartridge or UV bulb
replacement, should be performed by an authorized service representative.
Call or Fax Paraclipse, Inc. for the name of the
nearest service representative.
Replacement Parts:
For replacement parts contact your dealer. Call
or Fax Paraclipse, Inc. for the nearest dealer.
UV bulbs #72917
Cartridges #72926
72955-03-01-22
Save these instructions
Page 8
Paraclipse ®
Automated Insect Control Division
SAVE THESE INSTRUCTIONS
72955-03-01-22
Save these instructions
Page 2
Table of Contents
Mounting Locations Page 3
Mounting Options Page 4
Ultraviolet Bulb Insertion Page 5
Cartridge Insertion Page 6
Manual Paper Advance Page 6
Cartridge Alarm Page 7
Maintenance Page 8
IMPORTANT SAFETY INSTRUCTIONS
This symbol is intended to alert you of
the presence of dangerous voltage
within the unit’s enclosure that maybe
of sufficient magnitude to constitute a
risk of electric shock.
This symbol is intended to alert you of
the presence of important operating
and maintenance instructions accompanying the unit.
Caution! To reduce the risk of electric shock, observe the following:
1. Do not remove the motor enclosure. No user serviceable parts are inside.
2. This product is intended for use indoors only! Do not use where it may be ex-
posed to water or direct sunlight (including roofed but open porches).
3. Use only extension cords marked SPT-2, or equivalent. Its electrical rating must be at
least 120 V, 60 Hz, and 1 Amps. Use only extension cords which have plugs and receptacles which accept product’s plug.
4. Replace or repair damaged cords.
5. Don’t abuse cord. Never carry product by cord or yank it to disconnect it. Keep cord
from heat, oil, and sharp edges.
6. Disconnect the product from power supply when not in use, before serving, or
when changing bulbs.
7. Extension cords & devices for retaining an extension cord connection to the power
supply cord are available.
CAUTION! To avoid risk of contamination, observe the following: Dead insects are unsanitary. Use care in removing used cartridge.
72955-03-01-22
Terminator ™
Page 7
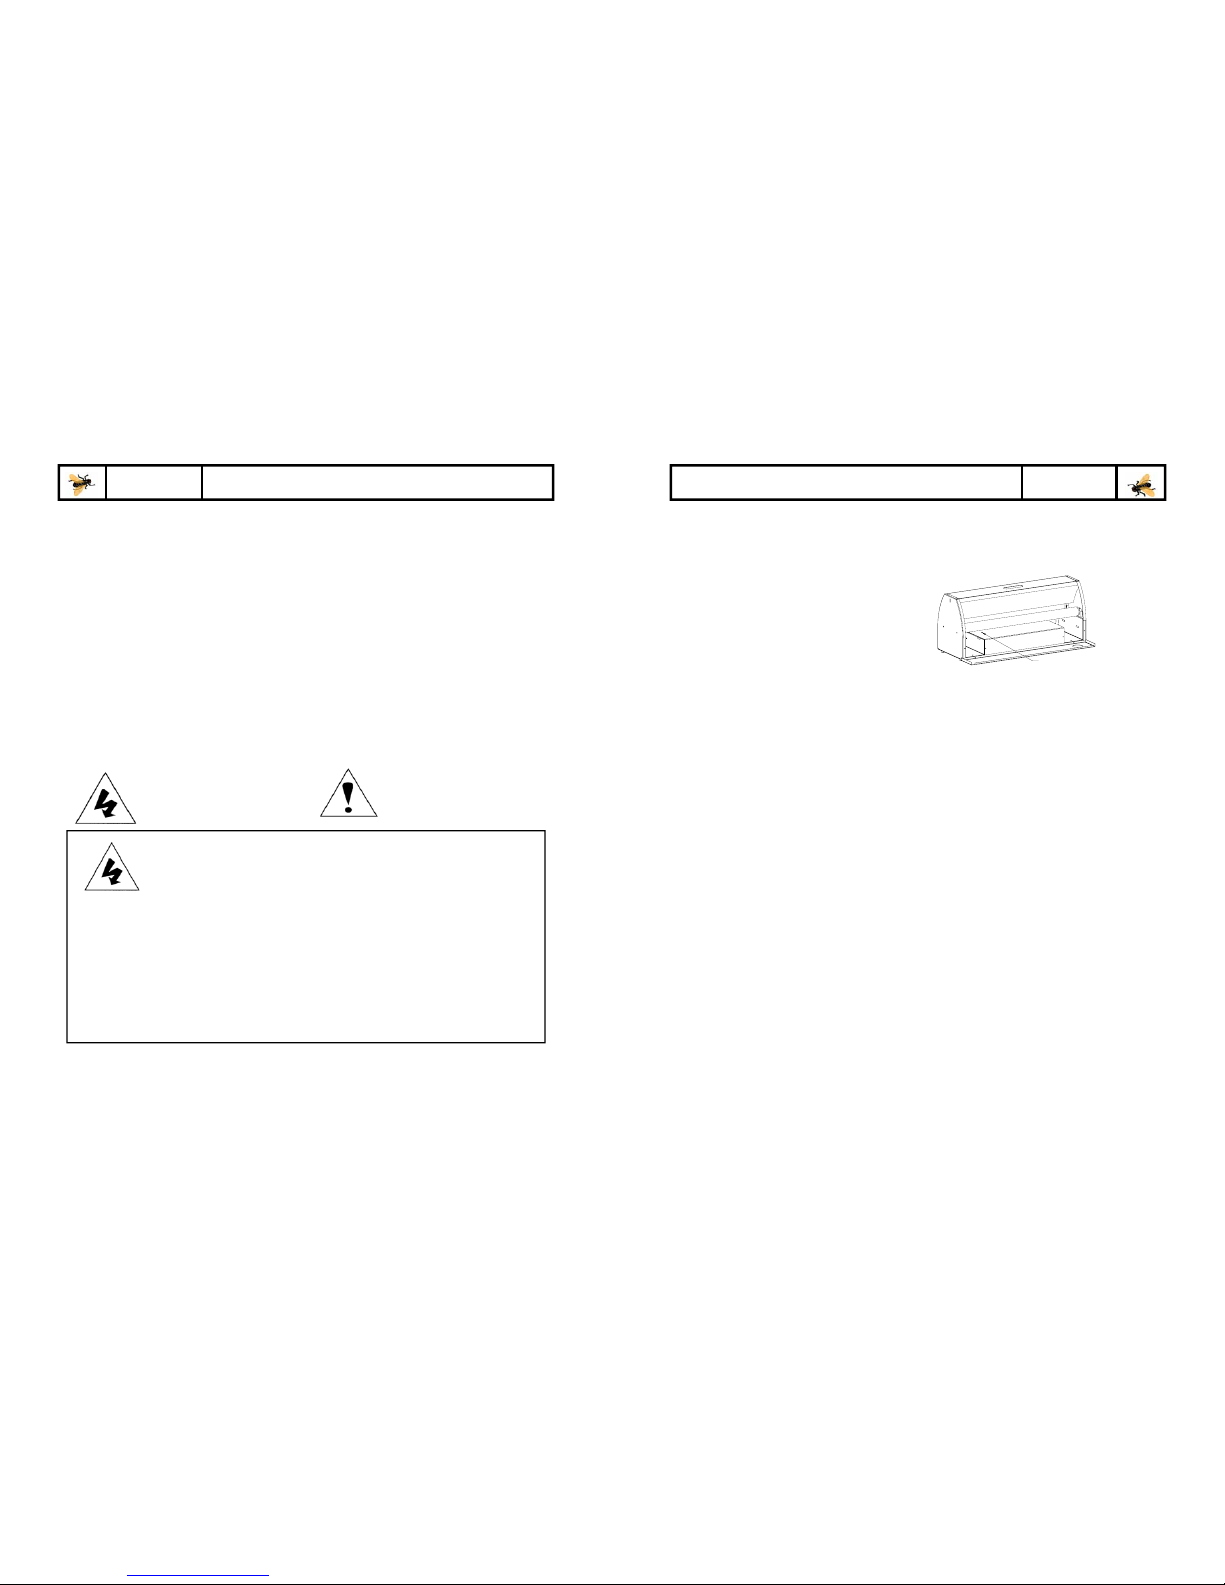
CARTRIDGE ALARM
Cartridge Alarm
The Terminator™ has a design feature unique
audible beep when it is time to replace the cartridge.
The alarm is triggered when the paper no longer
covers the hole in the top of the paper holder plate
(fig. 9). An electronic light sensor recognizes this
and begins to emit a high pitched beep.
Testing:
To test the operation of the alarm follow these
steps:
1. Lower the cartridge door.
2. Carefully remove the cartridge. The alarm
should emit an audible beeping.
3. Stop the alarm by installing a fresh cartridge.
72955-03-01-22
Fig. 9
Cartridge Alarm Sensor Hole
 Loading...