

Page 1

! !
!
!
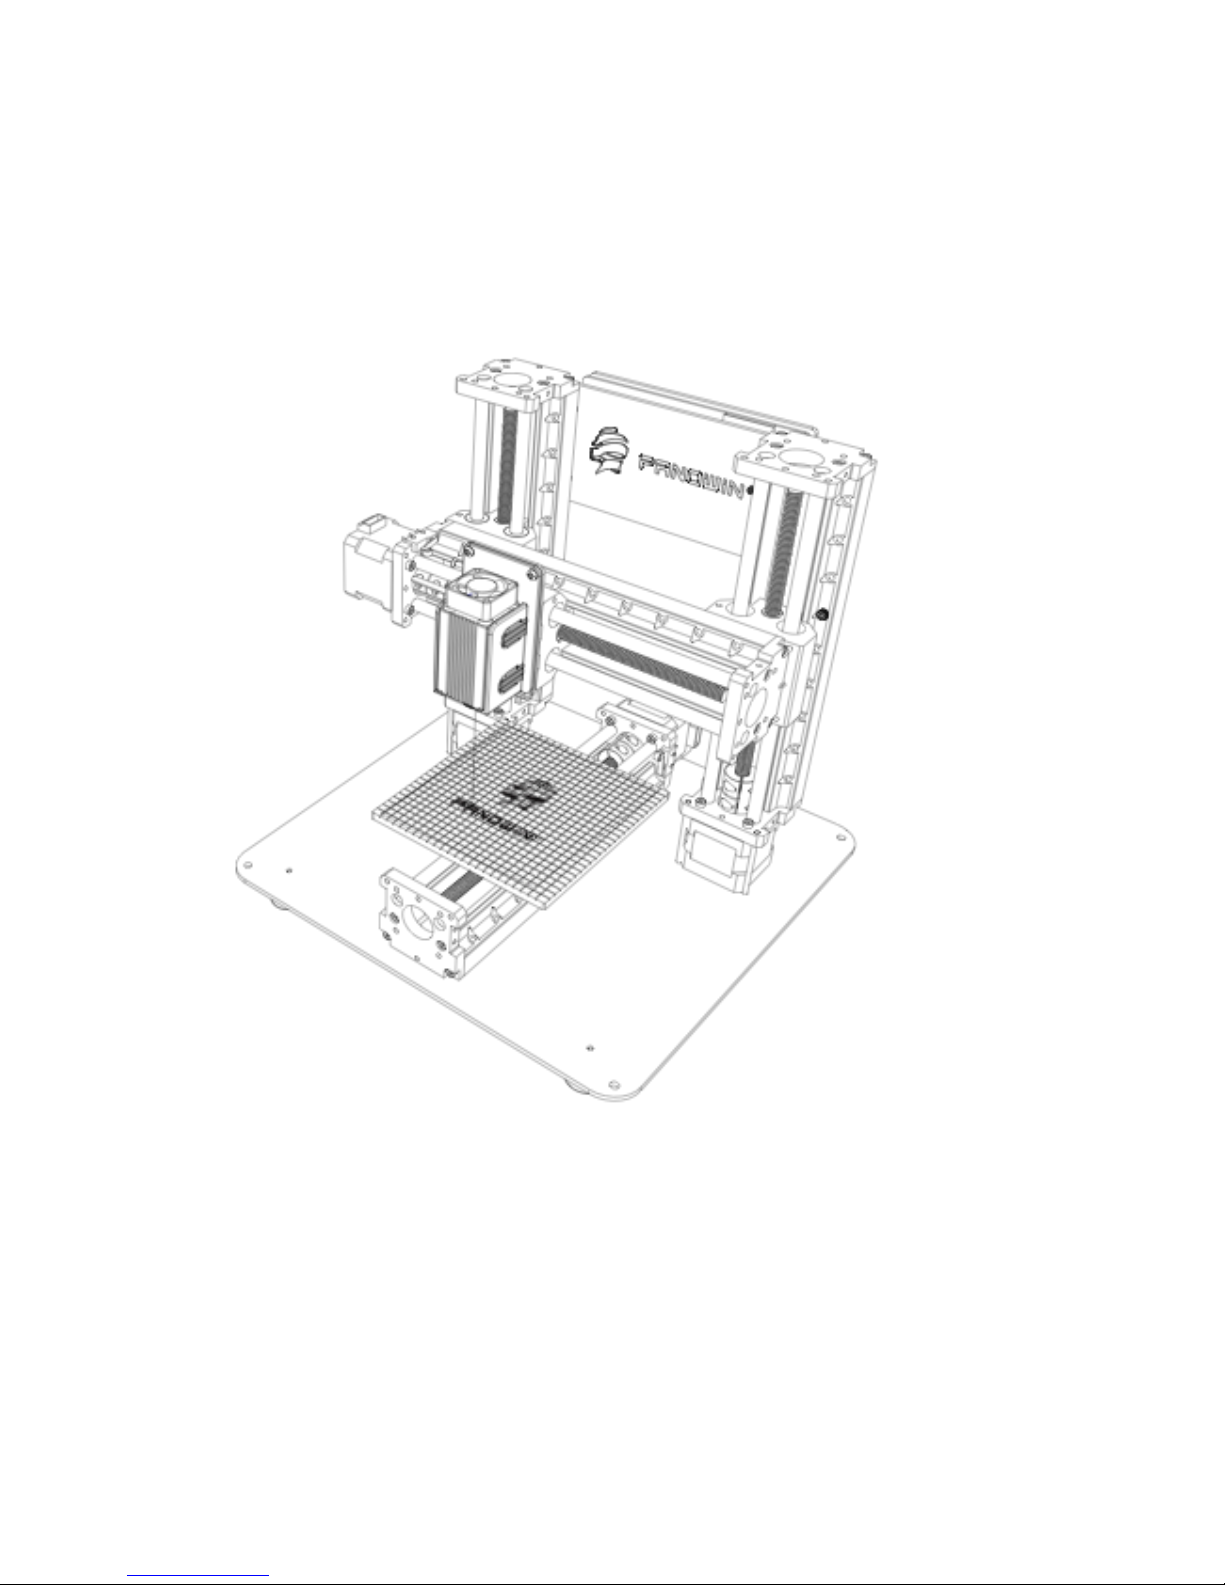
Panowin F1
Laser Head User Manual
PANOWIN TECHNOLOGIES CO.,LTD.
Page 2

2!
!
WARNING
! !!!!!!!!!! !
WARNING: Take necessary protection before operating on the
Laser Head.
WARNING: Make sure the Power is OFF before assembling the
Laser Head and connecting the cable.
CAUTION: In case of emergency unplug the Panowin F1 from the
power outlet.
WARNING: Carefully monitor the Panowin F1 during operation.
Do not leave unattended.
WARNING: The Panowin F1 contains moving parts that can
cause injury. Keep hands, body parts, loose clothing, pets and children
Page 3

3!
!
STEP1. Assemble the Laser Head Holder to the mount middle plate.
Page 4

4!
!
STEP2. Fix the Laser Head Holder by screws and put the Laser Head
onto the Holder.
Page 5

5!
!
STEP3. Connect the cable to the LASER interface of the main control
board.
WARNING: Make sure the power is off while connecting the cable!
Page 6

6!
!
STEP4. Work with the engraving software.
WARNING: Take necessary protection while operating!
Page 7

7!
!
Step 5: Pango laser engraving function:
Cautious: Please make sure your 3D printer installed the laser
attachment properly, and follow the next steps to use the Pango laser
cutting and engraving function.
1 . Go to “Preference---Preferences”, set the printer as “Panowin
F1 Laser” mode. After restart the Pango you can enter the laser
mode.
Page 8

8!
!
2. Go to “Model---Load” or click MODEL icon in the tools bar,
select a .jpg or.png file
And the platform will appear the image of laser engraving or laser
path of laser cutting
Page 9

9!
!
Laser engraving
Laser cutting
3. Go to “Model---Save Code” or click save code icon on the tools
bar, save the .pcode file in the SD card
Page 10

10!
!
5. Insert the SD card into printer and start printing.
Page 11
11!
!
Please fix the engraving material stably on the platform.
Page 12

12!
!
Step-6 Setting
Cautious:
Avoid any part of body contact with laser beam. (Children under 15
years old are not allowed to use the laser function.)
Please install the enclosure or wear the shield glasses before start
engraving.
Go to “Preference—Settings” to open the parameter setting page
Page 13

13!
!
Printing speed: Laser engraving or cutting speed. Higher the speed,
shorter the engraving/cutting time, lighter the engraving trace. Slower
the speed, longer the engraving/cutting time, deeper the engraving
trace.
Laser at Height: The distance between laser and platform. The
distance should be same with the laser focus length to reach the best
engraving quality. The laser focus distance could be adjusted by
adjusting the laser lens.
Page 14

14!
!
Laser Mode Cut: Pango will analyse the image edge and scale and fill
it with vector line. Can be used for the simple logo or vector file
engraving.
Laser Mode Carve: Pango will transform the image into bitmap. Can
be used for photogragh engraving.
Bright Threshold: The cutting mode will transform the colored picture
into black and white. The bright threshold value will set the
demarcation of the black and while.
Reversed Bright: Reverse the black and white.
Infill Rate: Infill rate of the laser cutting mode.
Infill speed: Engraving speed of the laser cutting mode.
Page 15

Tele:021-60950805 021-60950806
Fax: 021-60950807
Email:service@panowin.com
Website:www.panowin.com
Wechat:panowin_3dp
Address:Room 1019, Building 69, 100 Handan Road, Yangpu District, Shanghai, China
Copyright © 2013, Panowin Technologies, Co,. Ltd. All Rights Reserved.
Copyright Notice
Panowin copyrights this manual. No part of this manual may be reproduced in any form or means, without
the prior written consent of Panowin.
Disclaimer
This manual is preliminary and is subject to change at any time without notice. Panowin assumes no
responsibility for any errors contained herein.
Website Wechat
 Loading...