

Page 1
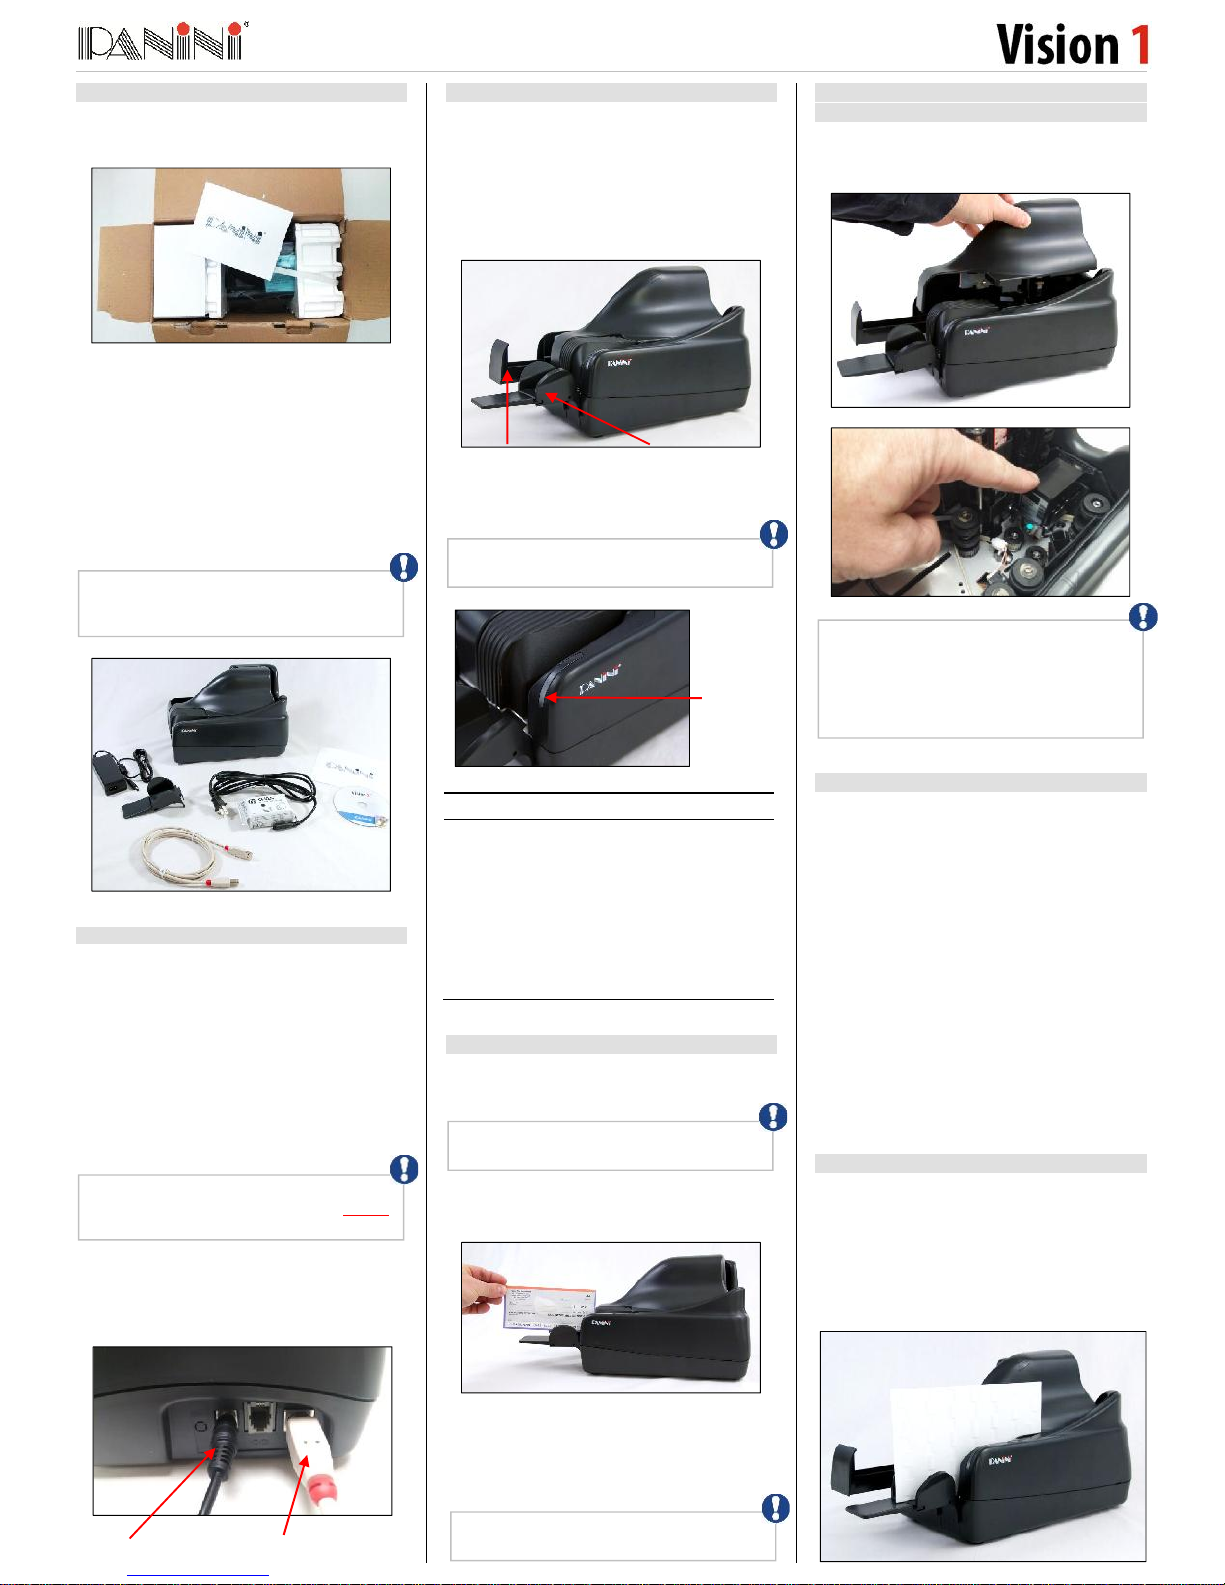
Quick Guide
Step 1: Unpack the Scanner
Before unpacking the box, examine it for
damage received during shipping.
Remove box contents and place the scanner on
a flat surface near the PC.
Make sure that all parts are included:
Panini Vision 1 Scanner;
Operator Manual (CD-ROM);
Quick Guide;
USB 2 Cable;
Power Cable;
Power Supply;
Ink Cartridge (if ordered with unit).
Step 2: Connect the Scanner
Connect the Panini Vision 1™ to your PC
following the steps below:
Place the device on a level surface near the
host computer.
Plug the power supply cable in the Vision
1power connector.
Connect the Vision 1to a dedicated electrical
power outlet.
Connect the USB cable to the USB port located
on the rear side of the scanner, and then
connect the other end of the cable to an
available USB 2.0 port on the PC.
Step 3: Getting Started
If the application program is already installed on
the user workstation, the hardware wizard will
associate the correct preinstalled driver to the
device.
Install the Feeder Extension and fully extend the
Exit Pocket to collect scanned documents.
Once you launch your application, the LED will
light-up indicating scanner status.
Status LED
Description
Off
Offline
Solid Green
Ready to accept and process
a document
Solid Yellow
Document is processing
Solid Red
Cover is off
Blinking Red
Jam or other anomaly
Step 4: Device Start-Up
Straighten document and remove any staples
and paper clips before feeding.
Insert one document at a time, right side up with
the MICR line aligned to the right.
The inserted document will be detected and
feeding will begin automatically.
The document will be transported, scanned, and
delivered to the exit pocket.
Step 5: Installing Single-Line Ink Jet
Cartridge (Panini P/N: CA-00138)
Open the upper cover and insert the cartridge in
the cartridge nest.
Step 6: Clearing Jams
When a jam or error occurs, the paper path must
be cleared.
Remove the documents from the exit pocket and
then free the track by selecting the EJECT
function in your application. In case you are
unsuccessful, apply the following suggestions:
Extract the jammed document by pulling it out
with your fingers.
If the document does not pull out, take hold of
the document and pull it down the track to the
first turn, then pull the item up and out of the
transport.
Occasionally, it may be necessary to remove
the outer cover to free jammed documents.
Step 7: Cleaning and Maintenance
Panini recommends cleaning the Vision 1 weekly
or on an as-needed basis depending on quantity
and condition of the documents processed.
Run a Panini Cleaning Card through the scanner
multiple times, rotating or flipping the card after
each pass.
If the device, or any component, appears
damaged do not use it. File a claim with the
shipping company and contact your reseller
Ensure that the scanning software and
drivers have been installed before
connecting the USB cable to the device.
USB Interface
Power Connection
Pocket Extension
Feeder Extension
Status
LED
An application must be started before you
begin to process documents.
Too many docs in the exit pocket can cause
a jam
Do NOT drop a document into the feeder
when yellow processing light is on
Remove the Ink Jet cartridge when
transporting the unit or when the unit will not
be used for long periods. In case the
scanner is not used regularly, periodically
cleaning the ink jet nozzles with a lint-free
cloth is recommended.
Page 2
Quick Guide
Do NOT wipe any of the electrical contact
areas
Lift off the Track Cover and use a can of
compressed air to spray the feeder area, check
entrance, and the track area.
If needed, wipe the glass on the contact image
sensors with a Panini Cleaning Swab or a lintfree cloth dampened with distilled water.
If endorsements are poor or fuzzy, clean the ink
jet nozzles with a Panini Ink Cleaning Wipe or a
lint-free cloth moistened with distilled water.
Convenient Panini Cleaning Kit
To make the cleaning process even easier,
cleaning kits may be purchased. The Vision neXt
/ Vision X / Vision 1 Cleaning Kit contains:
25 Cleaning Cards
25 pre-moistened Ink Cleaning Wipes
6 image sensor Cleaning Swabs.
To purchase these kits please visit
www.paninionlinestore.com
Quick Guide
Please use this guide to quickly get set-up and to begin using your scanner. For further information
please reference the Operator Manual located on the CD-ROM included with your scanner.
AD114989
 Loading...