

Panasonic TH-50PHD3VE, TH-50PHD5VBX, TH-50PHD3VU, TH-50PHD5VUY, TH-42PWD4VBX User Manual
...Page 1
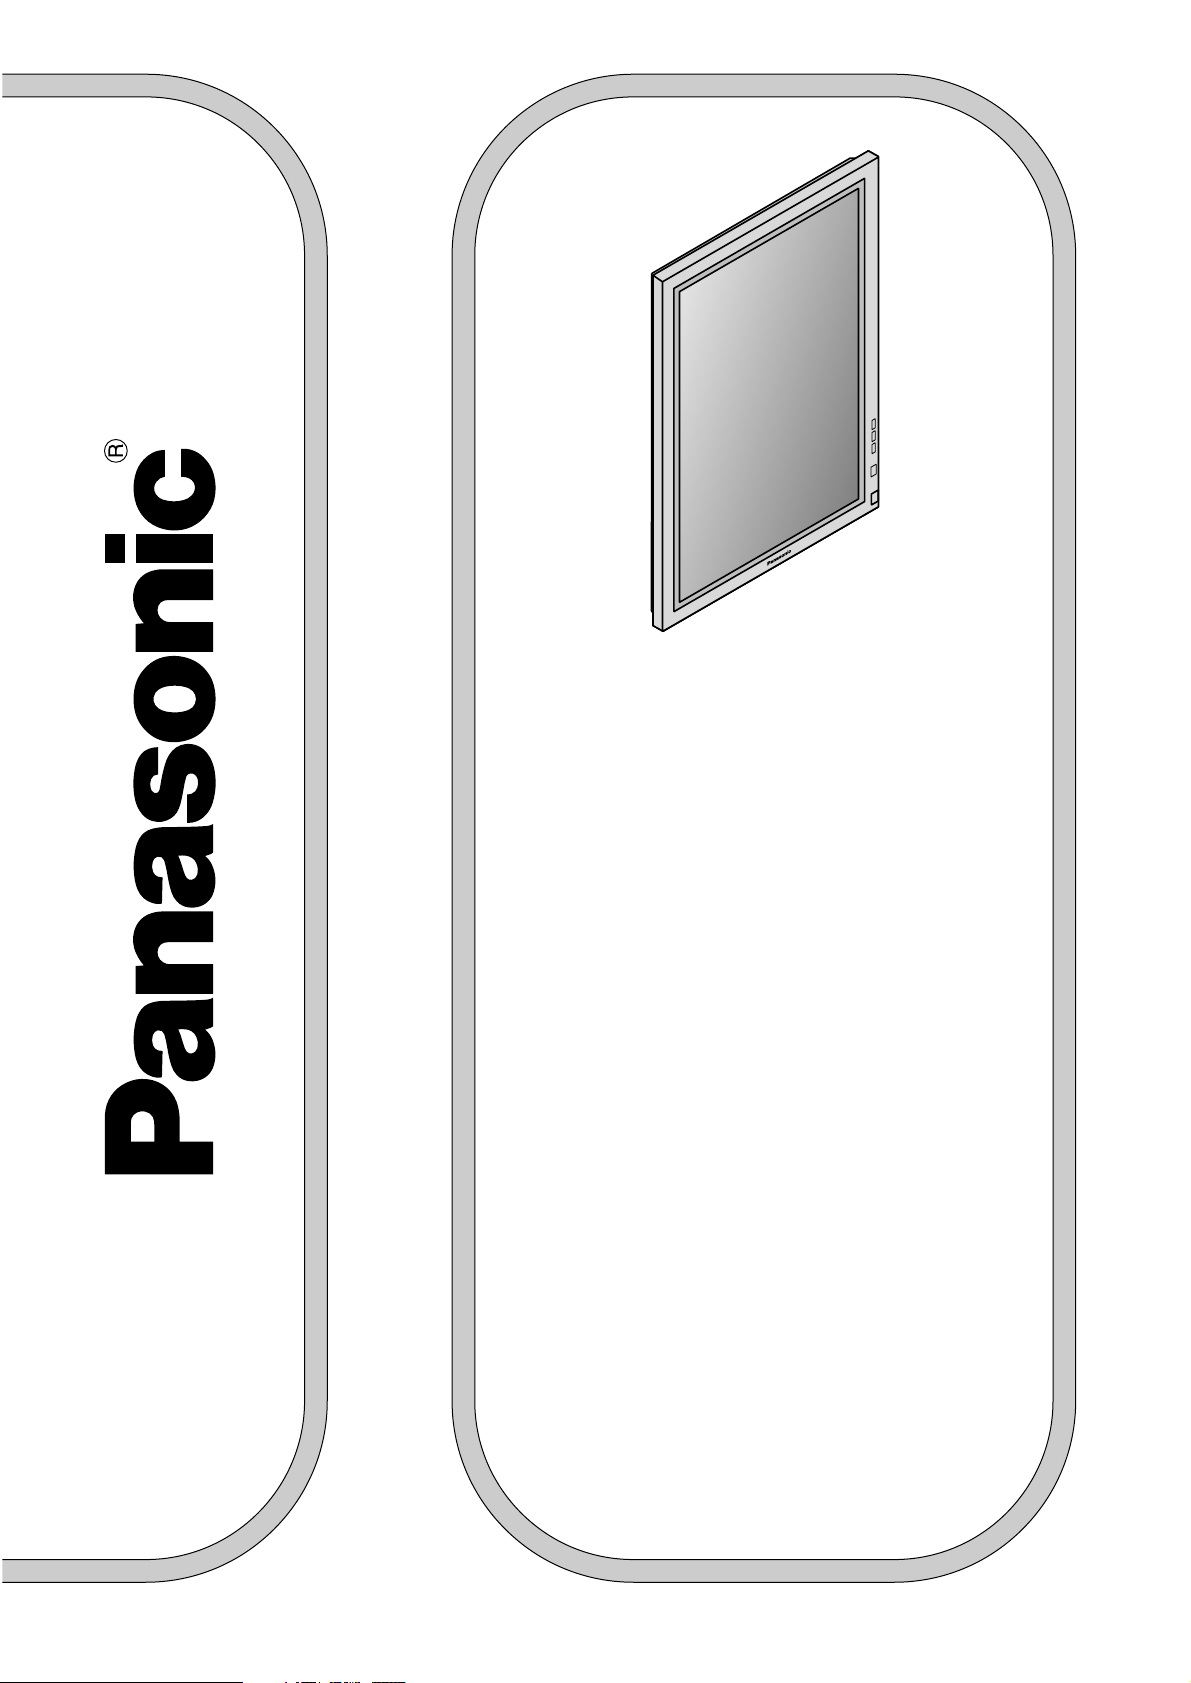
Plasma Display
Installation
Instructions
TH-50PHD3V
TH-50PH30V
TH-50PHD5V
TH-42PWD4V
TH-42PWD5V
Before attempting to install this model,
please read these instructions completely.
Operation method of plasma display, please see the
Operation Manual for the TH-50PHD3,
TH-50PHD30,TH-50PHD5, TH-42PWD4,
TH-42PWD5.
TQZH330-1
Model No.
Model No.
Page 2

2
Thank you very much for purchasing the Plasma Display.
Installation work should only be carried out by a qualified technician.
• If the unit is installed incorrectly, the display may fall down and personal injury may result.
Precautions with regard to setting up
WARNING
Always have a service technician perform the installation.
• The internal components of the display may be hot and cause burns. If the product is not
correctly installed and adjusted, damage may result to the product.
Make sure that all safety factors regarding strength of installation are observed.
• If the installation strength is insufficient, the display may fall down and personal injury may
result.
Do not install in places which are unable to bear loads.
• If the strength of the installation surface is insufficient, the display may fall down and personal
injury may result.
Caution
Do not install in places which are subject to humidity, dust, oil fumes, water vapor or
excessive heat.
• These can have adverse effects on Plasma Display operation, and fire or electric shocks may
result.
Two people are required to install and remove the display.
• If two people are not present, the display may be dropped, and personal injury may result.
Maintain a space of at least 10 cm (3
15
/16inch) at the top, bottom and sides of the display,
and at least 1.9 cm (
3
/4inch) at the rear of the display.
• The display has air outlet holes at the top and air intake holes at the bottom and rear. These
holes must not be covered, otherwise fire may result.
Page 3

3
Components
Points to note during installation
■ This model is for the Plasma Display. Do not use this model for any other purpose.
■ In order to ensure correct, problem-free operation of the Plasma Display, do not
install the Display in any of the following places.
• Places which are next to sprinklers or sensors
• Places which are subject to vibration or shocks
• Places which are close to high-voltage wires or electric motors
• Places in direct contact with air from heaters
■ When installing the wall-hanging bracket unit, use a mounting method appropriate
to the type of wall.
■ This model does not include the bolts needed to mount the bracket to the wall.
Please purchase screws suitable for the material (wood, steel frame, concrete,
etc.) of the wall on which the bracket and Plasma Display are to be mounted.
■ Insert the power cord plug for the Plasma Display into a wall outlet which is close
and easily accessible.
■ Provide adequate ventilation so that the temperature around the display does not
rise above 40℃. If there is insufficient movement of air inside the display, heat
may build up inside the display, and fire may result.
■ This Plasma Display is for use only with the following optional accessories.
Use with any other type of optional accessories may cause instability which could
result in the possibility of injury.
(All of following accessories are manufactured by Matsushita Electric Industrial
Co., Ltd.)
• Wall-hanging bracket (vertical) --- TY-WK42PV1
• Wall-hanging bracket (for PDP with PC) --- TY-WK42PRE1 (for U.S.A only)
Always be sure to ask a qualified technician to carry out set-up.
■ Make sure that you have the following accessory.
There is following accessory in addition to the accessories indicated by the TH50PHD3, TH-50PHD30, TH-50PHD5, TH-42PWD4, TH-42PWD5 operating
instructions.
Fixing screw
( M5-35)........................2
Page 4

The wall-hanging bracket weights
approx. 6 kg (13.2 lbs.), a 50-inch
display weights approx. 45 kg (99.2 lbs.),
a 42-inch display weights approx. 30 kg
(66 lbs.). Using the bracket dimensions
shown in the diagram at right, confirm
that the 6 locations for mounting the
bracket to the wall are able to bear the
combined weight. If the wall is not strong
enough, reinforce it.
4
Installation procedure
•
The wall-hanging bracket has 24 installation holes.
If the wall material is not strong enough to install
the display using six installation holes, use some of
the spare holes. However, depending on the wall
material, cracks may develop and attachment
intensity becomes inadequate if the screws are
inserted too close to each other.
Note
Note
1. Check the strength of the installation location.
2. Install the wall-hanging bracket to the wall.
• Hang the bracket so that the arrow on the bracket points to the right.
• If it is necessary to embed bolts or nuts beforehand because the wall is made of concrete, use
the bracket itself to determine the correct installation hole positions, or use the dimension
diagram to calculate the hole positions. Then embed the M6 bolts or nuts into the holes. Embed
the bolts so that they protrude from the wall by 10 mm (
13
/32 inch) to 15 mm (19/32 inch).
Units
: mm
( ): inch
930 (36
5
/8)
490 (19 19/64)
450 (17
23
/32)
50
(1
31
/32)
30
(1
3
/16)
20
(
25
/32)
20
(25/32)
450 (17
23
/32)450 (17
23
/32)
100
(3
15
/16)50
(1
31
/32)
15
(
19
/32)
Wall installation holes
(6 locations)
Used for routing wires
behind a wall
15
(19/32)
Dimensions of the wall-hanging bracket
(sold separately)
Fixing screw
Fixing screw
Installation procedure
1.
Insert a bolt into the upper right hole.
2.
Use a level to adjust the bracket so that it is parallel to the
ground. Insert bolts into the other 5 holes.
3.
Insert and slightly tighten the fixing screw (M5 x 35). Do not
insert the bolt more than 5 mm (
13
/64inch). The display
cannot be installed in the correct position if the bolt is overtightened.
*
Note: In this case, the wall-hanging bracket fixing screw
(M5 x 135) is not used.
•
Use commercially available bolts which suit the wall materials for installation to the wall.
Note
Note
Page 5

5. Tighten the mounting bolts.
• Be sure to fix the left side fixing screws to
stabilize the display.
3. Attach the insulation spacers to the display.
Remove the four bolts from the display.
In the holes that previously held the 4
M8 bolts, insert the insulating spacer,
toothed pan washer, and pan head
bolt with hex socket (4 each) that came
with the wall-hanging bracket.
Remove M8 bolts
Fixing
A
B
C
Pan head bolt with hex socket
Toothed pan washer
Insulating spacer
A
B
C
4. Install the display to the wall-hanging bracket.
Position the display so that the power switch is located at the bottom.
Insulating spacer
Power
switch
Top holes
Lower
holes
• Do not lift the display too high, otherwise it
may become unhooked.
Push the upper insulating spacers
on the display into the notches at
the top of the wall-hanging bracket
until they are hooked in, then lower
the display into place.
While lifting the display slightly,
insert the lower insulating spacers
on the display into the lower
hanging holes in the wall-hanging
bracket, then lower the display.
Tighten the fixing screws on the left
side.
Bolt locations
(upper and lower)
(Left side view)
Note
Note
5
Page 6

Matsushita Electric Industrial Co., Ltd
Web Site: http://www.panasonic.co.jp/global/
450 (17 33/64)
20
(25/32)
B
900 (35
7
/16)
A
C
490 (19 19/64)
D
930 (36
39
/64)
G
19 (
3
/4)
F
E
Upright Installation example
Units : mm
( ) : inch
For 50 Inch For 42 Inch
Dimensions
A
B
C
D
E
F
G
1210 (47
41
/64)
724 (28
1
/2)
136.5 (5 3/8)
97.5 (3
27
/32)
128.5 (5
1
/16)
151.5 (5
31
/32)
98 (3
55
/64)
1210 (47
41
/64)
724 (28
1
/2)
136.5 (5 3/8)
97.5 (3
27
/32)
128.5 (5
1
/16)
151.5 (5
31
/32)
98 (3
55
/64)
1020 (40
5
/32)
610 (24
1
/64)
79.5 (3 1/8)
40.5 (1
19
/32)
33.5 (1
5
/16)
56.5 (2
7
/32)
89 (3
1
/2)
Units : mm ( ) : inch
Printed in Japan
M0601-1052
(Recycled paper)
Page 7

;
;
プラズマディスプレイ
設置説明書
TH-50PHD3V
TH-50PHD5V
TH-42PWD4V
TH-42PWD5V
このたびはパナソニックプラズマディスプレイをお買い上げいただき、まことにありがとうございました。
●
このモデルは縦型設置専用モデルです。
●
専門業者以外の方は、絶対にこの作業をしないで下さい。機器の内部には、高圧部分があり危険です。また、間
違った工事及び調整をされると故障の原因になります。
●
取り付け設置工事前に、この説明書と壁掛け金具(垂直取り付け型)の工事説明書及びプラズマディスプレイ取
扱説明書をよくお読みのうえ、正しい取り付け工事を行ってください。
●
この説明書は、取り付け工事完了後、よくお読みのうえ保存いただくようお客様にお渡しください。
(移設やメンテナンスのときに、必要になる場合があります。)
●
プラズマディスプレイの操作方法については、TH-50PHD3、TH-50PHD5、TH-42PWD4、TH42PWD5の取扱説明書をお読みください。
品番
TQZH330-1
Page 8

■お守りいただきたい内容の種類を、次の絵表示で区分し、説明しています。(下記は、絵表示の一例です。)
■
表示内容を無視して誤った使い方をしたときに生じる危害や物的損害の程度を、次の表示で区分し、説明しています。
専門業者以外の方は、絶対にこ
の作業をしないで下さい。
禁止
機器の内部には高圧部があり危険です。
また間違った工事及び調整をされると故
障の原因になります。
2
安全上のご注意
必ずお守りください
この絵表示は、気をつけていただきたい「注意」内容です。
この表示の欄は、「死亡または重傷を負うことが想定される危害の程度」です。
この表示の欄は、「傷害を負うことが想定されるか、または物的損害の発生が想定される
危害・損害の程度」です。
この絵表示は、してはいけない「禁止」内容です。
この絵表示は、必ず実行していただきたい「指示」内容です。
お使いになる人や他の人への危害、物的損害を未然に防止するため、必ずお守りいただきたいことを、次のように説明しています。
専門業者以外は取り付け設置
工事を行わないでください
取り付け強度上の安全係数を
配慮してください
禁止
設置工事の不備により落下して、けがの
原因となります。
強度が不足すると落下してけがの原因と
なります。
湿気やほこりの多い所、油煙
や湯気、熱が当たる所に取り
付けないでください
ディスプレイ本体の取り付け、
取り外しは2人以上で行ってく
ださい
あお向けや逆さまに取り付け
て設置しないでください
禁止禁止
ディスプレイ本体内部に熱がこもり、火
災の原因となることがあります。
ディスプレイ本体に悪影響を与え、火
災・感電の原因となることがあります。
ディスプレイ本体より天面・底
面・側面は100mm以上、後面
は19mm以上の空間を確保し
てください
ディスプレイ本体には、天面に空気吹き出し
孔、底面と後面に吸気孔があり、これらをふ
さぐと火災の原因となることがあります。
ディスプレイ本体が落下してけがの原因
となることがあります。
荷重に耐えられない場所に取り
付けないでください
取り付け部の強度が弱いと落下してけが
の原因となります
禁止
警告
注意
警告
注意
Page 9

取り付け工事上の留意点
■
本モデルはディスプレイ本体を垂直の壁に縦型に取り付けて設置し、ご覧いただくための
ものです。垂直壁以外の場所に取り付けたり、横向きに設置して使用しないでください。
■プラズマディスプレイの性能保証やトラブル防止のため、次の場所には取り付けないで
ください。
●
スプリンクラーや感知器のそば
●
振動や衝撃の加わるおそれのある所
●
高圧線や動力源の近く
●
暖房機器の風が当たる所
■取り付け場所の構造や材質に合った工法でしっかり取り付け工事を行ってください。
■壁面への取り付けねじは、壁面の材質(木材、鉄骨、コンクリート等)に合った市販品
のねじをご使用ください。
■本体の電源プラグは容易に手が届く位置の電源コンセントをご使用ください。
■機器周囲温度が40℃をこえることがないように空気の流通を確保してください。
ディスプレイ本体内部に熱がこもり、故障の原因となることがあります。
■別売の設置オプションを使用してしっかり取り付けてください。
■本体の取付には下記2つの別売オプションがご使用になれます。他のオプションはご
使用になれません。
●
壁掛け金具垂直取り付け型(TY-WK42PV1)
●
PC取り付け用壁掛け金具(TY-WK42PRE1)
■付属品をご確認ください。
TH-50PHD3/TH-50PHD5/TH-42PWD4/TH-42PWD5の取扱説明書に記載されている付属品以外
に、次の付属品があります。
3
固定用ねじ
( M5×35) ..............2本
Page 10

4
取り付け工事手順
●
壁掛け金具には24個所の取り付け穴が空けてあります。
壁面の材質が木材等で、上記6個所の固定では取り付け強度が確保できない場合は、予備の穴もご使用ください。
ただし、壁面の材質によっては近接した位置にねじ止めをすると、ひび割れが発生し取り付け強度が不十分と
なる場合がありますのでご注意ください。
お願い
●
壁面への取り付けねじは、取り付け部の材質に合った市販品のねじをご使用ください。
お願い
壁掛け金具の質量は約6kg、壁掛け金具に取り付けるディ
スプレイ本体は50V型で約45kg、42V型で約30kgあり
ます。右図壁掛け金具の寸法図を参照のうえ、6個所の取り
付け位置の壁面強度確認を行い、強度が不足する場合は十
分な補強を行ってください。
1.取り付け場所の強度確認
●壁掛け金具に表示されている矢印が右を向く状態に取り付けてくだ
さい。
●壁面がコンクリート等で、事前にねじまたはナットを埋め込む必要
がある場合は、壁掛け金具の現物合わせで穴位置を出すか、寸法図
を基に穴位置を割り出し、「M6」のねじまたはナットを埋め込ん
でください。なお、ねじを埋め込まれる場合は、壁面からねじの飛
び出しは10〜15mmにしてください。
2.壁面への壁掛け金具の取り付け
取り付け手順
①最初に上部右側の穴をねじ止めする。
②水平器を使い金具の傾きを修正後残り5個所の穴をねじ止
めする。
③固定用ねじ(M5×35)を仮止めする。ねじの先端が5
mm
以
上入るとディスプレイ本体が正しい位置に取り付かなくな
ります。
930
490
450
5030
2020
450450
100
50
15 15
壁面取り付け穴(6個所)
裏面に配線工事を
する場合に使用
固定用ねじ
固定用ねじ
単位:
mm
(別売壁掛け金具の寸法)
矢印
※壁掛け金具に付属の固定用ねじ(M5×135)は使用しません。
Page 11

5
①ディスプレイ本体上側の絶縁スペーサ
ーを、壁掛け金具上穴に差し込み、そ
のまま下へ下げます。
②ディスプレイ本体を少し持ち上げなが
ら
下側の絶縁スペーサーを壁掛け金具
下穴に差し込み、そのまま下へディス
プレイ本体を下げます。
●
ディスプレイ本体を持ち上げ過ぎると上側が
外れる恐れがあります。
お知らせ
4.ディスプレイ本体を壁掛け金具に取り付け
ディスプレイ本体の取り付け方向は、必ず電源スイッチが下側になるようにしてください。
絶縁スペーサー
電源スイッチ
上穴
下穴
M8ねじ取り外す
取り付け
A
B
C
A
B
C
六角穴付皿ボルト
さら形歯付ワッシャー
絶縁スペーサー
①M8ねじ4本を取り外してください。
②外したねじ穴に同梱(TY-
WK42PV1/TY-WK42PRE1)の
部品 を取り付けてください。
A
B C
3.ディスプレイ本体に絶縁スペーサーを取り付け
●
ディスプレイ本体の固定のために必ず左側面
に固定用ねじを取り付けてください。
お願い
●左側面の固定用ねじを締め付けます。
5.固定用ねじの締め付け
(左側から見た図)
固定用ねじ
取付部(上下)
Page 12

PDP事業グループ
〒569-1194 大阪府高槻市幸町1番1号 (0726)82-6647
C Matsushita Electric Industrial Co., Ltd.(松下電器産業株式会社) 2002
M0601-1052
縦型設置壁掛け金具取り付け例
450
20
B
900
A
C
490 D
930
G
19
FE
単位:mm
50V型の場合 42V型の場合
寸法
A
B
C
D
E
F
G
1210
724
136.5
97.5
128.5
151.5
98
1020
610
79.5
40.5
33.5
56.5
89
単位:mm
この設置説明書は
エコマーク認定の再生紙を
使用しています。
 Loading...