

Panasonic TC-65CX850U, TC-55CX850U User Manual

TC-55CX850U
TC-65CX850U
e
HELP
English

Read first
eHELP
• How to use 10
Features
• 4K resolution 11
• Home Screen 12
• Info Frame 13
• Touch Pad Controller 14
• Internet (Network services) 15
• Home network “DLNA” 16
• Easy Mirroring 17
Using Home Screen
Home Screen
• Information 18
• How to use 20
• Pin to HOME 21
• Option menu 22
Live TV
• How to use 23
• Option menu 24
Apps
• How to use 25
• Option menu 26
Devices
• How to use 27
• Option menu 28
Watching TV
Cable / Satellite / Fiber Optic box
• Initial setting 29
Antenna / Cable service without a box
• Initial setting 30
- 2 -

• Select channels 31
• Favorite channels 32
• Closed Caption 33
• SAP 34
• Other 35
4K compatible equipment
• Connecting and viewing 36
• About 4K format 37
• Input signal (AV) 38
Blu-ray, DVD, Game Console, etc.
• Connecting and viewing 39
• Example of AV connections 40
• HDMI connection notice 42
• HDMI connection caution 43
• Input signal 44
For best picture
• Picture mode 45
• Auto brightness (ECO) 47
• Aspect setting 48
• Screen mode 49
• Screen mode for 4K format 50
• Zoom adjustments 51
• Lock settings 52
• Copy adjustments 53
For best audio
• Sound mode 54
• DIGITAL AUDIO OUT terminal 55
Viewing 3D images
• Notice 56
• Viewing 3D 57
• Change 3D format 58
• Adjust 3D images 59
- 3 -

Network services
Connect to network
• Network connections 60
• Network connection types 61
Network settings
• Setting the menu 63
• Network connection/Network status 64
• my Home Cloud settings 65
• VIERA network name 66
• TV remote App settings 67
• Network link 68
• File sharing settings 69
• Mirroring settings 71
• Control4 settings 72
• Do Not Track setting 73
• Software update 74
• New software notice 75
How to use
• Operate 76
Home network “DLNA”
Get started
• Information 77
Photos
• Viewing Photos 78
• Photo view 79
• Options menu 80
• Using slideshow 81
• Slideshow settings 82
Videos
• Viewing Videos 83
• Video view 84
• Options menu 85
- 4 -

Music
• Playing Music 86
• Music view 87
• Options menu 88
Media player
Get started
• Information 89
• Media warning messages 90
• SD card handling cautions 91
• File sharing 92
• Notice 93
Photos
• Viewing Photos 94
• Photo View 95
• Sort the photos 96
• Options menu 97
• Thumbnails size 98
• Using slideshow 99
• Slideshow settings 100
• Soundtrack settings 101
Videos
• Viewing Videos 102
• Video view 103
• Options menu 104
Music
• Playing Music 105
• Music view 106
• Options menu 107
Convenience features
Eco navigation
• Eco navigation 108
- 5 -

Timer
• Setting the menu 109
Parental control
• Setting the menu 110
• Password setting 111
• Parental control ratings 112
Closed Caption
• Setting the menu 114
• Closed Caption notices 115
VIERA Link ™ “HDAVI Control ™”
• Basic feature 116
• Connecting note 117
• VIERA Link connections 119
• VIERA Link settings 121
• VIERA Link settings feature 122
• VIERA Link 124
• VIERA Link menu 125
Info Frame
• Information 127
• How to use 128
• Setting the menu 129
Using Voice guidance
• Voice guidance 130
Using Voice control
• Information 131
• How to use 132
• Notice 133
Using Touch Pad Controller
• Features 135
• Pairing 136
• Identifying controls 137
• Setting the menu 139
- 6 -

Using Bluetooth devices
• Settings 140
Control by Smartphone, etc.
• Smartphone remote 141
• Turn on the TV via IP 142
• Mirroring 143
Using USB Keyboard
• Keyboard 144
All settings
How to use
• Setting the menu 145
Picture
• Basic settings 146
• Pro settings 150
• Advanced picture 154
• Screen settings 157
• 3D settings 159
• Other settings 160
Sound
• Basic settings 161
• Advanced settings 163
• Voice guidance settings 166
Network
• Network settings 167
Timer
• Sleep (Off timer) 171
• Timer (On/Off timer) 172
• Clock settings 173
• Auto turn off settings 174
Setup
• Eco navigation 175
- 7 -

• Voice control settings 176
• USB device setup 177
• VIERA Touch Pad settings 178
• Bluetooth settings 179
• Parental control 180
• ANTENNA/Cable setup 182
• Language settings 184
• Display customization 185
• Closed Caption 186
• VIERA Link settings 188
• System settings 189
• Other settings 190
• Useful settings 191
Support / FAQ
Help menu
• Using Help menu 192
FAQ
• Picture - Viewing 193
• Picture - Snowy / none 194
• Picture - Distortion 195
• Picture - Continue 196
• Sound - None 197
• Sound - Unusual 198
• Networking 199
• Software update 200
• 3D - Viewing 201
• 3D - Format 202
• Voice guidance 203
• Voice control 204
• Touch Pad Controller 205
• Eco navigation 206
• Other 207
• Menu - Gray-out or missing items 208
- 8 -

• Reset to factory defaults 209
Information
• Data information 210
Care and Cleaning
• Display panel 212
• Cabinet 213
• Pedestal / Power cord 214
- 9 -

Read first
eHELP
How to use
Before using eHELP, check the followings.
■ Meaning of signs
Press the Remote control button
INFO Letters in box : Remote control button
Menu Letters in Cyan : Menus on screen display
References in this eHELP
- 10 -

Features
4K resolution
You can watch content in 4K format that has twice the horizontal and vertical
resolution of the 1080p signal.
Watching TV > 4K compatible equipment
- 11 -

Home Screen
“Home Screen” is a gateway to the TV programs, applications and connected
devices.
It provides you an easy way to access all the features.
Using Home Screen > Home Screen > Information
- 12 -

Info Frame
This feature is available only when the item other than U.S.A. is selected from
Country in First time setup.
Info Frame is a convenient feature to provide you relevant information of
the watching program, recommendations, etc. It is displayed on the edge of
screen when you need it.
Convenience features > Info Frame > Information
- 13 -

Touch Pad Controller
Touch Pad Controller is designed for the convenient operations on the
application, Internet content, etc. You can operate the TV intuitively with this
controller.
Convenience features > Using Touch Pad Controller >
Features
- 14 -

Internet (Network services)
You can access some specific websites supported by Panasonic, and enjoy
Internet content/Network services such as videos, games, communication
tools, etc. from Apps.
●
To connect to the Internet
Network services > Connect to network
●
To configure the Network settings
Network services > Network settings
●
To use Internet (Network services)
Network services > How to use
- 15 -

Home network “DLNA”
You can share the content (Photo, Video, Music, etc.) stored in DLNA
Certified media server with your home network system.
Home network “DLNA”
- 16 -

Easy Mirroring
You can watch display images of other devices (smartphone, etc.) on the TV
screen using a mirroring function. You can also start the mirroring function
from the other devices without operating the TV.
Convenience features > Control by Smartphone, etc. >
Mirroring
- 17 -
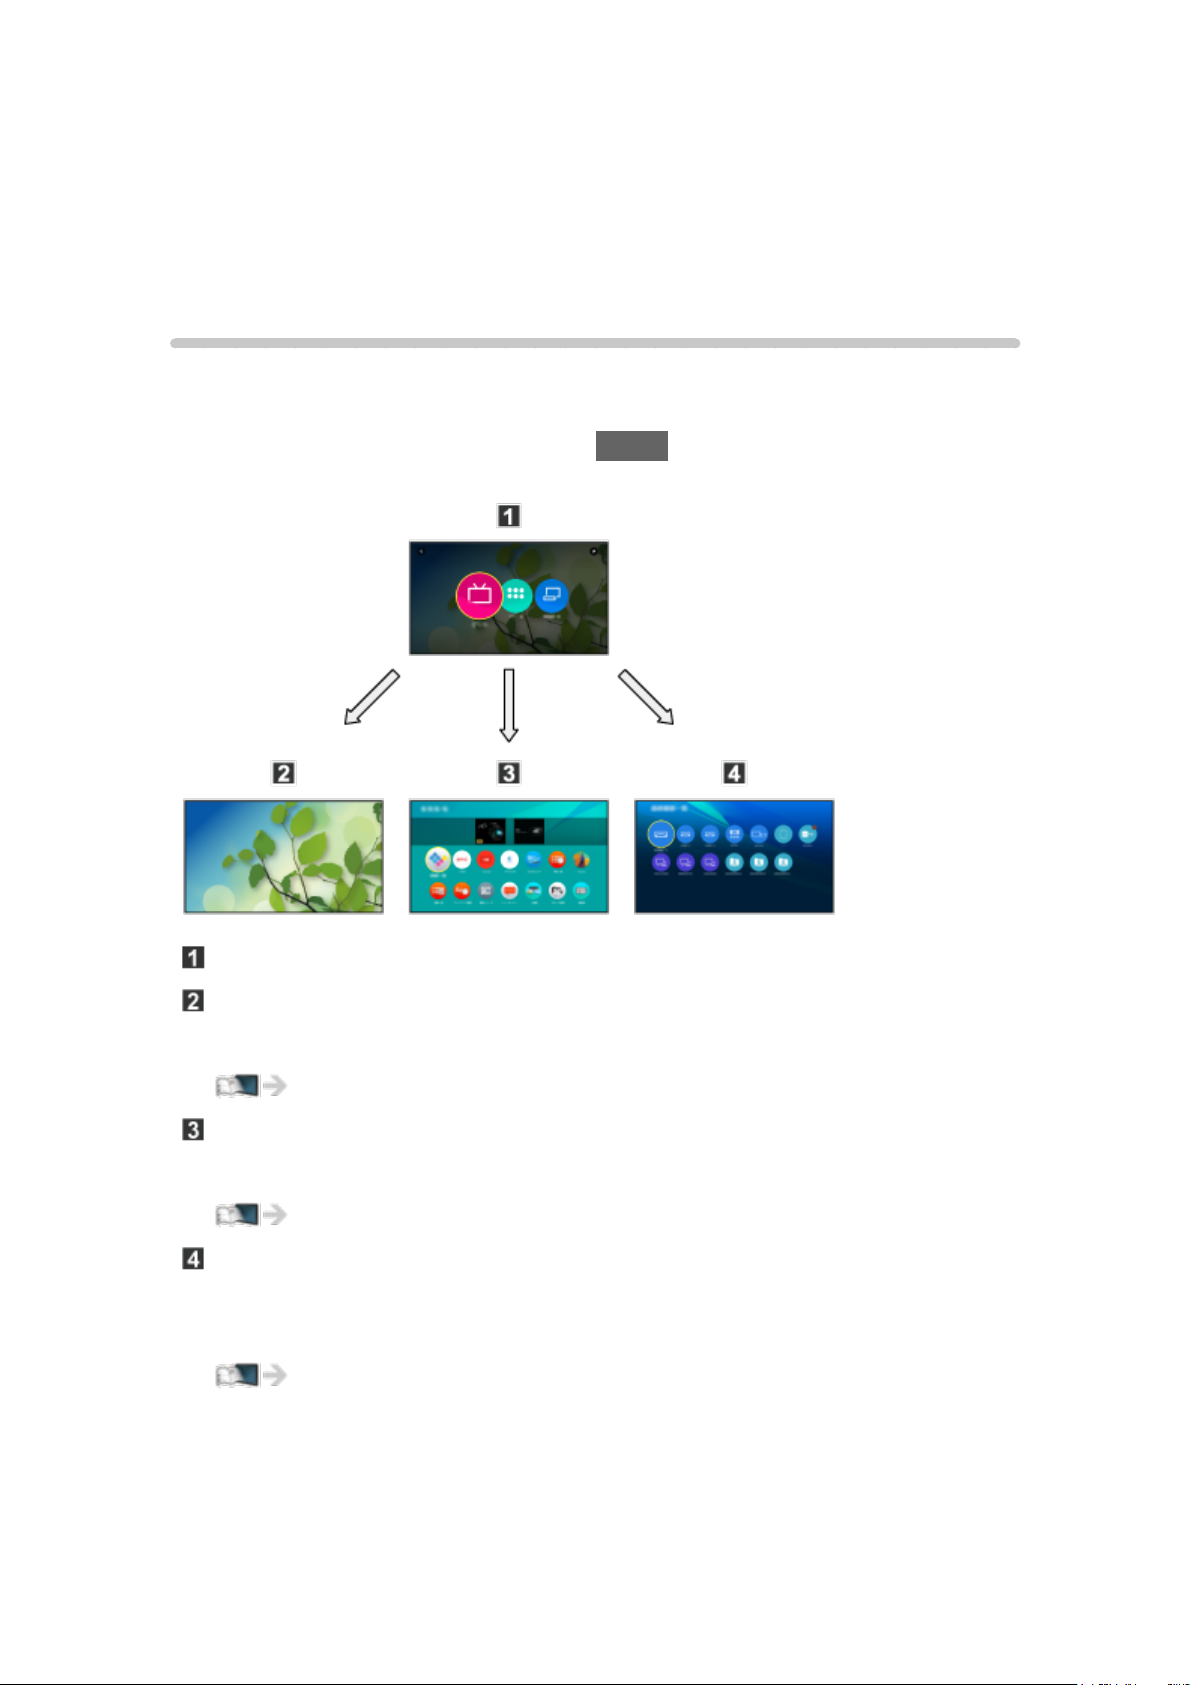
Using Home Screen
Home Screen
Information
“Home Screen” is a gateway to the TV programs, applications and connected
devices.
Home Screen is displayed by pressing HOME and it provides you an easy
way to access all the features as shown below (example).
Home Screen
Live TV
– Gateway to TV programs
Using Home Screen > Live TV
Apps
– Gateway to various applications (Internet content, etc.)
Using Home Screen > Apps
Devices
– Gateway to connected devices (HDMI equipment, USB device, network
device, etc.)
Using Home Screen > Devices
- 18 -

●
Be sure to update the software when a software update notice is
displayed on the TV screen. If the software is not updated, you may
not be able to use Home Screen. You can update the software later
manually.
Network services > Network settings > Software update
- 19 -
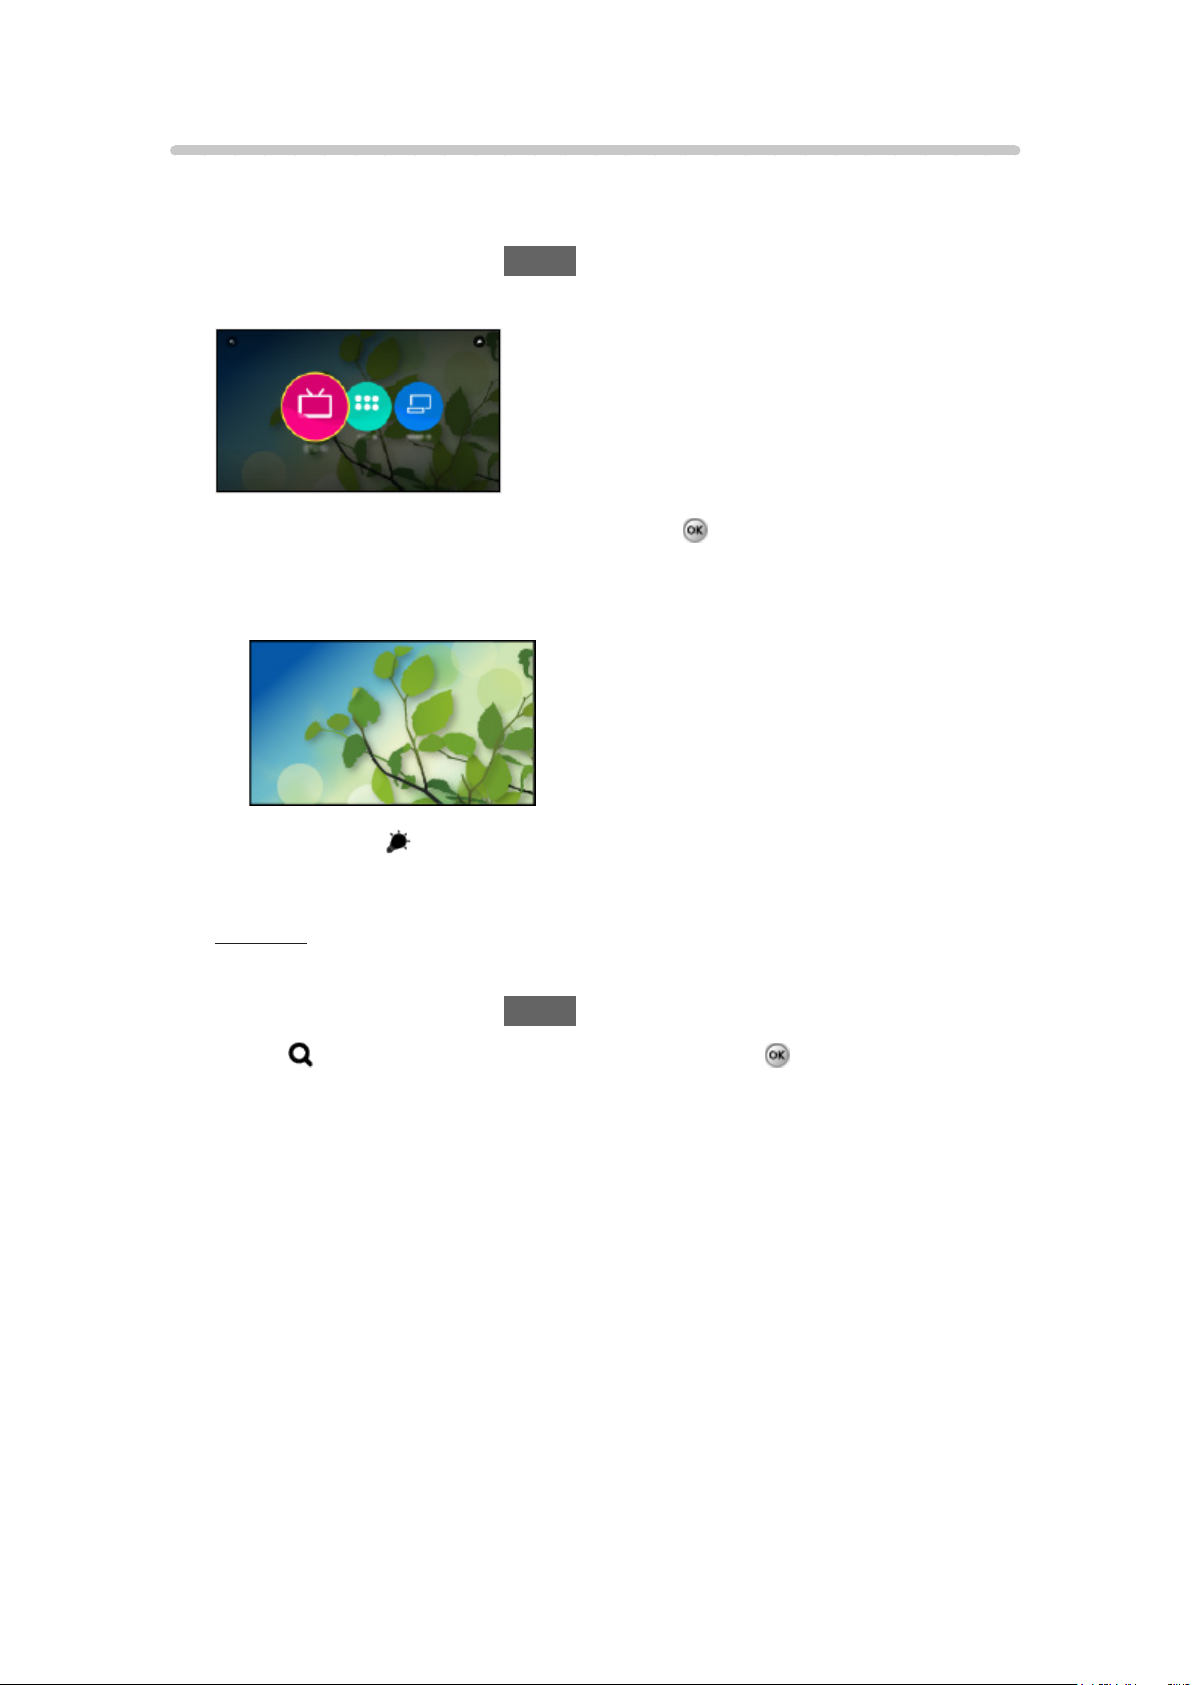
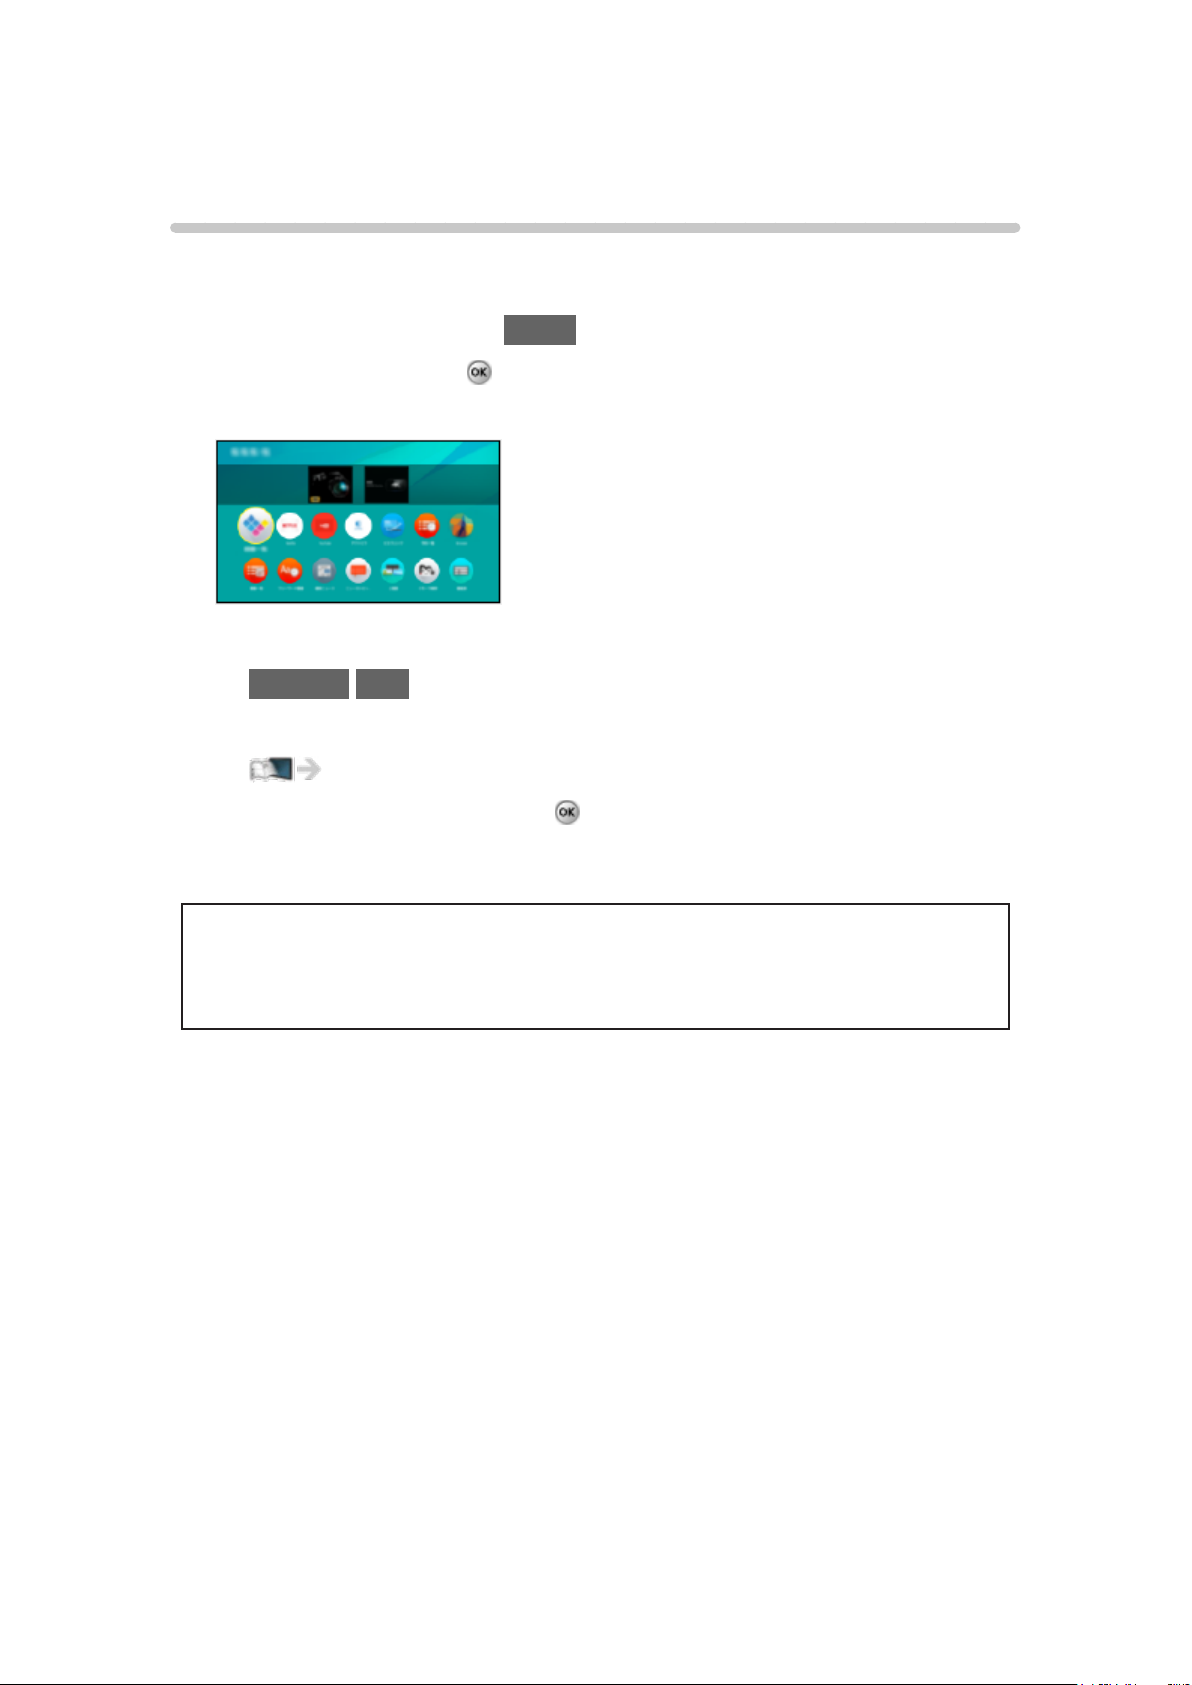
How to use
From Home Screen, you can access all the features such as TV programs,
applications and connected devices.
1. Display Home Screen with HOME.
(Example)
2. Select Live TV / Apps / Devices and press
●
To watch full-screen TV, select Live TV.
(Example)
●
Also refer to on the top right of Home Screen for the operations.
■ Search
You can search the content from various features.
1. Display Home Screen with HOME.
2. Select
3. Follow the on-screen instructions.
on the top left of Home Screen and press to access.
to access.
- 20 -

Pin to HOME
You can add a shortcut for frequently used feature on Home Screen.
1. Display Home Screen with HOME.
2. Select Live TV / Apps / Devices and press
to access.
3. Select a feature (TV program / application / device).
4. Display the option menu with OPTION.
5. Select Pin to HOME and press
●
You can also add a shortcut pressing (Pin to HOME) of Touch Pad
to set.
Controller.
●
To remove a shortcut from Home Screen, set Unpin from HOME.
Using Home Screen > Home Screen > Option menu
- 21 -

Option menu
You can customize Home Screen.
1. Display the option menu with OPTION.
2. Select one of the following items and press
Unpin from HOME / Move
3. Set the item and press
Unpin from HOME
Remove a shortcut from Home Screen.
Move
Arranges the position of the icons.
to store.
to access.
- 22 -
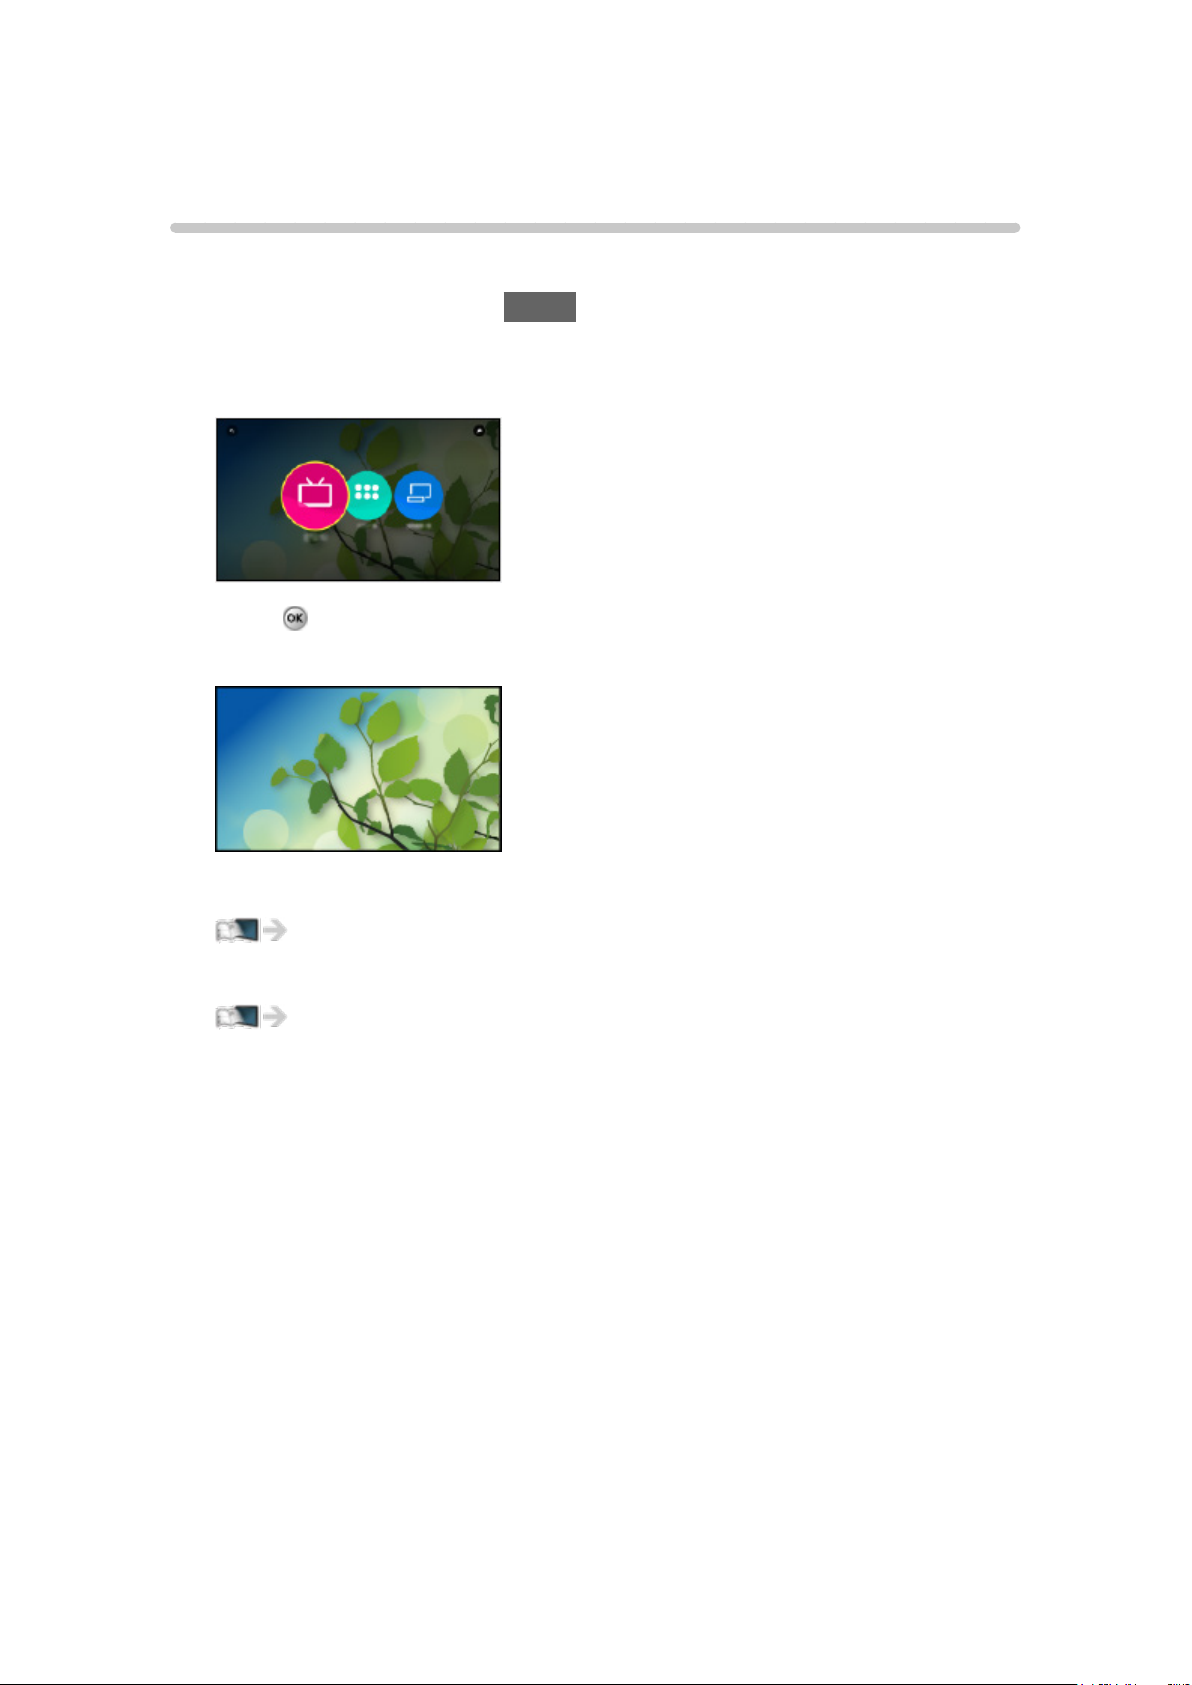
Live TV
How to use
Live TV is a gateway to the TV programs.
1. Display Home Screen with HOME.
2 Select Live TV.
(Example)
3. Press to access.
(Example)
●
For details of watching TV
Watching TV
●
To add a shortcut icon
Using Home Screen > Home Screen > Pin to HOME
- 23 -
Option menu
1. Display the option menu with OPTION.
2. Select one of the following items and press
to access.
Pin to HOME / Unpin from HOME / Accessibility / AV Options
3. Set the item and press
to store.
Pin to HOME, Unpin from HOME
Adds / removes a shortcut for a frequently used feature on Home Screen.
Using Home Screen > Home Screen > Pin to HOME
●
The label (channel position, channel name, etc.) of shortcut is not updated
by broadcasters automatically. Remove and add the shortcut again to
update the label.
Accessibility
Guidance settings for visually impaired users
Convenience features > Using Voice guidance > Voice
guidance
AV Options
Easy optional setting for viewing, sound, etc.
Watching TV > Antenna / Cable service without a box > Other
●
Menu items and selectable options vary depending on the TV mode.
- 24 -
Apps
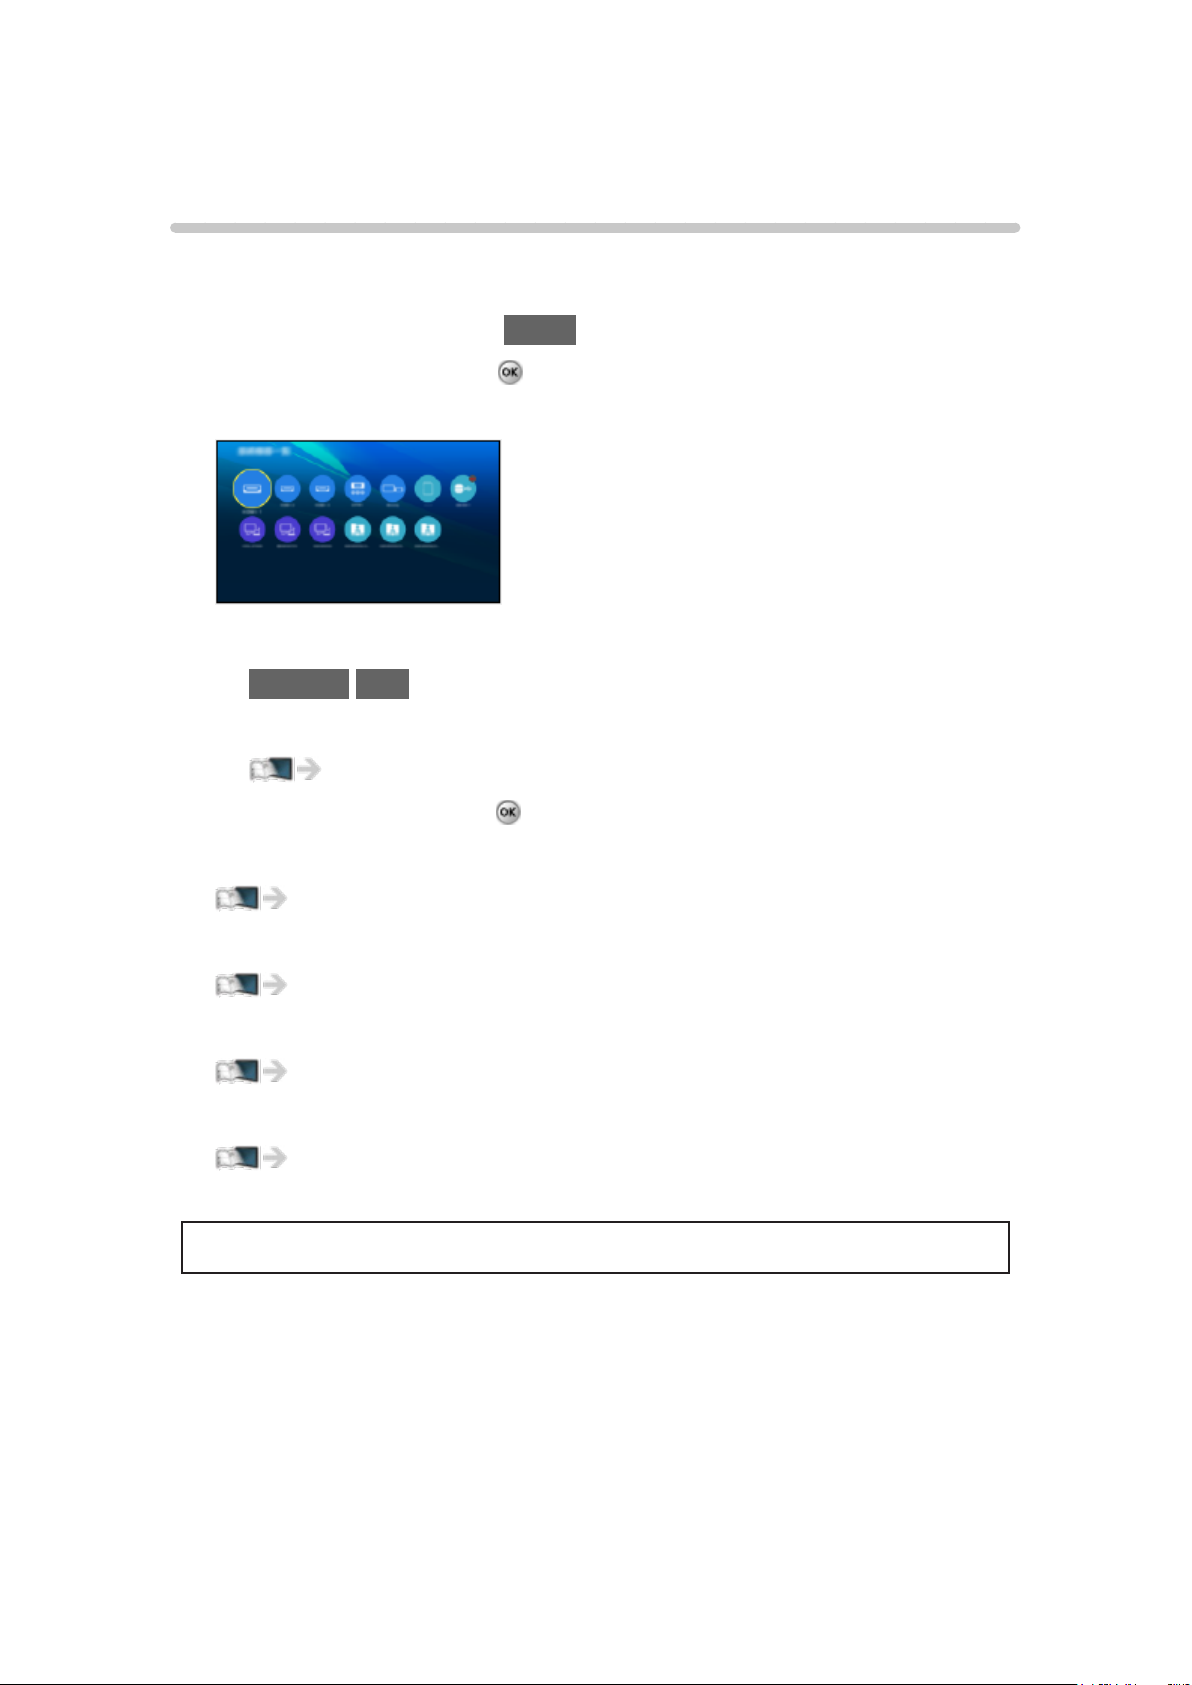
How to use
Various applications (Internet content, etc.) can be accessed easily from
Apps.
1. Display Home Screen with HOME.
2. Select Apps and press
(Example)
●
To exit Apps
RETURN/EXIT
●
To add a shortcut icon
Using Home Screen > Home Screen > Pin to HOME
3. Select an application and press
4. Follow the on-screen instructions.
●
A broadband network environment is required to be able to use this
function fully.
to access.
to access.
●
Design and specifications are subject to change without notice.
- 25 -
Option menu
1. Display the option menu with OPTION.
2. Select one of the following items and press
Pin to HOME / Unpin from HOME / Move / Lock / Unlock / Uninstall /
Show Info.
3. Set the item and press
Pin to HOME, Unpin from HOME
Adds / removes a shortcut for a frequently used feature on Home Screen.
Using Home Screen > Home Screen > Pin to HOME
Move
Arranges the position of the applications.
Lock, Unlock
Locks / unlocks the specific applications to restrict access to them (if
available).
to store.
to access.
●
Password is required to access to locked application.
Convenience features > Parental control > Password setting
Uninstall
Deletes an application from Apps (if available).
Show Info.
Displays the information about the selected application.
- 26 -
Devices
How to use
Connected devices (HDMI equipment, USB device, network device, etc.) can
be accessed easily from Devices.
1. Display Home Screen with HOME.
2. Select Devices and press
(Example)
●
To exit Devices
RETURN/EXIT
●
To add a shortcut icon
Using Home Screen > Home Screen > Pin to HOME
3. Select a device and press
●
For external equipment
Watching TV > Blu-ray, DVD, Game Console, etc.
●
For devices for Media Player
to access.
to access.
Media player
●
For network equipment for DLNA
Home network “DLNA”
●
For mirroring function
Convenience features > Control by Smartphone, etc. >
Mirroring
●
Design and specifications are subject to change without notice.
- 27 -
Option menu
1. Display the option menu with OPTION.
2. Select one of the following items and press
Pin to HOME / Unpin from HOME / Accessibility / Show Info.
3. Set the item and press
Pin to HOME, Unpin from HOME
Adds / removes a shortcut for a frequently used feature on Home Screen.
Using Home Screen > Home Screen > Pin to HOME
Accessibility
Guidance settings for visually impaired users
Convenience features > Using Voice guidance > Voice
guidance
Show Info.
Displays the information about the selected device.
to store.
to access.
- 28 -
Watching TV
Cable / Satellite / Fiber Optic box
Initial setting
1. Connecting
Select the wiring method connecting your box to the TV, AV IN or
Antenna/Cable in.
Note:
●
HDMI will provide the best HD picture
2. Change INPUT
INPUT
Press the INPUT button to select the proper connection. Wait for 2
seconds.
●
The menu choices vary depending on which input is selected.
3. Power on your Cable, Satellite or Fiber Optic box
Use the box’s remote control to change channels.
●
If the box is connected to the TV using a COAX cable (Antenna/Cable
in), then set the TV channel to CH3 or CH4. Note that the picture will
not be in HD.
●
CC/SAP is not available when watching TV with a Cable or Satellite
box connected via HDMI.
●
If you have a High Definition box, ensure that it is outputting 720p or
1080i signal.
Tip: press the TV’s INFO button to verify.
●
Check your box’s “aspect” or “format” settings. It should be set to 16:9,
Widescreen or Full.
●
If the audio volume is too low, check the box’s audio settings.
●
Contact your Cable or Satellite provider for instructions of any box
settings.
- 29 -
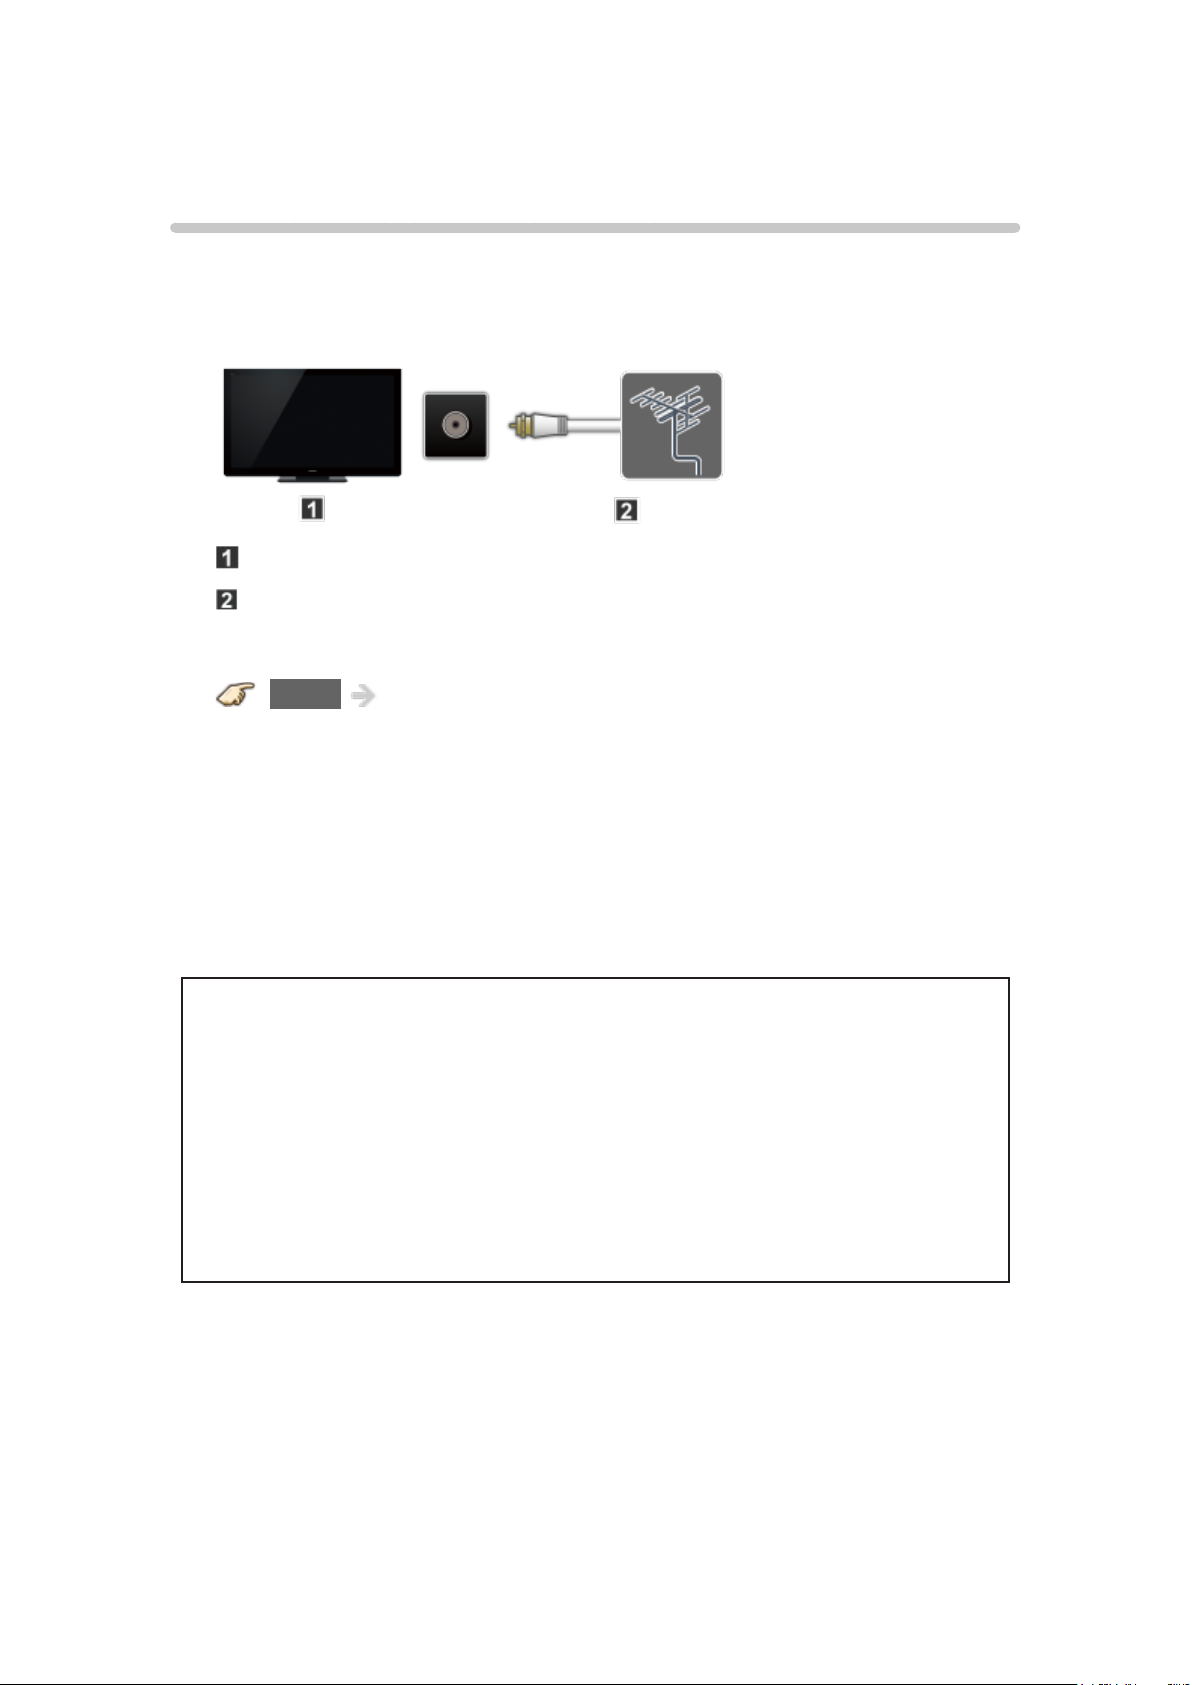
Antenna / Cable service without a box
Initial setting
1. Connect coax
Connect a COAX wire from either an Antenna or Basic Cable service to
the TV’s “ANTENNA/CABLE IN” screw terminal.
TV (ANTENNA/CABLE IN)
Antenna
2. Scan the channel
MENU Menu > Setup > ANTENNA/Cable setup > ANTENNA/
Cable signal, Auto program
1) Select either Cable or Antenna programming source in ANTENNA/
Cable signal.
2) Select Auto program and then the appropriate scan mode:
(All channels / Analog only / Digital only)
3) Start scanning.
●
The tuner setup menu (auto scan, etc.) is only available when INPUT is
set to TV.
●
If no channels are found by the end of the scan, then check the
following:
– Antenna’s position - or availability of Cable service.
– Cable, Satellite or Fiber Optic services with a box are typically
connected to the TV’s A/V inputs, preferably HDMI, for best HD
picture. In such case, the channel scanning is not needed.
- 30 -
 Loading...