

Page 1

Panasonic
Operating Instruction
Colour Television
TC-14Z88A
Please read the operating instructions compieteiy before operating this set.
TQB4G2307
Page 2
Dear Panasonic customer
D
Welcome to the Panasonic family of customers. We hope that you will have many years of enjoyment
from your new colour television.
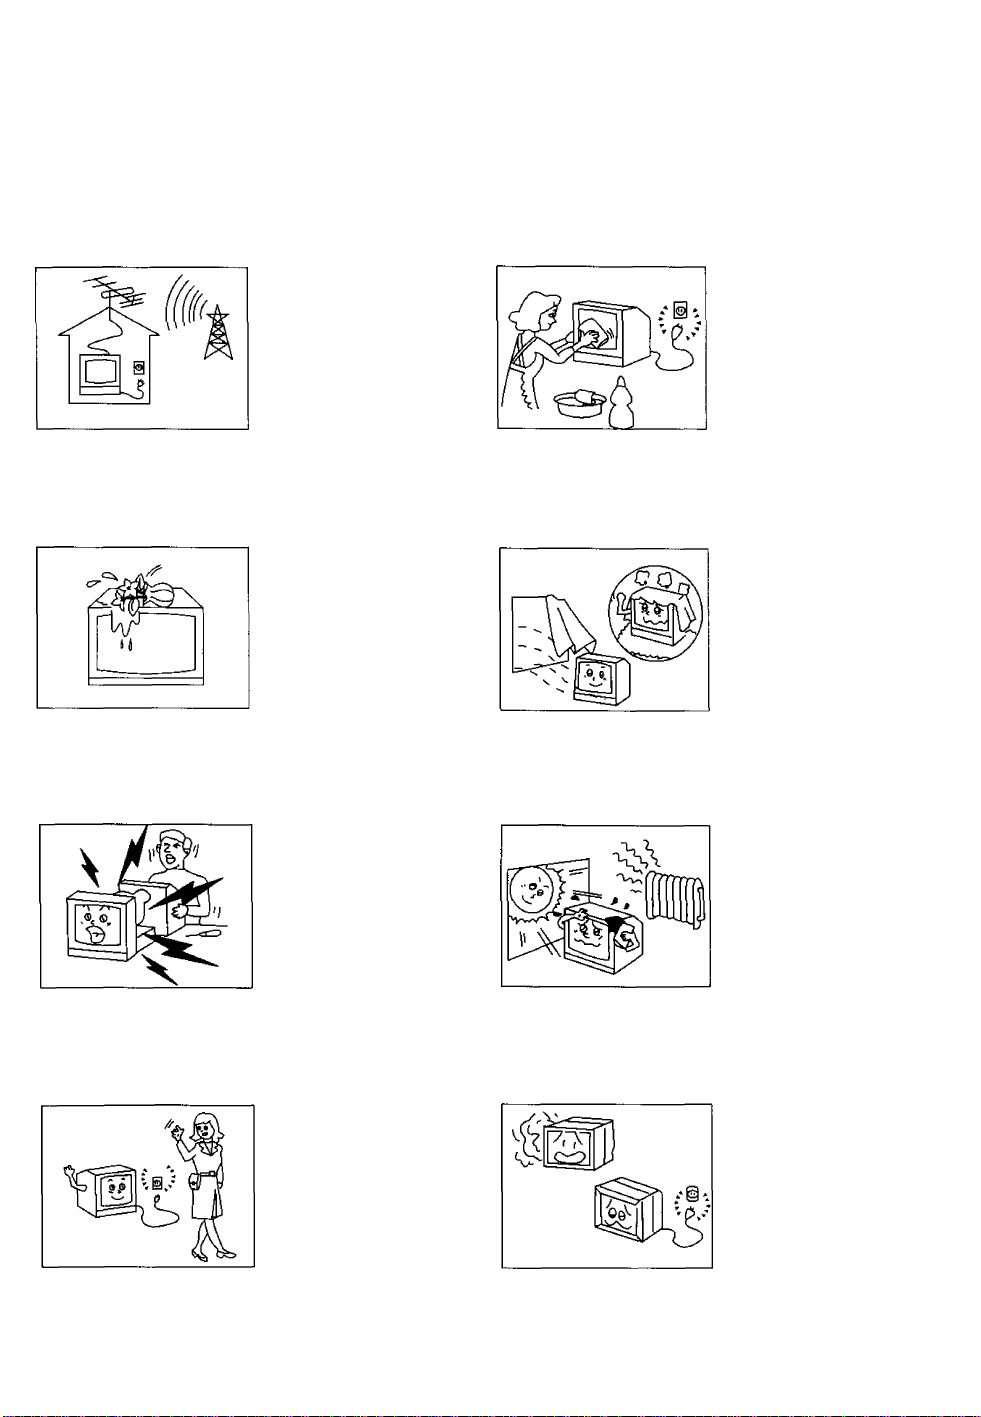
(safety Instructions^
The TV set can be
operated on AC AUTO
110-240V,50/60Hz.
The apparatus shall not
be exposed to dripping or
splashing and that no
objects filled with liquids,
such as vases, shall be
placed on the apparatus.
Do not remove the rear
cover, as live parts are
accessible when it is
removed.
The cabinet and picture
tube can be kept in good
condition by simply wiping
with a clean, soft cloth
moistened with miid
detergent and water. Do
not use solutions
containing benzol,
petroleum or a chemical
cloth. For safety, remove
the plug from the wall
outlet.
Adequate ventilation is
essential to prevent failure
of electrical components.
Avoid exposing the TV set
to direct sunlight and
other source of heat.
Remove the plug from the
wall outlet (Power point)
when the TV set is not
used for a prolonged
period of time.
Do not use this set if
abnormal operation
occurs.
EX: smoke, odd sounds
or smells, turn the power
switch off and disconnect
the AC power if you notice
any unusual operation.
Page 3

(Before Operating This Set^
Connect the Aerial Cable to the RF In Terminal
VHF Aerial
UHF Aerial
Mixer
ir
1S2
750
Coaxial
Cable
RF In Terminal
To obtain the best quality picture and sound, an external antenna, the correct cables (75 Ohm coaxial)
and the correct terminating plug will be required.
If a communal antenna system is used, you may require the correct connection cable and plugs between
the wall antenna socket and your television receiver.
Your local Television Service Dealer may be able to assist you in obtaining the correct antenna system
for your particular area and accessories required.
Any matters about antenna installation, upgrading of existing systems or accessories required, and the
cost incurred, are the responsibility of the customer.
Note:
If your existing antenna system uses 300 Ohm to 75 Ohm Baiun, see Below.
Q lllllllll
lllllllllln
III III 11^ ^
Coaxial Aerial plug
I
75 Ohm Coaxial Cable
Page 4

(^Before Operating This Set^
Battery Installation
open the cover.
Press bottom downward and pull out the cover.
^ Two "R6 (AA)” size
Batteries: Use two “R6 (AA)” size batteries.
Insert the batteries ensuring correct polarity.
This is identifiable by the “+” and symbols on both the
batteries and inside the battery compartment.
Replace the cover.
Do not use rechargeable (Ni-Cd) batteries.
They are different in shape and performance and may fail to ensure correct operation.
A Battery cautions
The incorrect use of batteries can cause electrolyte leakage which will corrode the Remote Control or
cause the batteries to burst.
New Batteries
Replacement both batteries at the same time.
Don’t mix battery types
(alkaline with carbon, zinc, etc.)
Don’t Recharge.
Page 5

(connections (Audio Input and Video lnput)J
To watch the VCR picture:
Connect the VCR cable to the AUDIO INPUT and VIDEO INPUT
terminals at the rear of TV.
RF OUT
OUT
to antenna terminal
AUDIO VIDEO
0 o
1 I
ir
©
OUTPUT
INPUT^
(Rear of TV)
AUDIO VIDEO
OP
o°oJ
OR
(Front of TV)
Page 6

(General Operation^
7.
8.
Sound Mute Button
Press this button to mute the
Sound completely.
Press the button once again to
restore the previous sound level,
and cancel the mute.
^ 5
llh--
VOLUME
The “Mute” symbol will appear.
{ Colour changes to Red )
Recall Button
Press the RECALL button to di play the current system status. Press this button until
display is cancelled.
Off-Timer Button
The TV set may be preset to
switch to stand-by after a fixed
period.
By pressing “Off-Timer" button,
you can select the preset time
either 30, 60, or 90 minutes.
030
L
060 ^^90
00-i—0AUTO
J
When the Off-Timer reaches
its last 3 minutes, it starts
blinking before going to
stand-by condition.
Note :
Setting Off-timer to AUTO mode. If the set is not switched off, when the TV station ends broadcasting, it will
automatically go to the stand-by condition after 5 minutes. This AUTO mode will not operate when the TV receiver
is in AV mode.
How to cancel the Off-Timer setting;
1. Set the preset time condition to “0" mode by pressing the Off-Timer button.
2. Turning the TV set off.
Page 7
(^General Operation^
10.
11.
PIC MENU
WAKE UP
Picture Menu Operation
By pressing the PICTURE MENU button, you can sequentially select the Picture menus as
shown below:
On-screen
MENU DYNAMIC
MENU STANDARD
MENU SOFT
For watching in brighter environments. This menu
selects a higher than normal level of contrast.
For watching in normal (evening) environments. This
menu selects normal level of contrast.
For watching in dark environments. This menu selects
reduced level of contrast.
Function
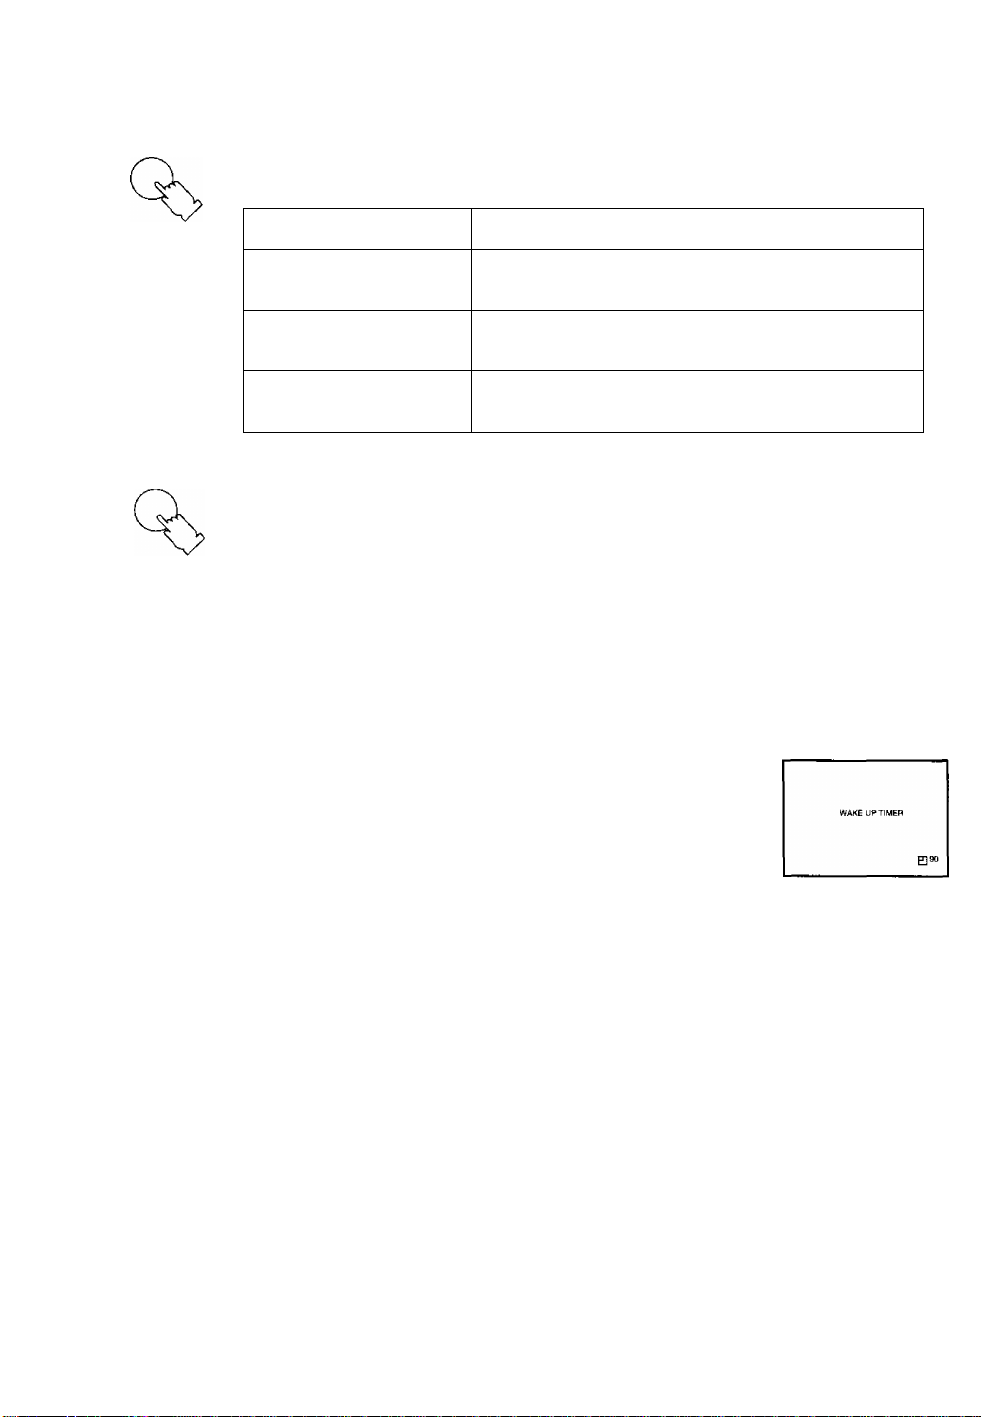
Wake Up Timer Button
1. Press the “Wake Up Tinner ” button.
2. Press the position left or right button to select the Wake
Up Timer. (Wake Up Timer will increase or decrease by
10 minutes when left or right button is pressed.)
Note:
Wake Up Timer can be set up to 12 hours.
3. After setting the Wake Up Timer, switch the TV set to
stand-by mode. {LED light will blink ON and OFF
during stand-by mode.)
4. When the time Wake Up Timer has elapsed in the set
will automatically switch on. (Press any button to cancel
the Wake Up Timer on screen display.)
Note:
i) After the Wake Up Timer is set and the TV mode is still not switched off, the Wake Up
Timer will continue to count down until the timer is off.
ii) When Wake Up Timer switch ON the TV set, the off-timer is set to 90 minutes mode
automatically. Press any button to cancel the off-timer, if no button is pressed, the TV
set will switch off automatically after 90 minutes.
5. To cancel the Wake Up Timer.
You can choose any of the following:
i) Switch off the main power.
ii) Press the position left or right button, until OFF is reached.
iii) Press the NORMALIZE button when Wake Up Timer OSD is displayed.
11
Page 8

(General Operation^
12.
13.
R-TUNE
Normal (N) Button
By pressing the Normal “N” button on the Remote Control while Picture or Sound Control
Function is displayed, the selected function will be changed to the Normal Mode.
Normalization will not occur if the function is not displayed when the “N” button is pressed.
The Normal mode is the factory preset condition. Returning to this original condition is
called “Normalization”.
Rapid Tune Button
Press the button to access previously viewed channel.
PRESENT CHANNEL
BEING VIEWED
LAST VIEWED
CHANNEL
M
10
Page 9

^Tuning
Procedure
Automatic Tune
D
MAIN MENU
1,6
OR
1.
pife,
Press the “PRE.” (PRESET)
button, until “AUTO TUNE”
function is selected.
Press the “MAIN MENU” and
“Position” buttons, until “AUTO
TUNE” function is selected.
After all stations are tuned, the
on-screen display will
automatically change from
“AUTO TUNE” to “SOUND
SYS” Position,
Confirm the sound condition of
each Programme Number by
using the Programme Number
Up“ A” button.
I PRESET I
I AUTO TUNE " ~ I
MANUAL TUNE
SOUND SYS
COLOUR SYS
FINE TUNE
SKIP
POS CHANGE 1
1
[preset I
AUTO TUNE
MANUAL TUNE
1 SOUND SYS
COLOUR SYS
FINE TUNE
SKIP
POS. CHANGE 1
5.5MH2
AUTO
OFF
5.5MHz 1
AUTO
OFF
Channel Number
Automatic Tune condition.
Search start.
The best tuning position is
automatically memorized.
If the Sound is not clear or no
sound is produced on a
Programme Number, then
follow the next Step 4.
Note:
When sound volume is too
small to confirm, turn it up by
using the sound volume
button on the Remote Control.
□
If necessary, press the Volume
Up or Down button, to
improve the Sound quality.
Press the Position Left or Right
button to improve the sound
1
1 PRESET 1
AUTO TUNE
MANUALTUNE
1 SOUND SYS
COLOUR SYS
FINE TUNE
SKIP
POS. CHANGE
5.5MHI 1
AUTO
OFF
1
The sound indicator will
change as follows:
'4.5 MHz-
6.5 MHz-
5.5 MHz-
-6.0 MHz
quality.
Use the Programme Number Up “A” button to sequentially check each station.
If necessary repeat step 3 to 4 for each Programme Number.
Press the “PRE.” (PRESET)
button 5 times.
This returns the set to the
normal viewing condition.
After ail stations are tuned, press
the “MAIN MENU” button twice.
13
Page 10

(Tuning Procedure^
Manual Tune
MAIN MENU
1.
2.
3.
PRE. TV/AV — ^ + V Л
1,4,6 3,5 2
Press the “PRE.” (PRESET)
button twice, setting the Manual
Tune mode.
Press the “MAIN MENU” and
“Position” buttons, until
“MANUAL TUNE” function is
selected.
%
Press either the Channel Up or
?
у
------------
Down button.
Press the Volume Up “+” or
Down button.
Volume “+”: Next higher
Volume ; Next lower
Press the Position Left or Right
button.
Position Left; Next lower
Position Right :Next higher
Press the “PRE.” (PRESET)
PRE
button.
Press the “Position” button until
“SOUND SYS” function is
selected.
If the sound is not clear or no
sound is produced on a
Programme Number Position,
press the Volume Up “+” or
Down button.
Press the Position Left or Right
button, to improve the sound
quality.
Press the “PRE.” (PRESET)
button 5 times.
s>
MAIN MBIU
Press the “MAIN MENU” button
twice.
У LJ
Channel
Channel
Channel.
Channel.
OR
I MANUAL TUNE I
I SOUND SYS
I SOUND SYS
1,6
’ I PRESET I
AUTO TUNE
I MANUALTUNE
SOUND SYS S.SMHz
COLOUR SYS AUTO
FINE TUNE
SKIP OFF
POS. CHANGE
^ I PRESET I
AUTO TUNE
SOUND SYS 5.5MHz
COLOUR SYS AUTO
FINE TUNE
SKIP OFF
POS- CHANGE 2
MANUALTUNE
__|
-----------
V
I PRESET I
AUTO TUNE
I MANUAL TUNE
SOUND SYS 5.5MHz
COLOUR SYS
FINE TUNE
SKIP OFF
POS. CHANGE
AUTO TUNE
MANUALTUNE
COLOUR SYS AUTC
FINE TUNE
SKIP OFF
POS. CHANGE 2
5>
AUTO TUNE
MANUALTUNE
COLOUR SYS
FINE TUNE
SKIP
POS. CHANGE
AUTO
I PRESET I
5.5MHz I
AUTO
OFF
J 3,5
▼ i^1,4
Channel Number Manual
Tune condition.
I
1
Select the desired Channel
Number.
Search Start.
The best tuning position is
automatically memorized.
!
2
“SOUND SYS” Condition.
You may improve the Sound
quality. The sound indicator
will change as follows:
'4.5 MHz-
2
-6.5 MHz-
Note:
When sound volume is too small to
confirm, turn it up by using the sound
volume button on the Remote Control.
This returns the set to the
normal viewing condition.
-5.5 MHz-^
'6.0 MHz
Page 11

^Tuning Procedure^
Fine Tune
□ □□□□□
PHE, TV/AV
— ^ + V A
MAIN MENU
LJ t-J
Under normal reception condition, this function is not used. However, in areas of poor reception or constant
interference, a slight adjustment on the fine tuning can improve the picture and sound quality.
1.
□
Seiect the channel which you
want to try to improve, using the
OR
Select the desired Channel
Number.
^ Channel Up or Down button.
r
2.
Q.?:>
Press the “PRE.” (PRESET)
button 5 times, setting the
Preset Menu to “FINE TUNE”.
Press the “MAIN MENU" and
“Position” buttons, until "FINE
TUNE” is selected.
Press the Volume Up V’ or
Down button until the clear
picture is received.
I PRESET I
AUTO TUNE
MANUAL TUNE
SOUND SYS
COLOUR SYS
I FINE TUNE I
SKIP
POS, CHANGE 1
5.5MHz
AUTO
OFF
Fine Tune condition.
Fine Tune Start.
MIN MENU
Press the Position Left or Right
button until the clear picture is
received.
Press the “PRE.” (PRESET)
button 3 times.
After all stations are tuned,
press the “MAIN MENU” button
twice.
1fi
■ 1
I PRESET I
AUTOTUNE
MANUALTUNE
SOUND SYS
COLOUR SYS AUTO
I FINE TUNE I
SKIP
POS. CHANGE 1
5.5MHz
OFF
The AFC function is
deactivated.
The “ ■ ” symbol appears to
the left of the Channel
Number.
This returns the set to the
normal viewing condition.
Page 12

(juning
Procedure
0
How to Cancel the Fine Tuning
MAIN MENU
OR
▼
Cancelling previously adjusted (manually) fine tuning, means reactivating the AFC (Automatic Frequency Control)
Function, also known as AFT (Automatic Frequency Tuning). Reactivating the Automatic Fine Tuning means
allowing the set to automatically tune optimum tuning position, for that Channel Number.
1.
PHE
kWNMnU
Select the “AFC OFF” Channel
Number which you want to
return to Automatic Frequency
Control (Cancel the manual
Fine Tuning).
Press the “PRE.” (PRESET)
buttons twice, setting the Preset
Menu to set to “MANUAL
TUNE” mode.
Press the “MAIN MENU” and
■ 1
1 PRESET 1
AUTO TUNE
1 MANUAL TUNE
SOUND SYS
COLOUR SYS
FINE TUNE
SKIP
POS. CHANGE
5.SMH2
AUTO
OFF
1
“AFC OFF” Channel
Numbers are indicated to
you by the “ ■ ” symbol to
the left of the Channel
Number.
Manual Tune condition.
1
“Position” buttons, until
“MANUAL TUNE” function is
selected.
Press the Volume Up “+” or
1
Down button briefly.
MANUAL TUNE
Press the Position Left or Right
button briefly.
4.
PRE
ilAIN MENU
Press the “PRE." (PRESET)
button 6 times.
Press the “MAIN MENU” button
AUTO TUNE
1 MANUAL TUNE
COLOUR SYS
FINE TUNE
T
SOUND SYS
SKIP
POS. CHANGE
I
----------------------
1 PRESET 1
5.5MHz
AUTO
OFF
1
The best tuning position is
automatically memorized.
1
This returns the set to the
normal viewing condition.
twice.
16
Page 13

^Tuning
Procedure
0
How to Skip Programme Number
MAIN MENU
1.
2.
3.
□ □□□□□
PRE. TV/AV
---------------
1,4
PRE
a
□
r
ri + V A
Press the “PRE.” (PRESET)
button 6 times, setting the
Preset Menu to “SKIP”.
Press the “MAIN MENU” and
“Position” buttons, until the
Preset Menu to “SKIP”.
Select a Programme Number
you want to skip, by pressing
^ the Channel Number Up or
Down button.
Press the Volume Up or
Down button.
Press the Position Left or Right
button.
OR
I PRESET 1
AUTO TUNE
MANUAL TUNE
SOUND SYS
COLOUR SYS
FINE TUNE
SKIP
POS. CHANGE
2
I PRESET I
AUTO TUNE
MANUALTUNE
SOUND SYS
COLOUR SYS
FINE TUNE
I SKIP
POS. CHANGE
2
I PRESET I
AUTO TUNE
MANUAL TUNE
SOUND SYS
COLOUR SYS
FINE TUNE
I SKIP
POS. CHANGE 2
1,4
S.SMHz
AUTO
5.5MHz
AUTO
OFF I
2
5.5MHz
AUTO
’’on I
Channel Skip condition.
The displayed “OFF”
condition changes to “ON”.
4.
PRE.
ilAIN MENU
Press the “PRE.” (PRESET)
button twice.
Press the “MAIN MENU” button
twice.
This returns the set to the
normal viewing condition.
17
Page 14

^Tuning
Procedure
D
How to Cancel the Skip Function
PRE. TV/AV — ^ + V A
MAIN MENU
1.
2.
3.
PRE
Press the “PRE.” (PRESET)
buttons 6 times, setting the
Preset Menu to “SKIP”.
Press the “MAIN MENU” and
“Position” buttons, untii “SKIP”
is selected.
Select the skipped Programme
Number, by pressing the
Channei Number Up or Down
button.
Press the Voiume Up “+” or
Down button.
Press the Position Left or Right
button.
Repeat steps 2 and 3, if you
wish to cancel the Skip function
on any other Programme
Number.
OR
I PRESET ~l
AUTO TUNE
MANUAL TUNE
SOUND SYS
COLOUR SYS
FINE TUNE
rSKIP
POS. CHANGE
2
I PRESET I
AUTO TUNE
MANUALTUNE
SOUND SYS
COLOUR SYS
FINE TUNE
I SKIP
POS. CHANGE 2
a
I PRESET Í
AUTO TUNE
MANUALTUNE
SOUND SYS
COLOUR SYS
FINE TUNE
I SKIP
POS. CHANGE
5.5MHi
AUTO
5.5MHz
AUTO
ON I
5,5MHz
AUTO
OFF I
2
▼
Channel Skip condition.
The displayed “ON"
condition changes to
“OFF”.
MAIN MENU
After the Skip Cancel operation
is completed, press the “PRE.”
button twice.
After the Skip Cancel Operation
is completed, press the “MAIN
MENU” button twice.
This returns the set to the
normai viewing condition.
1R
Page 15

(Tuning Procedure
D
Colour System Selection
Use this function if a clear picture with weak colour is obtained when a Broadcast or AV signal
is received.
MAIN MENU
□ □□□□□
PRE. TV/AV -^+Va/ )
M A OR
1,3
t
________
2
1.
HAMMBiLT
PRE
MAW MENU
Press the “PRE.” (PRESET)
button 4 times.
Press the “MAIN MENU” and
“Position" buttons, until
“COLOUR SYS” is selected.
Press the Volume Up “+” or
Down button, repeatedly
until the optimum image is
produced.
Press the Position Left or Right
button repeatedly until the
optimum image is obtained.
Press the “PRE.” (PRESET)
button 4 times.
Press the “MAIN MENU” button
twice.
! PRESET
AUTO I
1 PRESET 1
55MHz
AUTO 1
I
1
1
AUTO TUNE
MANUALTUNE
SOUND SYS 5,5 MHi
ICOLOUR SYS
FINE TUNE
SKIP OFF
POS. CHANGE
AUTO TUNE
MANUALTUNE
SOUND SYS
1 COLOUR SYS
FINE TUNE
SKIP OFF
POS. CHANGE
Colour System condition.
The Colour System will
change as shown:
AUTO <
-----
►PAL'^—► SECAM
I i
NTSC 3.58^------------►NTSC 4.43
This returns the set to the
normal viewing condition.
This selected Colour
System is automatically
memorized.
19
Page 16

(Tuning
Procedure
D
Sound System Selection
This function is used only in the TV mode, and is not applicable in AV mode. When the sound Is
not clear or no sound is produced on a channel.
MAIN MENU
□ □□□□□
PRE. TV/AV + V A /
— ^ + V A
_____
2
OR
M—
1.
%
PRE
AAIN MENU
Press the “PRE.” (PRESET)
button 3 times.
Press the “MAIN MENU” and
“Position” buttons, until
“SOUND SYS” is selected.
Press the Volume Up “+” or
Down button, repeatedly
until the optimum image is
produced.
Press the Position Left or Right
button repeatedly until the
optimum image is obtained.
Press the “PRE.” (PRESET)
button 5 times.
Press the “MAIN MENU” button
twice.
1
! PRESET 1
AUTO TUNE
MANUALTUNE
1 SOUND SYS S.SMHi 1
COLOUR SYS
FINE TUNE
SKIP
POS. CHANGE
1
AUTO TUNE
MANUAL TUNE
I SOUND SYS
COLOUR SYS
FINE TUNE
SKIP
POS. CHANGE
I PRESET I
AUTO
OFF
1
5.5MHz I
AUTO
OFF
1
Sound System condition.
The Sound System will
change as shown:
4.5MHz
6.5MHz ◄
This returns the set to the
normal viewing condition.
This selected Sound
System is automaticaliv
memorized.
--------
-----
►5.5MHz
►6.0MHz
20
Page 17

^Tuning Procedure^
Pos. Change
This feature will enable the user to swap (Exchange) channel memory of 2 selected channels.
The Position Change function allows one to shift from the present channel to any Programme
Number without any tuning process.
1.
2.
3.
r
Bo,
TV/AV
Press the“PRE." (PRESET)
button 7 times.
Press the “MAIN MENU” and
“Position” buttons, until “POS.
CHANGE” is selected.
Select a Programme Number
you want to change by pressing
either Channel Up or Down
button, two digit programme
selection or Direct Programme
number selection on the
Remote Control.
(Position Change will only exist
in preset mode).
Press the “TV/AV” button to
confirm.
I PRESET I
AUTO TUNE
MANUAL TUNE
SOUND SYS
COLOUR SYS
FINE TUNE
SKIP
AUTO TUNE
MANUAL TUNE
SOUND SYS
COLOUR SYS
FINE TUNE
SKIP
____________
I POS. CHANGE 12
' 2 1 preset I
AUTO TUNE
MANUAL TUNE
SOUND SYS
COLOUR SYS
FINE TUNE
SKIP
1 POS. CHANGE
5.5MHz
AUTO
OFF
I POS. CHANGE 1 1
5.5MHz
AUTO
OFF
5.5MHz
AUTO
OFF
12.. 1
Note:
Position Change also can
be operated using panel
key. Use PRESET key to
enter POSITION
CHANGE, then, use
volume up/down to
change the channel to be
swapped to. Use TV/AV to
confirm.
4.
Press the “PRE.” (PRESET)
button once.
Press the “MAIN MENU” button
twice.
This returns the set to the
normal viewing condition.
21
Page 18

(Advanced Remote Control Transmitter Operation^
Picture Menu Operation
Picture Menu
Press
A
T
Select
A
T
Select
A
▼
Select
A
▼
Select
A
▼
Select
A
T
Select
A
T
Select
COLOUR TEMP. STD
Item
MENU DYNAMIC
COLOUR
NTSC-TINT
BRIGHT
CONTRAST
SHARPNESS
Effect
UENUnnUHC MENU STANDARD
- - - - - - - - - ---> UENUSOFT-
Less More
Greenish Reddish
Darker Brighter
Less More
Less More
COLOURTEMP.STt COLOURTEllP.COOl’
- ----- - - - -
► COLOtJRTEMP.WARH
ENU STANDARD
■4^------------
1
Indicator
MENU DYNAMIC
£9 32 COLOUR
ts'ij 32 NTSC-TINT
.■¿j.32 BRIGHT
I a
e^CON-RAST
32 SHARPNESS
CD
COLOUR TEMP. STD
Helpful Hint
1. By pressing the normal “N” button on the Remote Control while the Picture Menu is displayed, the setting of the
selected function will be return to factory setting level.
22
Page 19

(Advanced Remote Control Transmitter Operation^
Sound Menu Operation
Sound Menu
Press
▲
T
Select
▲
▼
Select
AVL (Auto Volume Limiter)
The AVL function will limit the volume output for music, speech and movie at preset level when it is on.
Item
TONE
AVL
Effect
TONE LOW TONE STD
L
----------
-► tone HIGH M
ON -n- OFF
--------------------
Indicator
1
TONE
AVL
23
Page 20

(Advanced Remote Control Transmitter Operation^
Features Menu Operation
BLUE BACK mode
When no picture signal is received, or the signal is
weak, the screen reverts to a blue background
colour and the sound is muted.
Disable this features to continue watching very
weak signals.
CH (Channel) COLOUR SET mode
Colour density varying between broadcast
channels can be adjusted to three levels for each
reception channel as follows:
STD
[:
CHILD LOCK mode
To child lock any channel, press the position left or
right button,
1) When channel is “LOCK”, sound is muted and
screen becomes blue colour.
2) If any of the channels is CHILD LOCK, then
preset key at any panel will not work. If preset
key (Panel) is pressed, message “CHILD LOCK
ON” will appear.
3) Main power ON in child locked channel will
display “CHILD LOCK ON" on screen to remind
user that the Child lock is On and is in Child
locked channel.
4) Each channel has its own memory for channels
to be child locked.
VCR/GAME mode
Reproduction of irregular signals, such as TV
games and rental video tapes, may be improved.
The VCR/GAME mode will change as shown:
Blue background
colour if no input
picture signal or input
signal is weak.
HIGH
LOW
24
ON -4- OFF
Page 21

(Advanced Remote Control Transmitter Operation^
Language Menu Operation
Language Menu
Press the “Position Up or Down” button. The on-screen language display will change as follows
[p |[D V to 5
IPICTUREI
-----
m № '4' M ?
►
language!
ENGLISH!
PyCCKl/IPi
m iii 'i* Id $
m
ENGLISH
EH
PyCCKHfi
a iii 'i* id ■!
ENGLISH
IpyccKHiil
▲
T
A
V
A
T
pc;
№ iSII
fH-iiii
ENGLISH
=l=i
pyCCKM^
Page 22

Troubleshooting
Before calling for service, determine the symptoms and make a few simple checks as shown below.
Symptoms
Checks
Picture
Snowy Picture
Multiple Image
Interference
Sound
Aerial Location, direction
Connection
Noisy Sound
Aerial Location, direction
Connection
Normal Sound
Electrical Appliances
Cars / Motorcycles
Fluorescent Lamps
Noisy Sound
Normal Picture
No Picture
No Colour
Scrambled
Colour Patches
No Sound
No Sound
Normal Sound
Weak Sound
Normal Sound
Volume
(Check whether the mute function has been
activated on the Remote Control.)
Not plugged into AC outlet
Not switched on Contrast and Brightness / Volume
Setting (Check by pressing the Power Switch or
Stand-by Button on the Remote Control.)
Colour Control
Re-tune Channels
Magnetic interference from unshielded equipment.
Receiver moved while “ON"
No Colour
Sound System
Colour System
Noisy Sound
Page 23

(Specifications^
Power Source : AC AUTO 11Q-240V, 50/60HZ
Power Consumption : 61 W
Receiving System : 17 SYSTEMS
1.
2.
3.
4.
5.
6.
7.
8. NTSC 4.43/5.5MHz
9.
10. NTSC 4.43/6.5MHz
11. NTSC 3.58/5.5MHz
12. NTSC 3.58 / 6.0MHz
Receiving Channels:
PAL B,G,H
PALI
PAL D,K Reception of broadcast
SECAM B,G
SECAM D. K.
SECAM K1
NTSCM
(NTSC 3.58 / 4.5MHz)
NTSC 4.43 / 6.0MHz
13. NTSC 3.58/6.5MHz
14.
15.
16.
17.
2-12 PAL/SECAM B,K1
0- 12 PALB(AUST)
1- 9 PAL B (N.Z.)
1-12 PAL/SECAMD
1- 12 NTSCM (JAPAN)
2- 13 NTSC M (U.S.A.)
SECAM 1
PAL 60Hz/5.5MHz
PAL 60Hz / 6.0MHz
PAL 60Hz / 6.5MHz
VHF BAND
SYSTEMS
transmissions and playback
from video cassette tape
recorders.
Playback from special VCR only.
Playback from special Disc
player and VCR only.
UHF BAND
21-69 PALG,H,1/SECAMG,K.K1
28-69 PALB(AUST)
13-57 PALD.K
13- 62 NTSCM (JAPAN)
14- 69 NTSC M (U.S.A.)
FUNCTION
CATV
SI - S20 (OSCAR)
1-125 (USA CATV)
C13-C49 (JAPAN)
S21 - S41 (HYPER)
Z1 - Z37 (CHINA)
5A, 9A (AUST.)
Tuning System : Frequency synthesizer Auto search tuning: 100 position.
Picture Tube : 34 cm, measured diagonally, 90° deflection.
Audio Output: 2.5 W X 2 (Speakers)
Aerial Impedance : 75 Unbalanced coaxial.
Remote Control Transmitter: TNQ4G0401
Battery : R6 (AA) x 2
Dimension (W x D x H): 459 x 380.7 x 353.8 mm
Weight (Net): 10.1 kg
Note:
Design and Specifications are subject to change without notice.
27
Page 24

Customer’s Record
The mode! number and serial number of this product can be found on its cover. You should note
this serial number in the space provided below and retain this book plus your purchase receipt as a
permanent record of your purchase to aid in identification in the event of theft or loss, and for
Warranty Service purposes.
Model Number
Serial Number
Matsushita Electric Industrial Co., Ltd
Central P.O. Box 288, Osaka 530-8692, Japan
 Loading...