

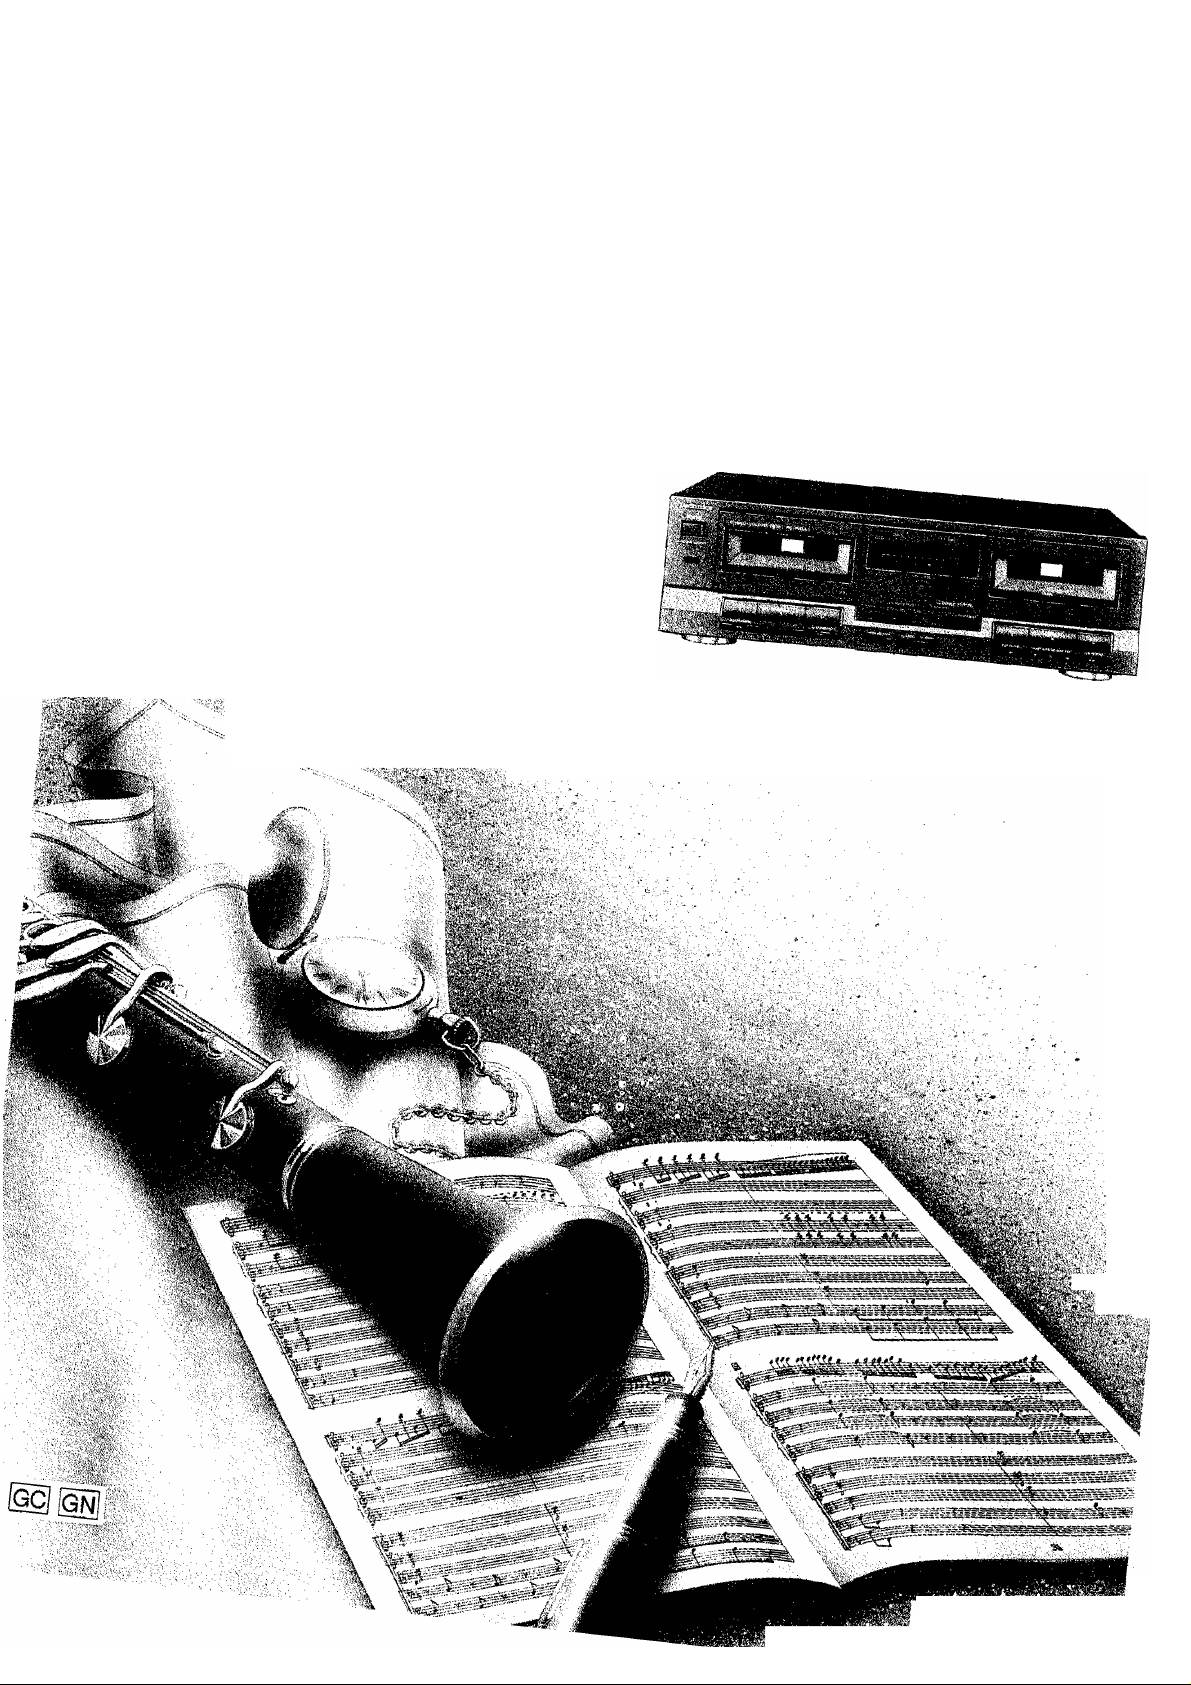
Panasonic RS-TR252 User Manual
Ibchnics
Ss-"rSS
Operating Instructions
“'“«"9 this prod
^^ornpletely. ^ product, please

Dear Customer
Thank you for purchasing this Technics product.
For optimum performance and safety, please read
these instructions carefully.
(For areas except Australia and N.Z.)
CAUTION:
The AC voltage is different according to the
area.
Be sure to set the proper voltage in your area
before use.
(For details, please refer to the page 5.)
Before use
Suggestions for safety
Front panel controls...
Connections..................
Playback
Playback............................................................... 6
Reverse function...................................................................... 7
About the automatic-tape-seiect function................................ 7
About the remote control function............................................ 7
About the Dolby noise-reduction system
About the Dolby HX-Pro headroom extension system
.................................
..........
Series playback................................................... 8
Tape counter (Deck 2 only).
To reset the tape counter........................................................ 8
To fast'forward or rewind the tape
..............................
....................
To cue or review.................................................. 9
Recording
7
7
8
9
Recording (Deck 2 only)
To make a silent interval
Tape-to-tape recording
To record selected tracks
To cut unwanted parts during recording
............
.........
;...............
..............
........................
Reference
Concerning cassette tapes
Maintenance..........................
Technical specifications ..
Troubleshooting guide
.......
.............
.............
.............
14
15
15
Back cover
10
11
12
13
13

Placement
Foreign materials
Avoid placing the unit in areas of:
• direct suniight
• high temperature
• high humidity
• excessive vibration
• uneven surfaces. (Place the unit on a flat level surface).
Such conditions might damage the cabinet and/or other compo
nent parts and thereby shorten the unit’s service life.
Ventilation
Place the unit in a well ventilated position at least 10 cm away
from wall surfaces etc.
Stacking
Never place heavy Items on top of the unit or the power cord.
Voltage
' It is very dangerous to use an AC power source of high voltage
such as for an air conditioner.
A fire might be caused by such a connection,
IA DC power source cannot be used.
Be sure to check the power source carefully, especially on a
ship or other place where DC is used.
Power cord protection
• Avoid cuts, scratches or poor connection of the AC mains cord,
as this may result in fire or electric shock hazard.
Excessive bending, pulling or slicing of the cord should also be
avoided.
' Do not pull on the cord when you are disconnecting the power,
as this could cause an electric shock. Grasp the plug firmly
when you disconnect the power supply.
' Never touch the plug with wet hands or a serious electric shock
could result.
• Ensure that no foreign objects, such as needles, coins,
screwdrivers etc, accidentally fall into the unit or through the
ventilation holes.
Otherwise, a serious electric shock or malfunction could occur.
• Be extremely careful about spilling water or liquid on/into the
unit, as a fire or electric shock could occur.
(Disconnect the power plug and contact your dealer immediate
ly if this occurs.)
• Avoid spraying insecticides onto the unit as they contain flam
mable gases which can be ignited.
• Insecticides, alcohol, paint thinner and similar chemicals
should never be used to clean the unit as they can cause flaking
or cloudiness to the cabinet finish.
Maintenance (See page 15.)
Clean the cabinet, pane! and controls with a soft cloth lightly
moistened with mild detergent solution.
Do not use any type of abrasive pad, scouring powder or solvent
such as alcohol or benzine.
Service
I Never attempt to repair, disassemble or reconstruct the unit if
there seems to be a problem.
A serious electric shock could result if you ignore this precau
tionary measure.
> If a problem occurs during operation (the sound is interrupted,
indicators fail to illuminate, smoke is detected, etc) contact
your dealer or Authorised Service Center immediately.
> Disconnect the power supply if the unit will not be used for a
long time. Otherwise the operation life could be shortened.

No.
Name
Rei. page
No. Name
Ref. page
(D Power “m STANDBY 6 ^ ON” switch
(POWER, M STANDBY 6 ^ ON) 6
Press to switch the unit from on to standby mode or vice ver
sa. In standby mode, the unit is still consuming a smail
amount of power.
Remote control signal receptor -
(Refer to "About the remote control function" on page 7.)
^ Cassette holder -
0 Eject button (EJECT)
Display
(|) Recording-level control (RCC LEVEL) 10
(2) Reverse-side playback button PLAY) 6
(g) Fast-forward/cue, rewlnd/review buttons
[CUE/REVIEW]) 9
Stop button (■ STOP)
® Forward-side playback button O PLAY) 6
(Q) Reverse-mode select buttons
(REVERSE MODE)
® Synchro-start button (SYNCHRO START) 12
® Tape-to-tape recording-speed buttons
(x1 SPEED, X2 SPEED) 12
® Dolby noise-reduction buttons
(DOLBY NR)
Counter reset button (COUNTER RESET) 8
Pause button (II PAUSE)
@ Automatic-record-muting button
(O AUTO REC MUTE)
(]|i Record button (• REC)
6>T
6,10
6
11
10
I j
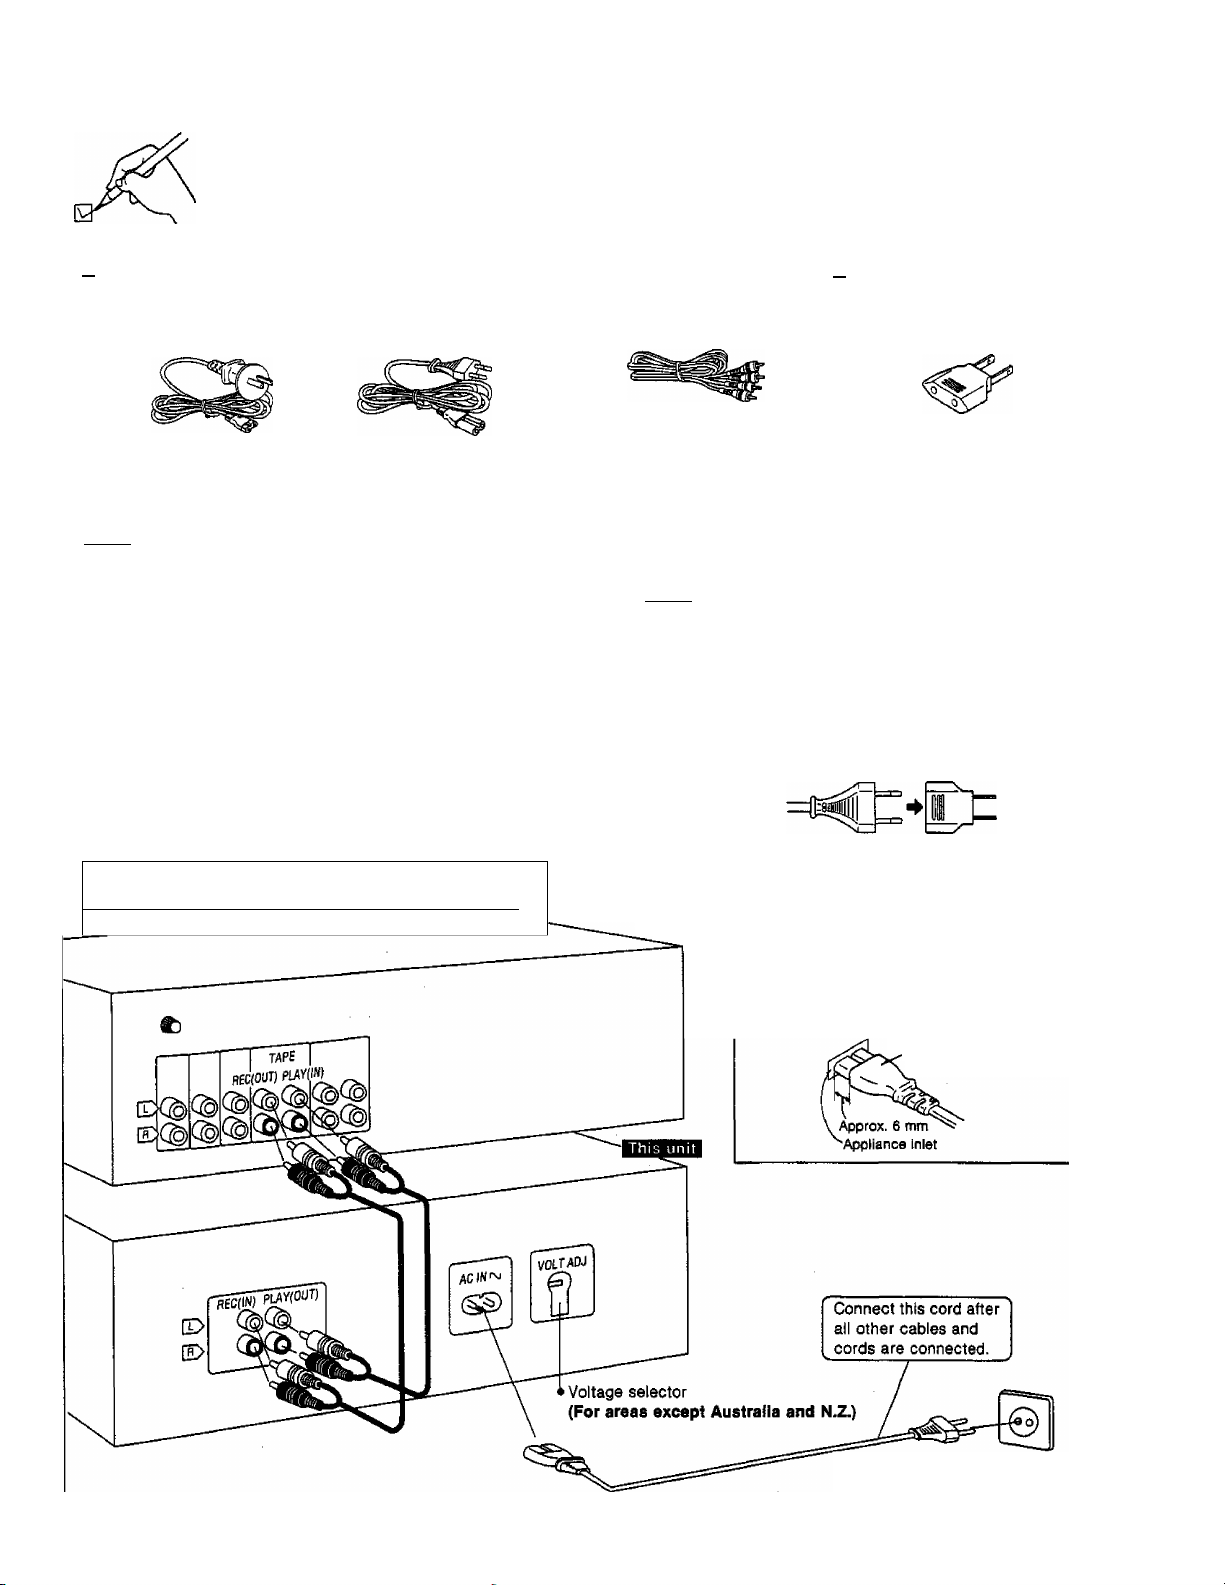
AC power supply cord,
(For Australia
and N.Z.)
Please check and identify the supplied
accessories
(For others)
1 Stereo connection
cables
...................
I I
Power plug adaptor
...............
(Not supplied for Australia
and N.Z.)
1
Before making connections, make sure that the power to this unit
and all other system components is turned off.
• Avoid letting the cables touch each other as much as possible,
otherwise noise wilt be generated.
• Although the figure below shows the AC power supply cord be
ing connected to a household AC outlet, if the amplifier (or
receiver) is equipped with an AC outlet, connect the cord to that
outlet.
Placement hints
If this unit is placed near a receiver or a tuner, a "hum” noise
may be heard during tape playback, recording, or AM reception
of the receiver or the tuner.
If this occurs, leave as much space as possible between the
units, or place them where there is the least amount of “hum”.
—
stereo connection cable
White (L) =aHK, HD=
Red (R)
_
(For areas except Australia and N.Z.)
Set the voltage selector to the voltage setting for the area
in which the unit will be used.
(Use a minus (—) screwdriver]
If the power supply in your area is 117 V or 120 V, set to
the “127 V” position.
Note that this unit will be seriously damaged if this setting
is not made correctly.
If the power plug will not fit your socket,
use the power plug adaptor (included).
Amplifier
J
or receiver
(For areas except Australia and N,Z.)
Insertion of Connector
Even when the connector is perfectly in
serted, depending on the type of inlet used,
the front part of the connector may jut out
as shown in the drawing,
However there is no problem using the unit.
Connector
Household
AC outlet
 Loading...