

Panasonic PT-ST10EA, TQBH0228, PT-ST10U, PT-ST10E User Manual
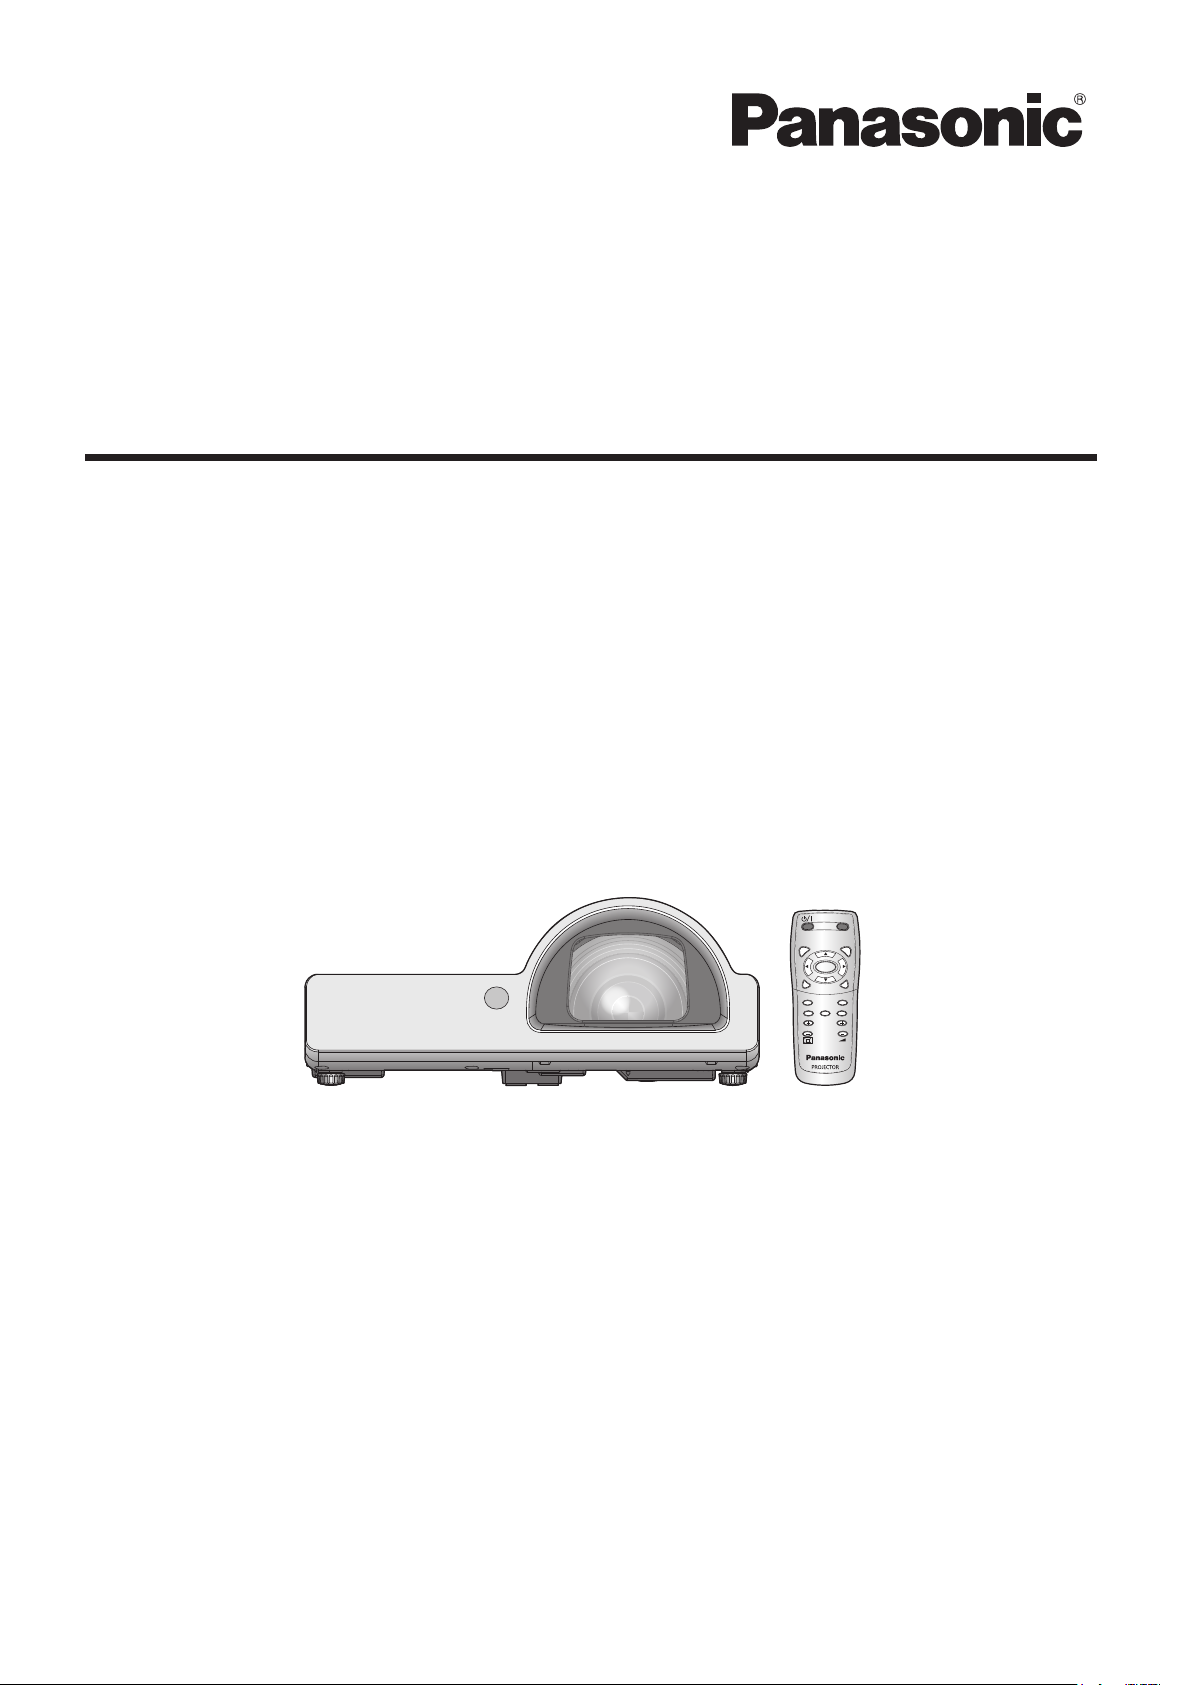
Operating Instructions
AUTO
SETUP
MENU
RETURN
ENTER
FREEZE
AV
MUTE
COMPUTER
VIDEO
DEFAULT
FUNCTION
WIN.
INDEX-
DIGITAL ZOOM
VOLUME
Network Operation Manual
LCD Projector
Model No.
PT-ST10E
PT-ST10EA
PT-ST10U
TQBH0228 (E/U/EA)

2
Contents
Request Regarding Security · · · · · · · · · · · · · · · · · · · · · · · · · · · · · · · · · · · · · · · · · · · · ·3
What you can do · · · · · · · · · · · · · · · · · · · · · · · · · · · · · · · · · · · · · · · · · · · · · · · · · · · · · · ·3
Check your computer · · · · · · · · · · · · · · · · · · · · · · · · · · · · · · · · · · · · · · · · · · · · · · · · · · ·4
Necessary environment for computers to be connected · · · · · · · · · · · · · · · · · · · · · · · · · · · · · · · · · · · · · · 4
Connecting with Wired LAN ··············································4
Network setting of the projector · · · · · · · · · · · · · · · · · · · · · · · · · · · · · · · · · · · · · · · · · ·5
Displaying the NETWORK menu ··············································5
NETWORK · · · · · · · · · · · · · · · · · · · · · · · · · · · · · · · · · · · · · · · · · · · · · · · · · · · · · · · · · · · · · · · ·6
Wired LAN settings ·····································································6
Default network settings· · · · · · · · · · · · · · · · · · · · · · · · · · · · · · · · · · · · · · · · · · · · · · · · · · · · · · · · · · · · · · · · · 6
NAME CHANGE ····························································7
NETWORK CONTROL ·······················································7
STATUS · · · · · · · · · · · · · · · · · · · · · · · · · · · · · · · · · · · · · · · · · · · · · · · · · · · · · · · · · · · · · · · · · ·8
INITIALIZE · · · · · · · · · · · · · · · · · · · · · · · · · · · · · · · · · · · · · · · · · · · · · · · · · · · · · · · · · · · · · · · ·8
Using WebBrowser · · · · · · · · · · · · · · · · · · · · · · · · · · · · · · · · · · · · · · · · · · · · · · · · · · · · ·9
Before using the WEB control ····························································9
Accessing from the WebBrowser · · · · · · · · · · · · · · · · · · · · · · · · · · · · · · · · · · · · · · · · · · · ·10
Monitor information window · · · · · · · · · · · · · · · · · · · · · · · · · · · · · · · · · · · · · · · · · · · · · · · · · · · · · · · · · · · · 11
Projector control window ·······························································12
Detailed set up window ·································································12
Change password window ······························································16
Switching Languages ··································································16
Using PJLink protocol · · · · · · · · · · · · · · · · · · · · · · · · · · · · · · · · · · · · · · · · · · · · · · · · ·17
Applicable commands · · · · · · · · · · · · · · · · · · · · · · · · · · · · · · · · · · · · · · · · · · · · · · · · · · · · ·17
Glossary ·····························································18
Trademarks · · · · · · · · · · · · · · · · · · · · · · · · · · · · · · · · · · · · · · · · · · · · · · · · · · · · · · · · · ·18
The illustrations and screenshots in this manual may be different from those on your computer.

3
Request Regarding Security
When using this product, security breaches of the type described below are conceivable.
Leakage of your private information via this product
•
Illegal operation of this product by a malicious third-party
•
Harm to or cessation of operation of this product by a malicious third-party
•
Be sure to implement sufficient security measures.
Set passwords, and limit the users that are permitted login access.
•
Make sure the password is as hard to guess as possible.
•
Change the password periodically.
•
Panasonic Corporation and its affiliated companies never directly ask customers for their password.
•
Do not give out your password even if directly asked by a third-party representing themselves as Panasonic Corporation.
Always use on a network that has safety protection such as a firewall implemented.
•
What you can do
<WEB control> (See page 9)
The following operations are possible when using WebBrowser.
Setting and adjusting the projector
•
Displaying the projector status
•
Setting for message transmission
•
<PJLink> (See page 17)
Compatible with PJLink Class 1. The following operations can be performed from a computer when PJLink protocol is used.
Setting the projector
•
Querying the projector status
•
<Command control> (Refer to “SERIAL TERMINAL” in “Technical Information” of the Basic Manual.)
You can control the projector from a computer, using the control commands of the serial terminals.
If you use “WEB control”, “PJLink” or “Command control”, turn [ON] the [NETWORK CONTROL] in the NETWORK menu for the
projector. (See page 7)

4
Check your computer
Necessary environment for computers to be connected
First, check your computer to see whether or not it has a wired LAN
•
LAN : “Glossary” (See page 18)
Before connecting the computer to the projector, be sure to check the following settings.
•
function.
Check 1
Is the cable properly connected?
•
Use LAN cable that is compatible with category 5 or above.
•
Check 2
<Computer with a built-in wired LAN function>
Is your wired LAN switched on?
•
<Computer without a built-in wired LAN function>
Is your wired LAN adapter properly recognized?
•
Is your wired LAN adapter switched on?
•
Install the wired LAN adapter driver beforehand.
•
For details on how to install the driver, refer to the instructions accompanying the wired LAN adapter.
Check 3
WebBrowser is necessary to use WEB control.
•
Compatible WebBrowser : Internet Explorer 6.0/7.0/8.0
•
Do not touch the LAN terminal or the metal part of the LAN cable, the static electricity may discharge from our hand (body)
causing a malfunction.
For LAN cable
Wired LAN settings
For WebBrowser
Connecting with Wired LAN
Connection can be made with wired LAN. However, confirm to your system administrator on network settings before changing
any settings.
Turn on the computer.
1
Make the network setting according to your system administrator.
2
If the projector settings are the default settings (See page 6), the computer can be used with the following network
settings.
IP ADDRESS 192.168.10.101
SUBNETMASK 255.255.255.0
DEFAULT GATEWAY 192.168.10.1
5
Network setting of the projector
FUNCTION
ENTER
SELECT
RETURN
LANGUAGE
PROJECTOR SETUP
SECURITY
NETWORK
POSITION
DISPLAY OPTION
PICTURE
PICTURE MODE
CONTRAST
BRIGHTNESS
COLOR
TINT
DYNAMIC
0
−+
0
−+
0
−+
0
−+
SHARPNESS
COLOR TEMPERAT URE
DAYLIGHT VIEW
NOISE REDUCTION
TV-SYSTEM
DEFAULT
AUTO
OFF
AUTO
0
−+
LANGUAGE
PROJECTOR SETUP
SECURITY
NETWORK
POSITION
DISPLAY OPTION
WIRED LAN
NAME CHANGE
STATUS
INITIALIZE
NETWORK CONTROL
ON
PICTURE
FUNCTION
ENTER
SELECT
RETURN
When making a connection between a computer and a projector with settings other than the default settings, perform the
procedure below to display the menu required when changing the initial settings.
Displaying the NETWORK menu
Press the [MENU] button on the projector.
1
The main menu appears.
Select [NETWORK] with the [▲▼] buttons.
2
The network menu appears.
3
Depending on the signals which are input to the projector, it may not be possible to adjust some of the items and use some of
the functions. In the case of an item that cannot be adjusted or a function that cannot be used, the corresponding on-screen item
will not be displayed, and you will not be able to execute it even when you press the [ENTER] button.
Press the [ENTER] button
You can select the sub-menu item.

6
Network setting of the projector (cont.)
WIRED DETA ILED SETUP
OK CANCEL
CANCEL
SELECT
DHCP
IP ADDRESS
SUBNETMASK
DEFAULT GATEWAY
192.168. 10.100
OFF
192.168. 10. 1
255.255.255. 0
NETWORK
Wired LAN settings
You can make detailed wired LAN settings.
Select [WIRED LAN] in the NETWORK menu and press the [ENTER] button.
1
DHCP
ON: If a DHCP server exists in the network to which the projector is connected, the IP address will automatically be
acquired.
OFF: If a DHCP server does not exist in the network to which the projector is connected, additionally set [IP
ADDRESS
“Glossary” (See page 18)
], [SUBNETMASK ] and [DEFAULT GATEWAY ].
Select each item with the [▲▼] buttons and change the settings following the
2
menu’s Operating guidance.
Select [OK] with the [▲▼] buttons and press the [ENTER] button.
3
Default network settings
The following settings are set before the projector leaves the factory.
DHCP OFF
IP ADDRESS 192.168.10.100
SUBNETMASK 255.255.255.0
DEFAULT GATEWAY 192.168.10.1
 Loading...