

Panasonic KX-TGA939 Installation Manual
Installation Manual
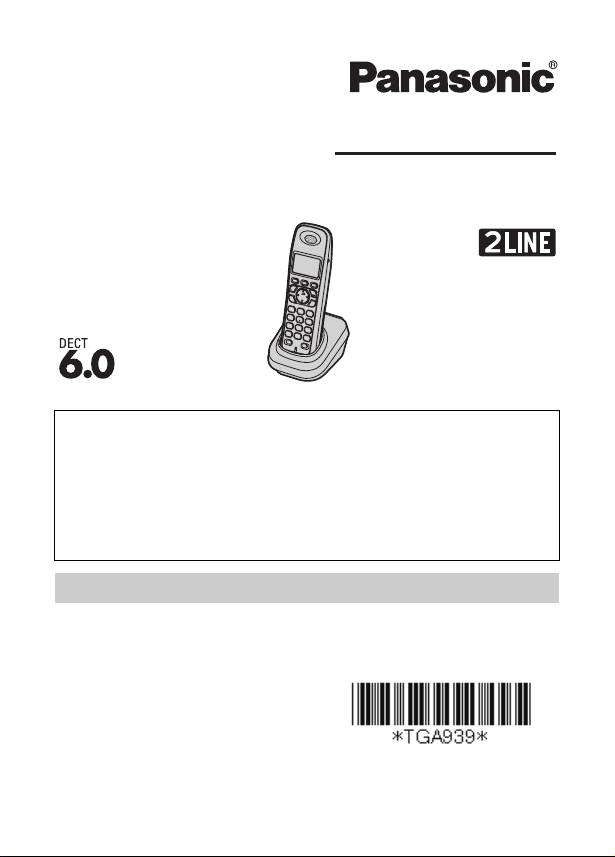
Additional Digital Cordless Handset
Model No.
Thank you for purchasing a Panasonic digital cordless phone.
This unit is an additional handset compatible with the following
Panasonic Digital Cordless Phones:
KX-TG9391/KX-TG9392
You must register this handset with your base unit before it can
be used. This installation manual describes only the steps
needed to register and begin using the handset. Please read
the base unit’s operating instructions for further details.
Charge the batteries for about 7 hours before initial use.
Please read this installation manual before using the unit and
save it for future reference.
For assistance, visit our website:
http://www.panasonic.com/help
for customers in the U.S.A. or
Puerto Rico.
KX-TGA939
PNQX1455ZA DM0708SY0
Supplied accessories
Accessory item/Order number Quantity
Charger/PNLC1001YT 1
*1
AC adaptor for charger
Rechargeable batteries
Handset cover
Belt clip/PNKE1004Z1 1
*1 Both of the AC adaptors function well with the charger.
*2 Please read the base unit’s operating instructions for replacement
battery information.
*3 The handset cover comes attached to the handset.
Note:
LPlease read the base unit’s operating instructions for additional/
replacement accessories.
*3
/PQLV209T or PQLV219Z 1
*2
/PNYNTGA430BR 1
2
Sales and support information
LTo order additional/replacement accessories, call 1-800-332-5368.
LTTY users (hearing or speech impaired users) can call 1-866-605-
1277.
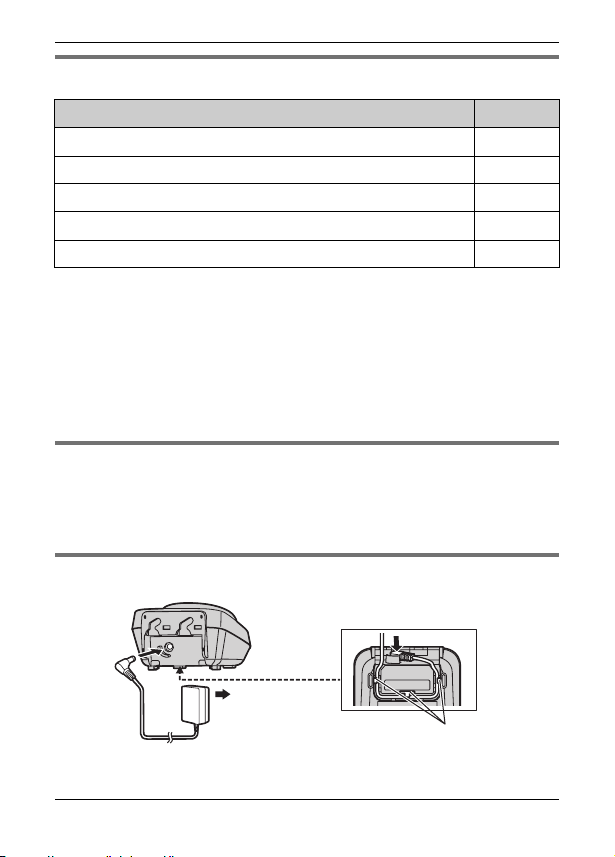
Connection
(120 V AC,
60 Hz)
Note:
LUse only the supplied Panasonic AC adaptor PQLV209 or PQLV219.
Hooks
2 For assistance, please visit http://www.panasonic.com/help

LThe AC adaptor must remain connected at all times. (It is normal for
the adaptor to feel warm during use.)
Battery installation and battery charge
Important:
LUse the supplied rechargeable batteries (Part No. HHR-55AAABU).
LWhen installing the batteries:
– Wipe the battery ends (S, T) with a dry cloth.
– Avoid touching the battery ends (S, T) or the unit contacts.
– Confirm correct polarities (S, T).
LWhen replacing the batteries:
– USE ONLY rechargeable Ni-MH batteries AAA (R03) size.
– Do NOT use Alkaline/Manganese/Ni-Cd batteries.
– We recommend using the Panasonic rechargeable batteries noted
in the base unit’s operating instructions for replacement battery
information.
1 Press the notch on the handset cover firmly, and slide it in the
direction of the arrow.
2 Insert the batteries negative (T) end first. Close the handset cover.
3 Place the handset on the charger for about 7 hours before initial
use.
Note:
LIf the batteries are fully charged, but the operating time seems to be
shorter, clean the battery ends (S, T) and the charge contacts with a
dry cloth.
For assistance, please visit http://www.panasonic.com/help 3

Attention:
A nickel metal hydride battery that is
recyclable powers the product you
have purchased.
Please call 1-800-8-BATTERY (1800-822-8837) for information on how
to recycle this battery.
Registering a handset to the base unit
Handset:
1
Lift the handset and press {OFF}.
2 Base unit:
Press and hold {LOCATOR} for about 5 seconds until the registration
tone sounds.
LIf all registered handsets start ringing, press the same button to
stop. Then repeat this step.
3 Handset:
Place the handset on the charger.
LContinue the operation even when the handset display shows
“Registering”.
4 With the handset still on the charger, wait until a long beep sounds
and w stops flashing.
Note:
LIf an error tone sounds, or if w is still flashing, register the handset
according to the base unit’s operating instructions.
Display language
{MENU} i {#}{1}{1}{0}
1
2 {V}/{^}: Select the desired setting.
3 Press the middle soft key to save. i {OFF}
4 For assistance, please visit http://www.panasonic.com/help

Wall mounting
Drive the screws (not supplied) into the wall.
1
2 Mount the charger (A), then slide it down (B) and to the right (C)
until it is secure.
25.4 mm
(1 inch)
Screws
(120 V AC, 60 Hz)
A
B
C
Belt clip
You can hang the handset on your belt or pocket using the supplied belt
clip.
NTo attach the belt clip NTo remove the belt clip
For assistance, please visit http://www.panasonic.com/help 5
 Loading...